Italy. How I love your food. The simplicity. The bright flavors. The laid-back style. Your cuisine is one that I crave often and also one that I make often.
Your wine rivals that of France and in my opinion, it’s better. Your land produces Super Tuscan’s and Pinot Grigio’s that playfully tickle my palette and so elegantly pair with the food.
—
Do you ever just crave something in that “gotta-have-it-right-now-kinda” way? That’s my relationship with Italian food. Or maybe it’s my relationship with Italian wine that pairs so wonderfully with Italian food…either way, it doesn’t matter. A craving is a craving and last night I had me a craving. A craving for something crisp and bright. So, I rushed down to the liquor store to buy a nice bottle of wine. (The South: It’s like living in the past down here sometimes. In Tennessee, you’re not allowed to sell wine in grocery stores. At least where I’m from. Bummer. So off to the liquor store I go.)
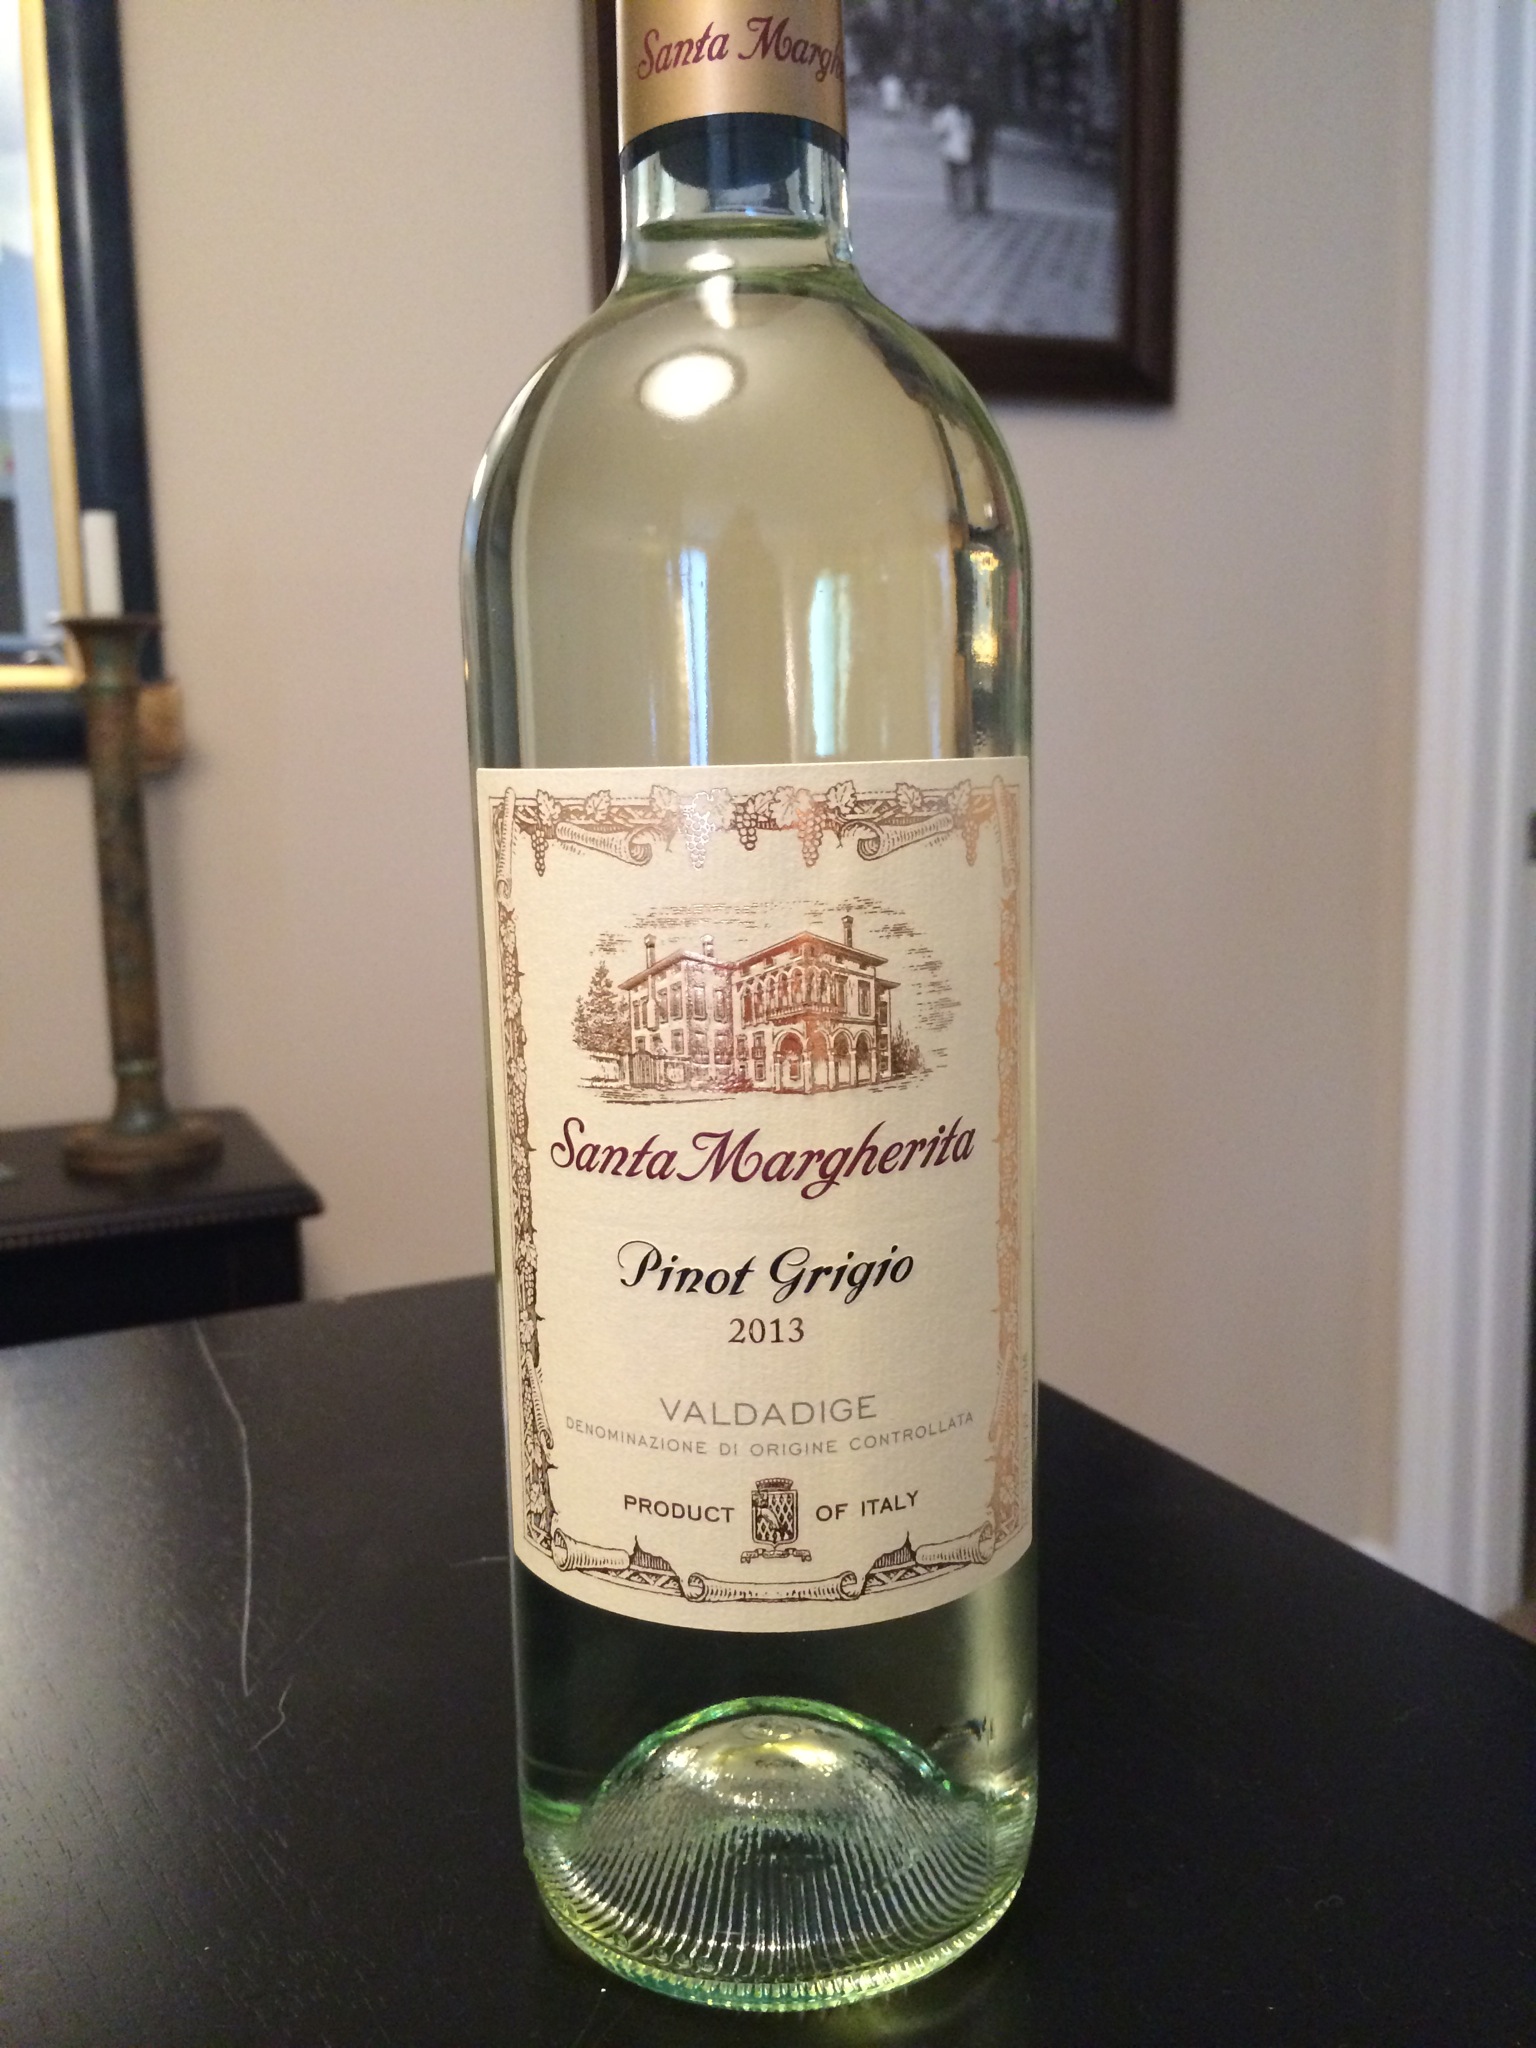 I arrived back at my apartment with two bottles of Pinot Grigio. Sometimes one just isn’t enough…I mean, I have to cook with it and probably share it with the beau. So, in the fridge it goes to chill. Both bottles were a 2013 Santa Margherita from Italy. Not the cheapest bottle of water in the store, but I have always wanted to try it. It was given to me as a gift a few years ago, but, me being me, I left it in the backseat of my car and forgot about it. A couple of days later, I open up the door and the bottle falls and smashes all over my parents driveway. Wine death by driveway, such a tragedy.
But, moving on…
What to make? What to cook that incorporates both using the wine and drinking the wine. (Remember: Always cook with a wine that you would drink. If you won’t drink it, then it has no business being in your dishes). It needs to be something light. Maybe something citrusy. Ah! I have it! Chicken Picatta, a classic Italian dish that will pair beautifully with the Pinot Grigio. There is also the added bonus of it being a super simple dish to make with a technique that one can apply to other dishes. I’ve really hit the jackpot on this one.
WHAT YOU NEED:
- Chicken breasts, trimmed and thinly pounded (about ¼ inch thick)
- Olive Oil (for browning the chicken)
- Salt and Pepper ( to taste)
- Lemon juice, freshly squeezed
- White wine
- Chicken stock
- Butter
- Capers
- Parsley
- Angel Hair pasta
Basically, this dish has two parts (like lots of dishes): the chicken and the sauce.
Let’s break it down…
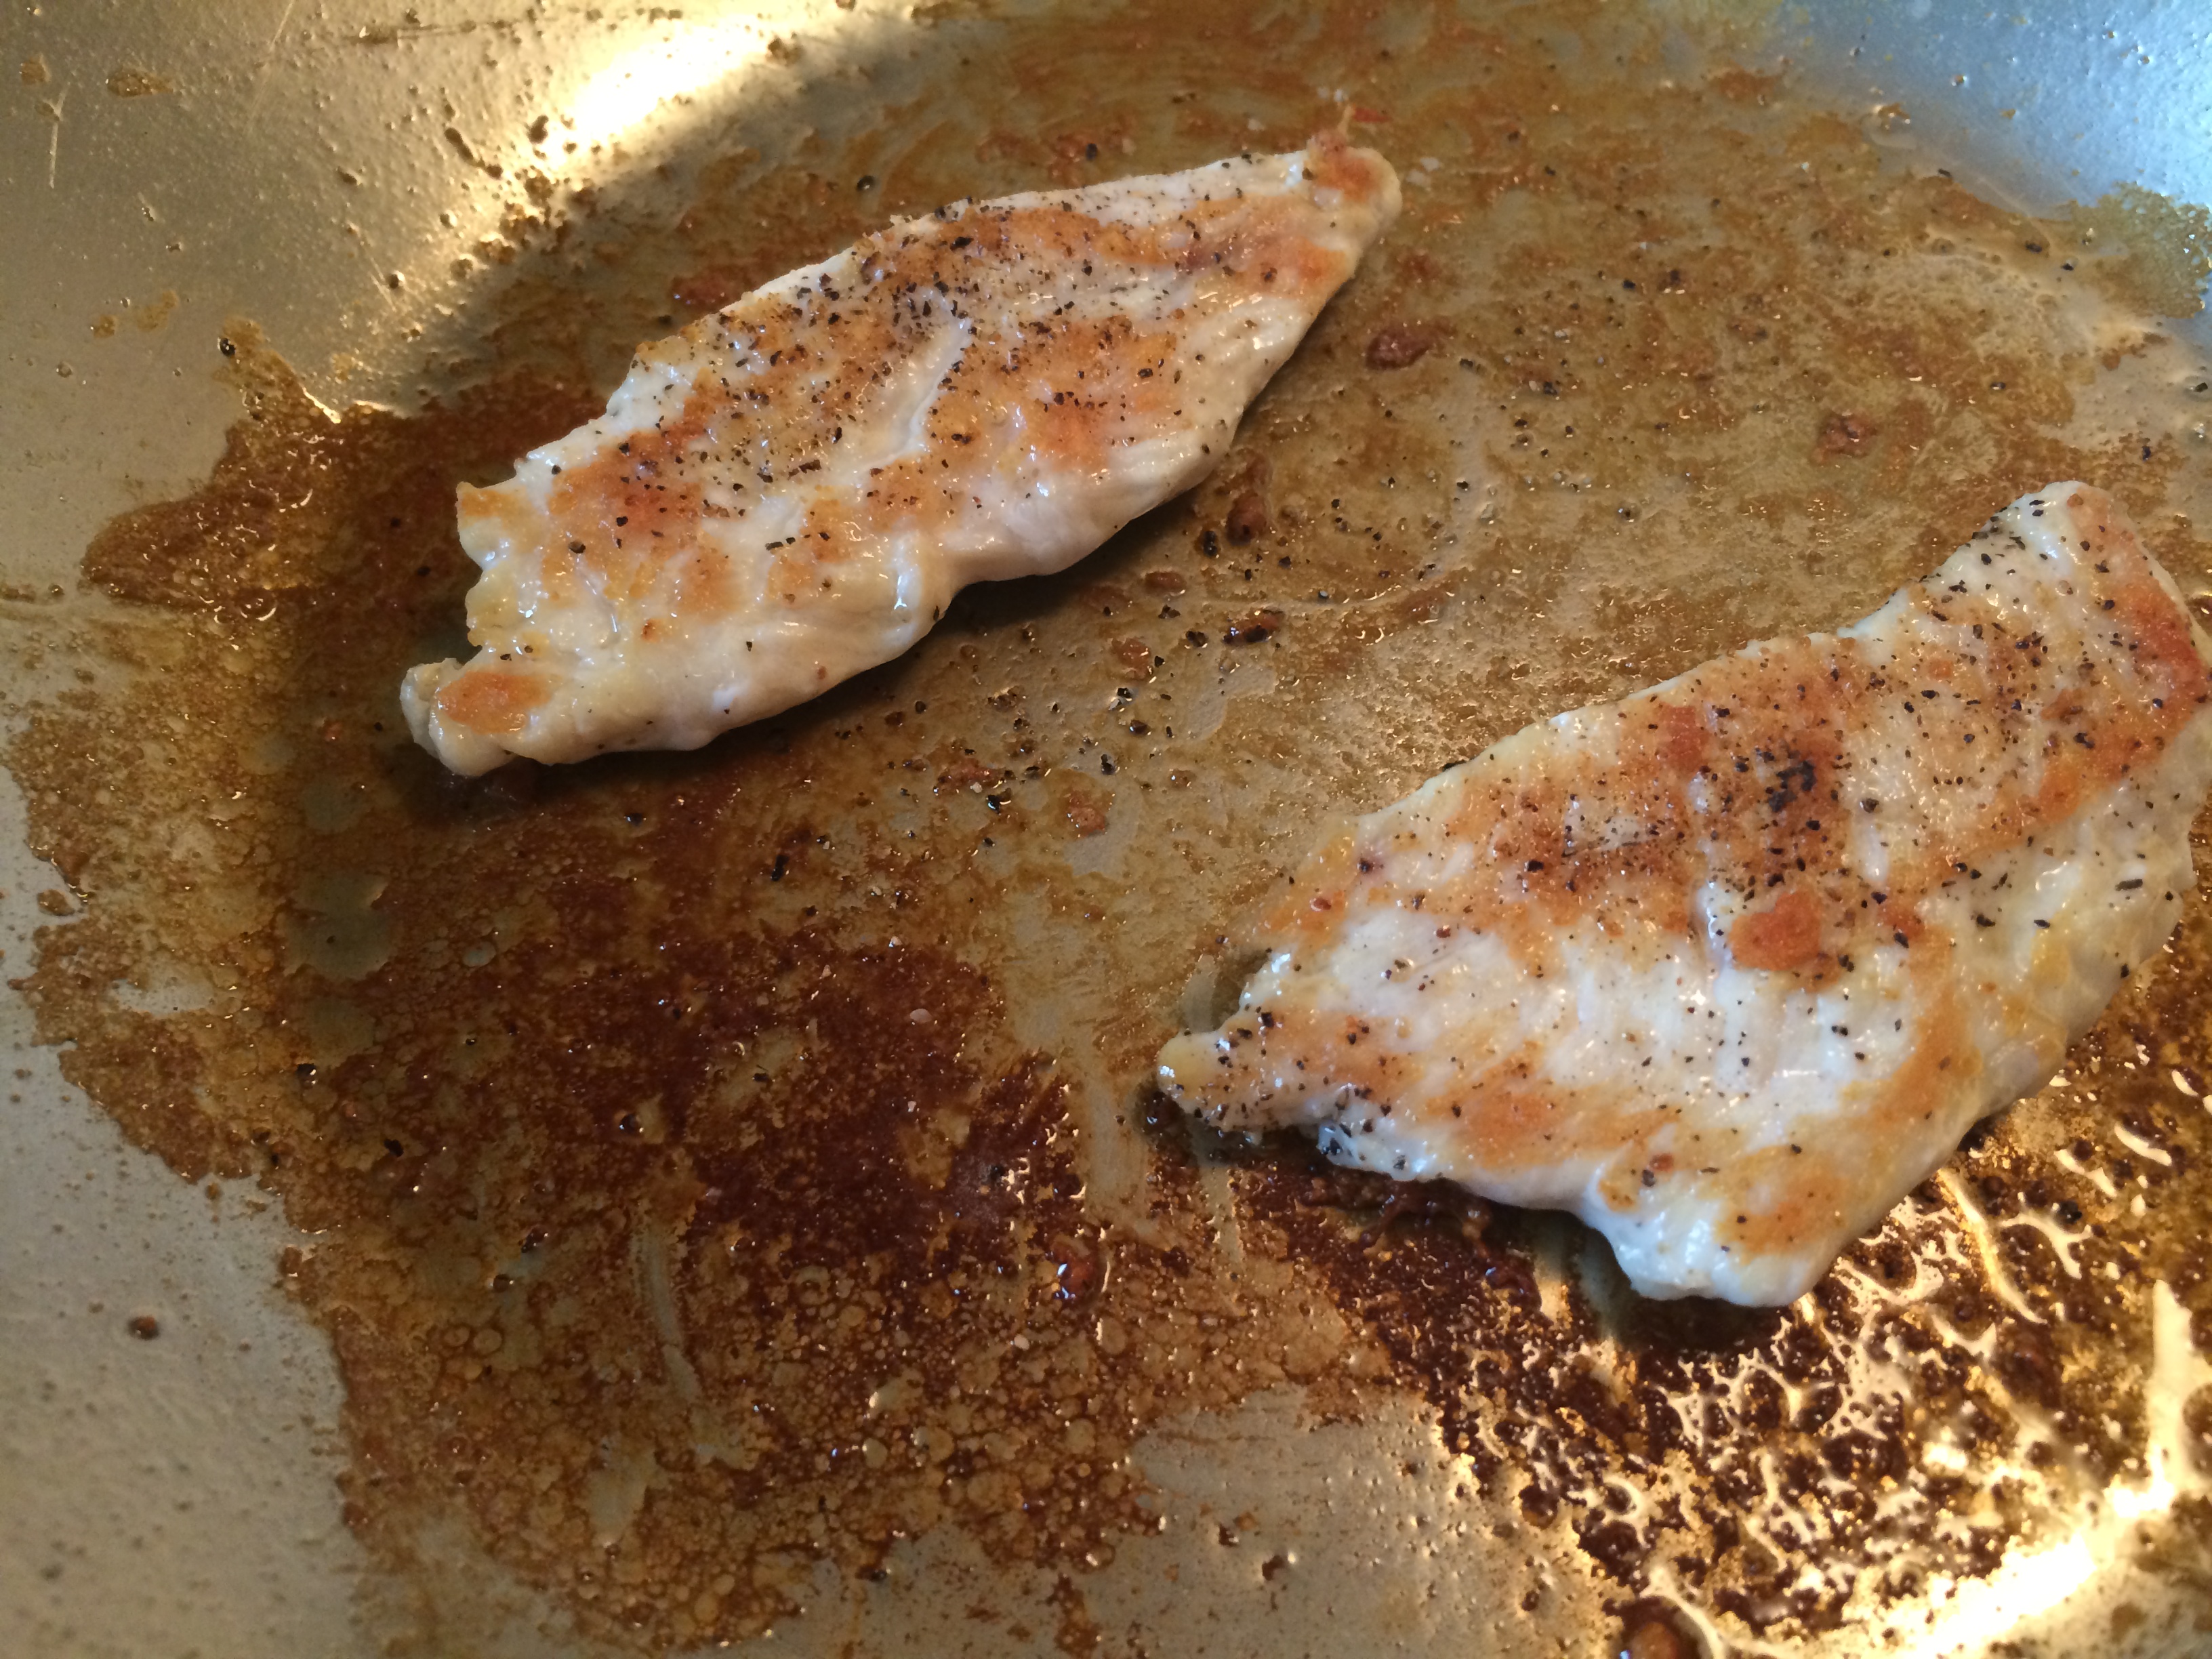
Chicken browning away!
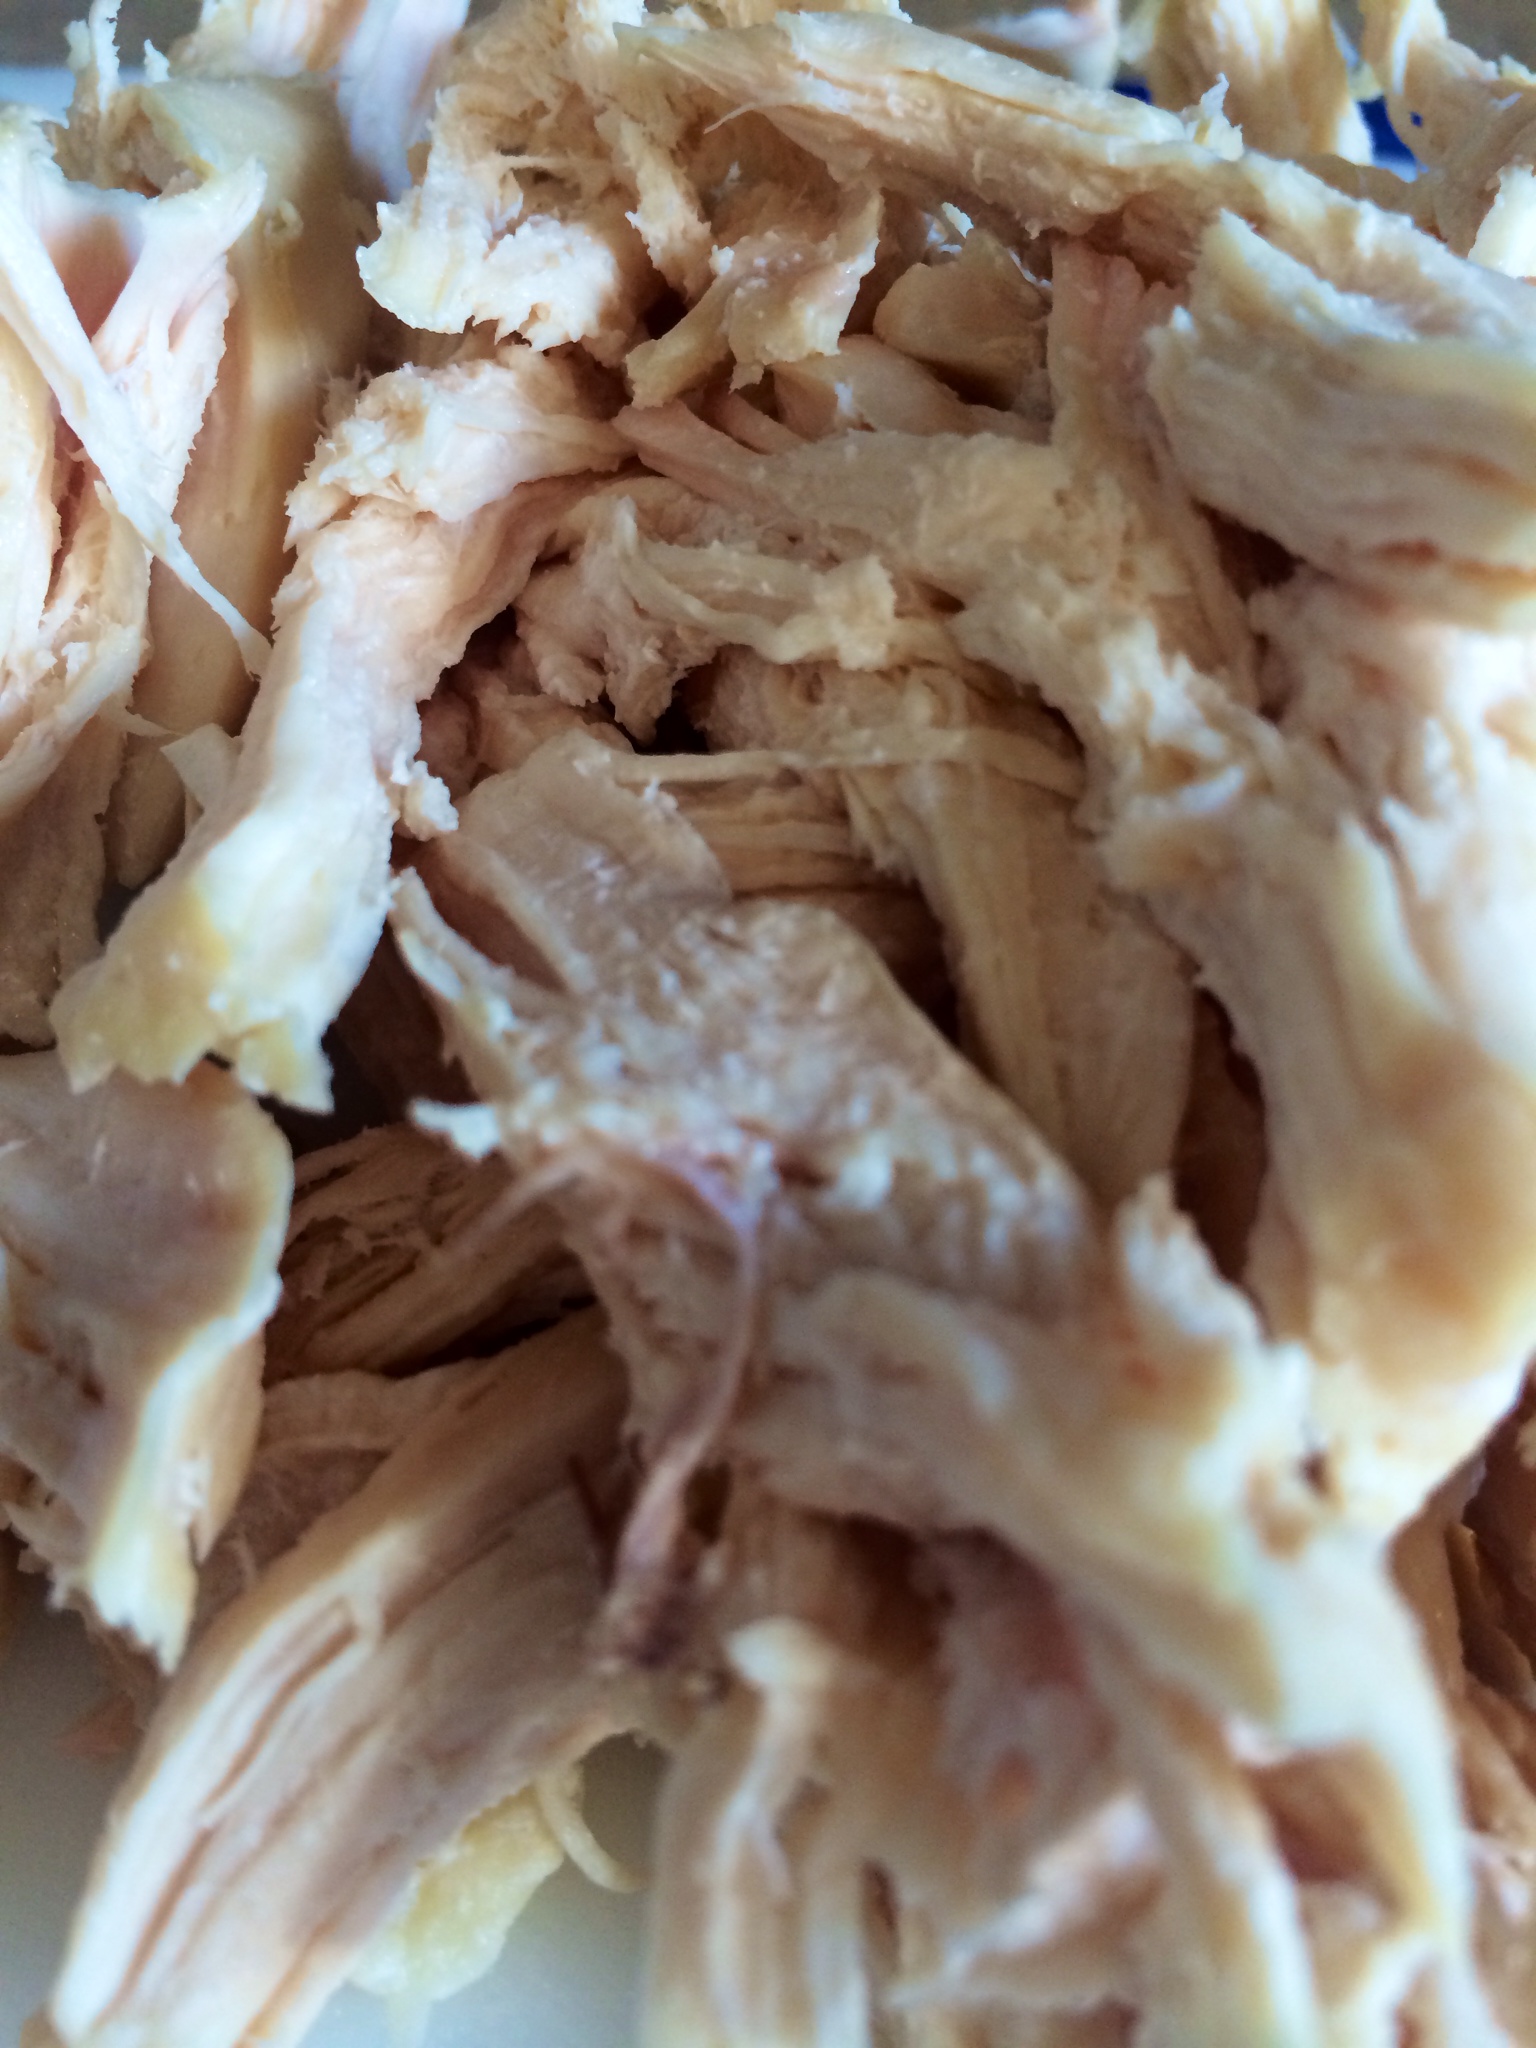
THE CHICKEN. The simple part of the dish. Trim the chicken up if it has any fat or other unwanted attachments. Place it between two pieces of plastic wrap and gently pound it out to ¼ inch thick. You can cut the pieces into a more manageable size if you wish.
- Heat a sauté pan over medium heat.
- Season the chicken with salt and pepper.
- Once the pan is hot*, add the oil to the pan.
- Add the chicken.
- Flip when it is nicely browned on one side.
- Cook until nicely browned on the other side.
- Remove from the pan to a plate for later use. (It will finish cooking in the sauce).
Easy peasy, lemon squeezy.
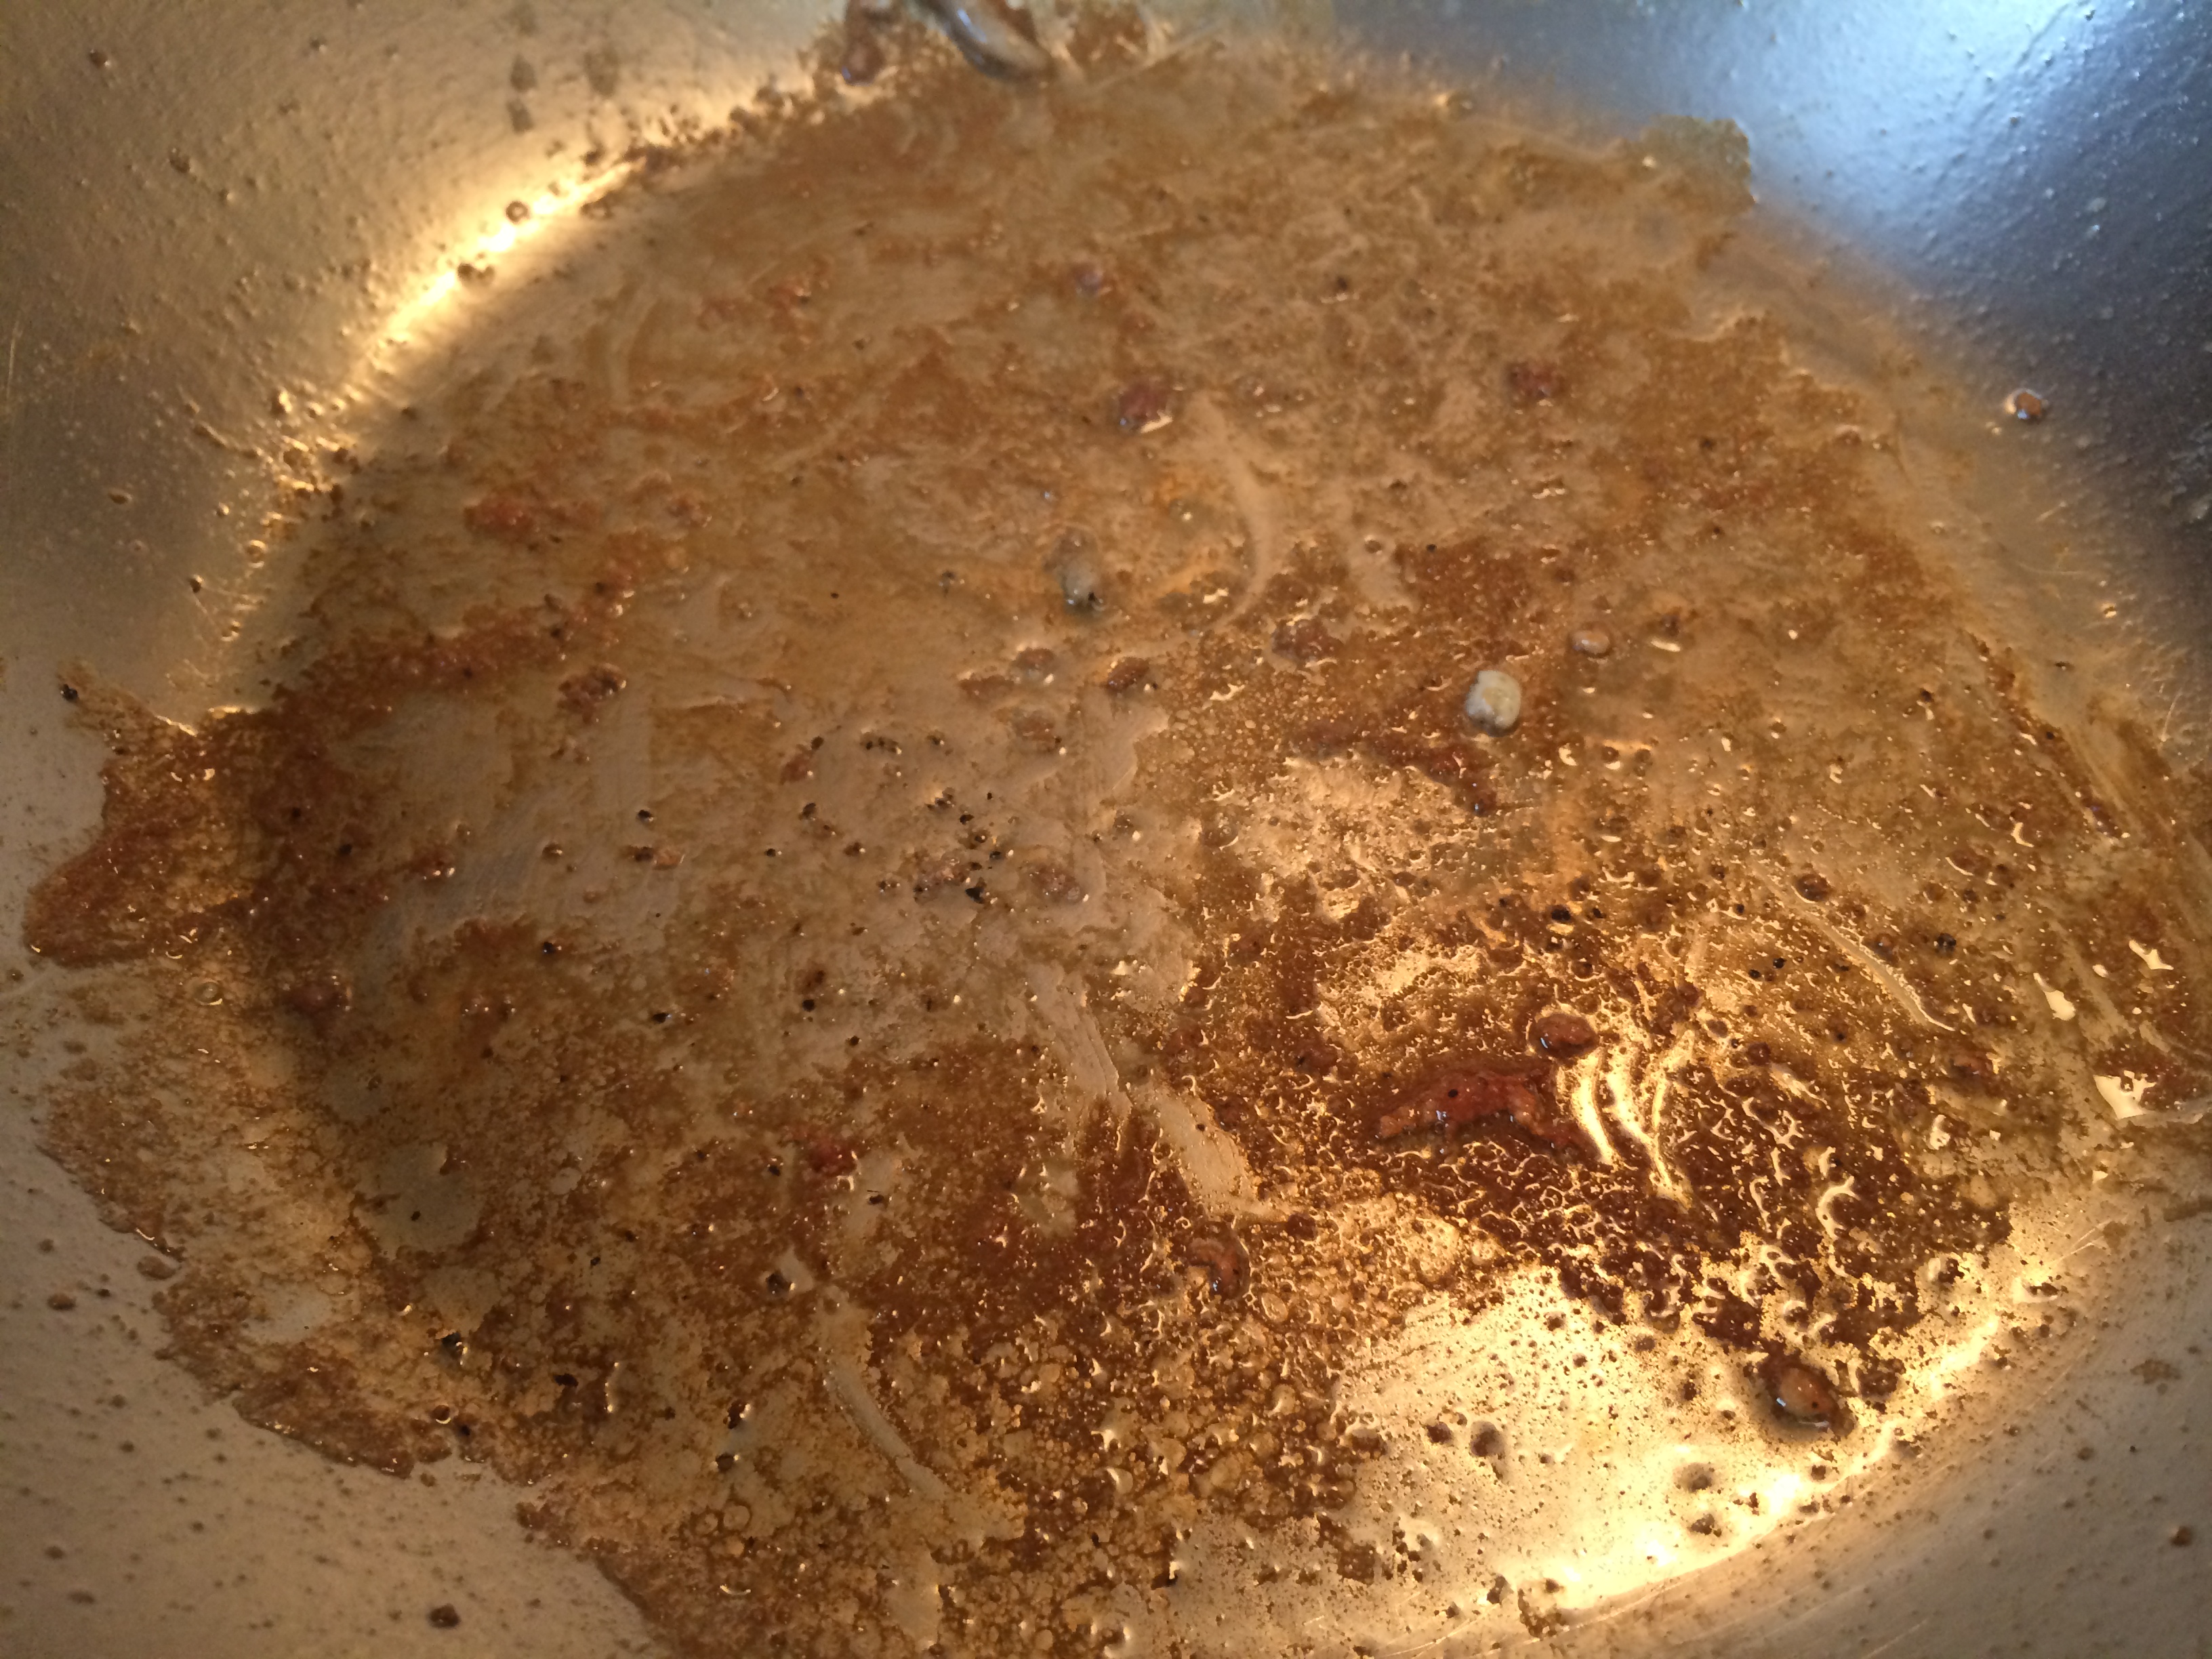
The fond. Now, that is a good looking pan!
THE SAUCE. This isn’t just any ol’ sauce. This is what’s known as a pan sauce, which is a sauce that is created in the pan the protein was cooked in. We do this so that the sauce picks up the fond (the brown bits stuck to the bottom of the pan), which adds an extra depth of flavor. We’re building layers here. Layers of flavor are very important to a dish.
- After the chicken has been removed from the pan, it’s time to get those delicious brown bits off of the bottom. How do we do this? By deglazing, which is the process of using liquid (wine or stock) to loosen and dissolve the fond from the bottom of the pan.
- So, take some wine and add about ¼ cup or so to the hot pan. Stir and scrape those bits and incorporate them into the wine. Let the wine reduce by half.
- Add some stock and lemon juice** to the pan and allow that to reduce a little bit, too.
-

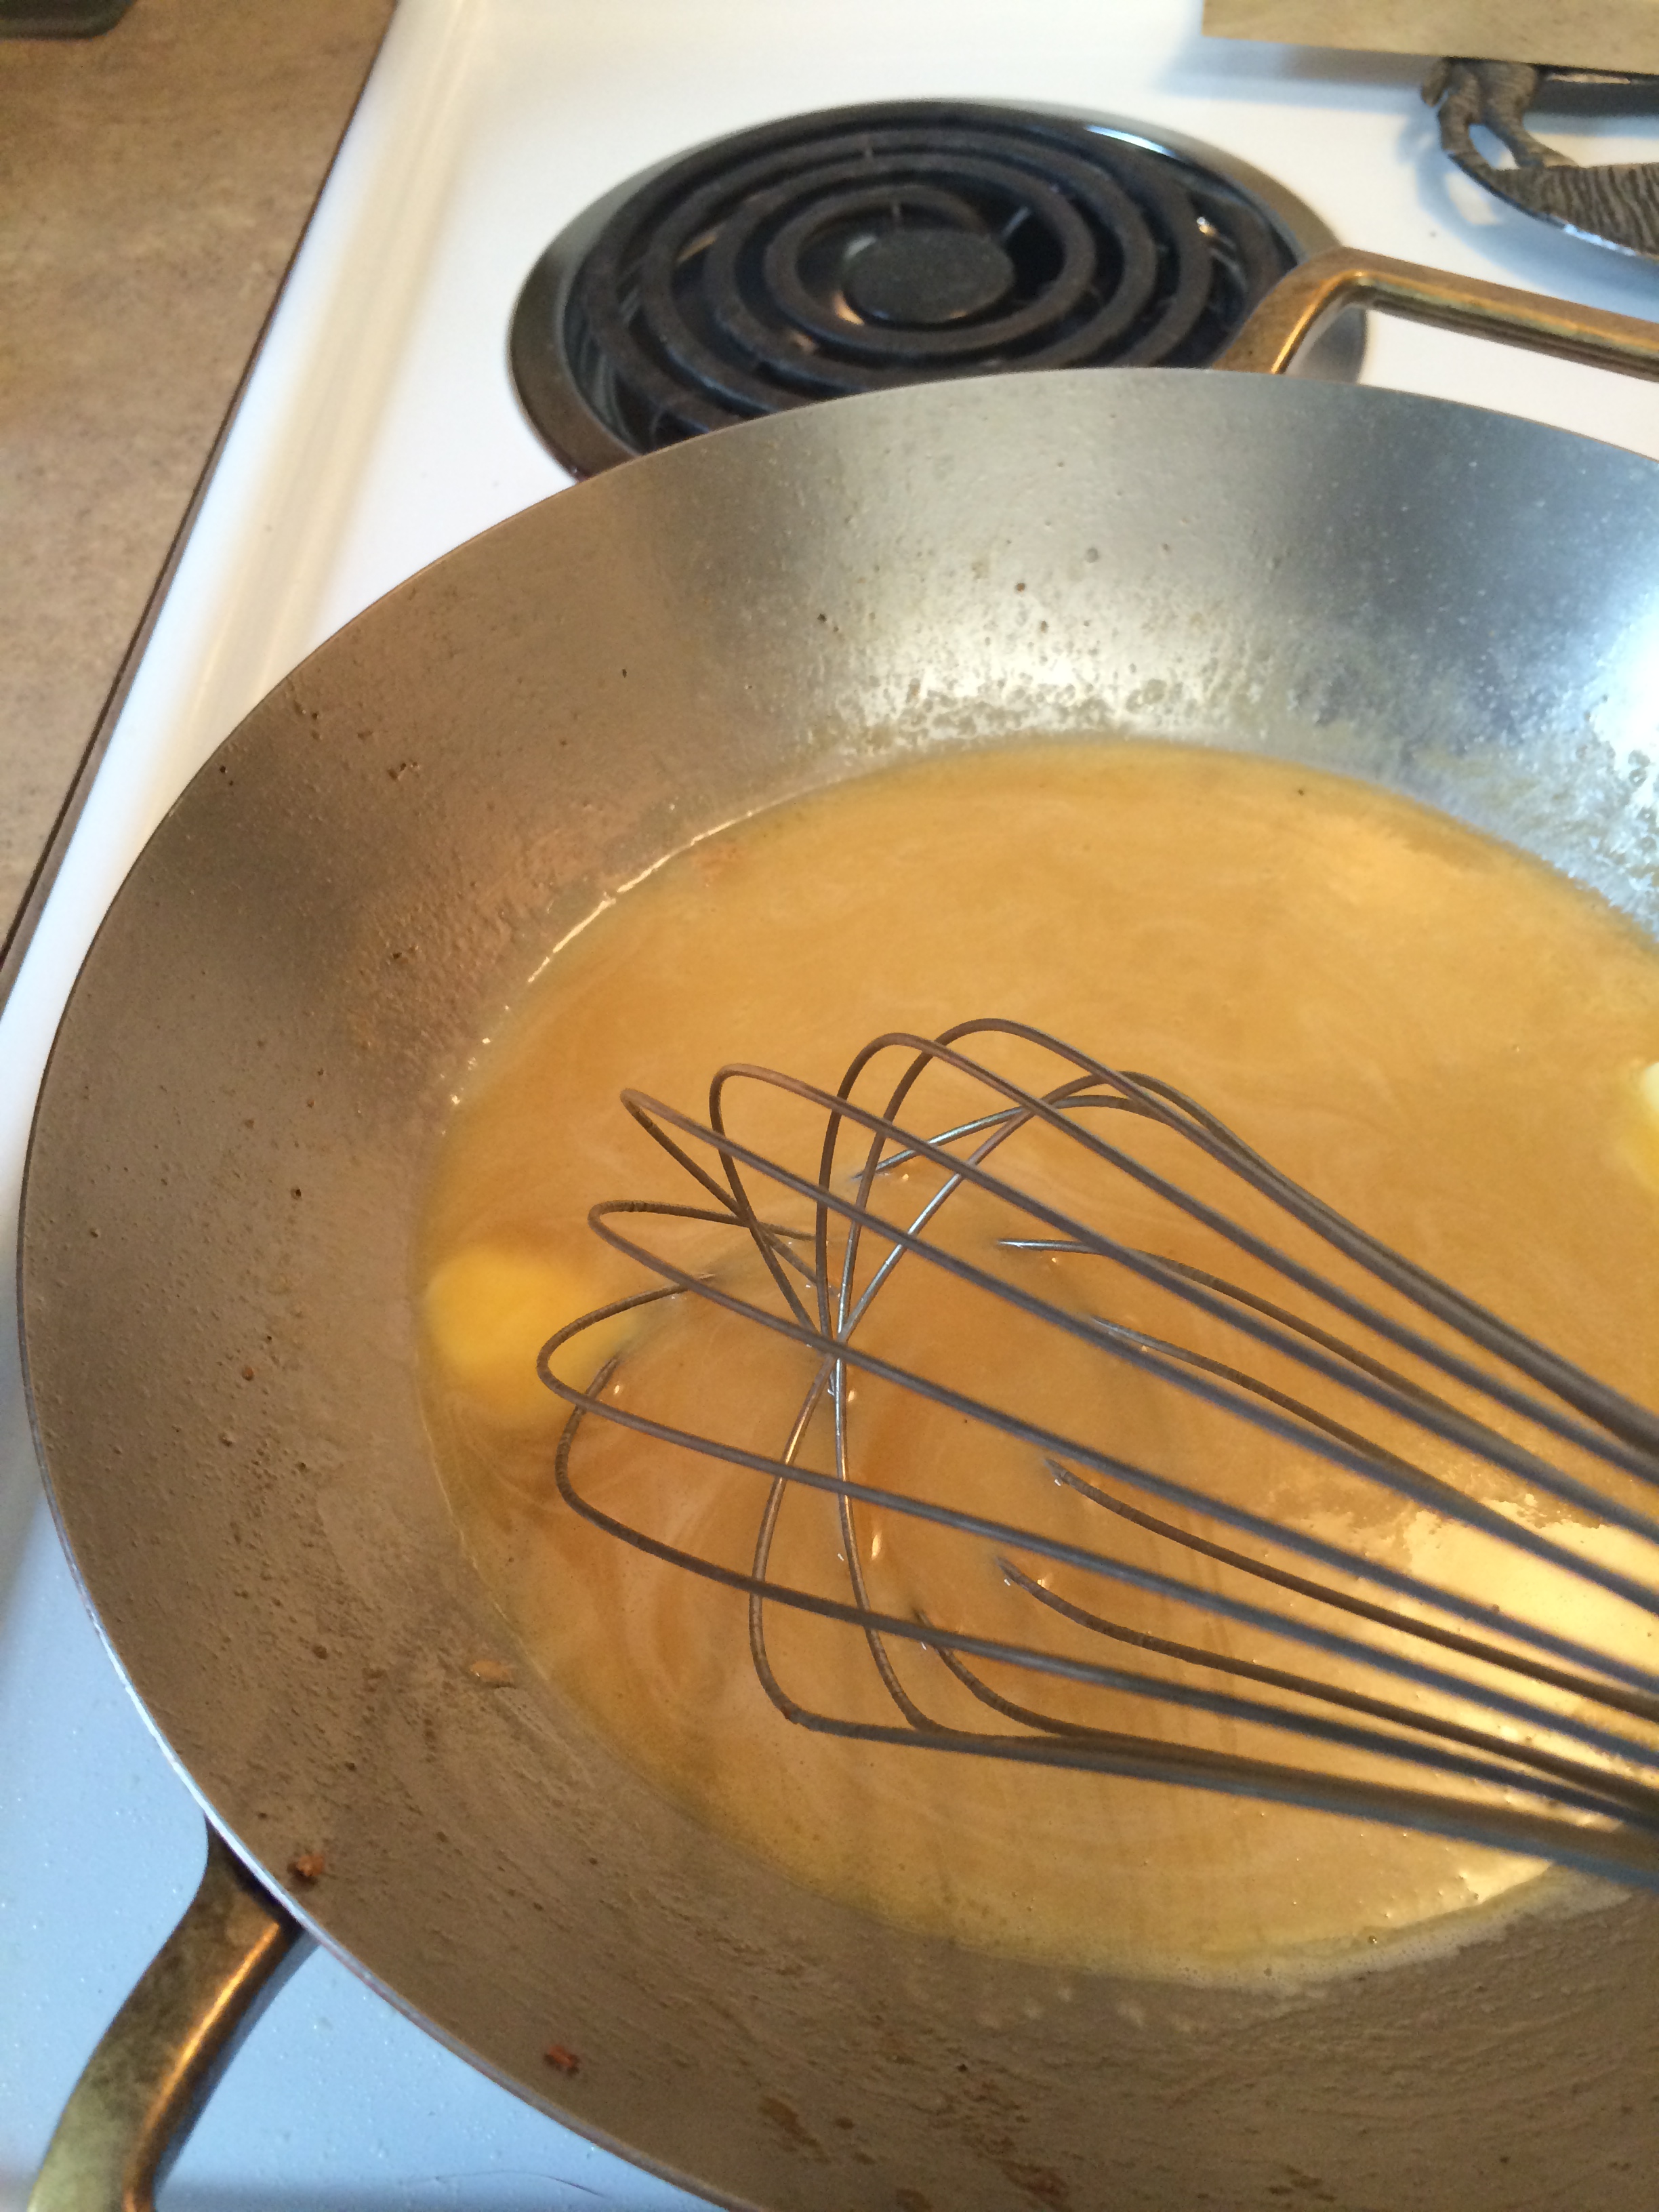
Mounting with butter (Monter au beurre)
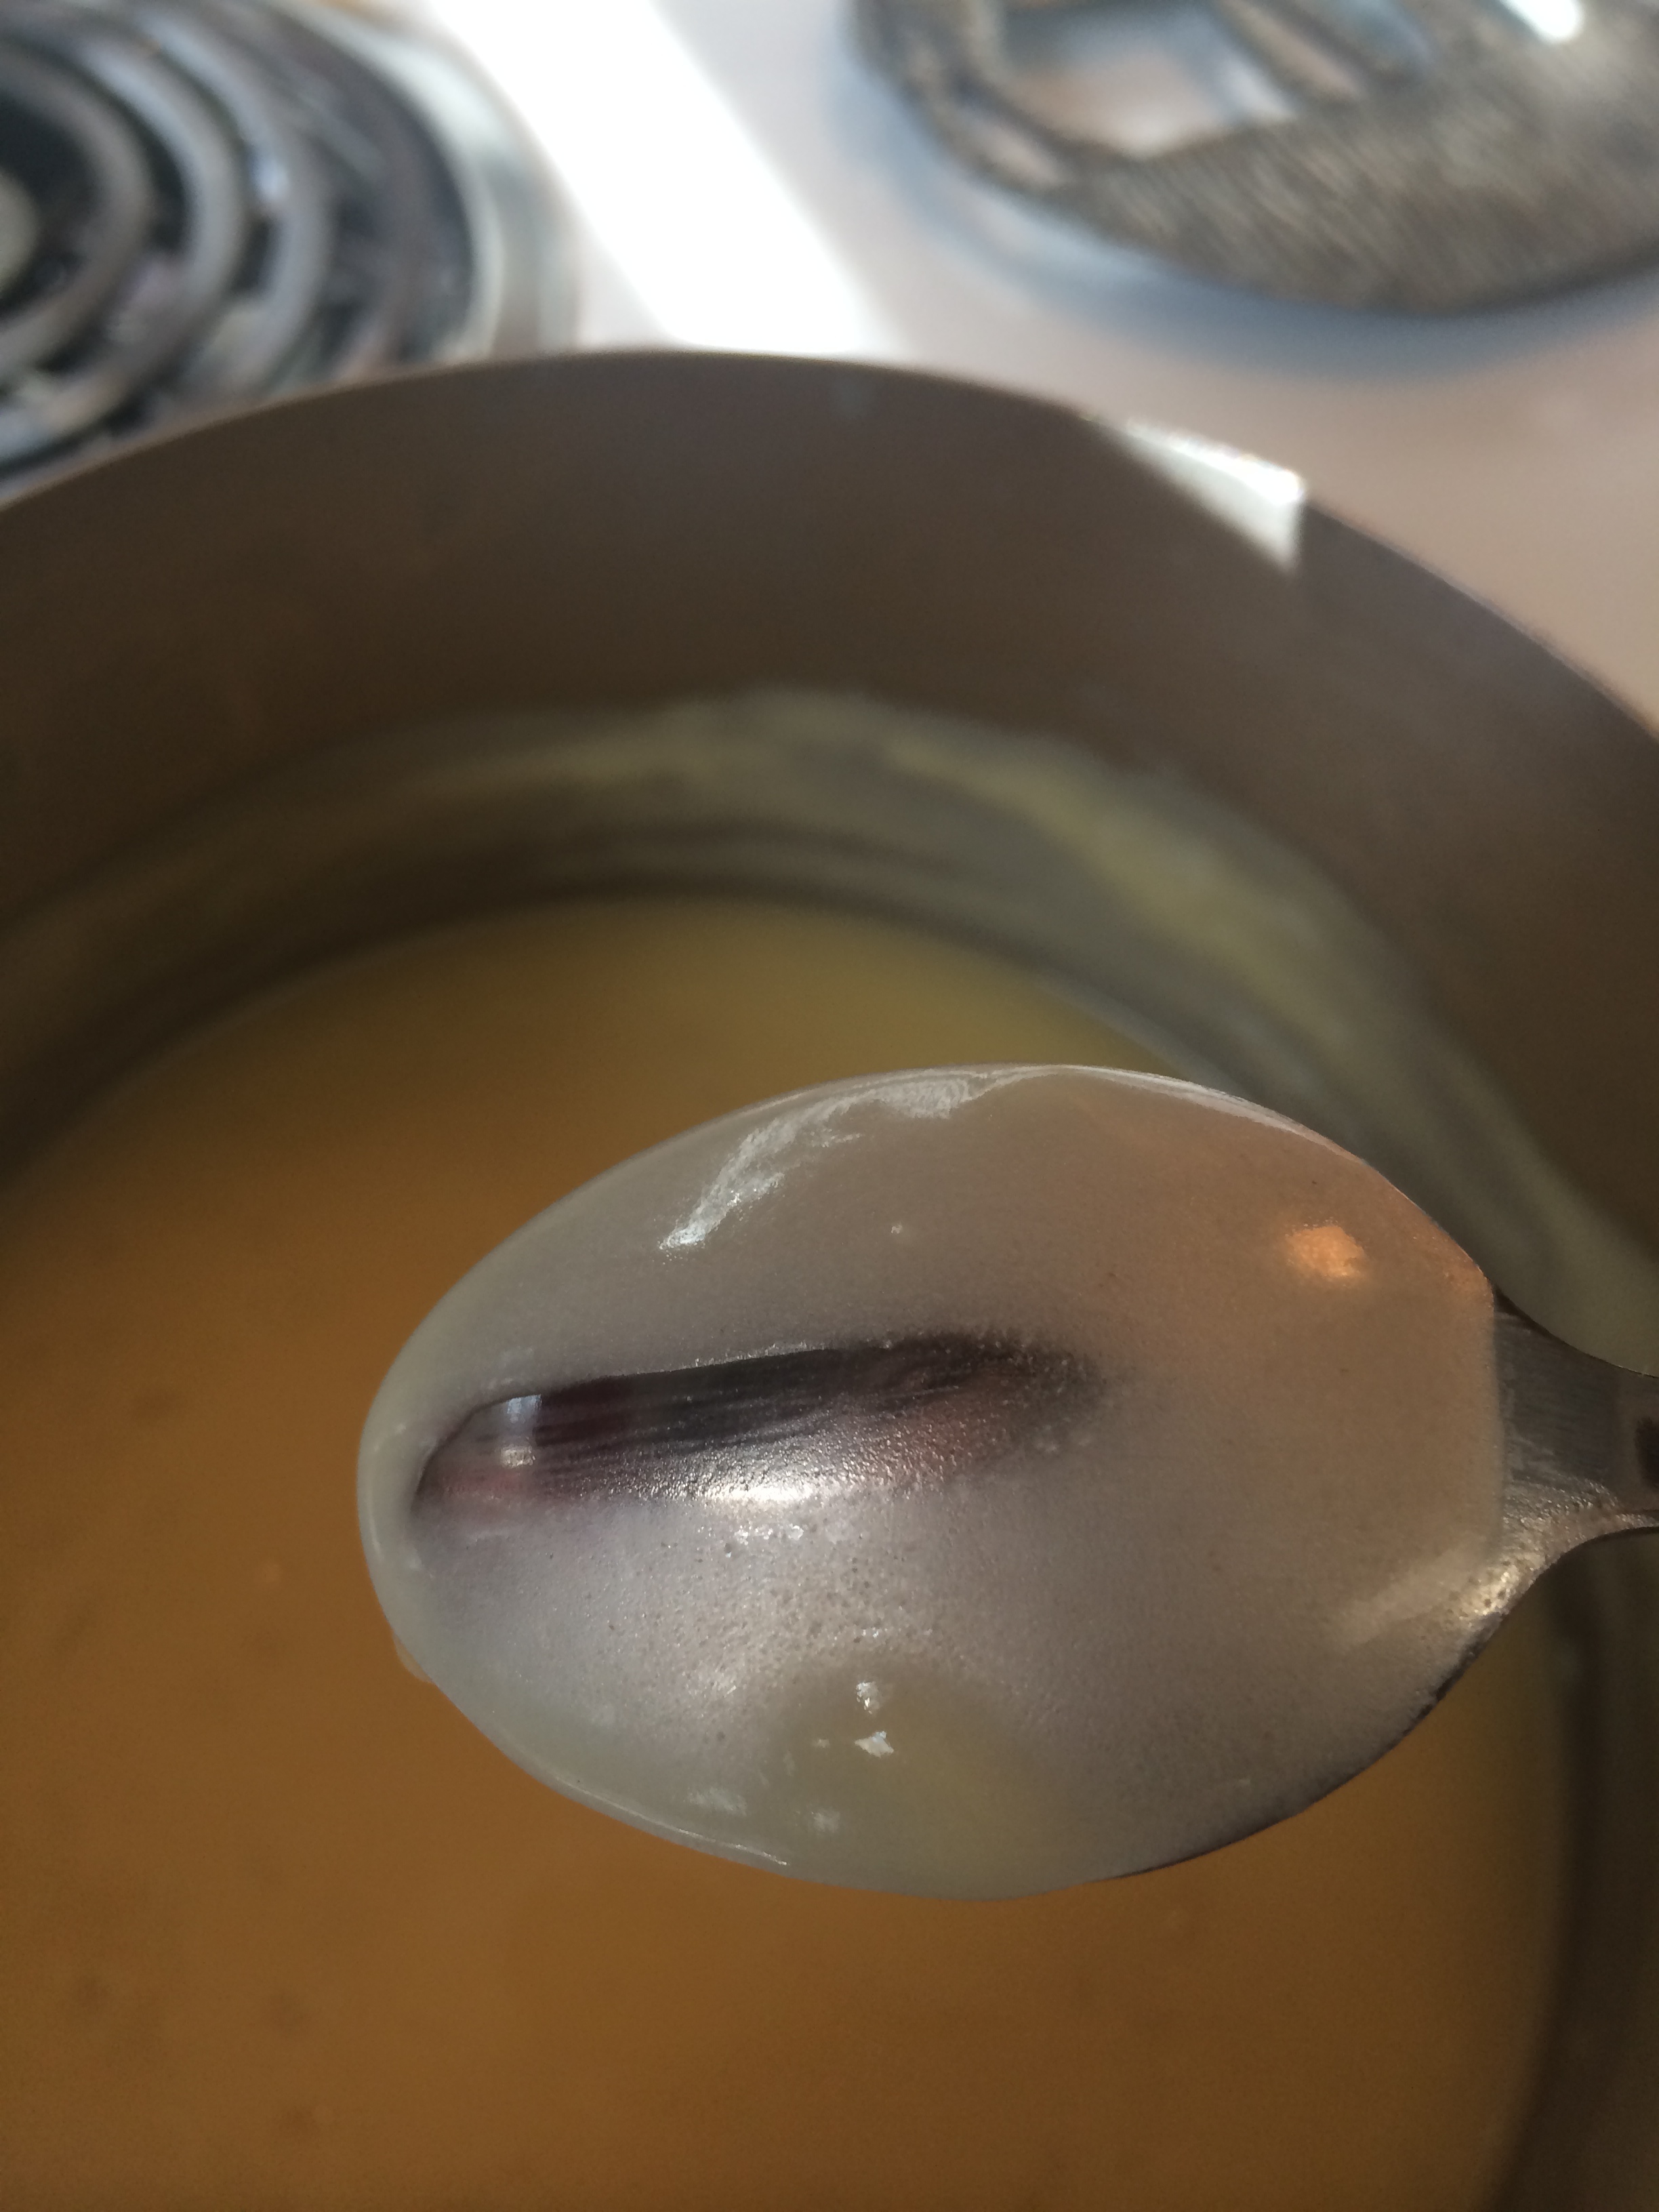
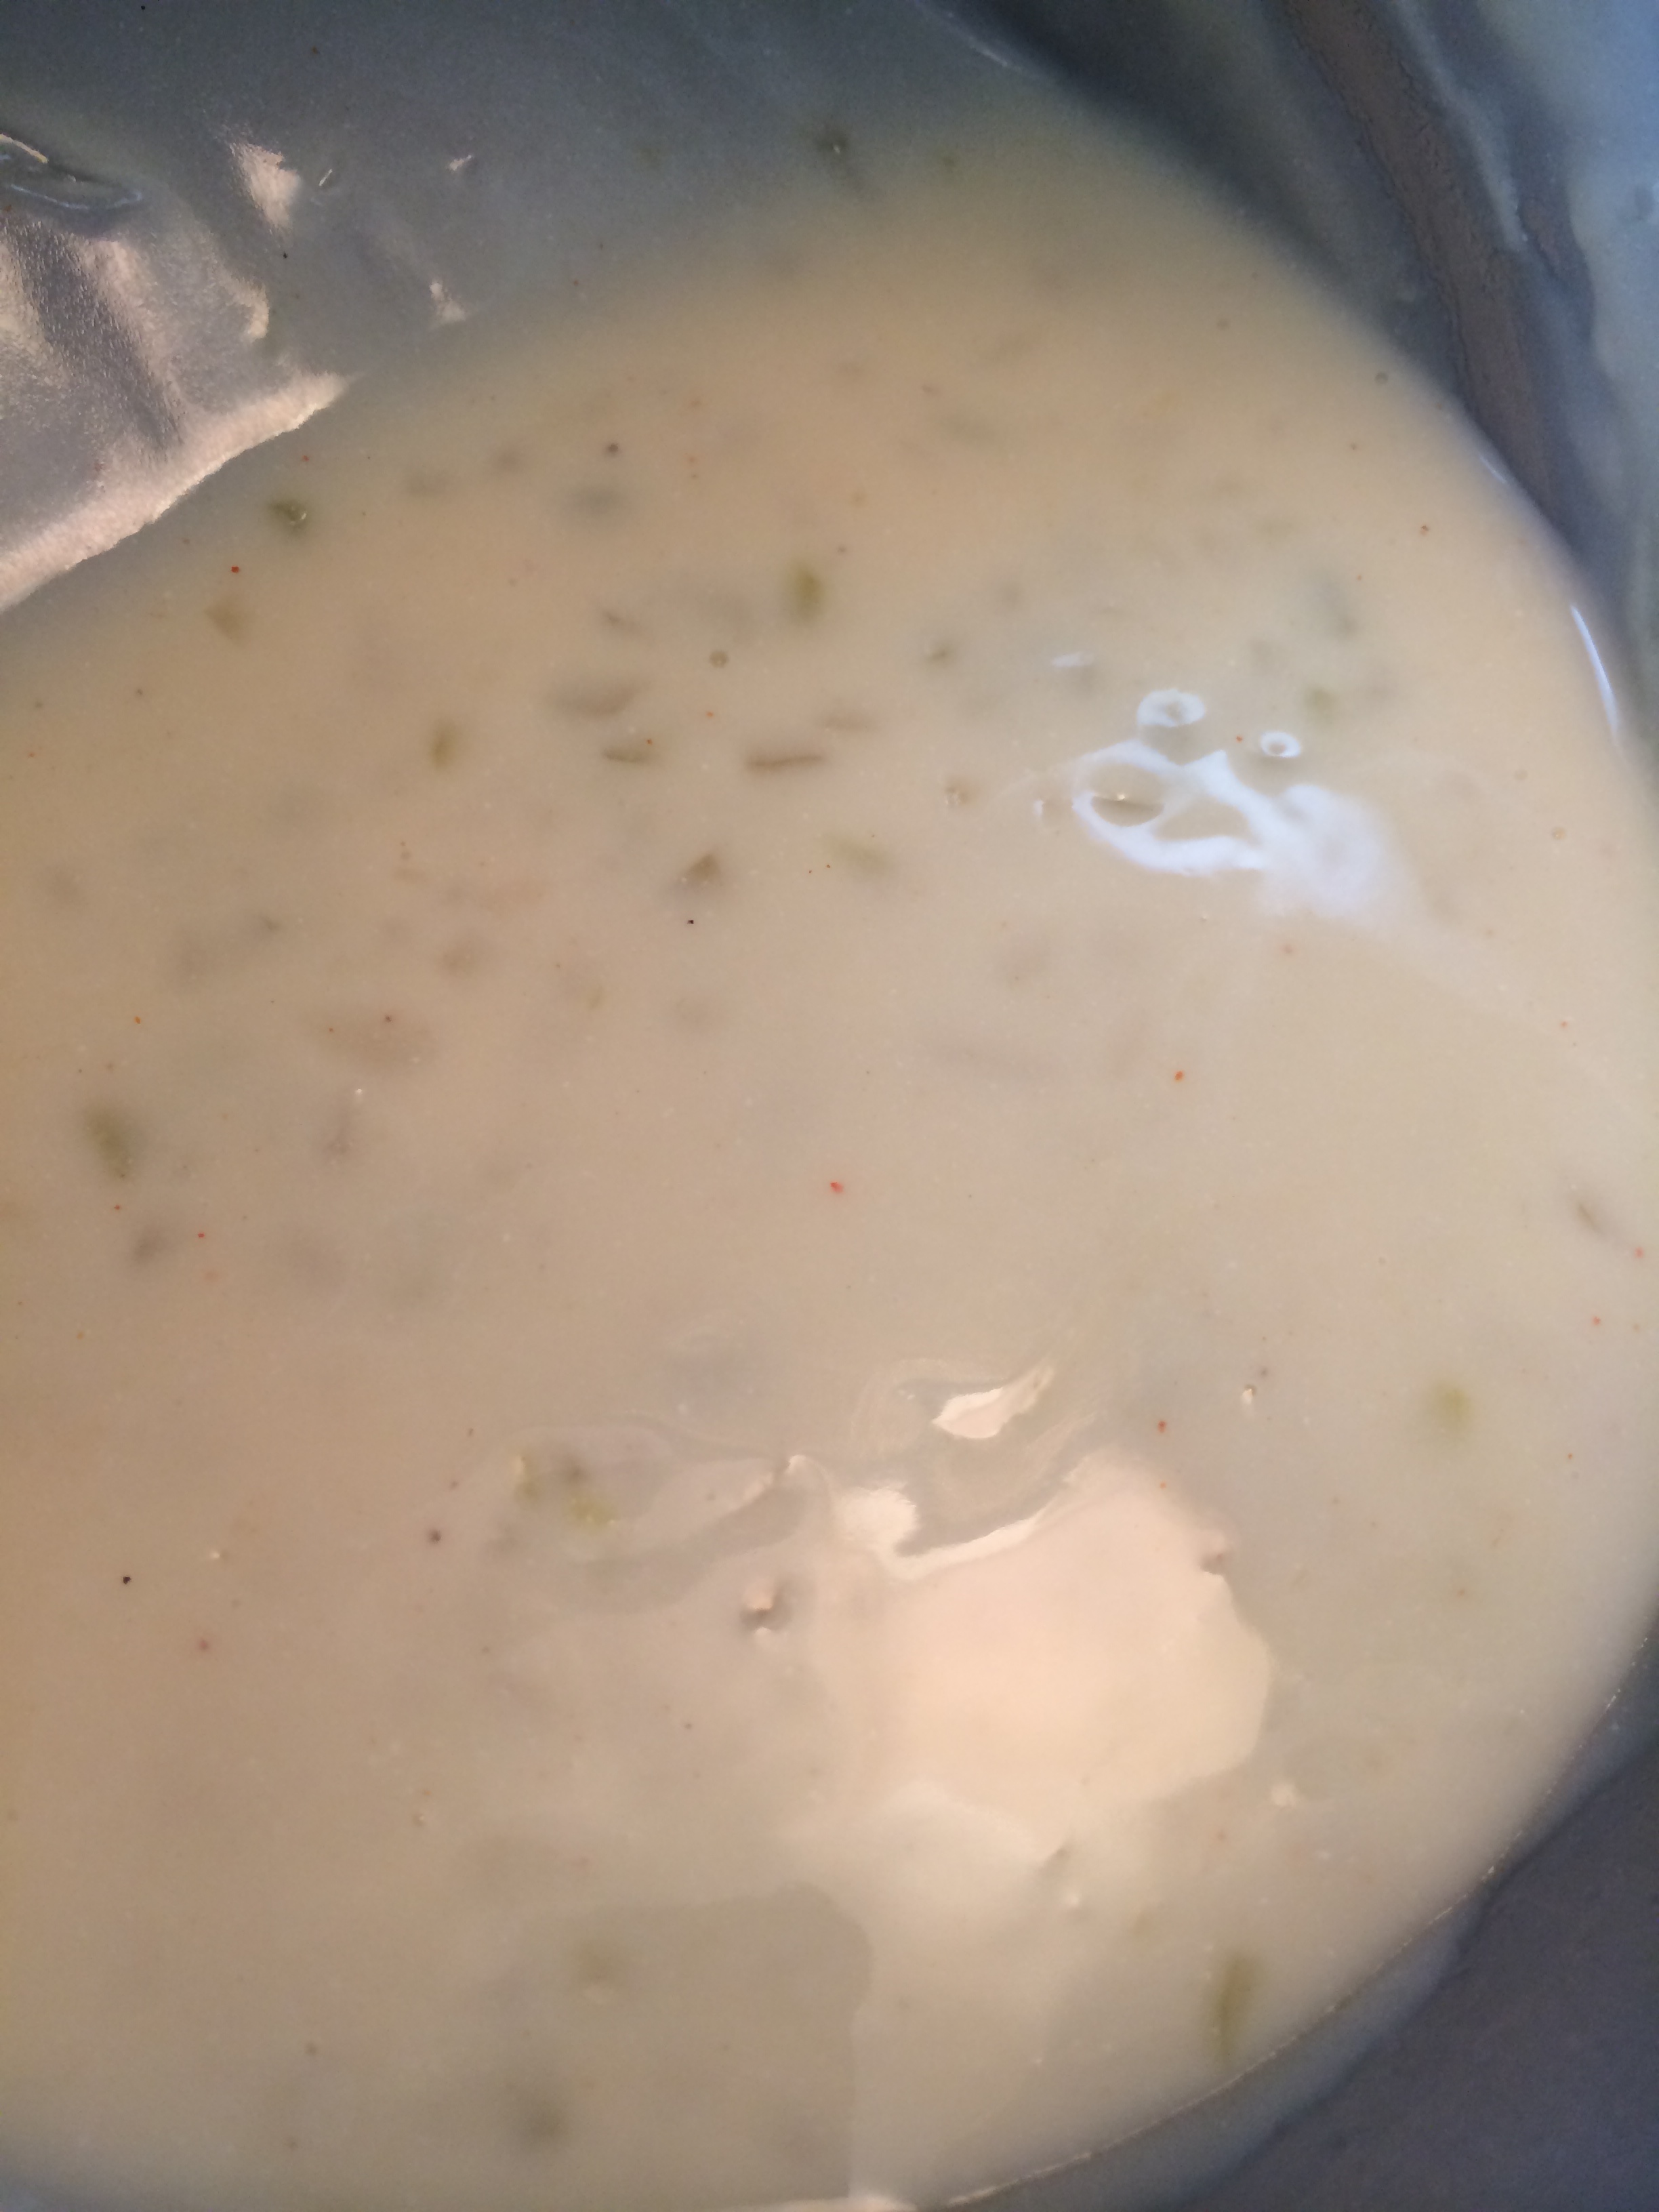
You’ll notice that the sauce is very thin and that’s not fun for anyone. It’s time to thicken that baby up so that it coats the chicken. We do this by mounting the sauce with butter (or monter au beurre as the French say). You simply take the pan off of the heat and add small pieces of whole butter while whisking them into the sauce. Not too much at one time so that you can really incorporate each piece into the sauce. We’re creating an emulsion here.
- If done correctly, you’ll notice that the sauce begins to thicken and begin to look all glossy and velvety.
- To finish, season to taste with salt and pepper. Add the capers and the chicken to the pan.
- Right before serving, hit it with some freshly chopped parsley to add an element of freshness.
- Serve over buttered angel hair pasta.

The chicken bathing away in the sauce. Yes, that is a glass of wine in the background. After all, one can’t cook Italian food without enjoying a nice glass of wine.
ENJOY IT. It’s finally time to enjoy your hard work. Mastering the art of the pan sauce may take more than one attempt, but each time you’ll see progress. The best part is that a pan sauce is a pan sauce, so if you know the technique to make one, you know how to make them all.
* If you use a hot pan and cold oil, your food will never stick to the pan. That’s why cooking is all about the technique, people.
** Cooking good food is all about tasting as you go. If you think it needs more lemon juice, add more lemon juice. If you think it needs more salt, add more salt. A recipe is a guideline, not a list of steadfast rules. Just as every person is different, every palate is different. So, play with the dish. Play with the flavors. Cooking is art, not a science.