Carnitas

Hola, Amigos!

Who doesn’t love Mexican food? And by Mexican food, I don’t mean Taco Bell. No, I don’t mean that joint down the street that you frequent every week for ‘Taco Tuesday.’ (Not that I don’t also attend Taco Tuesday and enjoy a margarita or two, but that isn’t what this post is about).

I’m talking about traditional Mexican food. Corn tortillas filled with juicy meats, freshly cut onions, and picked cilantro. Tamales so fresh that you can taste the sweat. Tortas, oh my goodness. They are only some of the best sandwiches known to man. Serve it up with some fried plantains and I am. Good. To. Go. It also has the added bonus of being pretty nice to that bank account of yours. (Most ethnic food does…those damn Americans…) I kid, I kid! I love America. You should see some of the shirts I own. People might think I love it a little too much…

But moving on…

I was sitting around thinking about what I wanted to make for dinner. I get stuck in a rut sometimes and continue to make the same meals way too frequently. I wanted to change it up. My sister texted me to remind me about Taco Monday ( I know, this particular restaurant decided to go against the norm. Everyone knows it’s Taco Tuesday. Psh. What are they thinking?)

This gave me the brilliant, and I mean brilliant, idea of making my own traditional style tacos. Carnitas to be exact. For those of you who don’t know, carnitas = pork. I had never attempted these before because it’s so convenient to go down to the local joint and order up three of those babies. I was up to the challenge, though.

I ran (drove) to the store and picked up the necessary items so that I could have my own Mexican Fiesta.

Let’s get started!

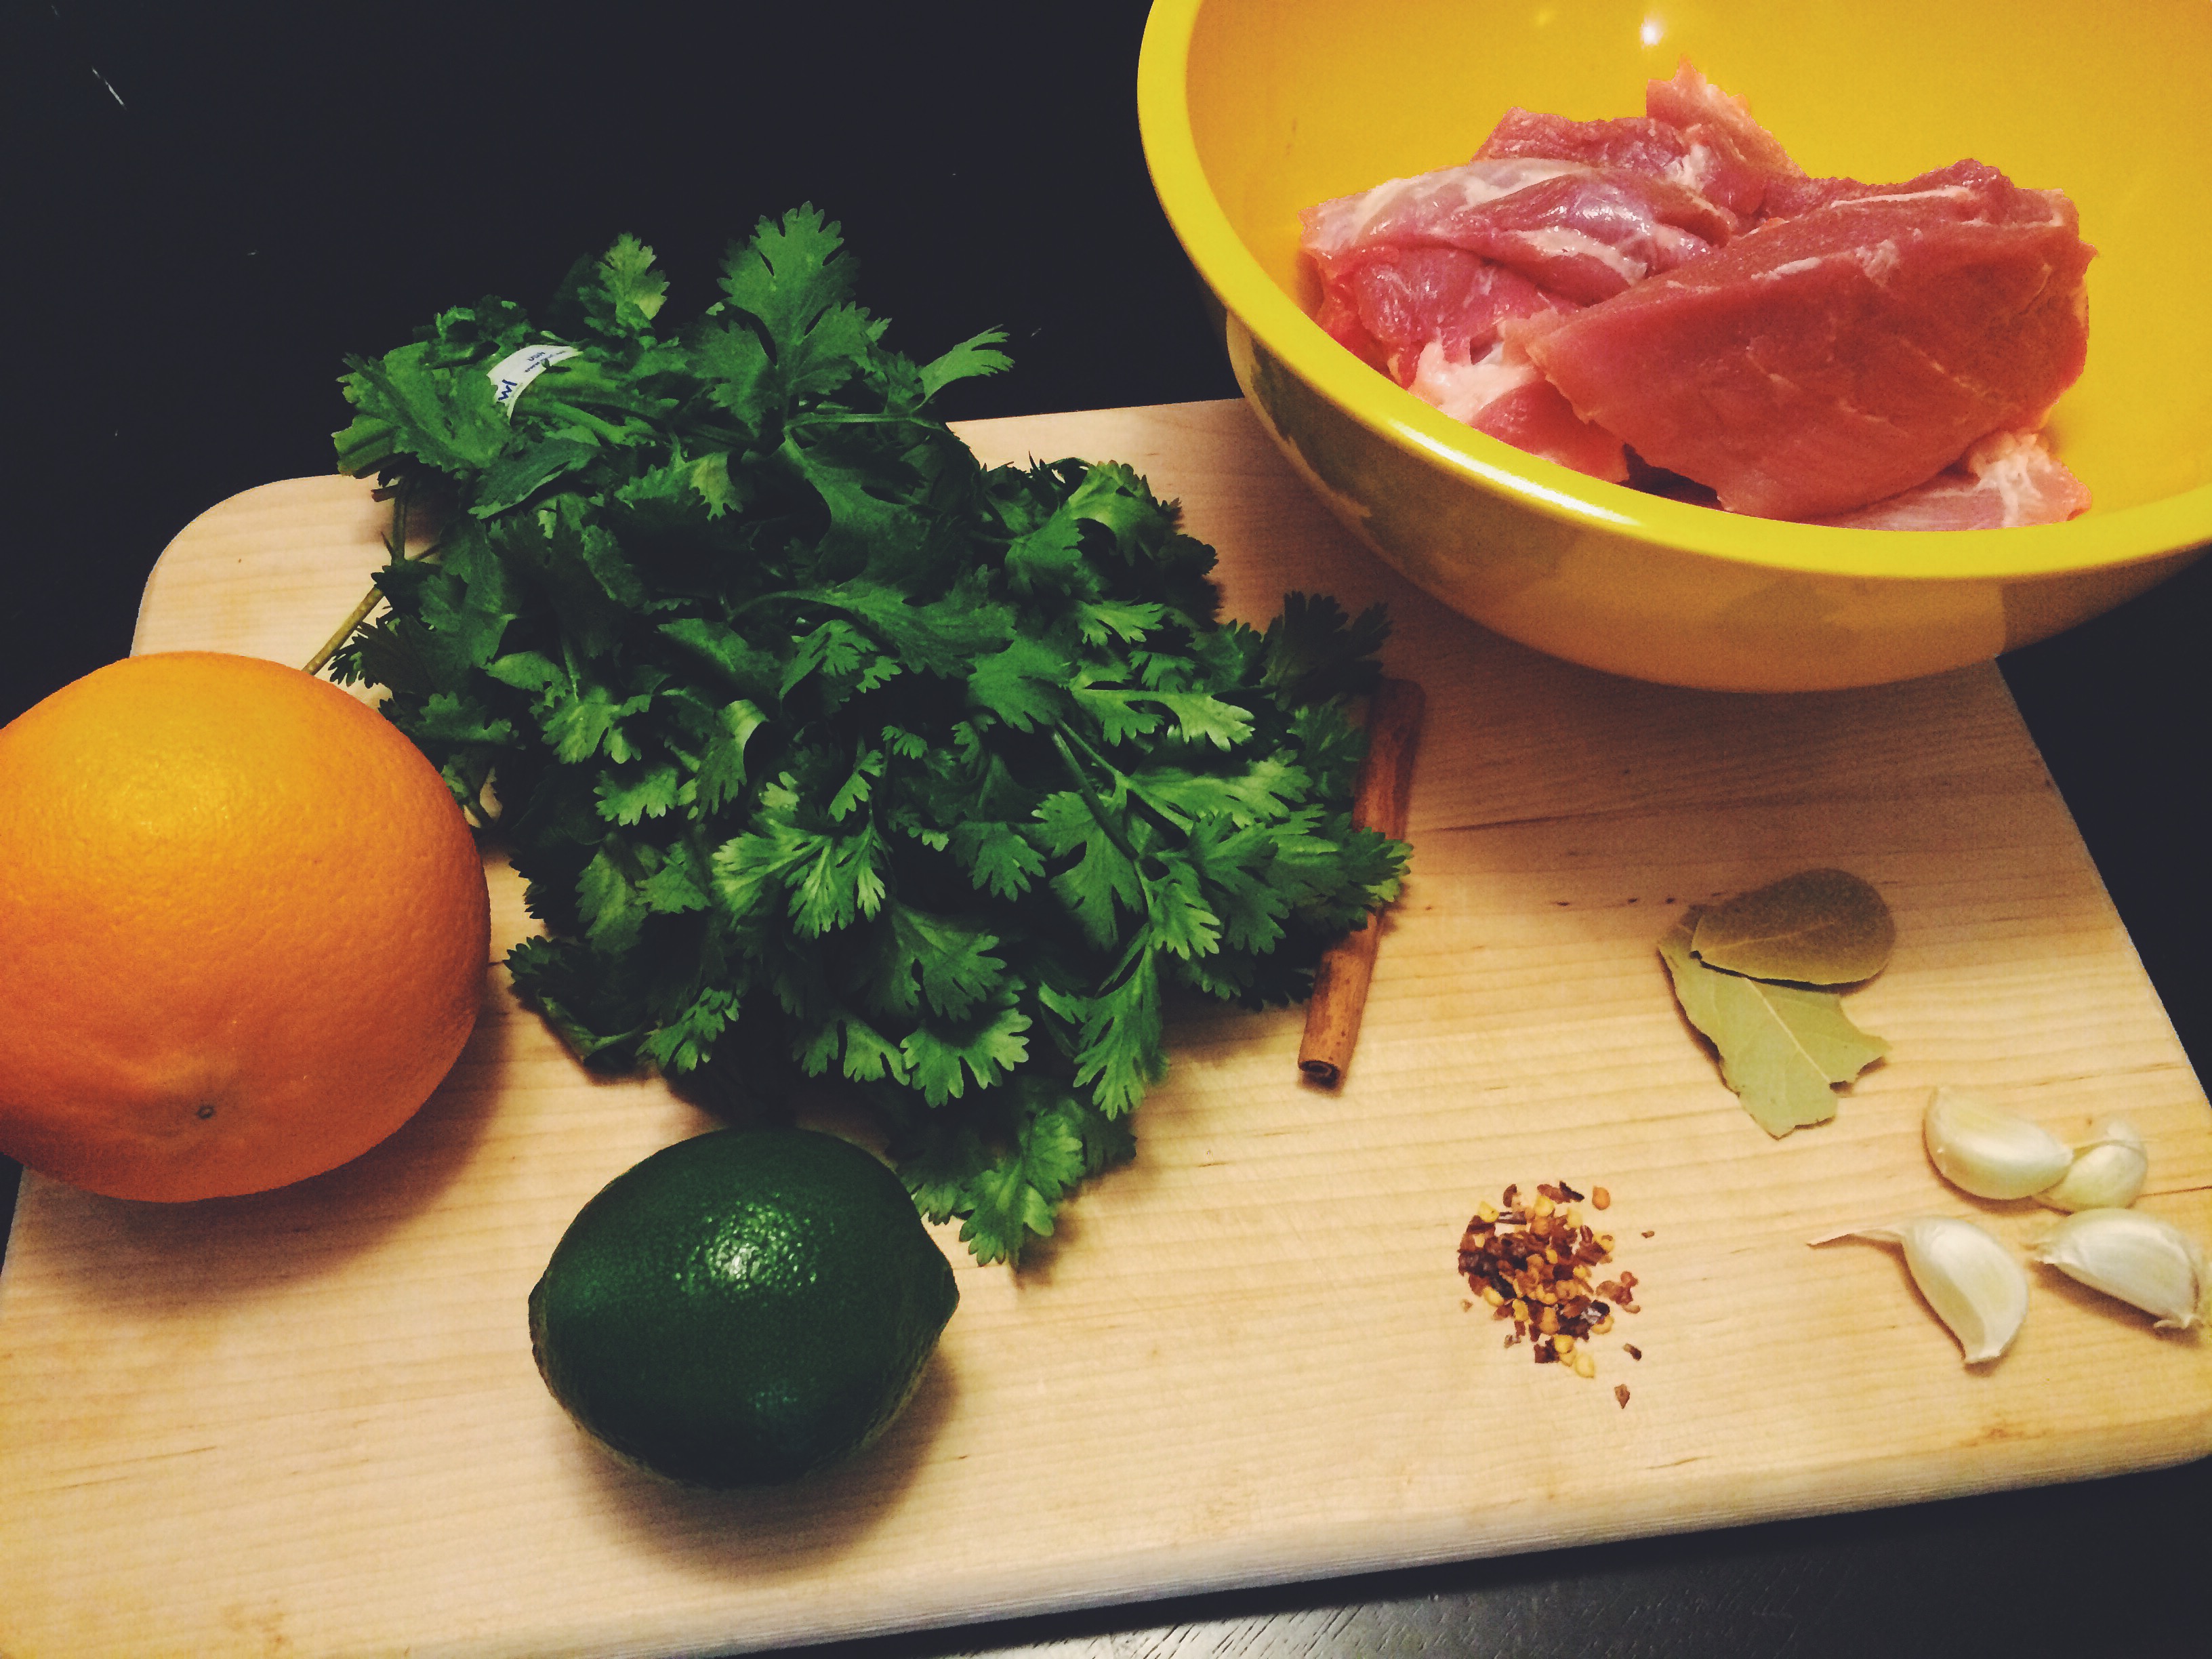
THE INGREDIENTS. Beautifully enough, most of the ingredients I had sitting in the pantry/fridge so I didn’t have to spend too much time or money at the store. Hopefully, you don’t, either.

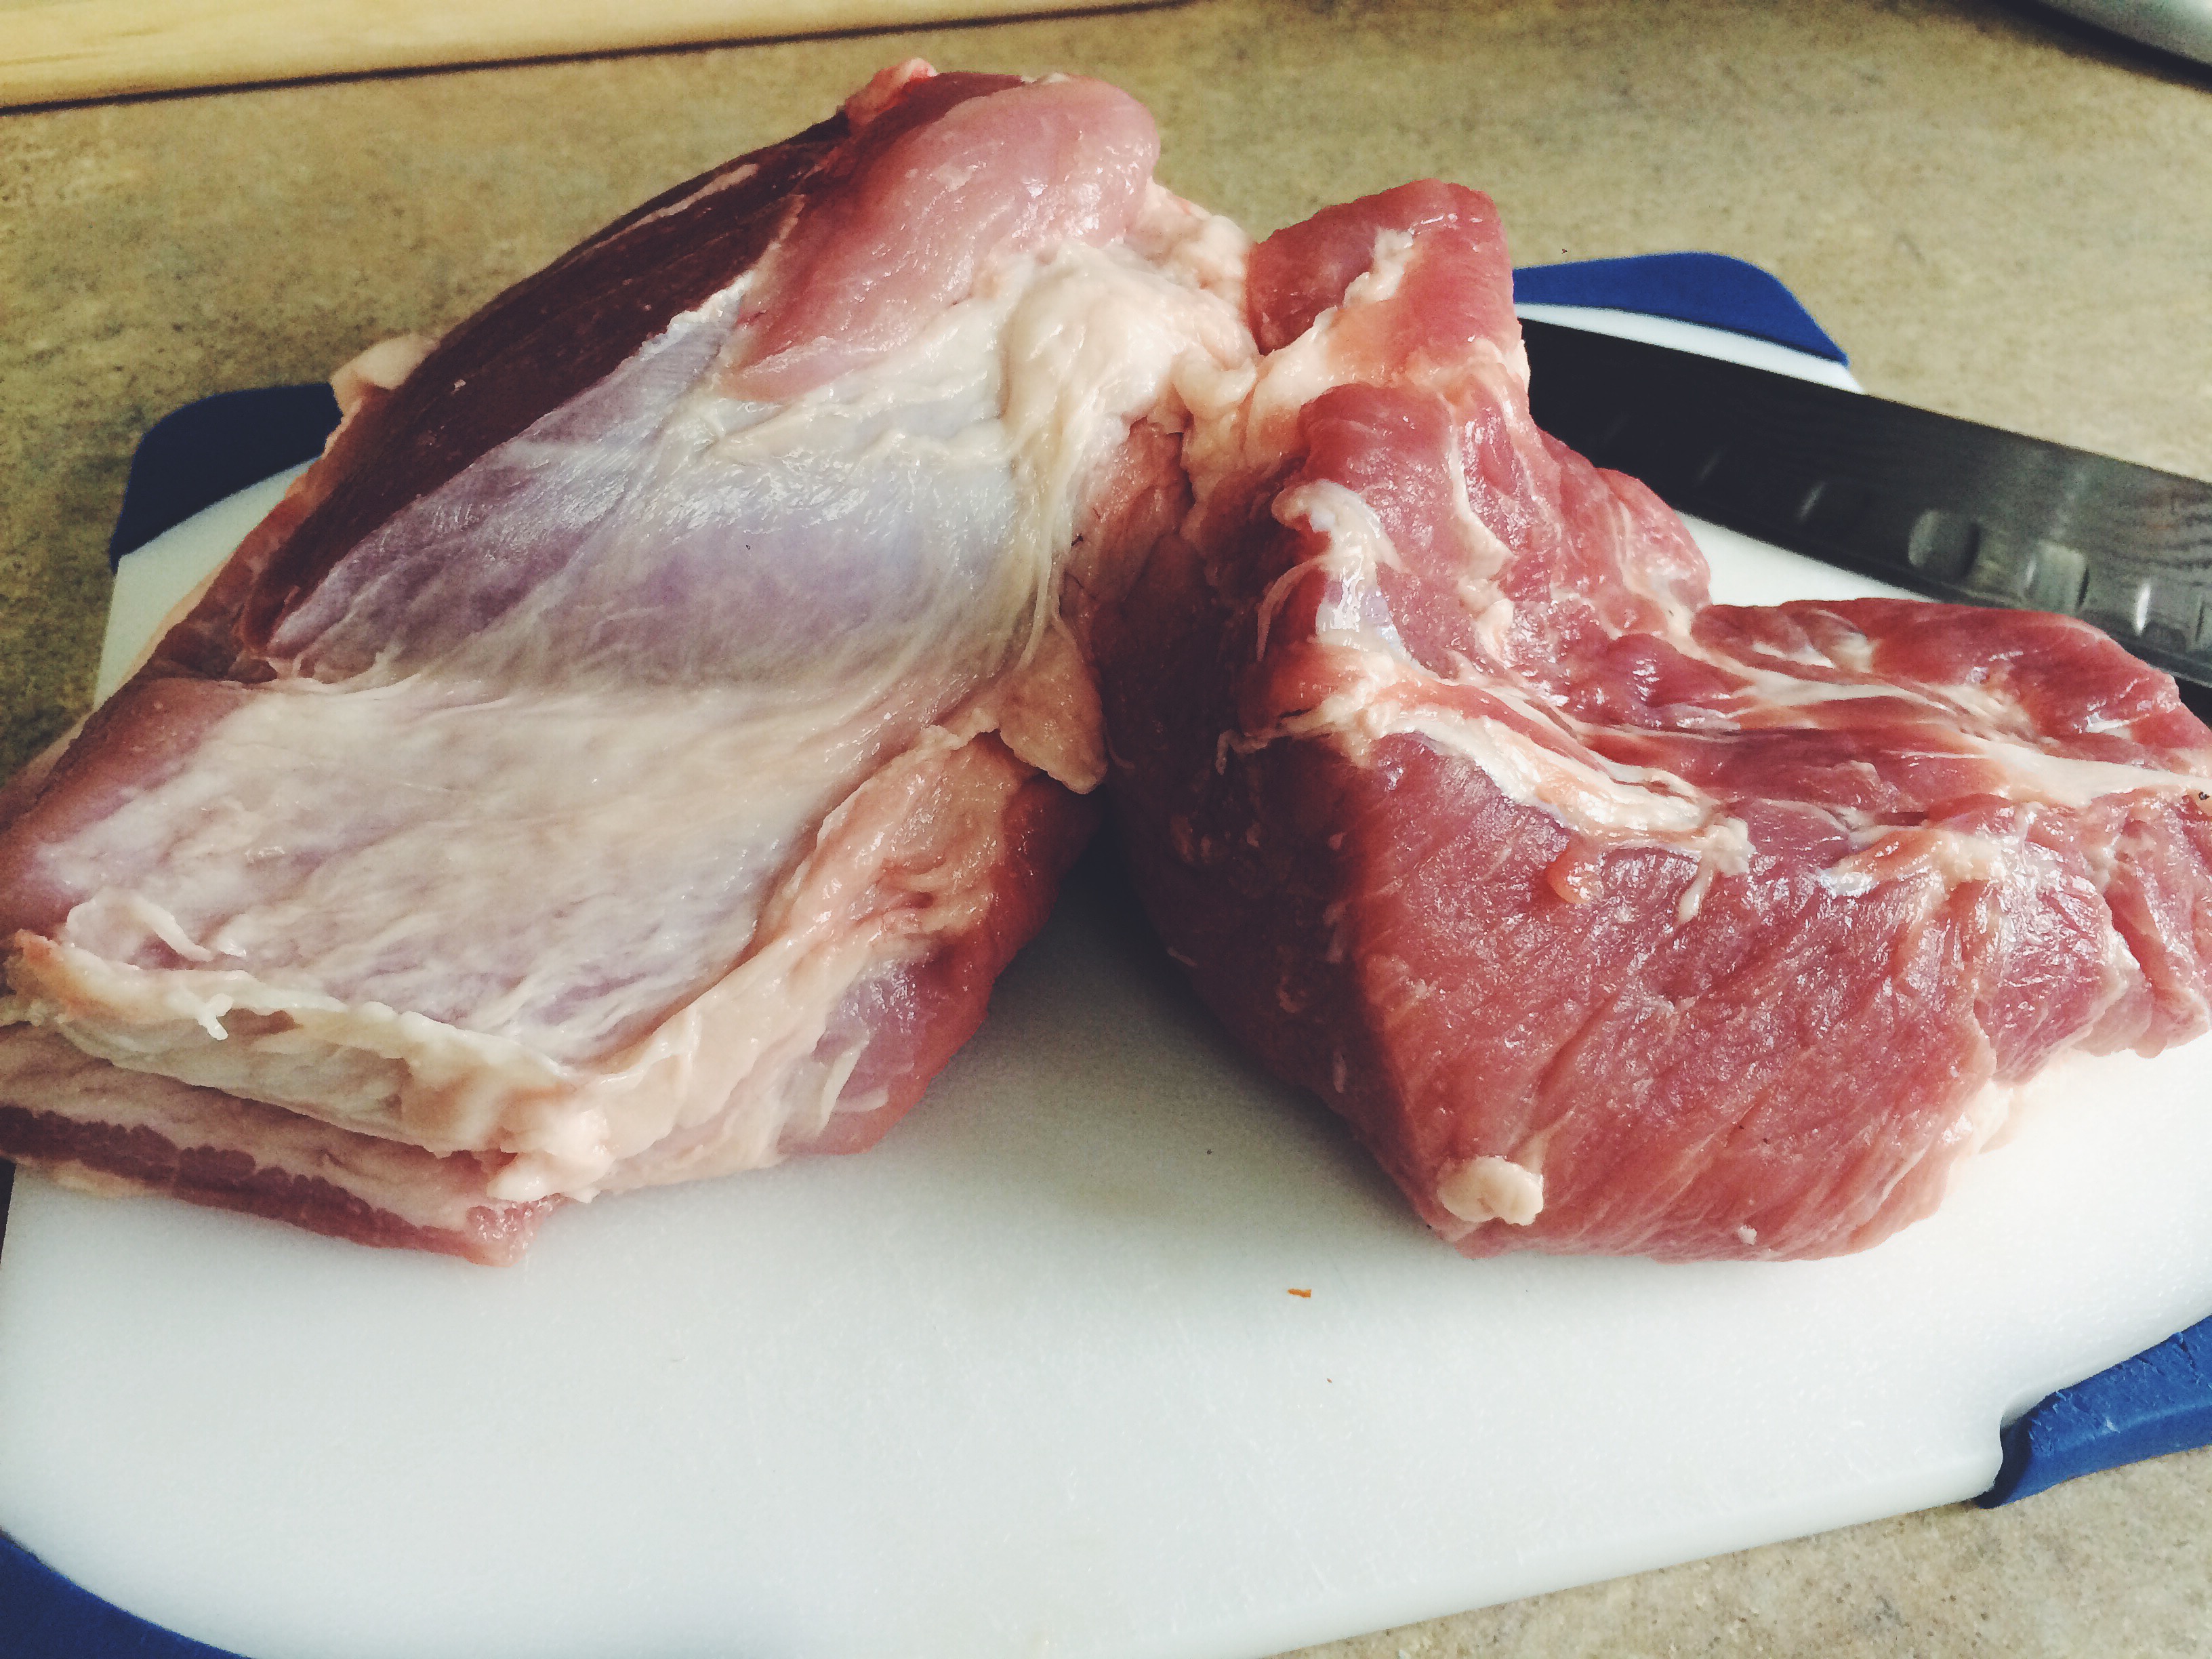
  • 2 lb Pork Shoulder, cut into large chunks (hunks of fat and weird stuff removed)
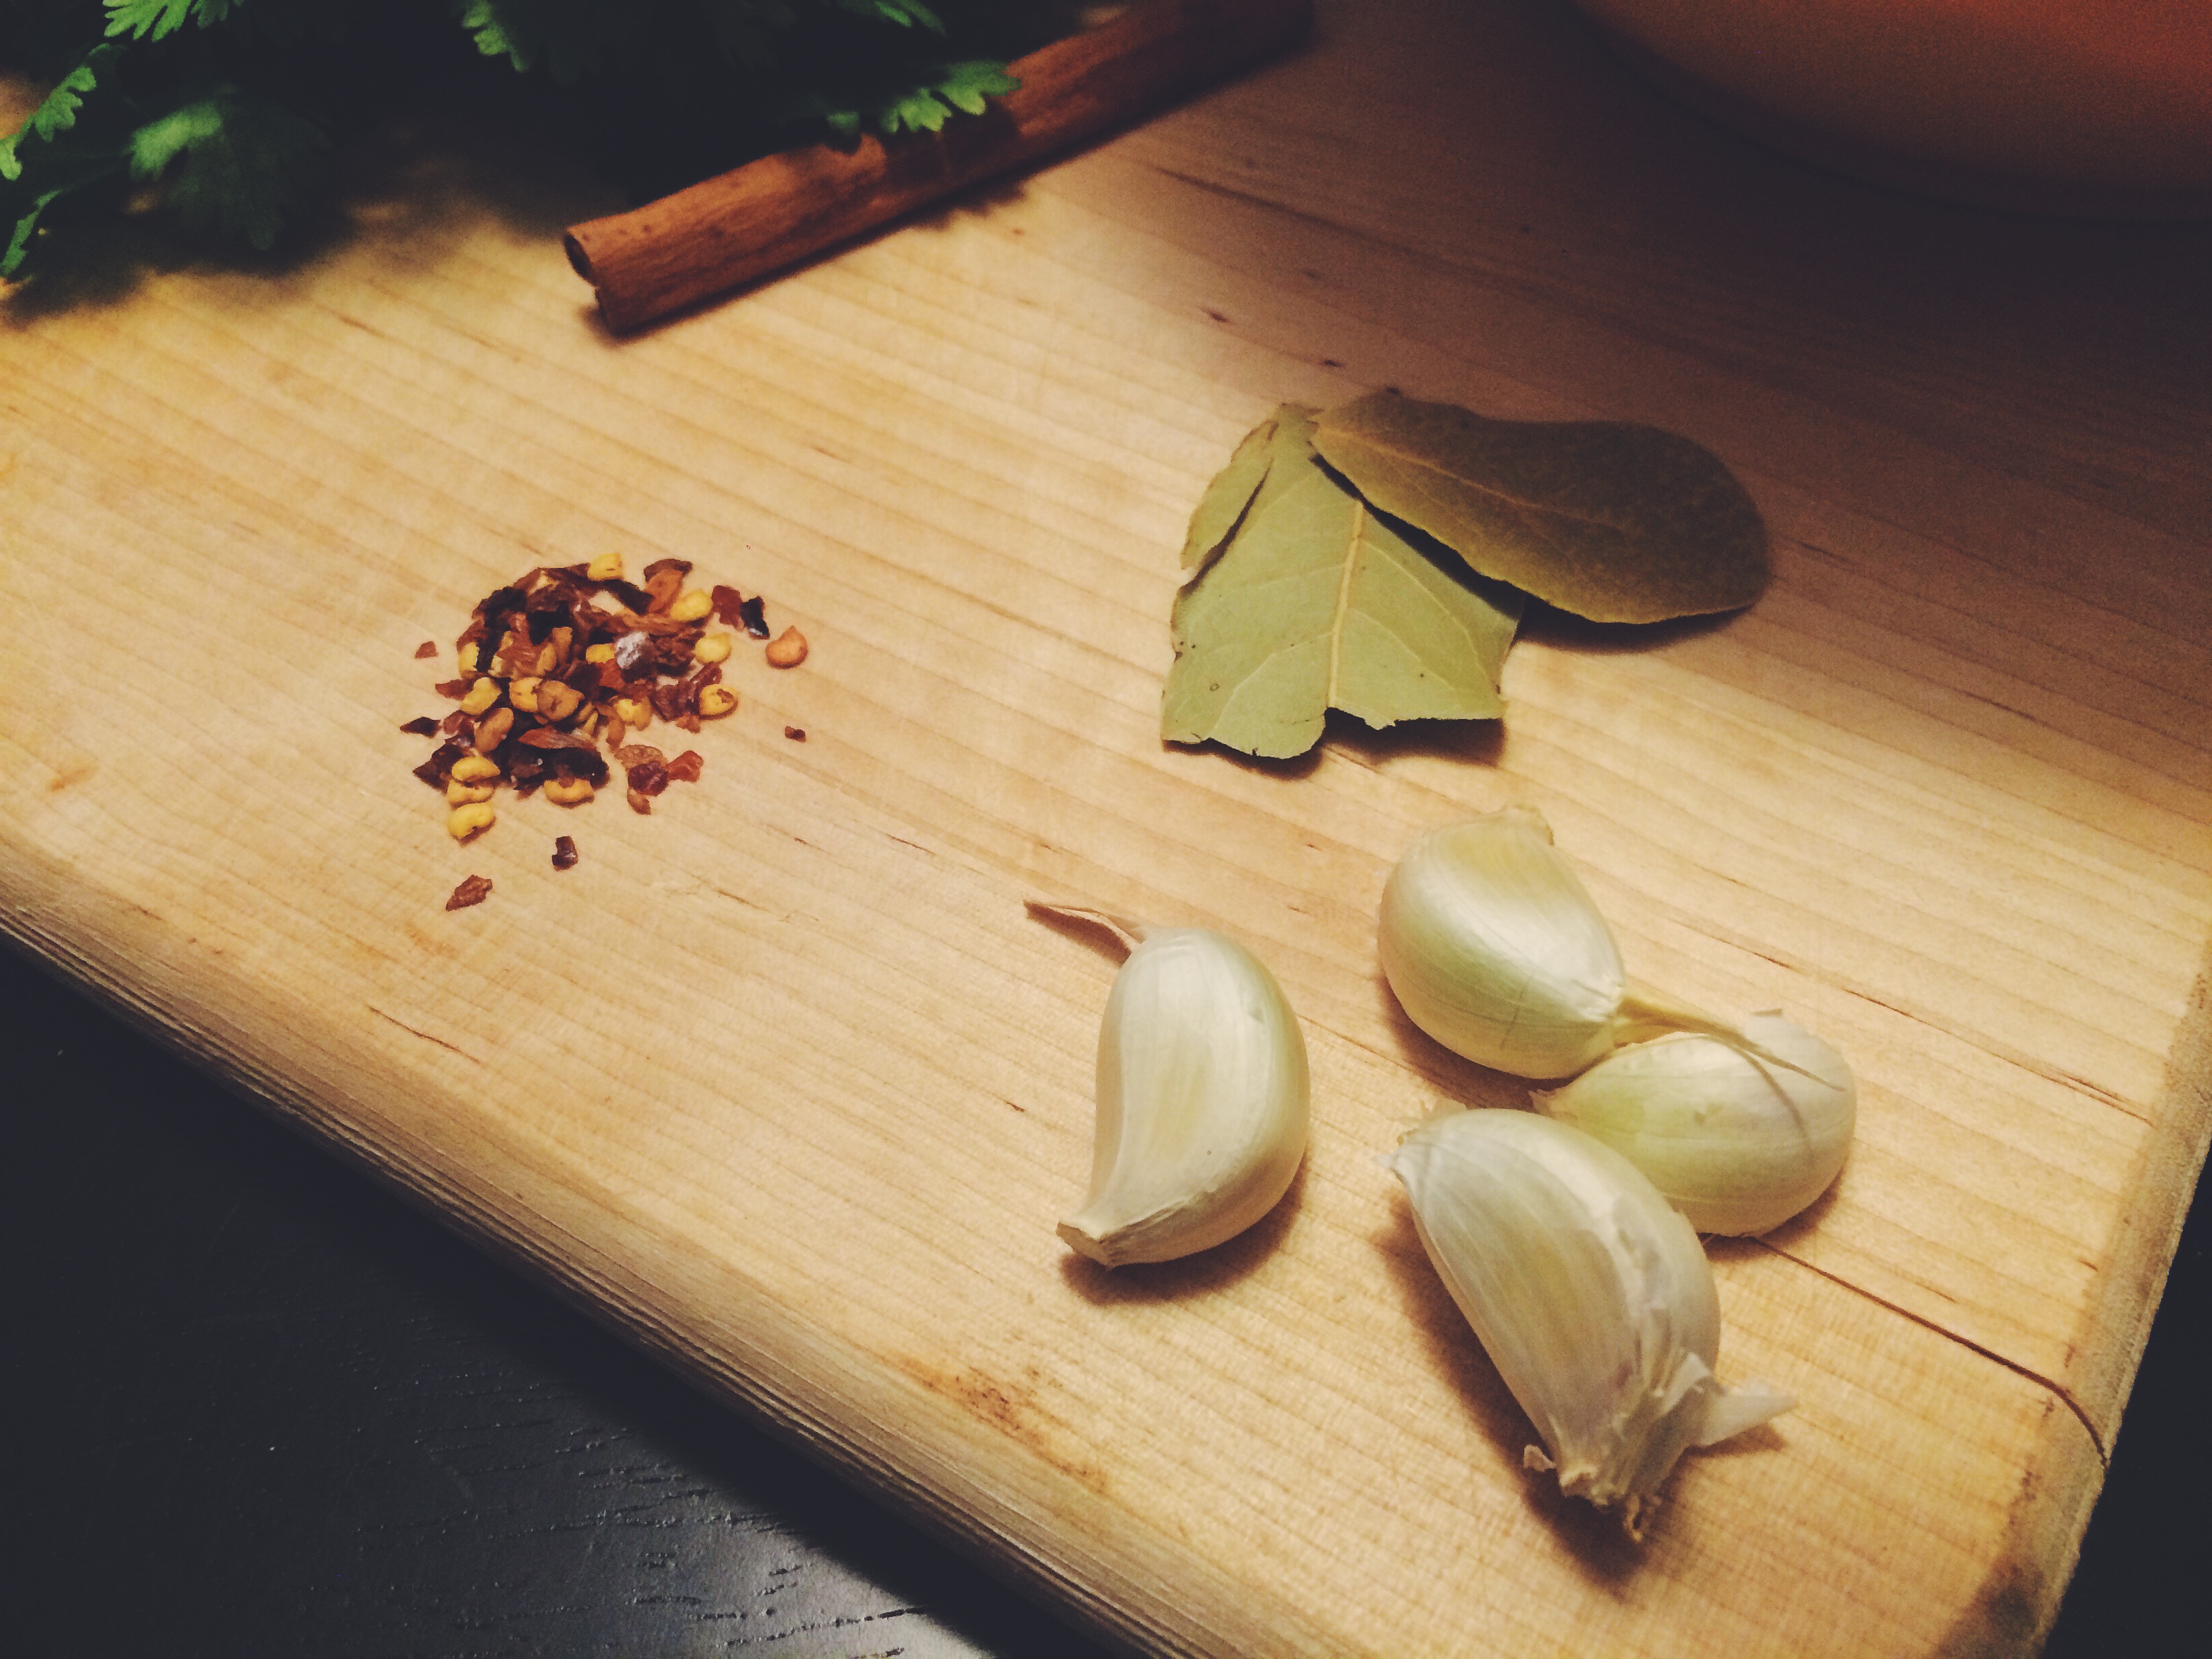
  • 5 cloves Garlic, smashed
  • 1 Cinnamon Stick
  • A pinch Red Pepper Flake
  • 1 Bay Leaf
  • A pinch of Paprika
  • 1/2 an Orange juiced (through the juiced half in the pot, too)
  • Chicken Stock
  • Limes, cut into wedges
  • White Onion, small dice
  • Cilantro
  • Salt and Pepper

THE METHOD.  This is a one pot wonder known as a braise. Set it and Forget it! Kinda. Not really. Moving on…

  1. Preheat oven to 350 F.
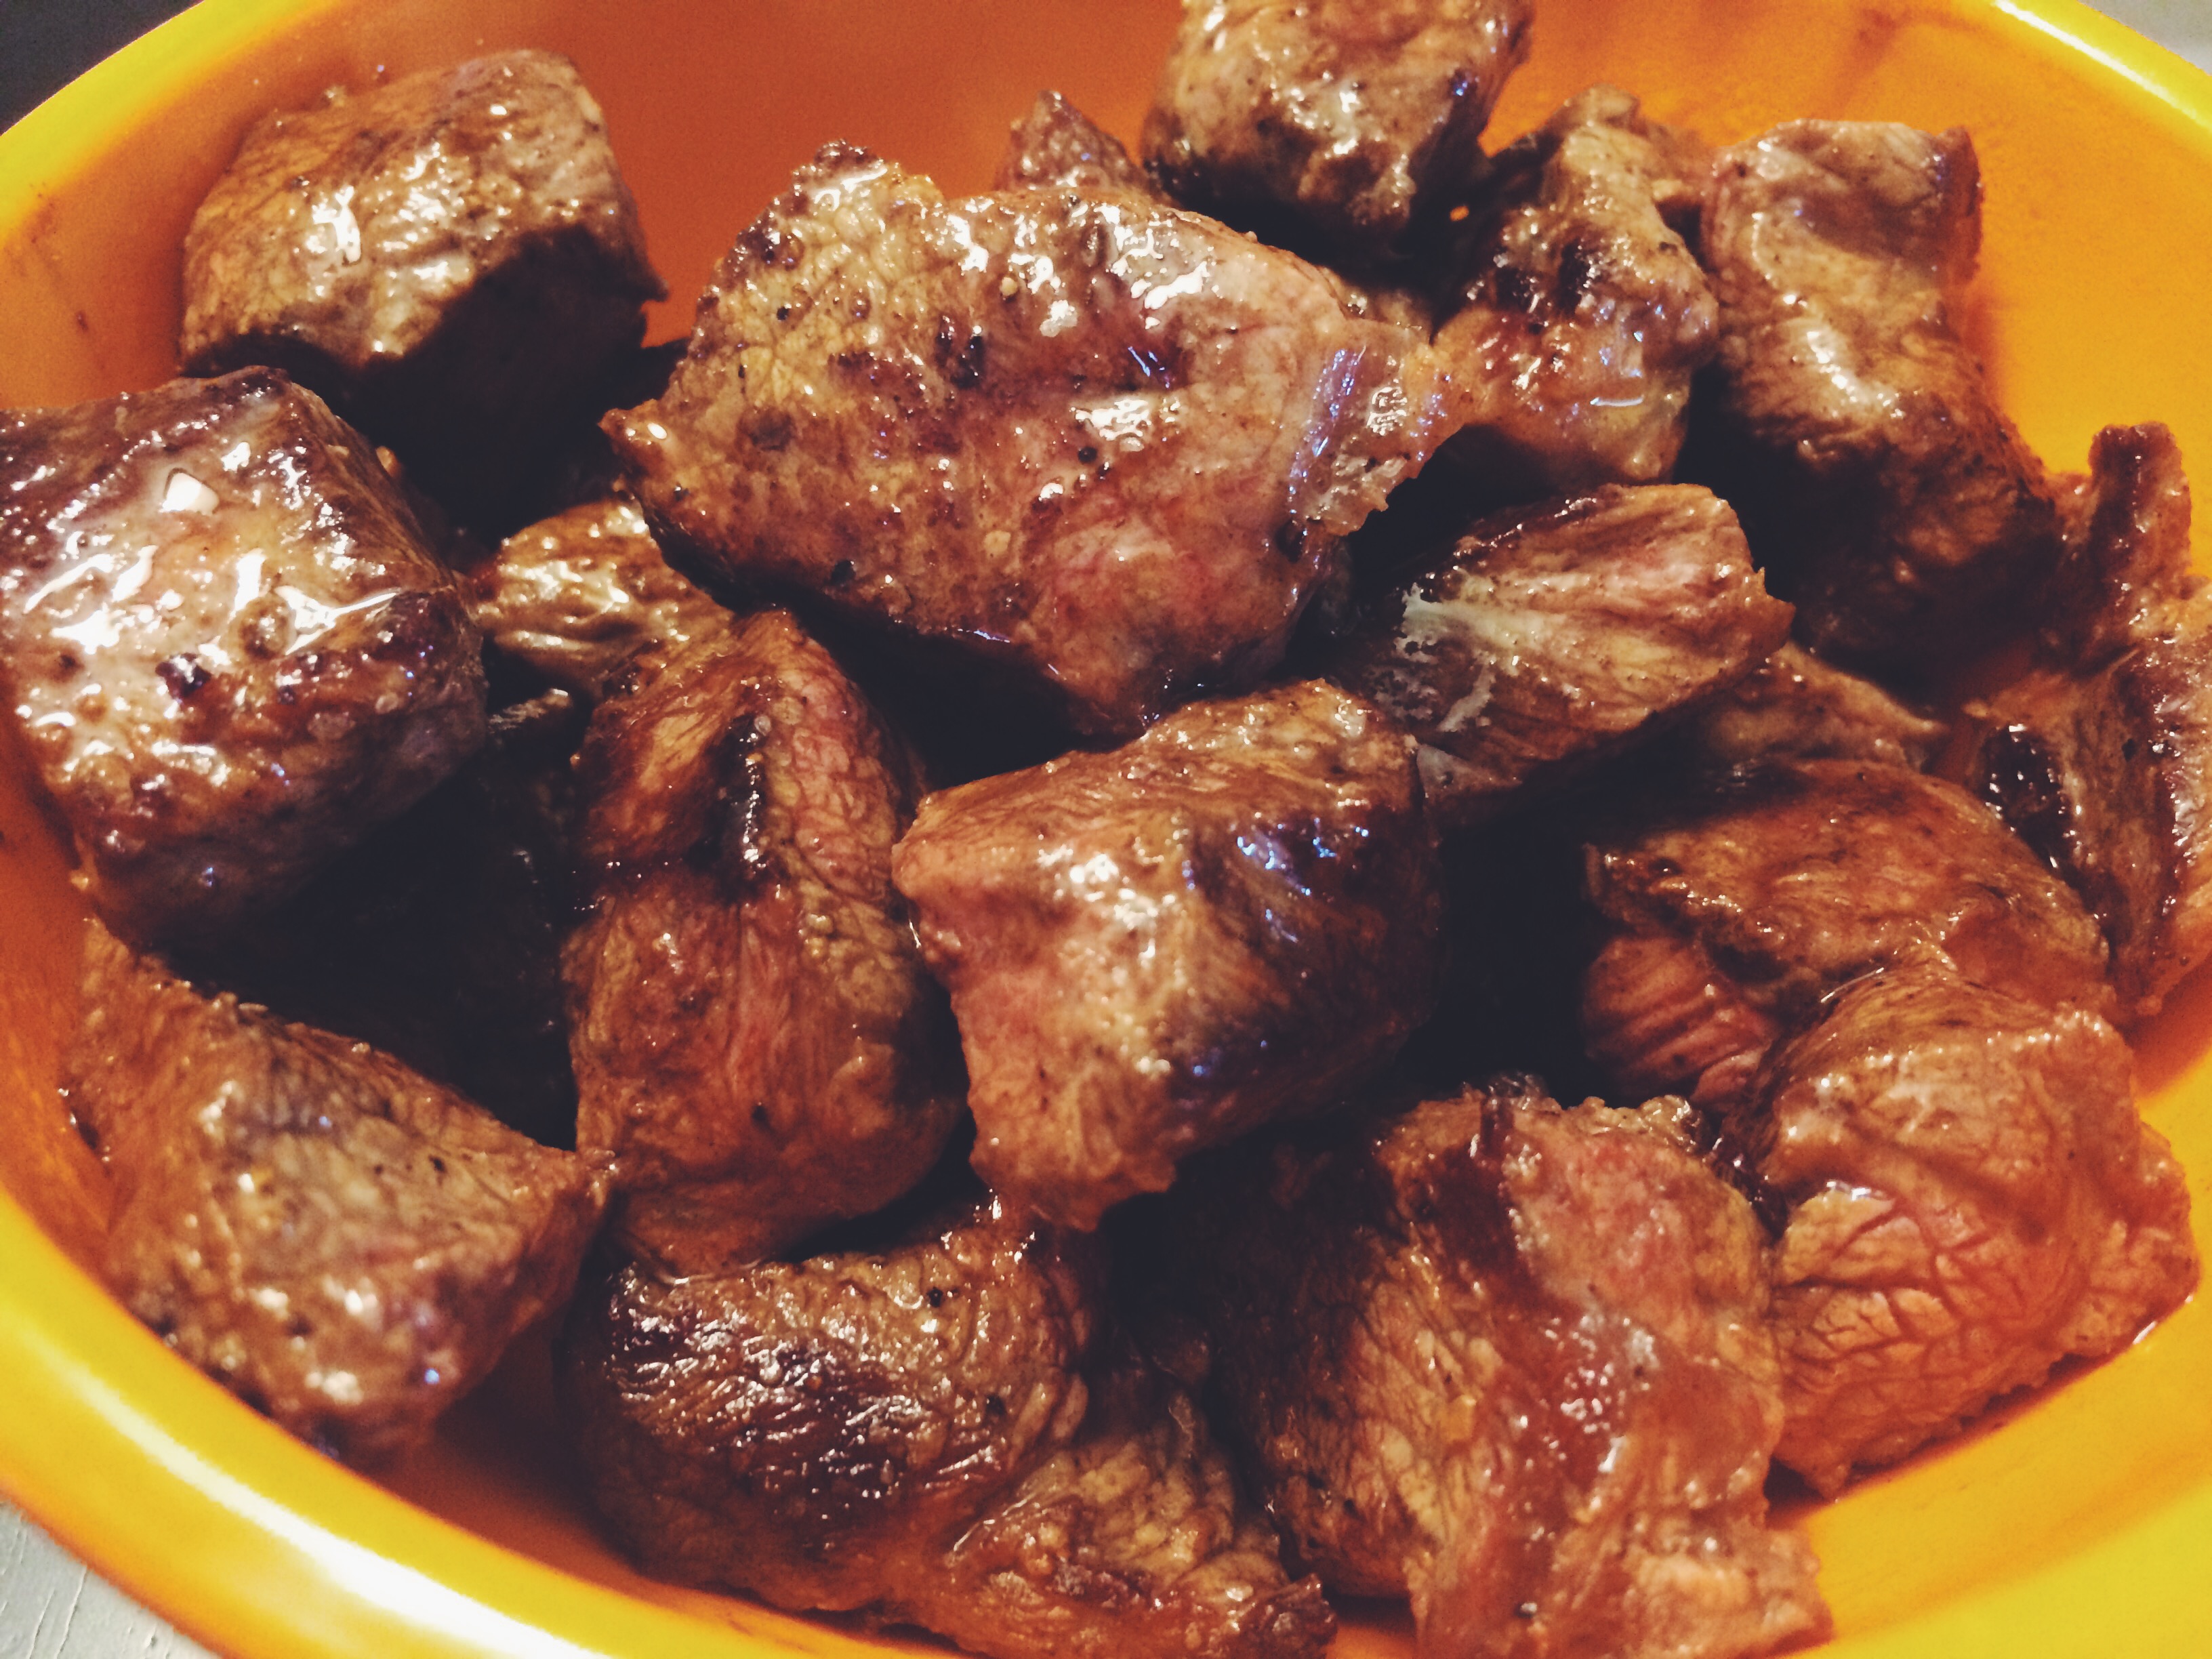
  2. Season up your pork shoulder chunks pretty heavily and brown them up in a large oven-proof pot over medium-high heat. Do this in batches so the meat gets a good sear on it. We are building flavors here, people!
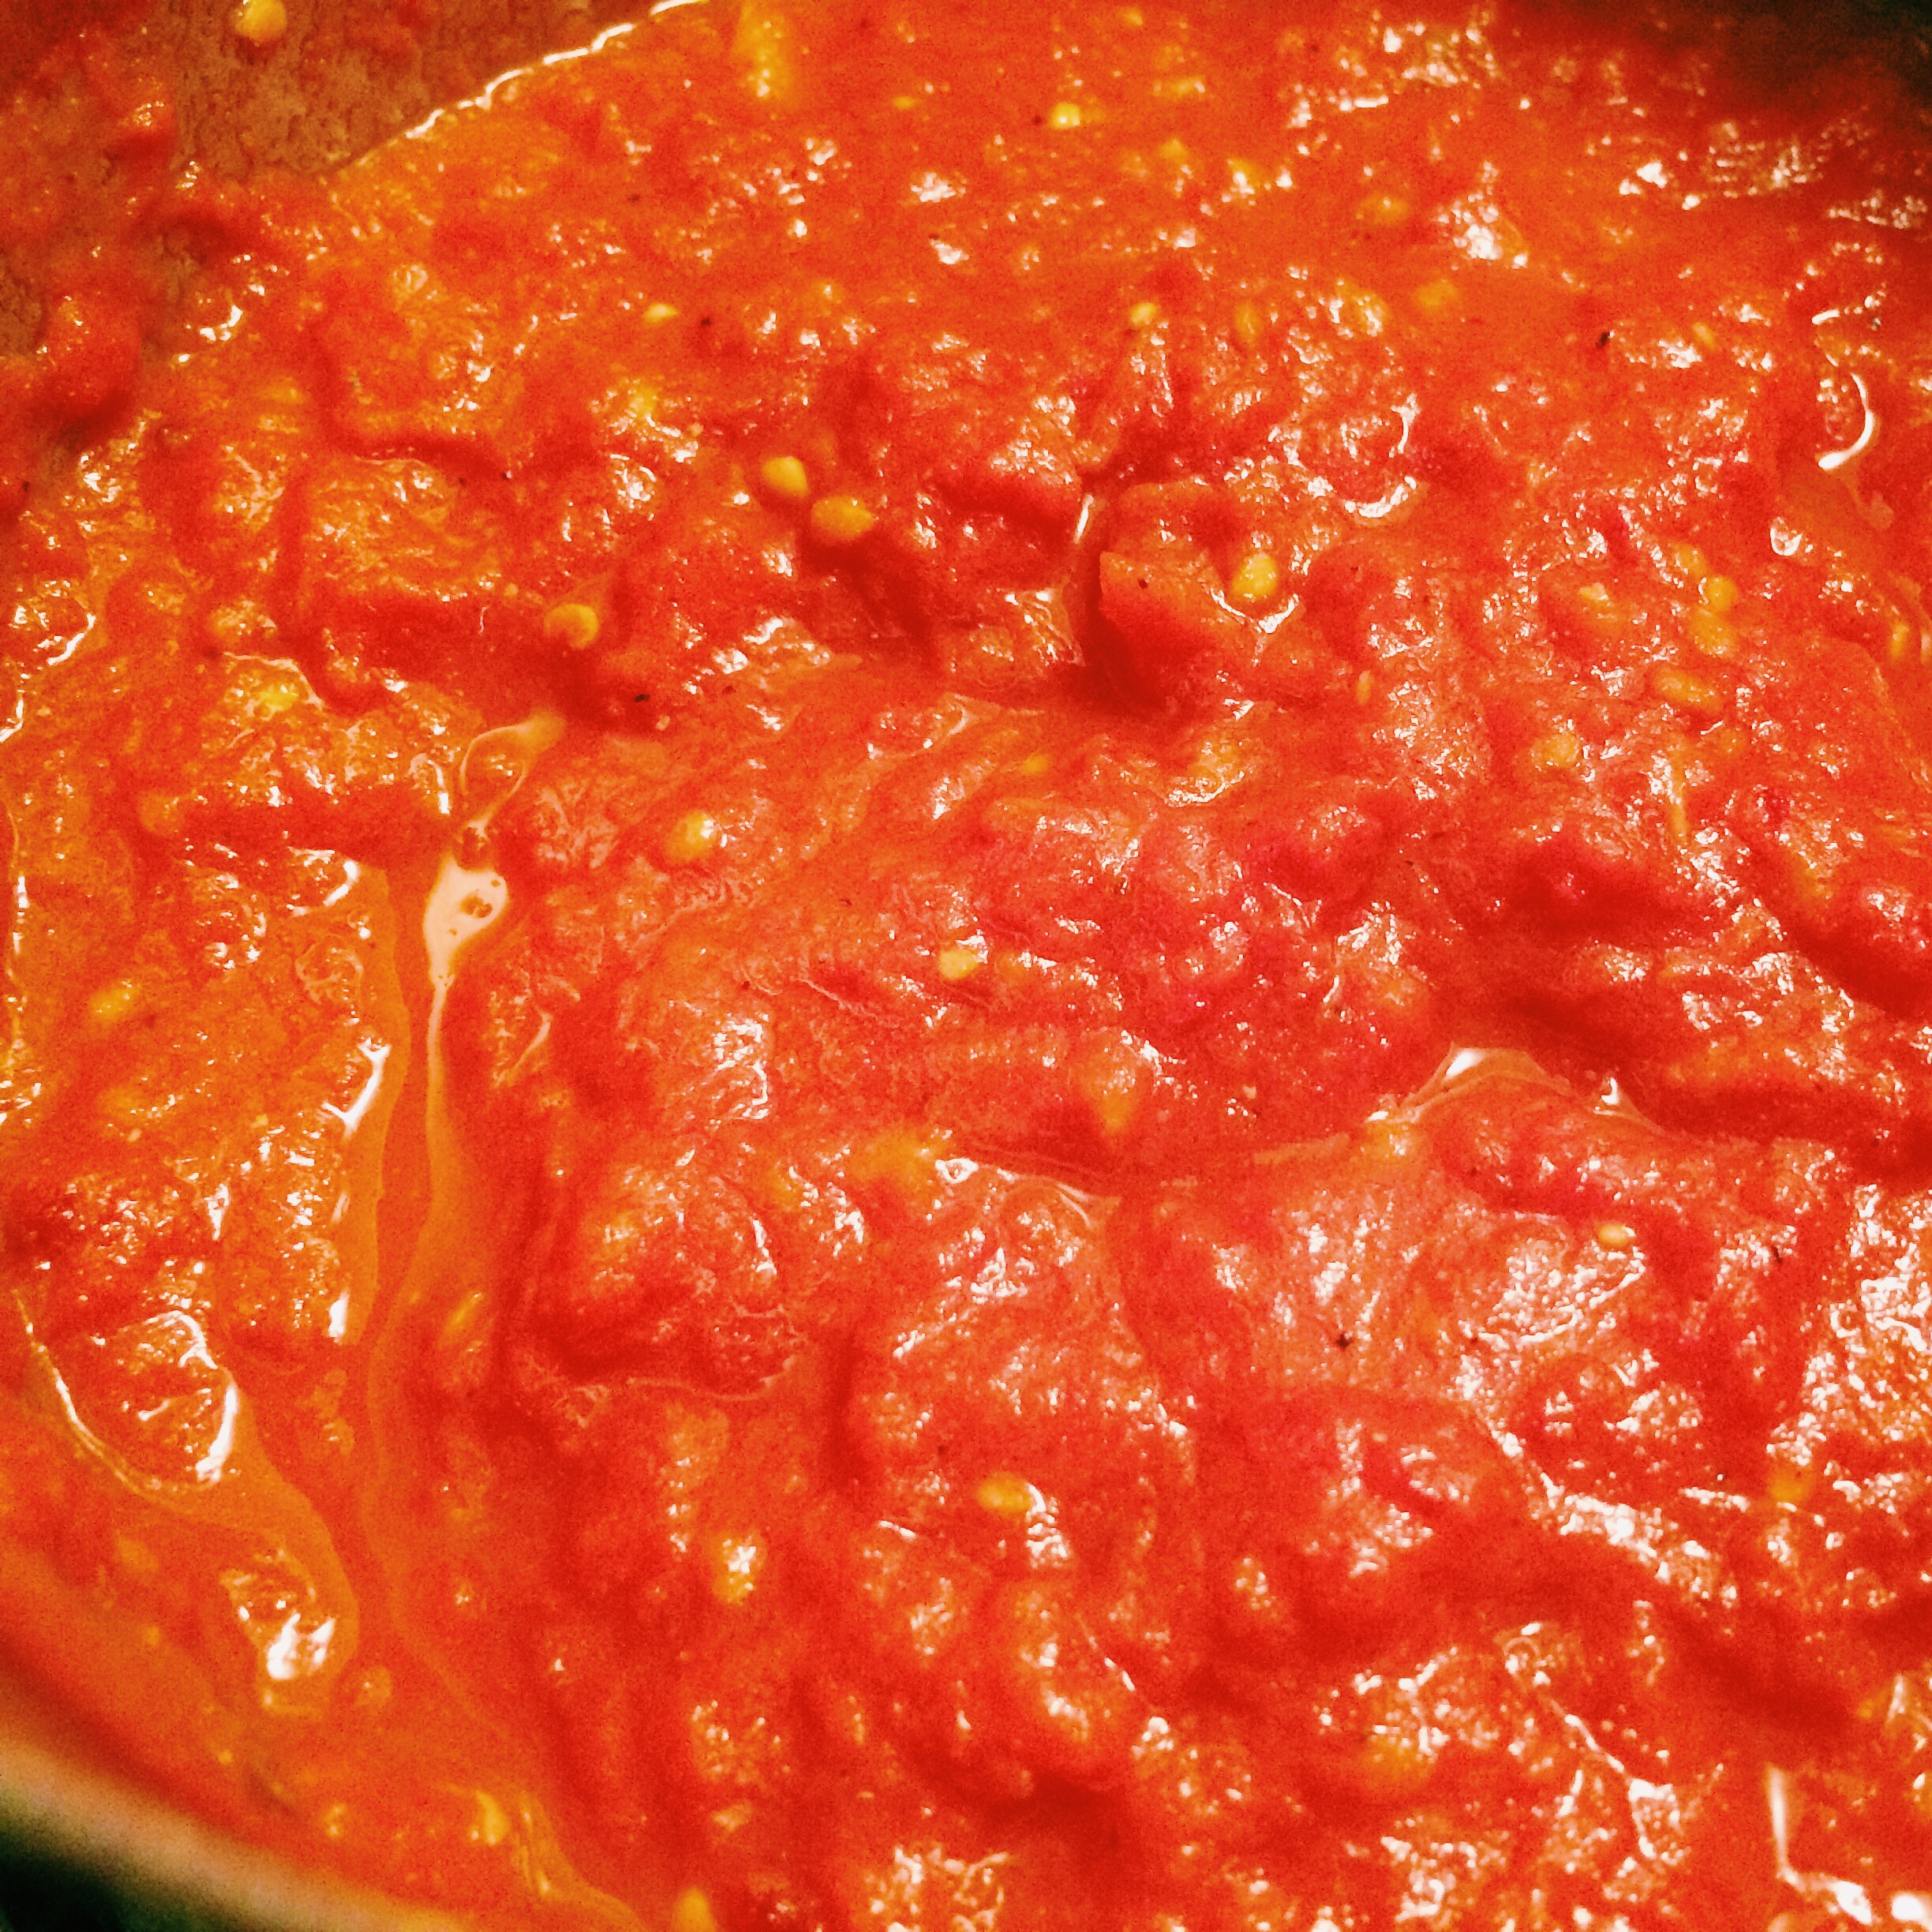
  3. Deglaze the pan with the orange juice. Dissolve all of those tasty bits stuck to the bottom of the pan. These will intensify the flavor of your braise.
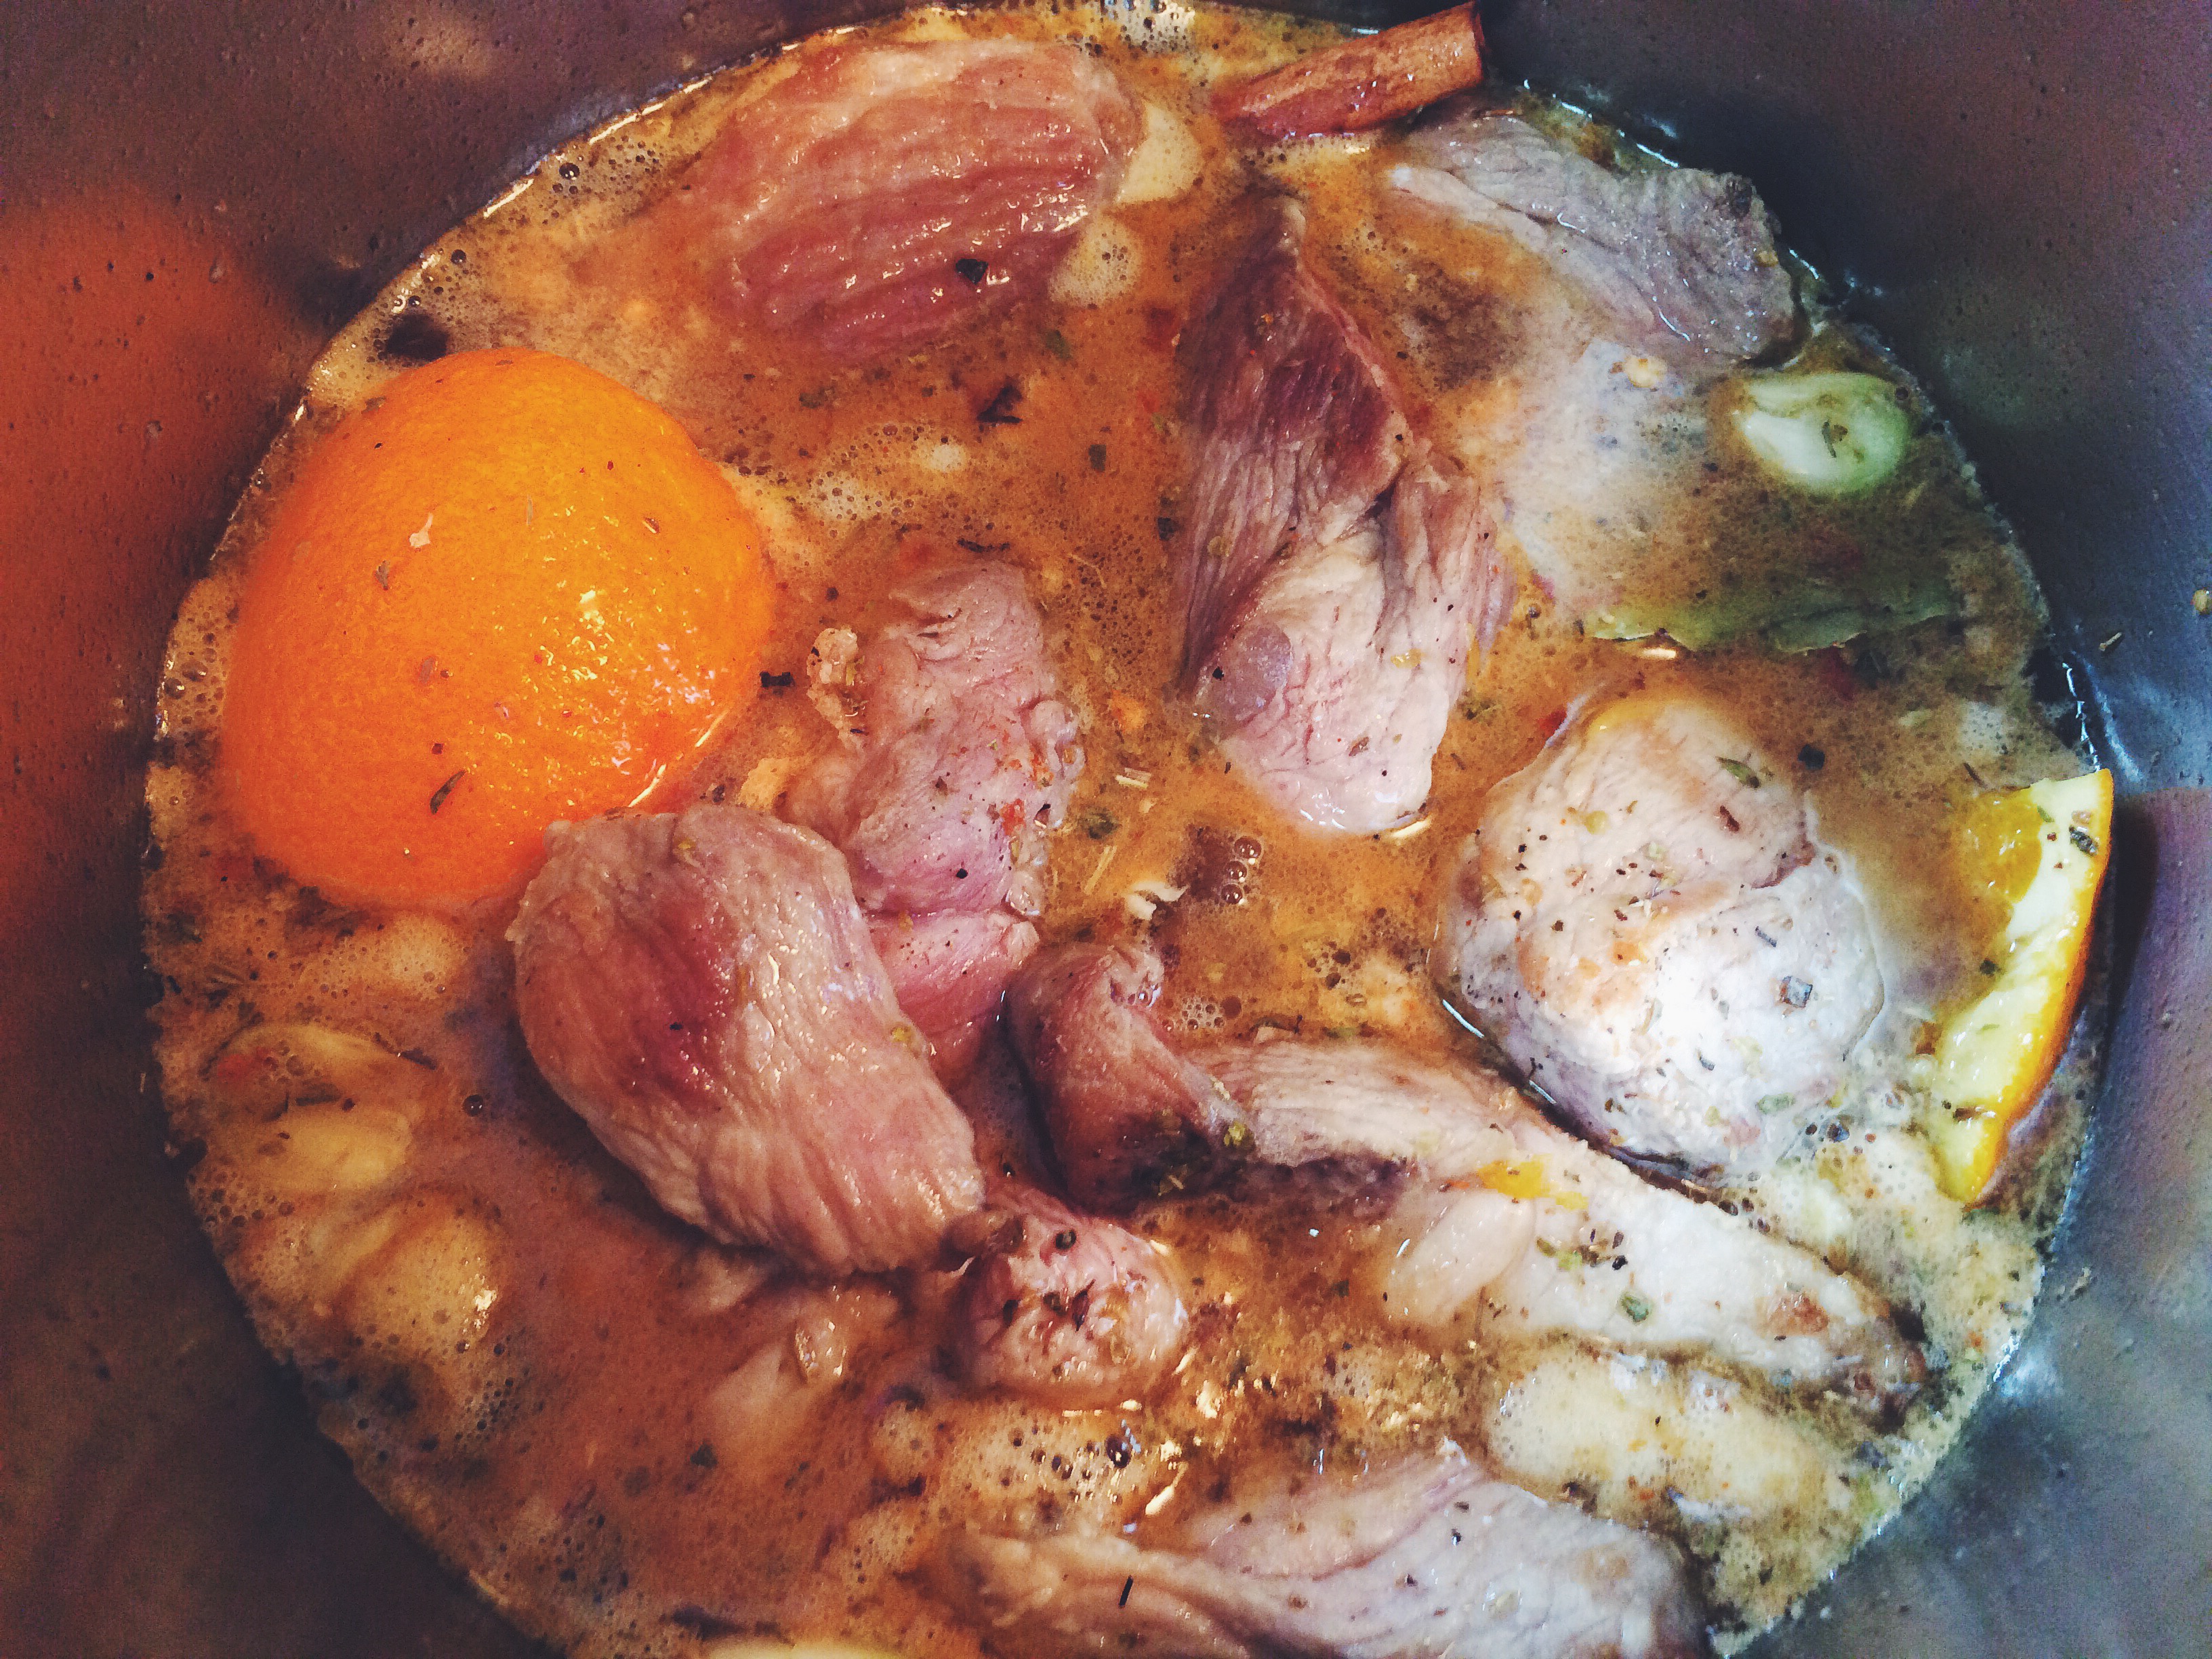
  4. Add in the browned pork, the garlic cloves, cinnamon stick, red pepper flake, paprika, bay leaf, and orange half. Cover 2/3 with chicken stock (or water, but stock is more flavorful. Why not use it?)
  5. Bring the contents to a boil.
  6. Cover and put in the oven. Cook for 1.5 to 2 hours (or until the pork is so tender is falls apart when you try to pick it up).
  7. Strain the sauce into another pan to keep.
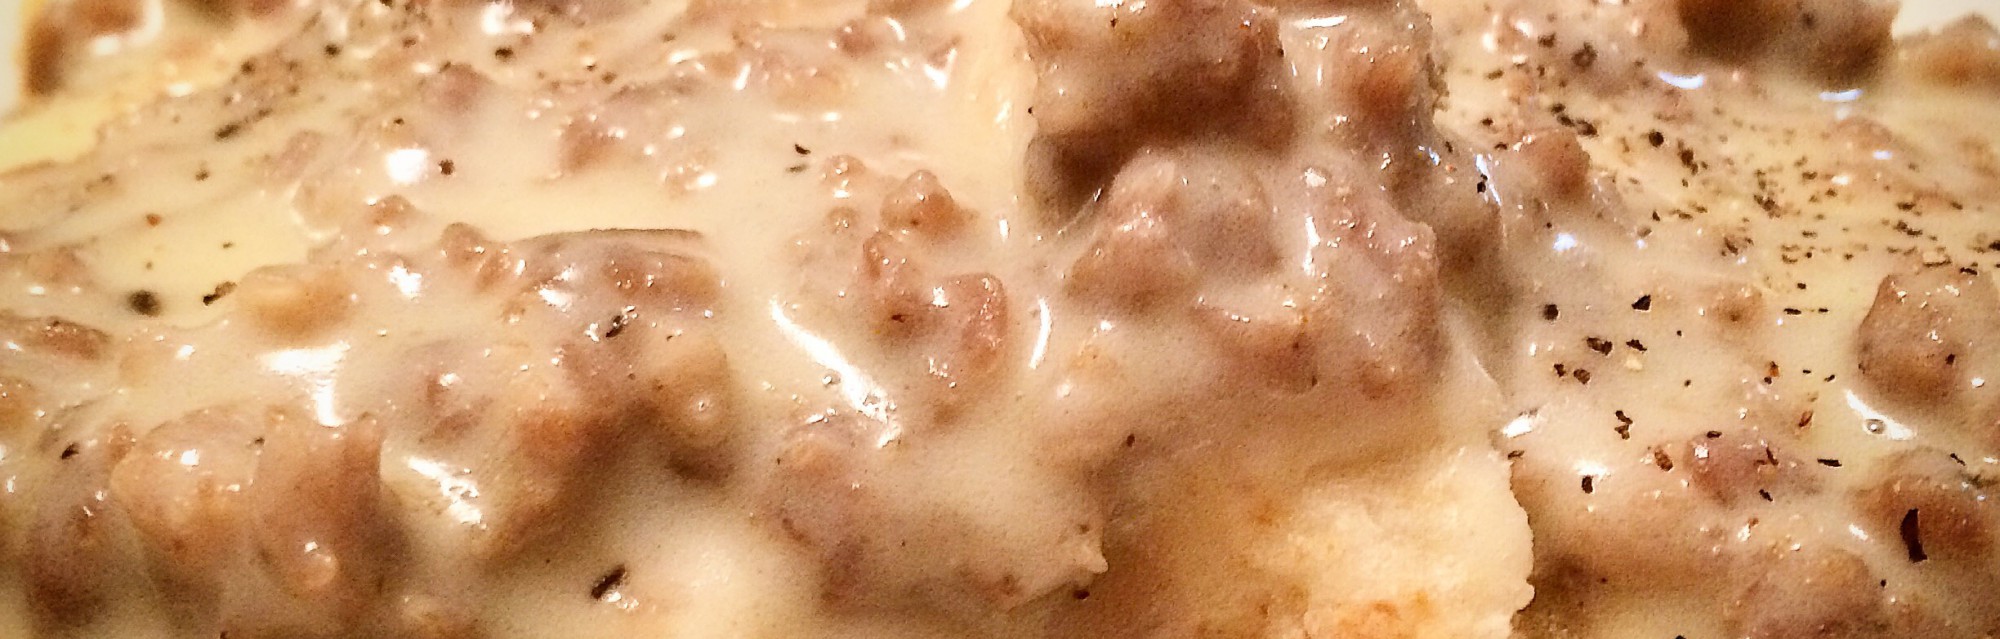
  8. Shred the meat up and place it back into the sauce. Allow this is mellow over low heat.
  9. Check your seasonings. Correct them if you don’t like it. (i.e. Add more salt)
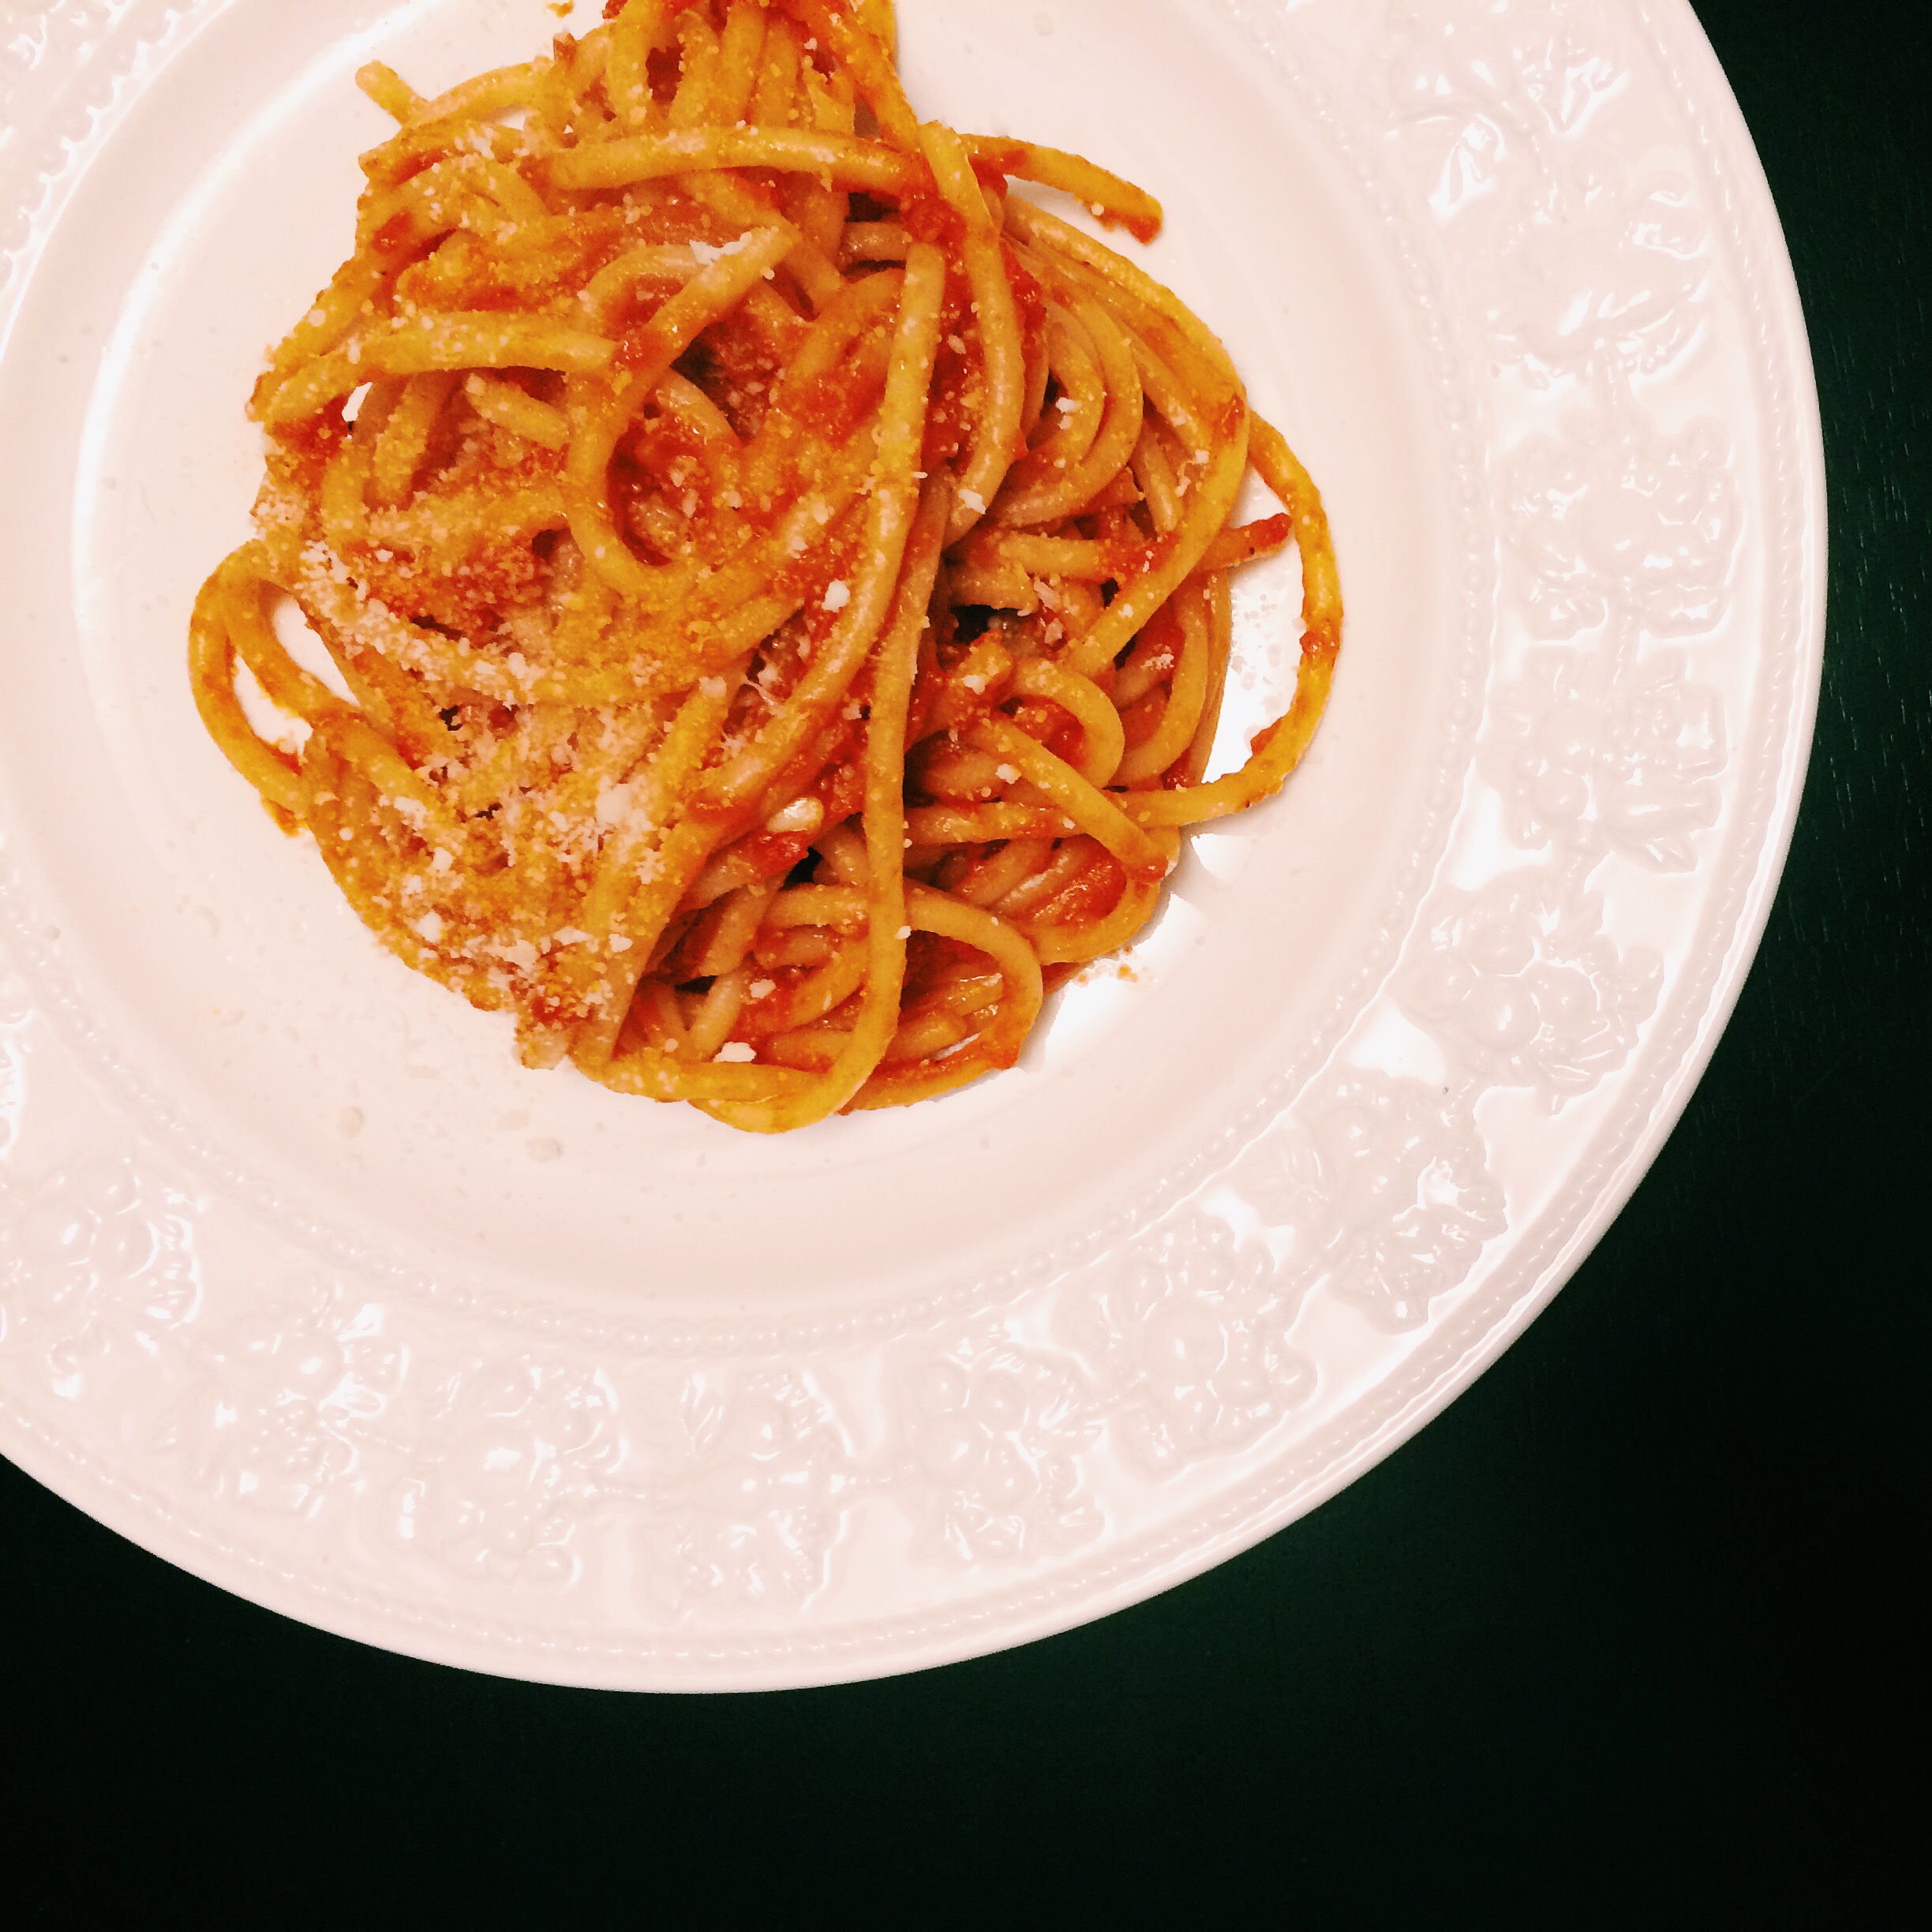
  10. Serve with the diced onion, cilantro and lime wedge on corn tortillas

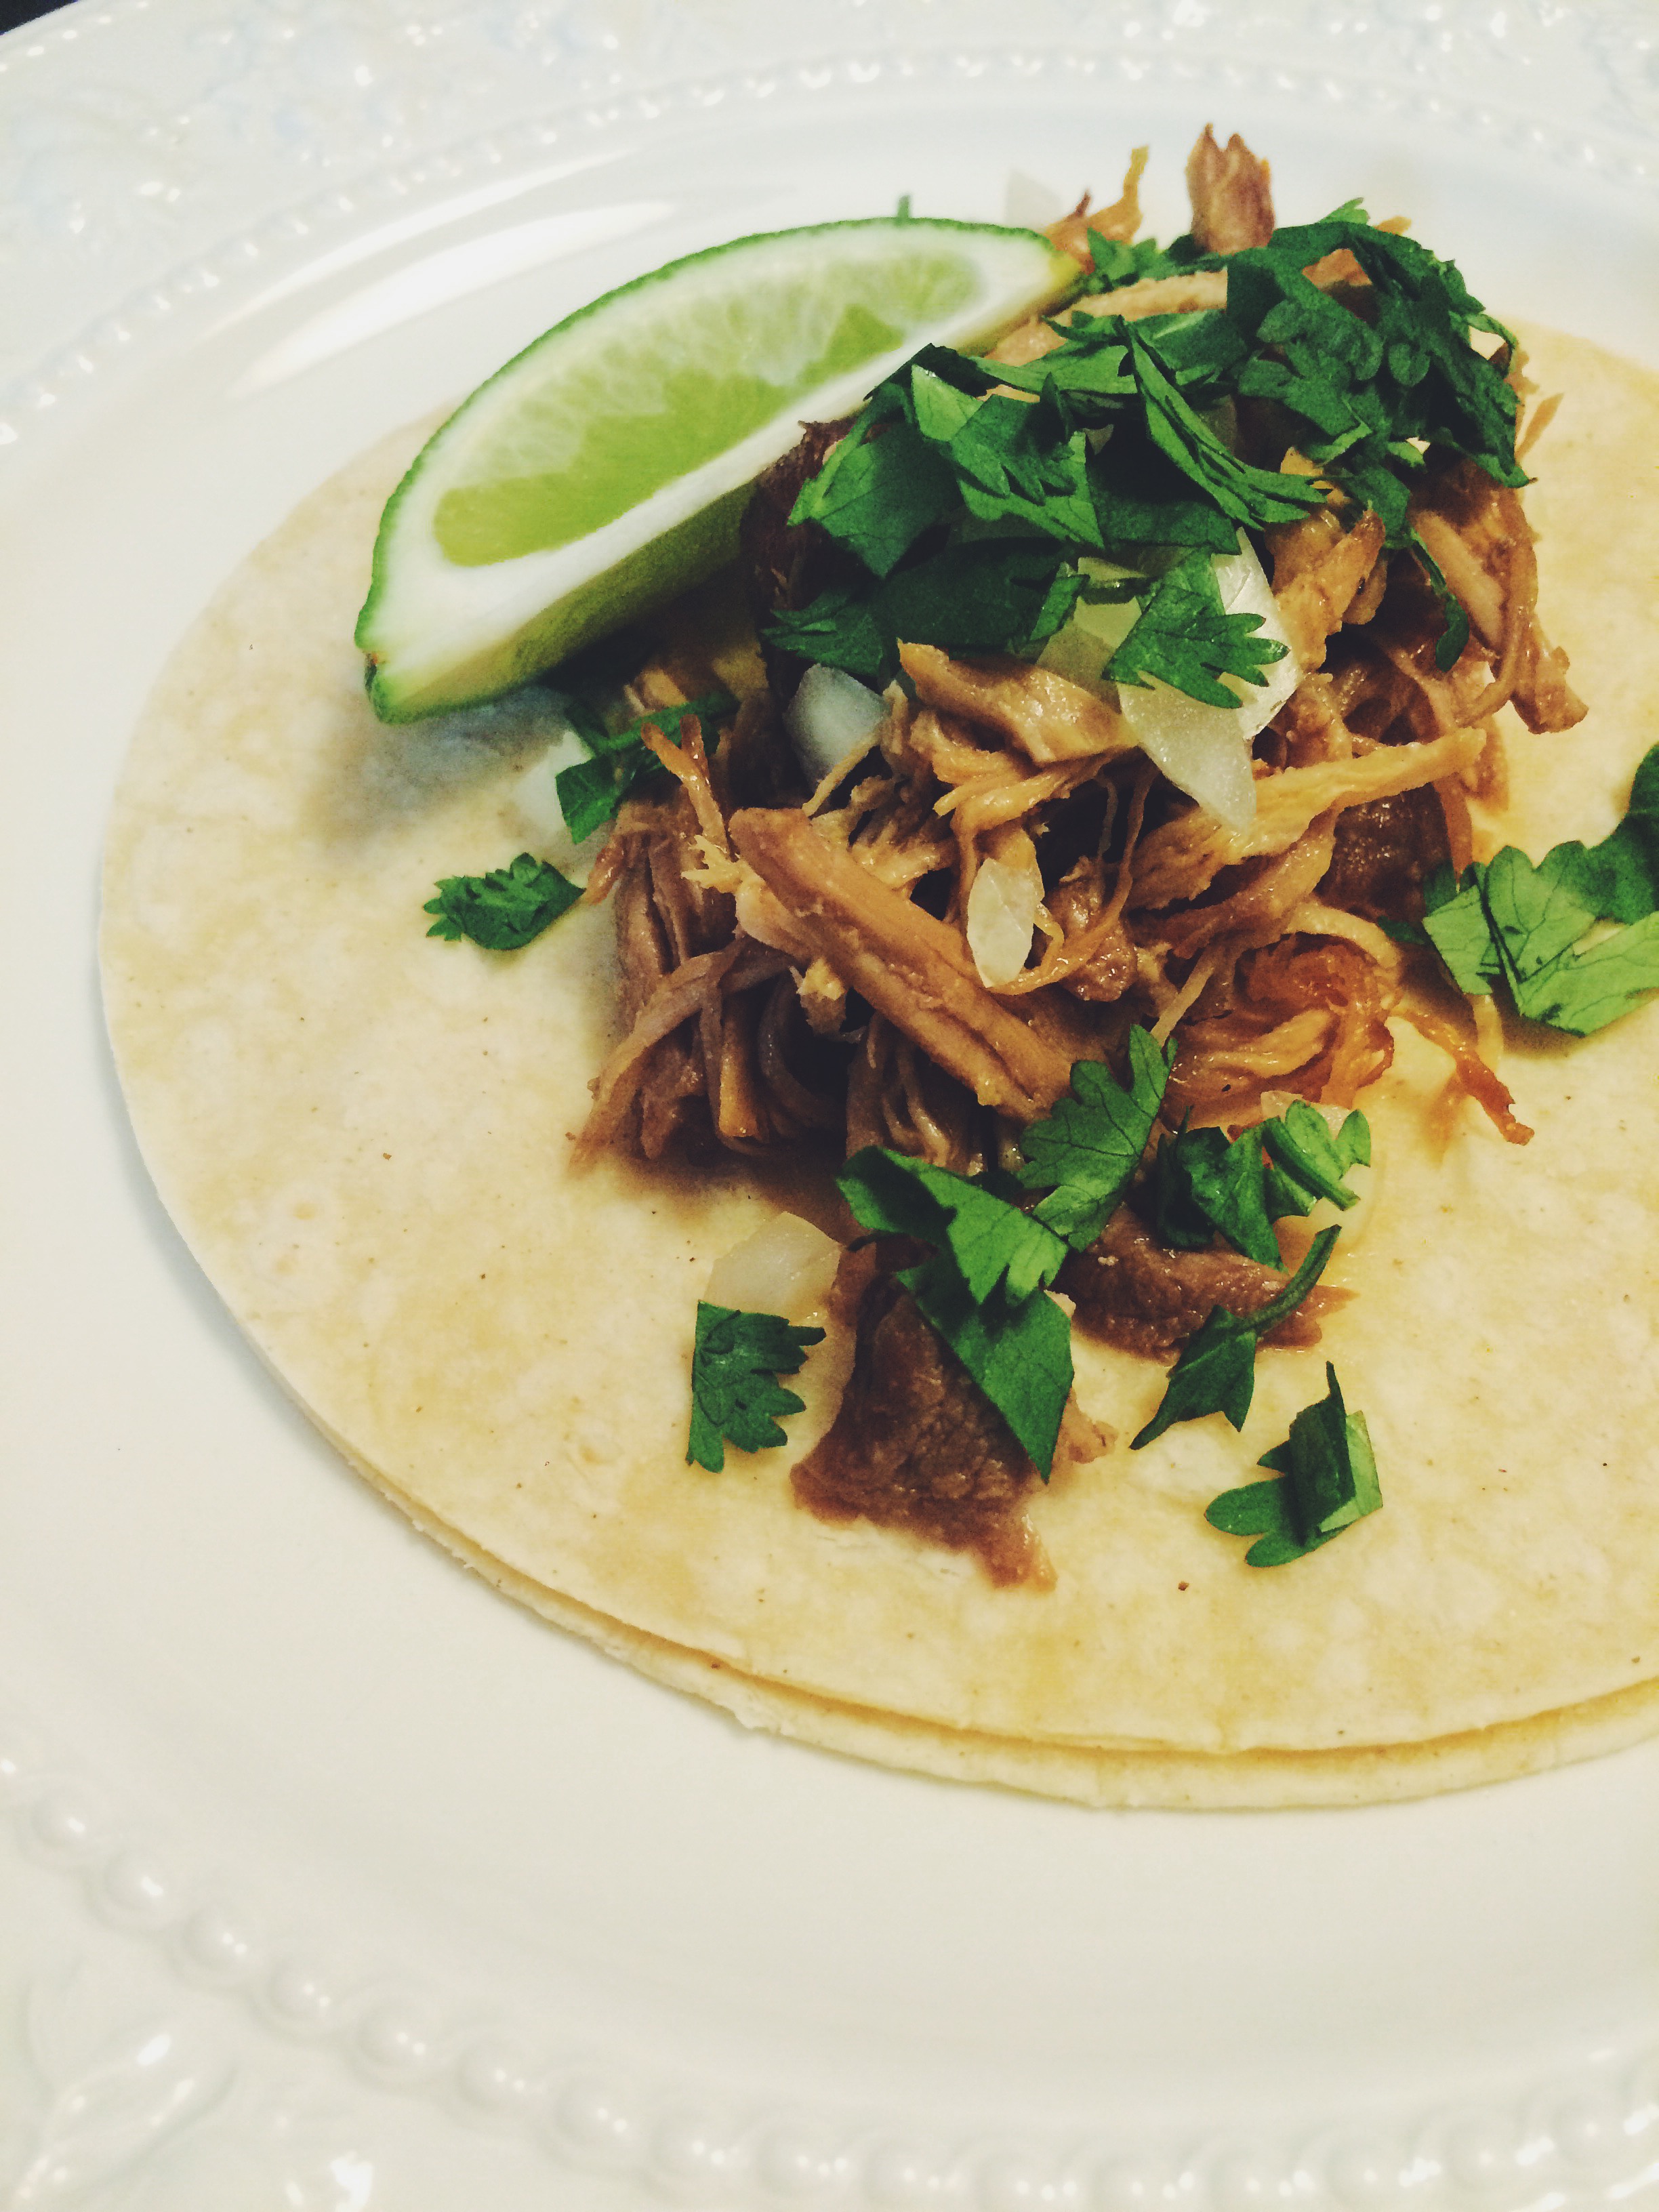
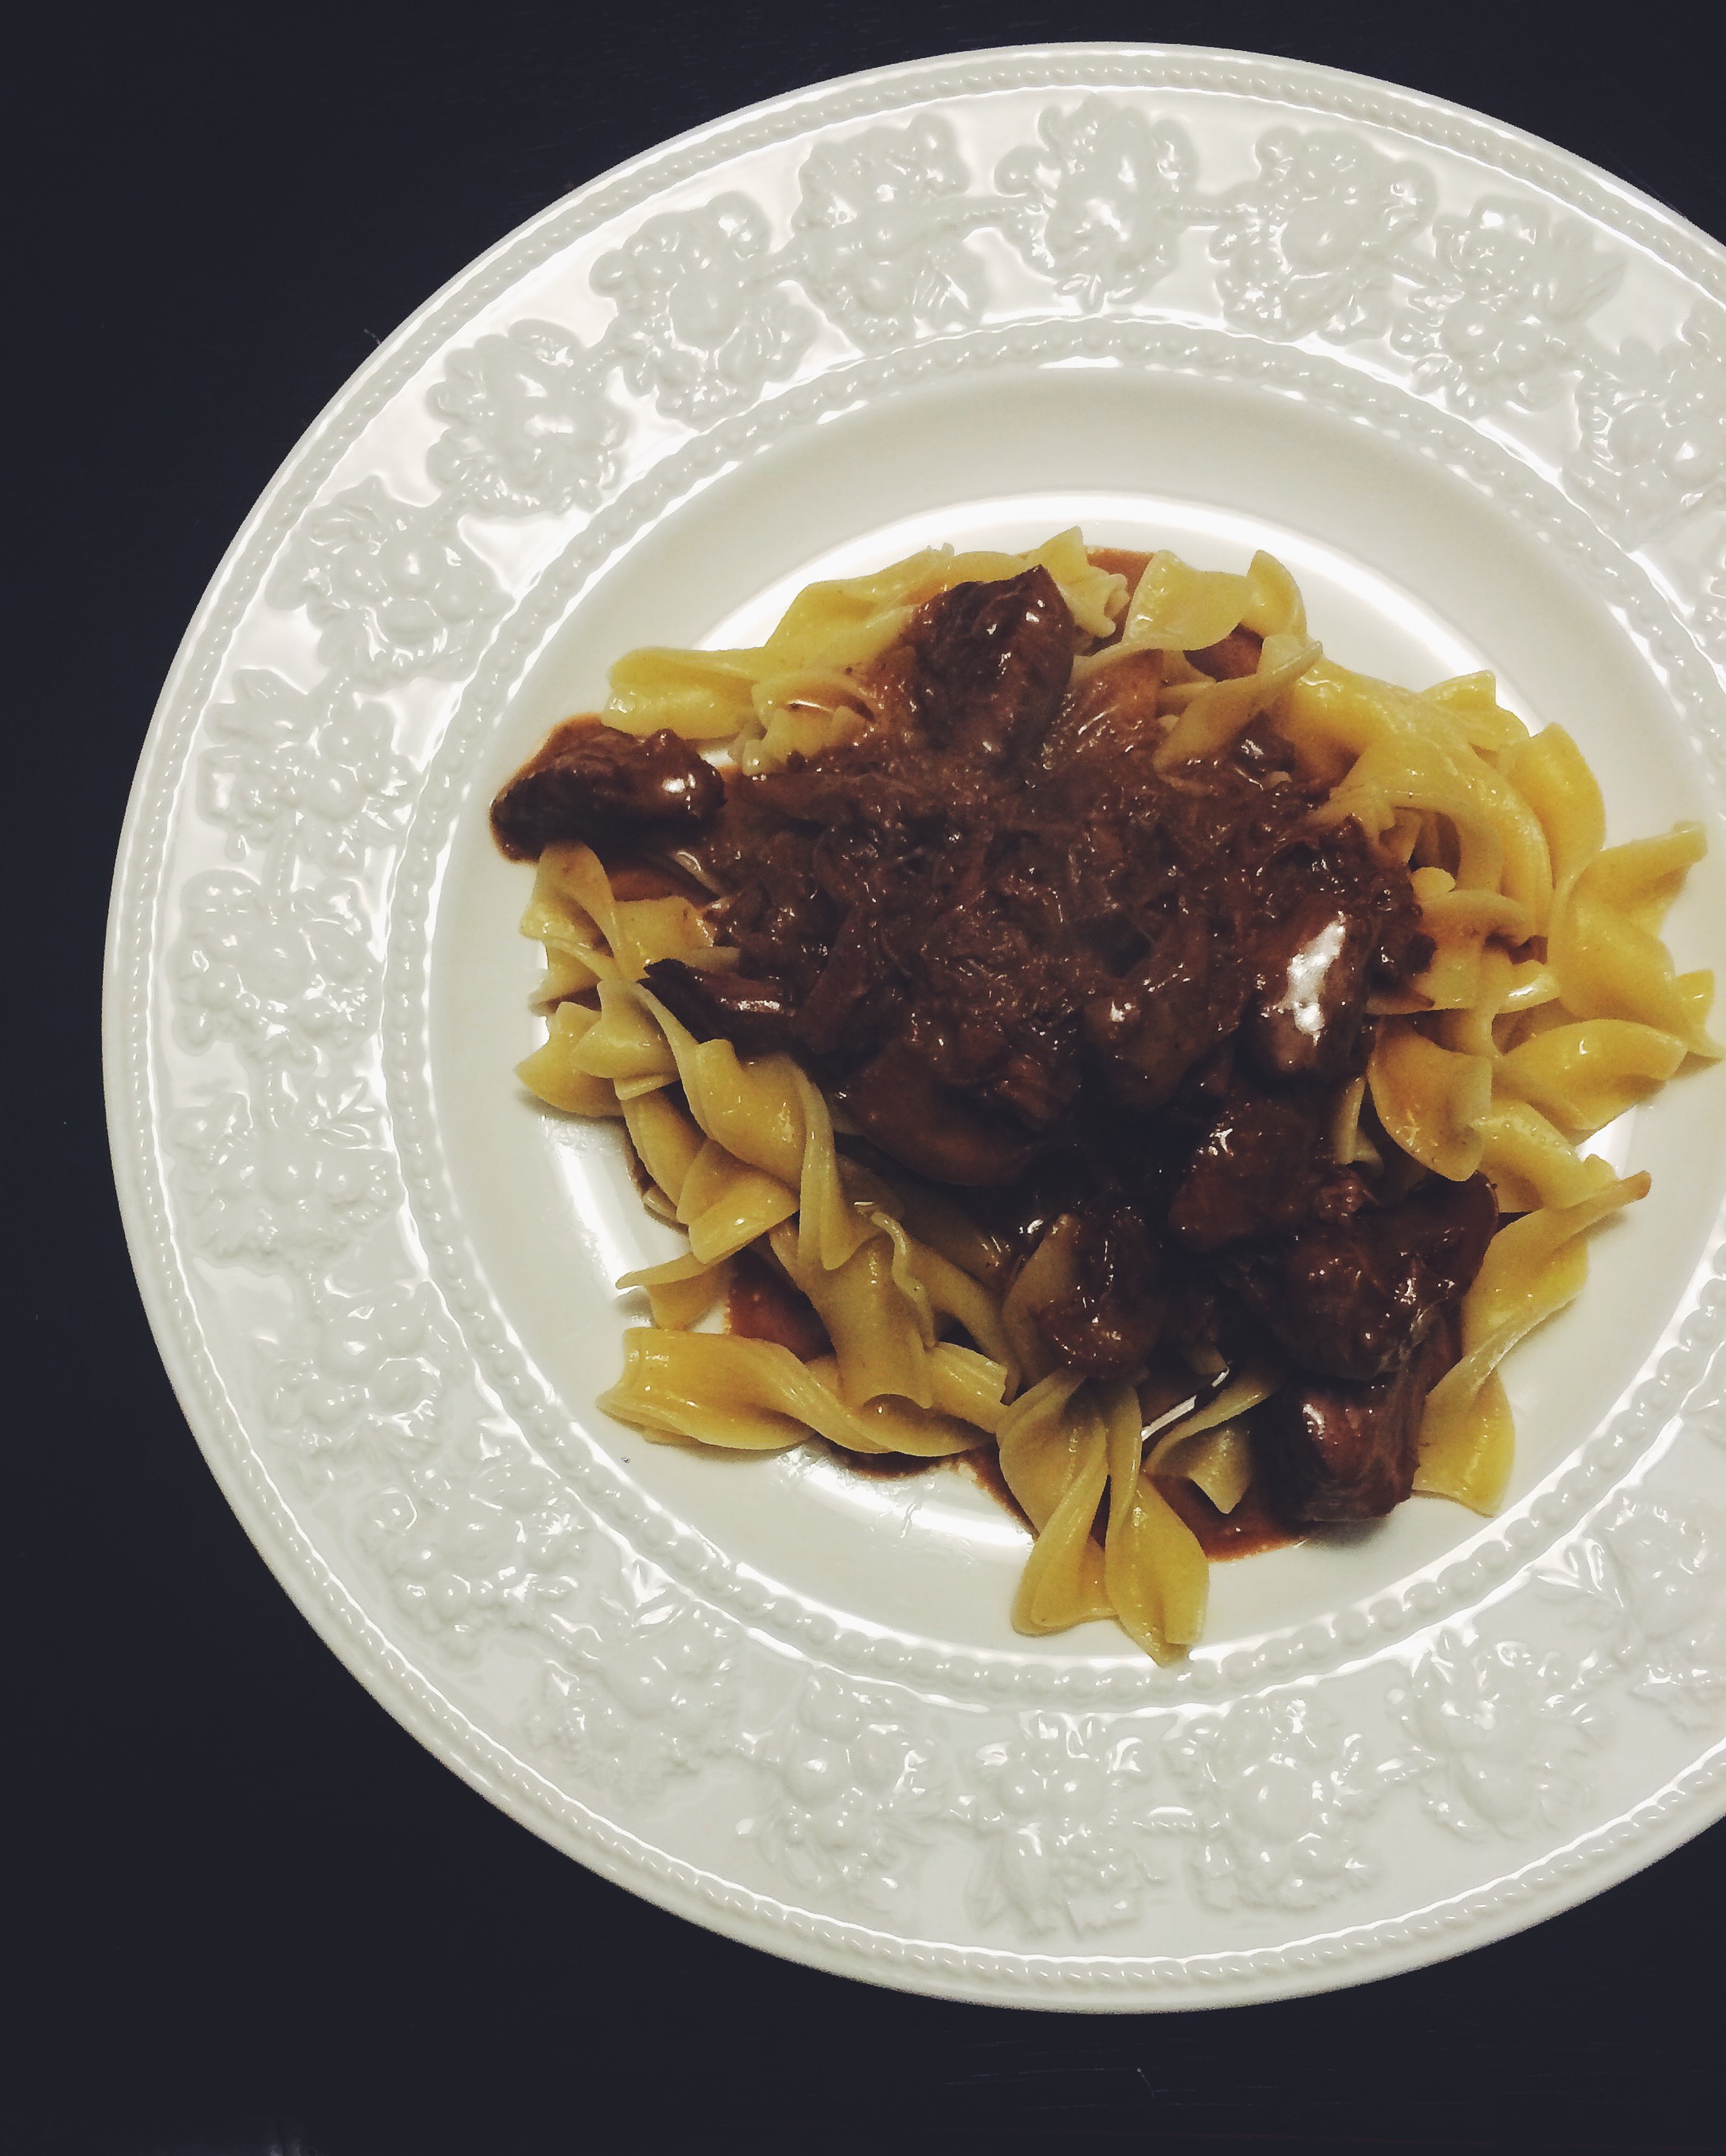
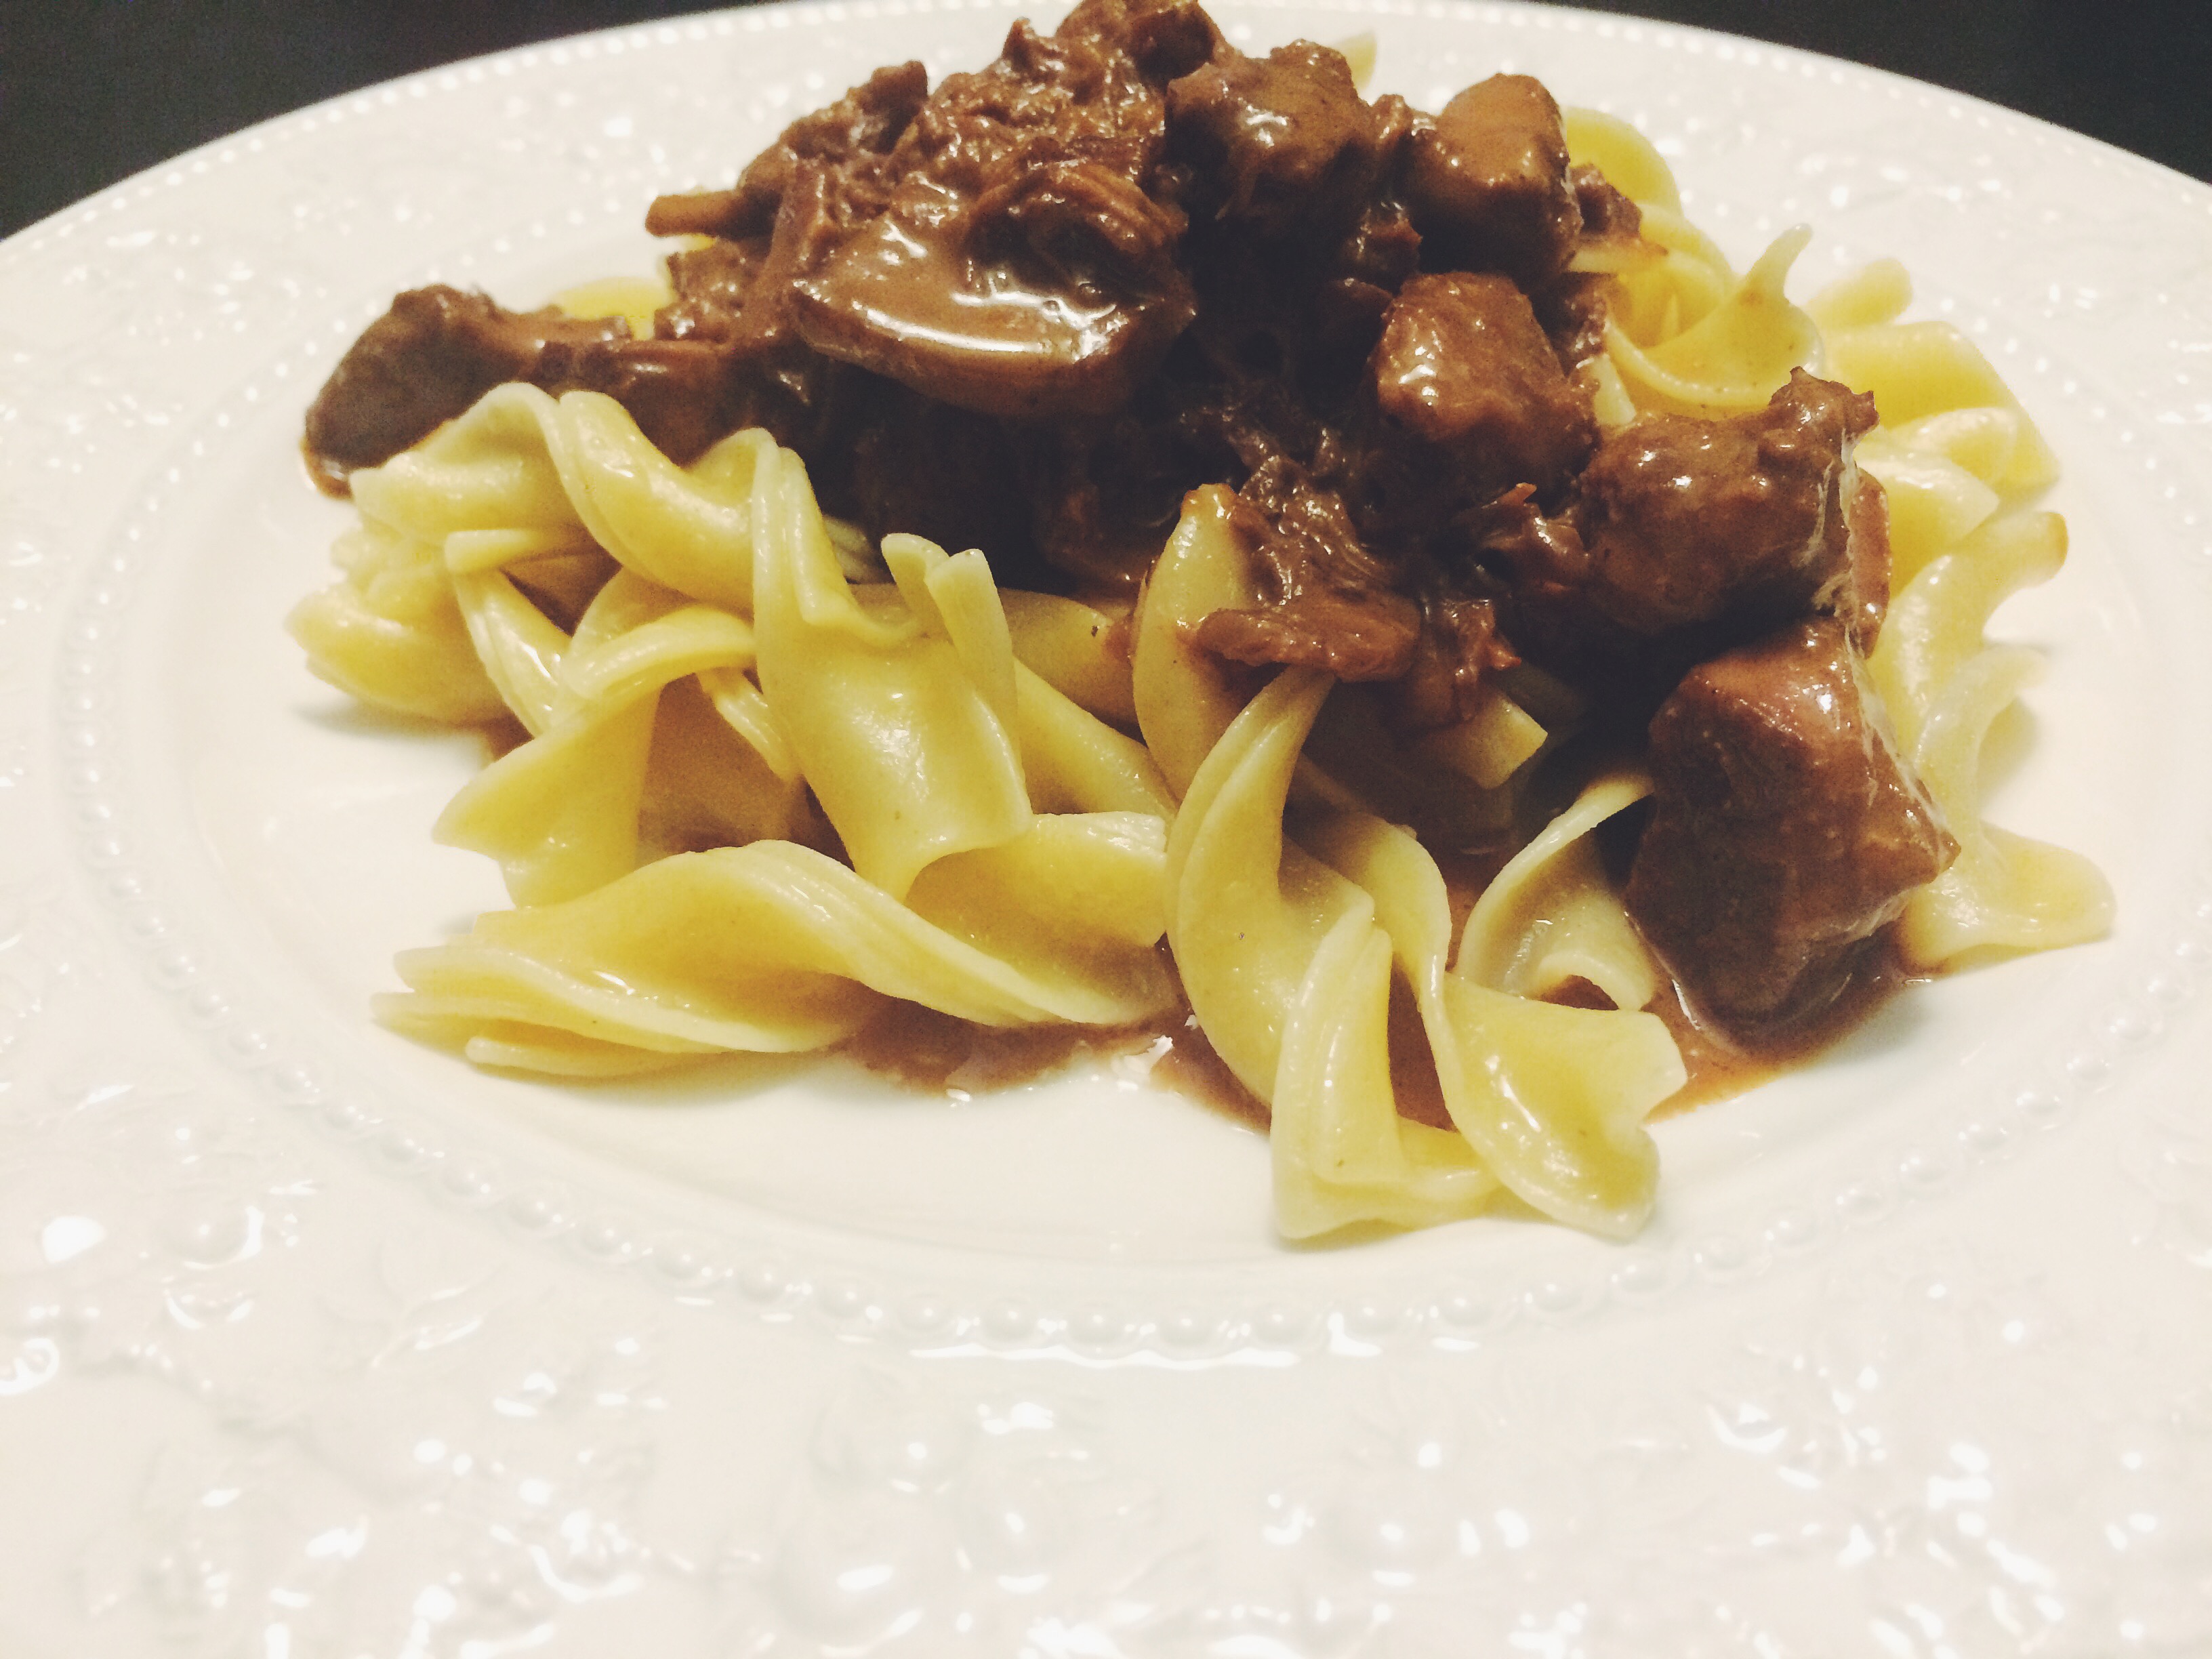
ENJOY IT. It simply doesn’t get better than braised pork on a corn tortilla. It just doesn’t. It’s succulent, but the acidity of the lime and the bite of the onion cut through the fattiness and it is just divine. So simple. But you all should know how I feel about simple food. It is the Bomb. Dot. Com.

Until next time!


A Hiatus and Some Pesto

It’s been awhile. Four months to be exact. What can I say? Life got in the way? I mean, it did. The company Michael and I run together took off with more work than we could have ever imagined. Not complaining of course. The more work the better, but the busier we got, the more we ate out. The more we ate out, the less I cooked (obviously).

But now I have some free time. Time to study recipes. Time to grocery shop. Time to cook. To create.

Now, how exactly did this free time stumble into my life? …Now would be a good time for feminists to skip to the next paragraph…Trust me, it’s for your own good.

It got really freakin’ hot outside. Blisteringly hot. I might die of heat stroke, hot. And I am not ashamed to let the manly men do the hard, manual labor while I stay inside and cook. Don’t feel bad about it at all, actually.

The scorcher allowed me to ease back into things with a very simple and light recipe. I mean, I gotta knock the rust off somehow. Plus, between you and me, the simplest recipes are the best.

Believe it or not, it’s the simplest recipes that are the hardest to get right. The hardest to perfect. Seasoning is key with the simple because if you don’t get everything just so, the dish falls flat. It’s bland. It’s boring. And we don’t like boring food, do we?

Seasoning? Check.

Great. But you still have to have superb ingredients. Just like with the seasoning, if one of the ingredients is subpar, the dish will leave something to be desired.

I know…who would think the simple would be so difficult?

I bet you’re all dying to know what recipe I started back with, aren’t y’all? Just can’t handle the anticipation…

…Basil Pesto.

I know. It’s random, but I was browsing through FoodGawker.com and this Fresh Mozzarella and Tomato Sandwich caught my eye. I’m a sucker for one of those babies. As is Michael. Perfect for that night’s dinner.

Let’s get back to it, shall we?

THE INGREDIENTS. I could continue to beat a dead horse, but I believe you all understand that only the best will do for this recipe. Fresh or nothing. Seriously. I will not entertain any other nonsense.

  • 1 cup Fresh Basil Leaves
  • 2 Garlic Cloves, minced
  • 1/4 cup Pine Nuts, toasted
  • 1/2 cup Parmesan Cheese, grated
  • 1 pinch Red Pepper Flake
  • Olive Oil
  • Salt and Pepper, to taste

THE METHOD. Basically, you just throw everything into a food processor and give it a buzz. Yup. That’s it. It’s not rocket science. Cooking never is.

  1. Place a small sauté pan over medium heat and throw in your pine nuts. Toast them until they are golden brown and smell delicious. (Fun fact: toasting the nuts brings out their oils and intensifies their flavor).
  2. In a food processor, place the basil leaves, the garlic, the freshly toasted pine nuts, the cheese, and the red pepper flake. Turn it on and drizzle olive oil until it reaches a consistency of your liking. I prefer a relatively runny pesto so that I can dip bread into it while I wait for dinner to be served. (What else would I do?)
  3. Season it with salt and pepper.
  4. Place it into a bowl and set aside. Let the raw ingredients marinate for a bit. At least an hour if not more.


ENJOY IT. The beauty of pesto is that you can serve it in a variety of ways. You can make it into a pasta sauce, you can use it as a spread on a sandwich, you can use it as a dipping sauce. The options are almost endless.

Not only are the options for this particular pesto numerous, but the ingredient options that go into pesto are infinite. Honestly. Those of you who have read my stuff before know that I like to teach the method so that people can go out and create anything that they want. Chefs know methods and understand how ingredients work together and that is why they can create such wonderful dishes. They don’t just have hundreds of recipes memorized (although some might).

You can take this recipe and change it up in any way that you want. You can swap out the leafy green element for kale, parsley, mustard greens, etc…

Pine nuts are expensive. You have my permission to never buy them again.  Use pecans, walnuts, almonds…any nut you want.

As for the parmesan, any hard cheese will do. Pecorino Romano, Asiago, Grana Padano (a personal favorite of mine)…

Get creative. That’s what cooking is all about.

Until next time…(which I promise won’t be four months from now).


A Blueprint to Success

Everyone has dreams. Things that they want to accomplish in their life.

Graduate High School.

Graduate College.

Get a Job.

Get Married.

Have Children.

Okay. So this list is pretty generic. But you have to admit that these are on most people’s lists of things to do in their life. Their bucket lists. Of course, everyone’s is unique in their own way.

Get a Tattoo.

Join the Peace Corps.

Travel the World.

But how many people actually complete these lists? Probably not many. It’s sad to think about. It’s sad to think that there are dreams out there in this world that won’t be accomplished because of time, money, etc. It sucks that there are constraints to our lives that we have absolutely no control over. Opportunity and luck are sometimes a very important part of the journey. Of our ability to strive for more and fulfill our biggest hopes and ambitions.

I have dreams. I have aspirations. Just like everyone else.

To Start My Own Food Shop. Cafe. Restaurant. Deli. Diner. What have you.

It’s obtainable. People do it every day. People also fail at it every day. You can’t just do something because you want to do it. There needs to be a plan. An outline. A blueprint to success.

I’ve started this blueprint. I’ve finally put pen to paper. I’ve drawn that first line.

I’ve had a conversation. I’ve gotten the ball rolling.

Hopefully it doesn’t stop.

—–

Happy Weekend, Everyone!

This post is different than most, I know. But I enjoyed writing it. Hopefully, you enjoyed reading it.

As most people know, opening up any sort of food business requires recipe testing and what not. That’s the stage I am at right now. One recipe at a time. Perfection is the goal.

Processed with VSCOcam with f2 preset

I believe I’ve started at the hardest one. Croissants. So many elements go into making the perfect croissant. My first go around was pretty successful. It’s a good starting point. Once I have them perfected, I’ll share the recipe with you all, but for now you’ll just have to wait in anticipation.

Until next time…

Processed with VSCOcam with f2 preset


Caesar Salad Dressing

Like with any job in any business, starting out in a restaurant requires you to work your way up for the bottom. I mean, it makes sense. You have time to work your way into the hearts and minds of the other people who work there. No one likes a person who just shoots straight to the top without having to sweep or shuck an oyster or two.

And that’s exactly what happened to me. I started out as a Garde Manger chef (keeper of the cold) and worked my way up to bigger and better things. I had to sweep and mop the floors. I had to take the trash out. I had to re-organize the walk-in on a daily basis. It’s just what you have to do when you’re the newbie. Never worry about being the newbie, though. There is always fresh meat walking through the door that will take over for a week or two until they get tired of the nonsense.

Yes…I know the TV makes being chef seem like so much more fun than it actually is. No, we don’t hire people to clean the kitchen. I’m not going to lie, you gotta be kind of a badass to be a chef. If you can’t handle the heat, then get out of the kitchen. Or so they say.

Processed with VSCOcam with f2 preset

My first several months were spent making all of the appetizers. Soups, salads, and bar snacks were all I made for months. In no time, you’re making cocktail sauce and corn soup without even putting any thought into it. Everything becomes second nature. In fact, it’s weird that you never really knew how to make cocktail sauce before starting this job. Why do people even purchase the bottled stuff? Homemade is bright and zesty. Just perfect for that freshly shucked oyster.

Salads were so easy to throw together before I knew better. A true restaurant doesn’t use anything store bought. Croutons are made out of old bread. Lettuces are cut and washed every day. Dressings are made in-house. Goodness, the amount of salad dressings that are possible to create is amazing. Ranch, Green Goddess, Boiled Dressing, Vinaigrettes, Emulsions…

The list is almost endless.

Caesar salad is my absolute favorite type of salad. Probably because it’s full of flavor and loads of fat. But moving on…I never use store-bought dressing anymore either. I’ve had the good stuff and I refuse to go back. No, you can’t make me. I won’t do it.

Like cocktail sauce, it has become second nature to make. I almost always have the ingredients lying around the apartment so I can make it pretty much whenever. It’s thick and creamy. It’s salty and spicy, yet bright at the same time. It’s pretty much a perfect caesar dressing. If you don’t make it at least once, you are doing yourself a terrible disservice.

THE INGREDIENTS. Most of the ingredients are things you have around the house. You’ll probably have to go out and buy one of them and that’s the anchovy, but there are a lot of other dishes you can make with it so don’t fret!

  • 1/2 Tsp Anchovy Paste (or 1-2 anchovy fillets packed in oil)
  • 1/2 Tsp of Dijon
  • 1 Whole Egg
  • 2 cloves of Garlic, minced
  • Juice of half a Lemon
  • 2 cups of Corn Oil (or any vegetable oil, I’m just used to using corn)
  • A dash or two of Worcestershire Sauce
  • A dash of Tabasco
  • Salt and Pepper to Taste

Processed with VSCOcam with f2 presetProcessed with VSCOcam with f2 presetProcessed with VSCOcam with f2 presetProcessed with VSCOcam with f2 presetProcessed with VSCOcam with f2 presetProcessed with VSCOcam with f2 preset

THE METHOD. So, you can make this dressing without a food processor, but I honestly wouldn’t. You’ll be whisking until your arm falls off. I’m not even kidding. You’re arm will literally fall off if you try to make this with a bowl and a whisk. So, don’t do it. Use a food processor or a blender of some sort. You will thank me later.

  1. In the bowl of a food processor, add the whole egg, anchovy, dijon, and garlic. Pulse until it is all combined. (Fun Food Science Fact: The lecithin in the dijon mustard helps emulsify and, therefore, stabilize the dressing.)
  2. Turn the processor on high and start to slowly drizzle in the oil. Oh, and I mean slowly. If you pour the oil in too fast, you might cause the emulsion to break and you’ll have to start all over. Trust me, that isn’t fun. It’s annoying and mighty frustrating.
  3. After drizzling in half of the oil, add your lemon juice. This will add brightness and also thin out the dressing a little bit.
  4. Continue to slowly drizzle in the oil.
  5. Once the dressing gets super thick, and it will, thin it out with a little bit of water. This is a super thick and creamy dressing, which I love, but it can get a little too thick. Hence the water.
  6. After you have drizzled in all of the oil, add your Worcestershire and Tabasco.
  7. Season to taste with salt and pepper.
  8. Pour in a covered bowl and place it into the refrigerator to mellow for a few hours.

Processed with VSCOcam with f2 presetProcessed with VSCOcam with f2 presetProcessed with VSCOcam with f2 preset

ENJOY IT. This dressing is amazing. My family asks me to make it all the time when we are all together because it’s one of the the best caesars they have ever had. It’s pretty pungent, too, so I wouldn’t go and make it on a first date if you know what I mean. But dang, it’s good. I personally used it for Chicken Caesar Flatbreads, a favorite of mine. But feel free to use it as you would any type of dressing. Or just buy pita to use as a vehicle for the deliciousness. That’s what I do, anyways. I merely add the lettuce and chicken to make it more acceptable to those that are around me.

Until next time…

Processed with VSCOcam with f2 preset

Shrimp Scampi

Okay. Okay. Okay.

There is a slight theme developing among my recent posts. There is a lot of pasta going on. It wasn’t planned. It’s just what I ended up making and they were dishes that I wanted to share with all five of you. But this time it wasn’t of my choosing. My family chose it and I obliged in making it for them because I’m such a kind and thoughtful person. But then again, is there such a thing as too much pasta? I didn’t think so…

So, I gave the people what they asked for: Shrimp Scampi.

Whenever I am about to make something, I make a game plan. I plan out steps. I mise en place (a place for everything and everything in its place…French for organizing and arranging ingredients). I do this for all cooking because it limits chaos and it makes cooking fun. I even draw it up.

Processed with VSCOcam with f2 preset

I kid you not. I do this every single time. And then I cook. I don’t measure anything either. I just guess as well as I can when I go back to write about it. I measure by tasting. Needs acid? I add lemon juice. Lacking salt? You guessed it…I add salt. A lot of times, cooking is a guessing game. In restaurants, line cooks aren’t back in the kitchen using tablespoons and measuring cups. They are using pinches of this and handfuls of that. After cooking for awhile, you just know how much is needed. Actual recipe creation in written format is time consuming. Just ask any cookbook writer.

So, take every recipe I post with a grain of salt. Alter it to your tastes.

With that being said, let’s get started…

THE INGREDIENTS. The success of shrimp scampi falls on the freshness of your ingredients. Gotta use fresh shrimp. Gotta use fresh parsley…the dry stuff is no good here. Fresh pasta (either handmade or store bought) is also the best option here. It just adds something that dry pasta can’t. You know what I am talking about if you’ve ever had freshly made pasta.

  • 1 lb of Shrimp, fresh
  • 1 Shallot, minced
  • 6 cloves of Garlic, minced
  • 1/2 cup of White wine (best to use a dry one such as Pinot Grigio)
  • juice of half a Lemon
  • 1/2 stick of Butter (plus or minus), cut into cubes
  • Salt and Pepper to taste
  • Oil
  • Fresh Spaghetti/Linguini (I personally made mine using this pasta recipe. But if you don’t have time for that, you can purchase it.)
  • Fresh parsley, finely chopped

Processed with VSCOcam with f2 preset

Processed with VSCOcam with f2 preset

Processed with VSCOcam with f2 preset

THE METHOD. Once the process starts, it’s best not to stop it. So it’s important to have everything ready to go before you start cooking.

  1. Bring a large pot of salted water to a boil.
  2. In a large pan over medium-high heat, add some oil. Add you garlic and shallot and sauté until softened.
  3. Add the wine and the lemon juice, allowing the alcohol in the wine to cook out.
  4. Reduce the heat to low and mount the sauce with butter. Take small amounts of the butter and whisk it into the sauce. You will notice the sauce starts to thicken. Continue added whole butter until the sauce it as a consistency of your liking.
  5. Season to taste with salt and pepper.
  6. Season the shrimp with salt and add them the pan with the sauce. The shrimp will slowly come up to temperature in the sauce and give it a delicious, shrimpy flavor.
  7. Once the shrimp are added, place the fresh pasta in the salted, boiling water. Fresh pasta takes only minutes to cook so it should be ready about the same time as the shrimp.
  8. Drain the pasta once it’s al dente, reserving some of the cooking water.
  9. Add the pasta directly to the pan with the shrimp, tossing it all together. If it’s dry, add some pasta water. The starch in the water also helps to thicken the sauce even more.
  10. Finish with the fresh parsley. Toss and serve.

ENJOY IT. It’s bright. It’s zesty. It has a subtle richness. It’s really quite delicious. Sure to be a hit at your next dinner party. It also has the added bonus of being thrown together in 10-15 minutes if all of your ingredients are prepared ahead of time.

Processed with VSCOcam with f2 preset

Until next time…


Beef Stroganoff

Newsflash. It’s gotten cold down South. We’ve been threatened with snow every other day for two weeks, but have barely seen any. Oh, but that doesn’t mean there hasn’t been any snow days. The schools are handing out those like Oprah hands out cars.

“You get a snow day! You get a snow day! Everybody gets a snow day!”

My high school never had snow days when I was there. And sometimes it actually snowed and we were one of the only schools still in session. Now, severe weather is in the forecast and it’s cancelled. There have been runs on the grocery store several times a week. I’m honestly surprised they can keep up as well as they have. I mean, you say the word “snow” in Chattanooga, Tennessee and the entire city is out of batteries and milk.

But enough of this snow talk. This blog isn’t for that kind of fairy nonsense. The main point is that it’s cold and do you know what that means? Stew. It means stew. Because stews are heavy and rich. Stews are comfort. Stews warm you up from the inside. It’s stew-time, people.

Processed with VSCOcam with f2 preset

Now, I’m personally not a huge fan of beef. I just prefer chicken, fish, and veggies. But I absolutely love Beef Stroganoff. Perhaps it’s because it doesn’t taste like boring, ol’ beef. It’s zesty. And it’s served with buttered noodles, which I’m a sucker for. (I’m really a sucker for any type of noodle, but that is beside the point).

Let’s get our stew on.

THE INGREDIENTS. 

  • 1 lb of Beef Chuck, cubed (You can just pick up a thing of that “stew beef” at the meat section in the grocery store. It works perfectly.)
  • 1 small Onion, thinly sliced
  • 1 small Shallot, thinly sliced
  • 1 pint of Button Mushrooms, cleaned and sliced
  • 1/2 cup of Red Wine
  • 3 tablespoons of Flour
  • Beef Stock
  • 1 to 2 teaspoons Dijon Mustard, depends on how zesty you are feeling
  • 1/4 cup of Sour Cream
  • Oil for browning meat/veggies
  • Salt and Pepper to taste
  • Eggs noodles, buttered (cooked according to the package, of course)

Processed with VSCOcam with f2 presetProcessed with VSCOcam with f2 presetProcessed with VSCOcam with f2 presetProcessed with VSCOcam with f2 presetProcessed with VSCOcam with f2 preset

Processed with VSCOcam with f2 preset

THE METHOD. Now, stews are all made the same way. It’s called the stew method. I know, they really put a lot of thought into that one. Any type of stew is made by following this method, which is good because then you can take the method and apply it to all kinds of tough cuts of meat. We’re teaching technique here, not recipes. Recipes are just the teaching vehicle of the technique.

  1. Get a dutch-oven type dish hot over medium-high heat. Working in batches, brown the beef on all sides. Do this by taking a small amount of the beef and seasoning it with salt and pepper. Add a little bit of oil to the pan and brown up the meat. Repeat this until all of the meat has been browned.
  2. Add a little bit more oil to the same pan if needed. Add your mushrooms, onions, and shallots and cook until caramelized. Stews are all about building layers of flavor. These layers are created by browning food. Not burning food, but browning it. This should take about 10 minutes or so.
  3. You’ll notice brown bits at the bottom of the pan. These are delicious brown bits. These are the brown bits that will create that rich flavor for your stew. We need to remove these brown bits from the bottom of the pan and this is done through deglazing, which is accomplished by adding liquid to a hot pan to dissolve those brown bits into the sauce. We will complete this process with red wine. So add your red wine to the pan. Scrape those bits off the bottom of the pan. Let the wine reduce until it is nearly dry, a term we chefs refer to as au sec (it’s French. You should look it up).
  4. Now add your flour and stir, allowing it to cook for a couple of minutes.
  5. Add you beef back into the pot along with any juices that are left on the plate/in the bowl.
  6. Add enough beef stock until the beef is completely covered.
  7. Bring this to a boil then reduce it to a simmer. Cover and allow it to cook for at least an hour. I personally let mine cook for 2+ hours and it comes out amazing (Not to toot my own horn or anything).
  8. Turn the heat off and add your dijon and sour cream.
  9. Serve it over buttered egg noodles.

ENJOY IT. This dish is perfect to warm you up on a cold evening. It’s a good thing it’s still Winter and you can make it this evening. Yup. That’s right. Go ahead and make it tonight. Your family won’t regret it. You sure as hell won’t regret it. But if by some weird occurrence that you do, have your people call my people. We’ll work it out…

Until next time…

Ricotta Gnudi

Okay…I’ll admit it. I have a favorite type of food.

But who doesn’t?

My favorite type of food is homey. It’s comfort. It’s not pretentious.

It’s Italian.

A dream of mine is to travel to Italy and study the food. The wine. But just one region. I don’t know…Tuscany…or maybe Florence…Sicily? I haven’t decided yet. Each has their perks.

Why just one region you might ask? Well, think of the United States. We have different regions that consume different types of food. Down here in the Southern states we eat heavier items such as fried chicken and macaroni and cheese. Up in the Northern areas you have pizza and Philly cheesesteaks. You can’t forget about chili and tacos as you head out West. I mean, you very rarely walk into a restaurant that has all of these options available to you. So why should you walk into an Italian restaurant expecting items from each region? You shouldn’t. The climate dictates the food. And as it should.

I want to take this knowledge and open up my own little Italian place. Great food. Great wine. What’s not to love?

The only problem is that I have to choose. But I don’t have to choose now. Today, I can make whatever I want. Today, I will make Ricotta Gnudi or as I like to call them…Delicious, Cheesy Pillows.

Shall we begin?

Processed with VSCOcam with f2 preset

THE INGREDIENTS.

  • 2 cups Whole Milk Ricotta
  • ½ cup Parmesan, finely grated
  • 1 Whole Egg, beaten
  • 1 Egg Yolk, beaten
  • ½ teaspoon Black Pepper
  • ½ teaspoon Salt
  • ½ cup Flour (plus some)
  • Tomato Sauce

Processed with VSCOcam with f2 presetProcessed with VSCOcam with f2 preset


Processed with VSCOcam with f2 presetProcessed with VSCOcam with f2 preset

THE METHOD. We are basically making a very light dumpling. It’s easy to throw together, but takes a little bit of trial and error.

  • Place the ricotta, Parmesan, whole egg, egg yolk, salt and pepper in a bowl. Stir until everything is combined.
  • Fold in the ½ cup of flour. The dough will probably be pretty wet at this point. Add more flour a little bit at a time (say a tablespoon at a time) until the dough is soft, but not wet looking. It will sort of form a ball.
    • This step is why I said it’s trial and error. Until you make them once, you won’t really know what works and what doesn’t. To make this easier, have a pot of boiling water on the stove. Make a dumpling and cook it. Taste it. If it works, then make the rest. If it doesn’t (taste wise or consistency wise, fix it and repeat).
  • To make the gnudi, you’ll need two large spoons. We’ll be making “quenelles” or oval, football-shaped dumplings. You use the two spoons to mold the dough in the shape. Very difficult to explain via text so look at the pictures.

Processed with VSCOcam with f2 preset

Processed with VSCOcam with f2 preset

Processed with VSCOcam with f2 preset

  • As you form the quenelles, place them on a floured baking sheet.
  • To cook, place the dumplings in the boiling water. They will float to the top pretty soon after you add them, but they aren’t done cooking yet. Allow the dumplings to cook for 5-6 minutes. Strain them and toss with your favorite sauce…tomato…brown butter and sage…it’s your choice!

Processed with VSCOcam with f2 preset

Processed with VSCOcam with f2 preset

ENJOY IT. This is a dish that you might not get right the first time. Maybe the gnudi are too dense or perhaps they disintegrated while you cooked them. Most foods are trial and error. Very rarely does a dish turn out fantastic the first time you make it. But don’t give up because there is nothing like the feeling of finally nailing a recipe that you’ve been struggling with for awhile. If you do nail it the first time, eat a gnudi and do a happy dance.

Until next time…


Bucatini with Roasted Tomato Sauce

I love a traditional tomato sauce. I mean, who doesn’t? It’s used as the base of many Italian favorites such as Spaghetti and Meatballs, Pizza, and Eggplant Parmigiana. Everyone has their own variation that they claim is the best. Each has a special step or a secret ingredient that makes it stand our from all the rest. I am no different. I have my own recipe for what I think is the best tomato sauce (and it’s pretty dank, I’m not going to lie).

There is one problem, though. It takes at least half a day to make a great tomato sauce. It’s not something that can just be thrown together in a hour. Okay…it can be thrown together in an hour, but it’s not going to taste near as good as it would if you let it simmer for several hours. As with many great dishes, the longer the cooking process the more depth of flavor you will create. And flavor is the primary goal for us cooks.

But what if I were to tell you that there is in fact a way for you to get a robust and flavorful tomato sauce in under an hour?

I’m serious! It’s the easiest sauce you’ve ever made and it might even taste better than the one you slave away on all day long.

The key is roasting. Yup, thats right. You roast your entire tomato sauce in the oven…and 45 minutes later you have a delicious topping for that pasta of yours.

Processed with VSCOcam with c1 preset


THE INGREDIENTS. 

  • 1 28 oz. can of Whole Tomatoes, peeled. ( I personally use San Marzano tomatoes because they are the best. No contest.)
  • 6-8 cloves of Garlic, peeled and crushed
  • 1 tsp Anchovy paste (or 2 anchovy fillets packed in oil)
  • 1/2 cup of butter, cut into small pieces
  • a pinch or two of red pepper flake (the amount depends on how spicy you want it)
  • Salt and Pepper to taste
  • Grated/Shaved Pecorino
  • 12 oz. Bucatini

Processed with VSCOcam with f2 presetProcessed with VSCOcam with c1 presetProcessed with VSCOcam with c1 preset

THE METHOD. This sauce couldn’t be any easier to throw together. The only way it’d be easier is if someone else invited you over to dinner and this was the sauce they made, which, not gonna lie,  would actually be my preferred way to have it made. But…no one invited me over this week so I made it myself.

  1. Preheat your oven to 425 F.
  2. In a baking dish, place the tomatoes (crushed up a bit, but not too much because we like a chunky sauce), the garlic, the anchovy, red pepper flake, and the salt and pepper. Mix it up a bit. Top it with the butter and throw it on in the oven.
  3. Roast it for 35-45 minutes. Half way through the process, give the tomatoes a stir.
  4. Once the garlic is soft, take the sauce out of the oven and let it cool a bit. Then take a potato masher or immersion blender and give it a little mash up to combine everything. (This can be done in advance and the sauce warmed before serving).
  5. Bring water to a boil in a large pot. Add salt until it tastes like the sea. Cook the pasta until it’s al dente.  
  6. Drain the pasta, making sure to reserve 1/2 cup of the cooking water.
  7. Place the pasta back in the pot, add the pasta, and the water. Toss the pasta and sauce together, cooking it for an additional 3 minutes.
  8. Serve with the grated pecorino. You can also use parmesan.

Processed with VSCOcam with c1 presetProcessed with VSCOcam with c1 preset

ENJOY IT. This sauce is an intense tomato sauce. It has a nice spice from the red pepper flake and the anchovy adds that umami effect, which is all the rage these days. So if you were wondering if you could leave the anchovy out because you just can’t stand anchovy, I wouldn’t. (FYI, you’ve had anchovy before. You just don’t know it. It’s a key ingredient in Caesar dressing as well as Worcestershire sauce. So there). Just don’t tell anyone that it’s in there. They’ll never know, I promise.

Until next time…

Processed with VSCOcam with c1 preset


Spinach and Artichoke Dip

We all know what happened last Sunday….

It was Super Bowl Commercial Day! I just have to say that this year they really keyed in on our emotions as opposed to making us laugh. I still stand by my previous comments that it was just a little “dusty” in the room during the Budweiser “Lost Puppy” ad. No, I was not tearing up…that was someone else named Kelley…*cough*…

Anyways…

We all gathered around our televisions to either watch the football game, which was quite the game, by the way, or the commercials, which had their ups and downs (c’mon Nationwide…was that necessary?) To be honest, we are all probably most excited for the Super Bowl spread as opposed to anything else. Wings, hotdogs, chips, and dips. What’s not to love? We had an excuse to chow down for a full four hour period of time and not feel guilty about it because, um…hello? It was Super Bowl Sunday.

Processed with VSCOcam with f2 preset

I personally made this dank Spinach and Artichoke Dip from Bon Appetite. I was scrolling through my Twitter feed and bam! There it was. Looking all hot and tasty. So, I thought why not? Dips are pretty easy to throw together and they are usually crowd favorites for parties. Plus, anything that combines cream cheese, sour cream, AND mayonnaise is probably worth the fuss. (All full-fat versions, by the way, none of this low/reduced fat nonsense up in here. C’mon…it’s a holiday. Live a little).

Let’s. Get. Started.

Processed with VSCOcam with f2 presetProcessed with VSCOcam with f2 presetProcessed with VSCOcam with f2 presetProcessed with VSCOcam with f2 preset

THE INGREDIENTS. 

  • 1 package Frozen Spinach, thawed, drained (like super drained…don’t want watery dip) and chopped
  • 1 can of Artichoke Hearts, chopped
  • 1 large Shallot, finely diced/grated
  • 1 clove of Garlic, finely diced/grated
  • 1 tsp of Vegetable Oil
  • 4 oz of Cream Cheese (at room temperature…trust me)
  • 1/2 cup of Sour Cream
  • 1/2 cup of Mayonnaise
  • 3/4-1 cup of Parmesan Cheese
  • Salt and Pepper to taste
  • Chips…Crackers…Toasted Baguette (my personal preference)…Basically, a vehicle of your choosing for the dip because a spoon is frowned upon

THE METHOD. It’s pretty simple really. Cook this. Chop that. Throw everything together and stir. Bake until bubbly and delicious. Okay…fine. I’ll go into a little bit more detail.

  1. Preheat oven to 400 F.
  2. In a skillet over medium heat, add your oil and sauté the shallot until softened, about 5 minutes. Stir in your garlic and cook another minute.
  3. Add your thawed, DRAINED, and chopped spinach. Cook for a few minutes. Season to your liking with salt and pepper. Set aside and allow it to cool.
  4. In a large bowl (or food processor if you really want to get that dirty) add your cream cheese (at room temperature), sour cream, and mayonnaise. Stir until smooth and combined.
  5. Fold in your chopped artichokes, spinach mixture, and parmesan cheese. Season with salt and pepper until it tastes delicious.
  6. Place in a quart-sized baking dish and bake for 20 minutes or so. Allow it to cool slightly before serving.
  7. Serve with the vehicle of your choosing.

ENJOY IT. Not that this tip is necessary. We have homemade spinach and artichoke dip. Who needs to be told to enjoy it? Certainly not this girl. This particular version is thick and luxurious…the way all dips need to be really.

Until next time…

Processed with VSCOcam with f2 preset

Well, What Happened Was…

I have a confession.

Some recipes are more difficult to make than others.

Shocking, I know. You can pick your jaw up from the floor now.

I’m the type of person that gets really excited to try something new (in the kitchen that is). Especially when it’s something I’ve never attempted to make before in some shape or form. I go all out. I go buy wine because let’s face it, you can’t cook without wine. Plus, when it all goes south, you have something to drown your sorrows in right then and there. But, moving on…

Processed with VSCOcam with f2 preset

Processed with VSCOcam with f2 preset

I sometimes even go to the expensive grocery stores like Whole Foods because the first attempt at a new dish needs the best ingredients you can get. You don’t want to set up the dish for failure before you actually begin cooking. (Confession: I didn’t actually go to Whole Foods for this particular dish because it didn’t need super fancy ingredients. I’m just informing you that I do it sometimes. But…oh, maybe that’s why it didn’t work out to my liking…Now, I’m going to have to go Whole Foods for every first try on a dish for the rest of my life. Goodbye, all future paychecks. I miss you already.)

Anyways, some dishes just don’t work out for you the first time. Happens to me more often than I would like to admit to myself. I’m trained, dammit. I should be able to read a recipe and execute it to perfection!

Processed with VSCOcam with f2 preset

“The freakin’ recipe must be flawed,” I think to myself in frustration.

That’s true sometimes. A recipe can be flawed, but not every recipe has something wrong with it. Let’s take into consideration one of my favorite sayings about relationships and apply it here: If you mess it up once, maybe it’s the recipe’s fault. If you give it another go and mess it up again, maybe it was a fluke. But if you give it a third try and everything goes awry, it’s just straight-up you. You’re the reason it didn’t work out. (Yup, someone told me this once as a joke concerning my relationships during my late-teens and early twenties…I didn’t find it very amusing at the time, but hey, it works here!)

Processed with VSCOcam with f2 preset

** I mean, really…look at it! **

So, what’s the point of this long and drawn out introduction? Well, what happened was…I tried to make tortillas for this particular blog post. I was feeling pretty confident (read cocky). I’ve never tried to make tortillas before and, by damn, I was going to nail it on the first try. Never mind that people learn this particular skill from their grandmothers (great-grandmothers and mothers, too) and the recipes have been passed down from generation to generation..but it’s like four ingredients so how difficult could it be?

Turns out a lot difficult. Okay, so it’s not like I blew up the stove or anything. They were tortilla-esque, but not really. Were they edible? Sure, if dry and crunchy around the edges is edible to you as a tortilla. I’m a perfectionist, so in my eyes they were a complete-and-utter failure. If you ask Michael, he says they were great, but he’s kind of required to say that to prevent the next tortilla from being thrown at his face…(which totally didn’t happen, by the way…)

Processed with VSCOcam with f2 preset

Like with a lot of traditional dishes cherished by their people, a recipe is sometimes just no good. It will never be helpful. Especially concerning tortillas. I just didn’t know what the dough was suppose to look like or feel like. As it turns out, my dough was too dry. It needed more moisture for the inside to steam open as it cooked on the griddle in order to make a soft and tender finished product. But hey, you can’t truly appreciate success unless you’ve failed a couple of times before that, right?

I’ll give it another go this week. Hell, I bought enough Crisco to give it a go once a week every week for the foreseeable future.

Until next time…