Well, What Happened Was…

I have a confession.

Some recipes are more difficult to make than others.

Shocking, I know. You can pick your jaw up from the floor now.

I’m the type of person that gets really excited to try something new (in the kitchen that is). Especially when it’s something I’ve never attempted to make before in some shape or form. I go all out. I go buy wine because let’s face it, you can’t cook without wine. Plus, when it all goes south, you have something to drown your sorrows in right then and there. But, moving on…

Processed with VSCOcam with f2 preset

Processed with VSCOcam with f2 preset

I sometimes even go to the expensive grocery stores like Whole Foods because the first attempt at a new dish needs the best ingredients you can get. You don’t want to set up the dish for failure before you actually begin cooking. (Confession: I didn’t actually go to Whole Foods for this particular dish because it didn’t need super fancy ingredients. I’m just informing you that I do it sometimes. But…oh, maybe that’s why it didn’t work out to my liking…Now, I’m going to have to go Whole Foods for every first try on a dish for the rest of my life. Goodbye, all future paychecks. I miss you already.)

Anyways, some dishes just don’t work out for you the first time. Happens to me more often than I would like to admit to myself. I’m trained, dammit. I should be able to read a recipe and execute it to perfection!

Processed with VSCOcam with f2 preset

“The freakin’ recipe must be flawed,” I think to myself in frustration.

That’s true sometimes. A recipe can be flawed, but not every recipe has something wrong with it. Let’s take into consideration one of my favorite sayings about relationships and apply it here: If you mess it up once, maybe it’s the recipe’s fault. If you give it another go and mess it up again, maybe it was a fluke. But if you give it a third try and everything goes awry, it’s just straight-up you. You’re the reason it didn’t work out. (Yup, someone told me this once as a joke concerning my relationships during my late-teens and early twenties…I didn’t find it very amusing at the time, but hey, it works here!)

Processed with VSCOcam with f2 preset

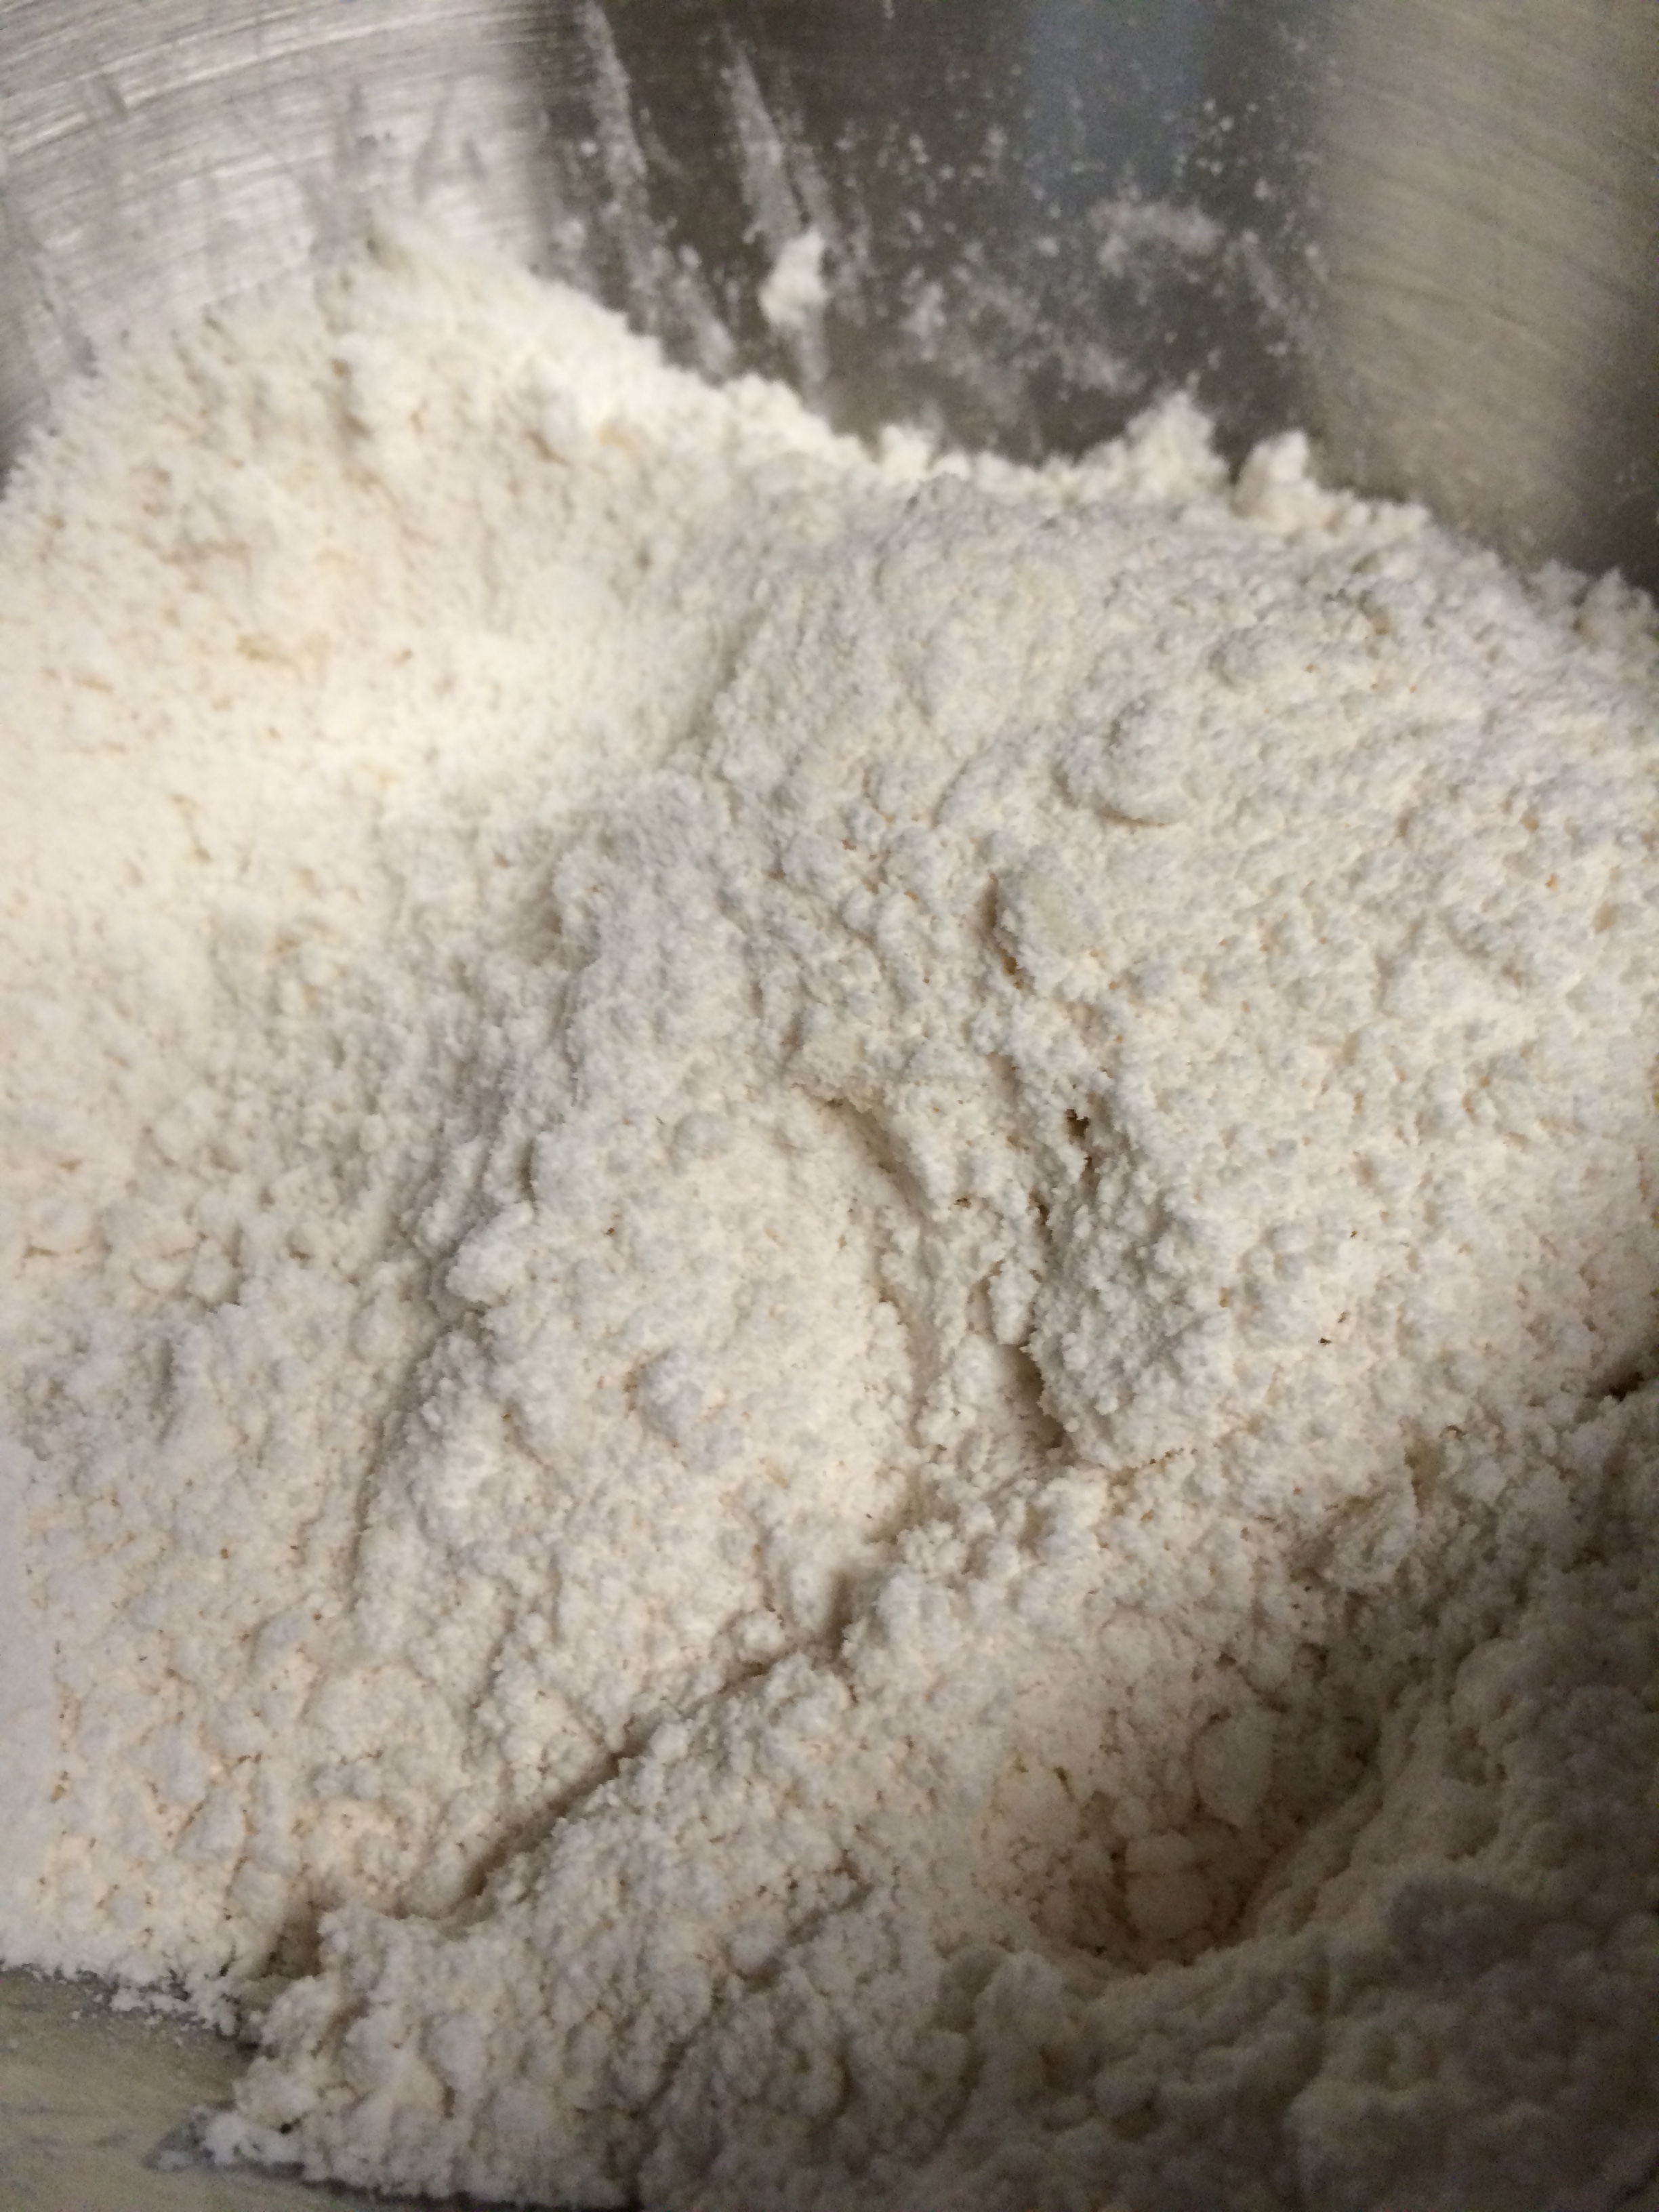
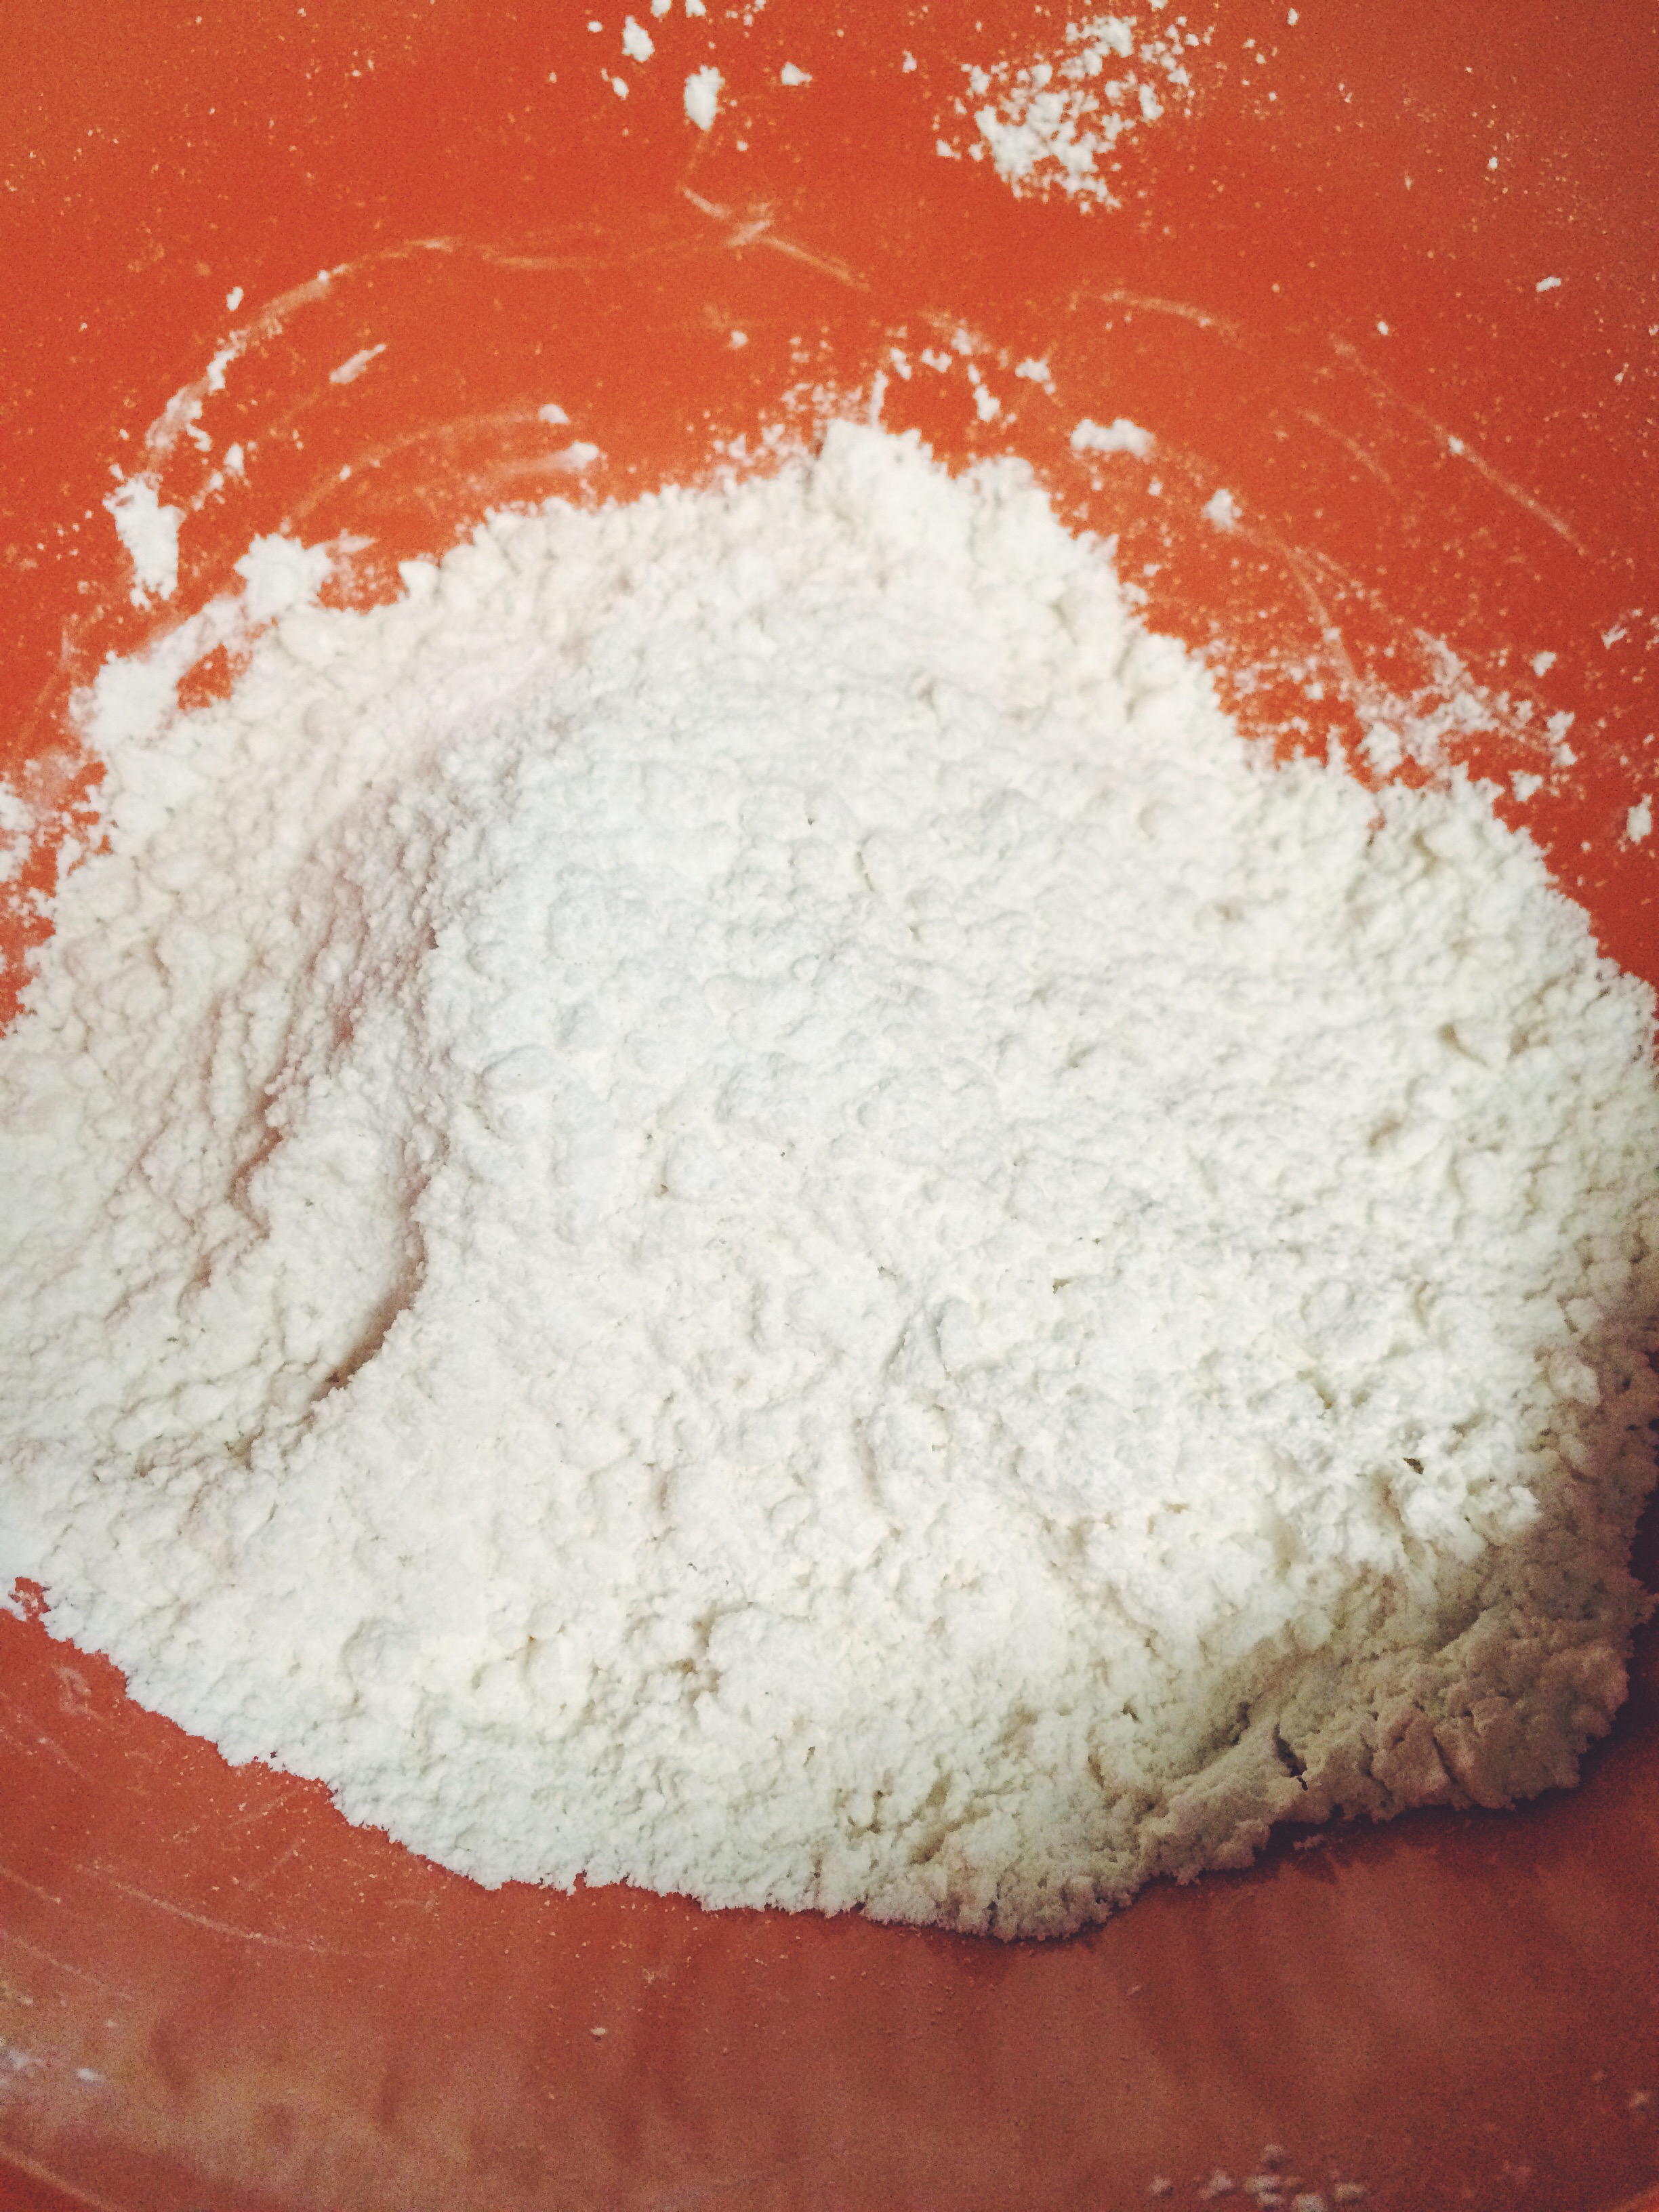
** I mean, really…look at it! **

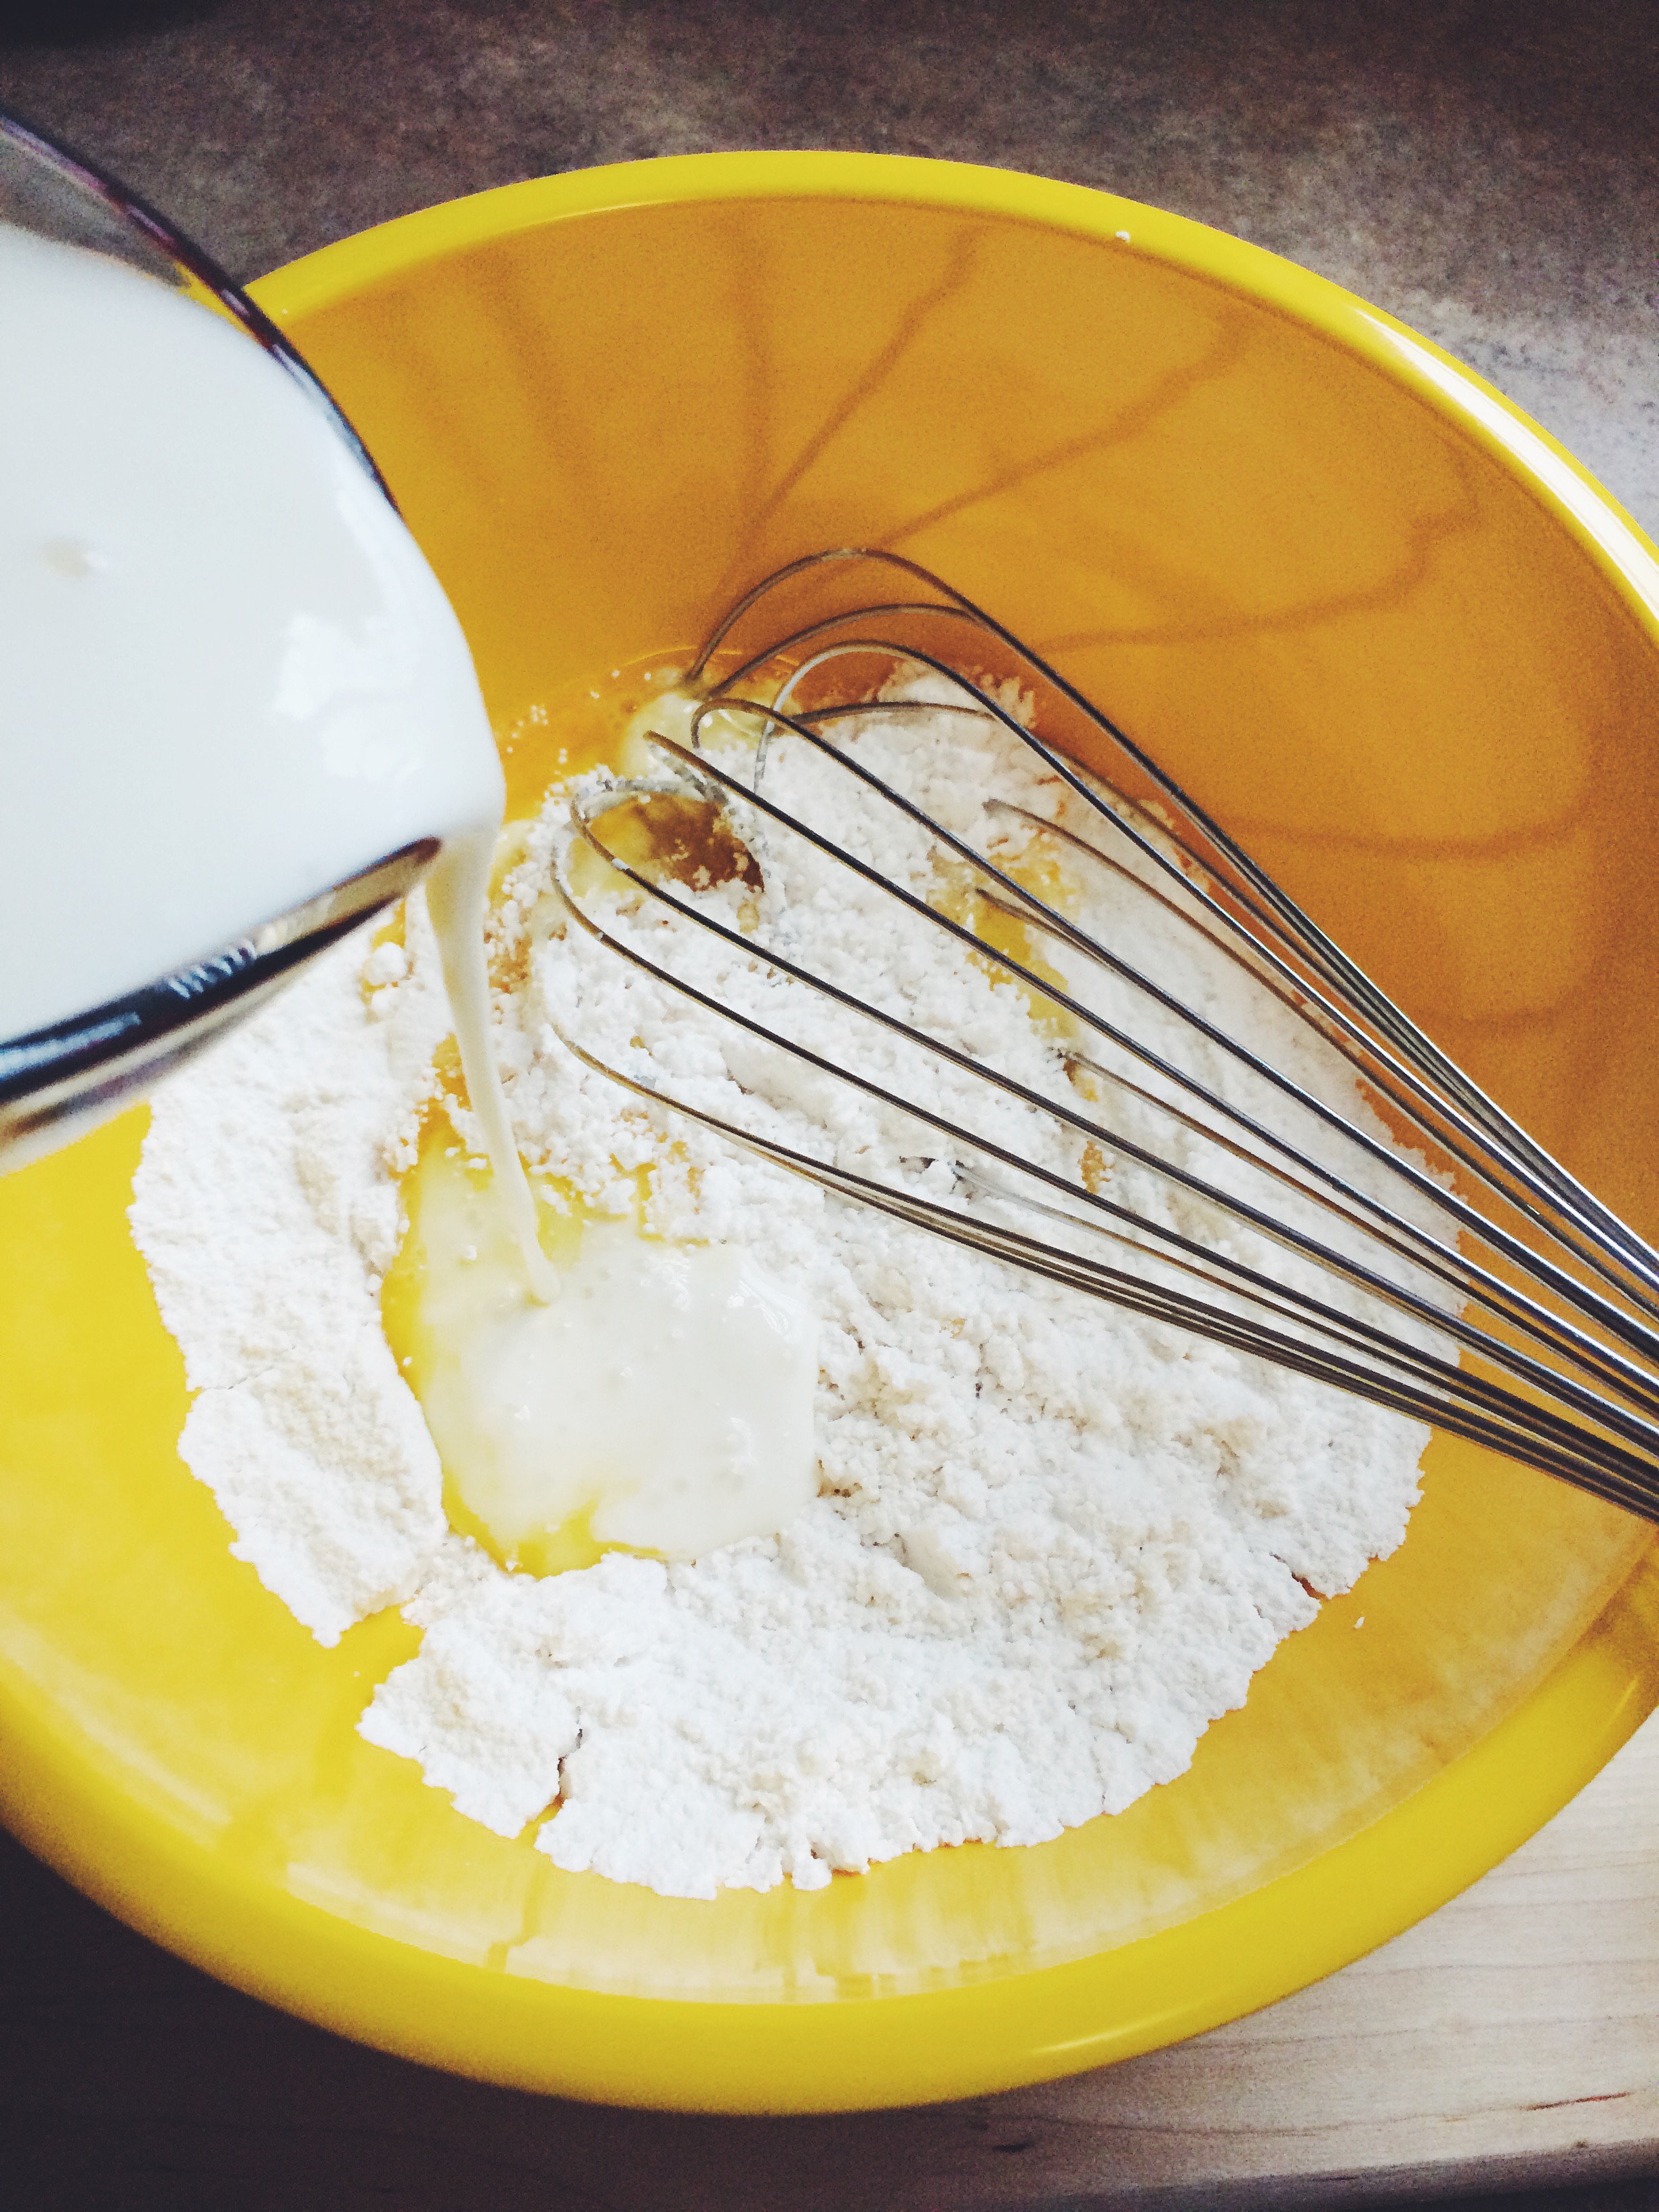
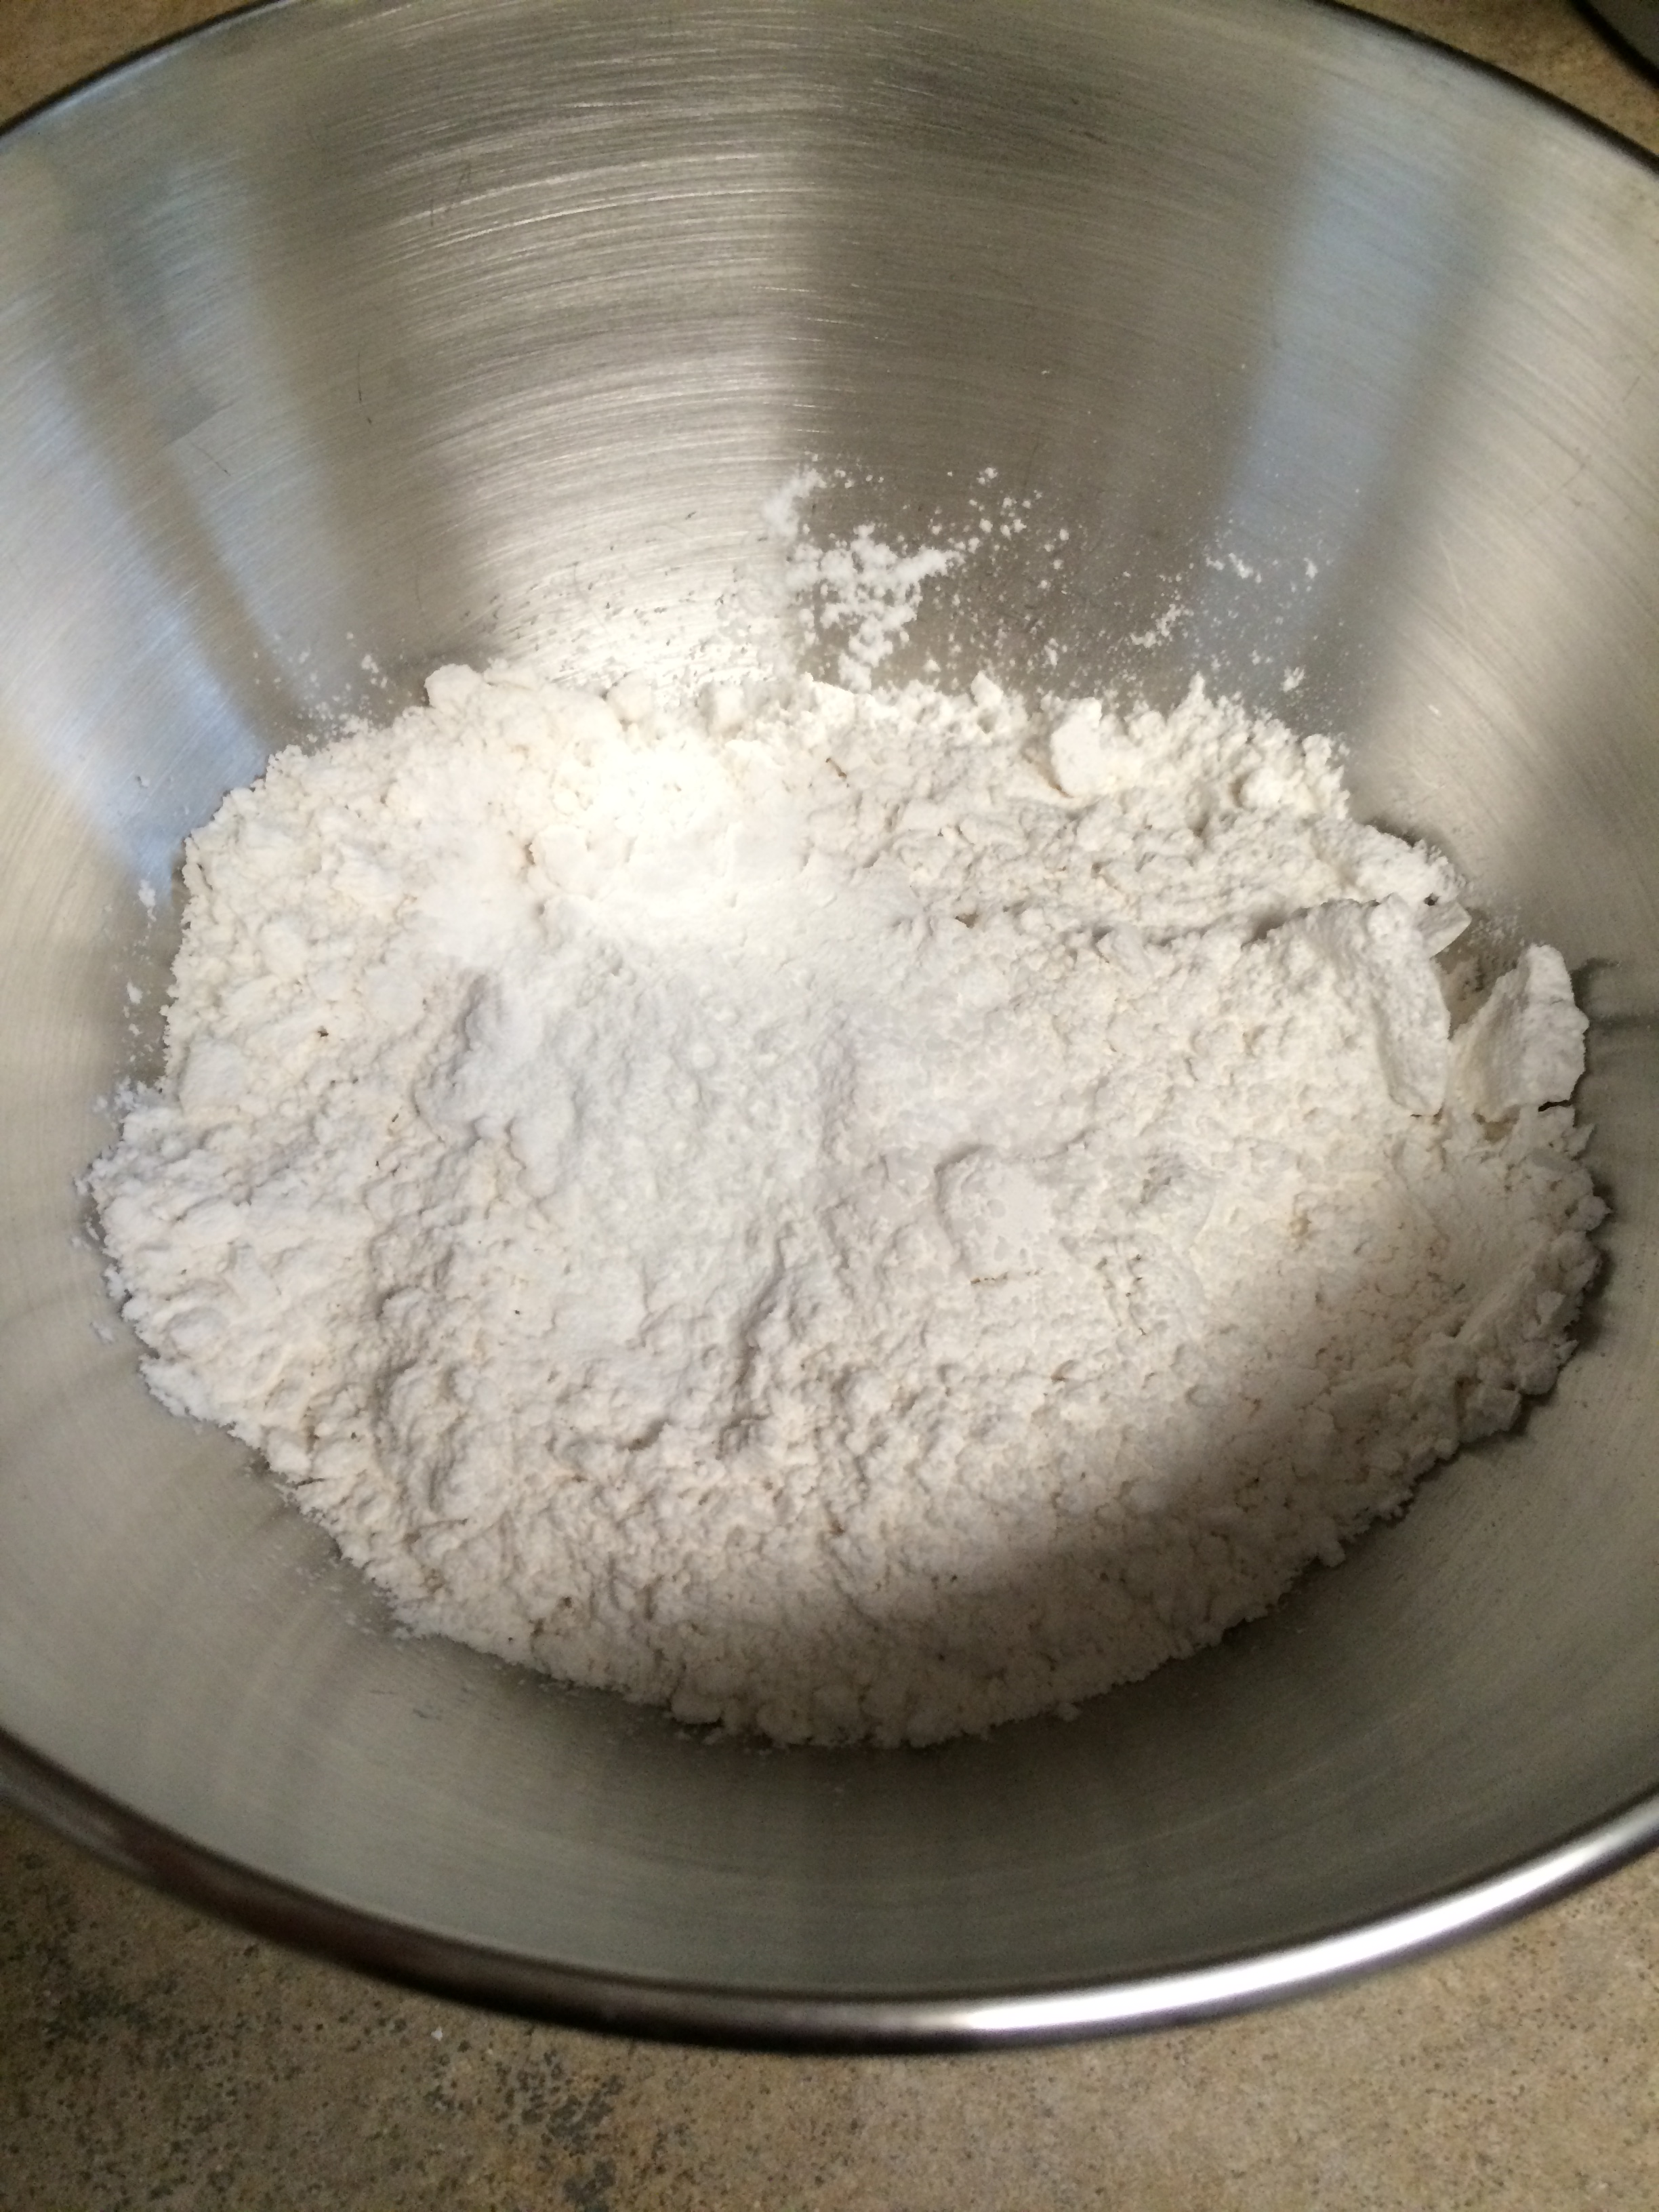
So, what’s the point of this long and drawn out introduction? Well, what happened was…I tried to make tortillas for this particular blog post. I was feeling pretty confident (read cocky). I’ve never tried to make tortillas before and, by damn, I was going to nail it on the first try. Never mind that people learn this particular skill from their grandmothers (great-grandmothers and mothers, too) and the recipes have been passed down from generation to generation..but it’s like four ingredients so how difficult could it be?

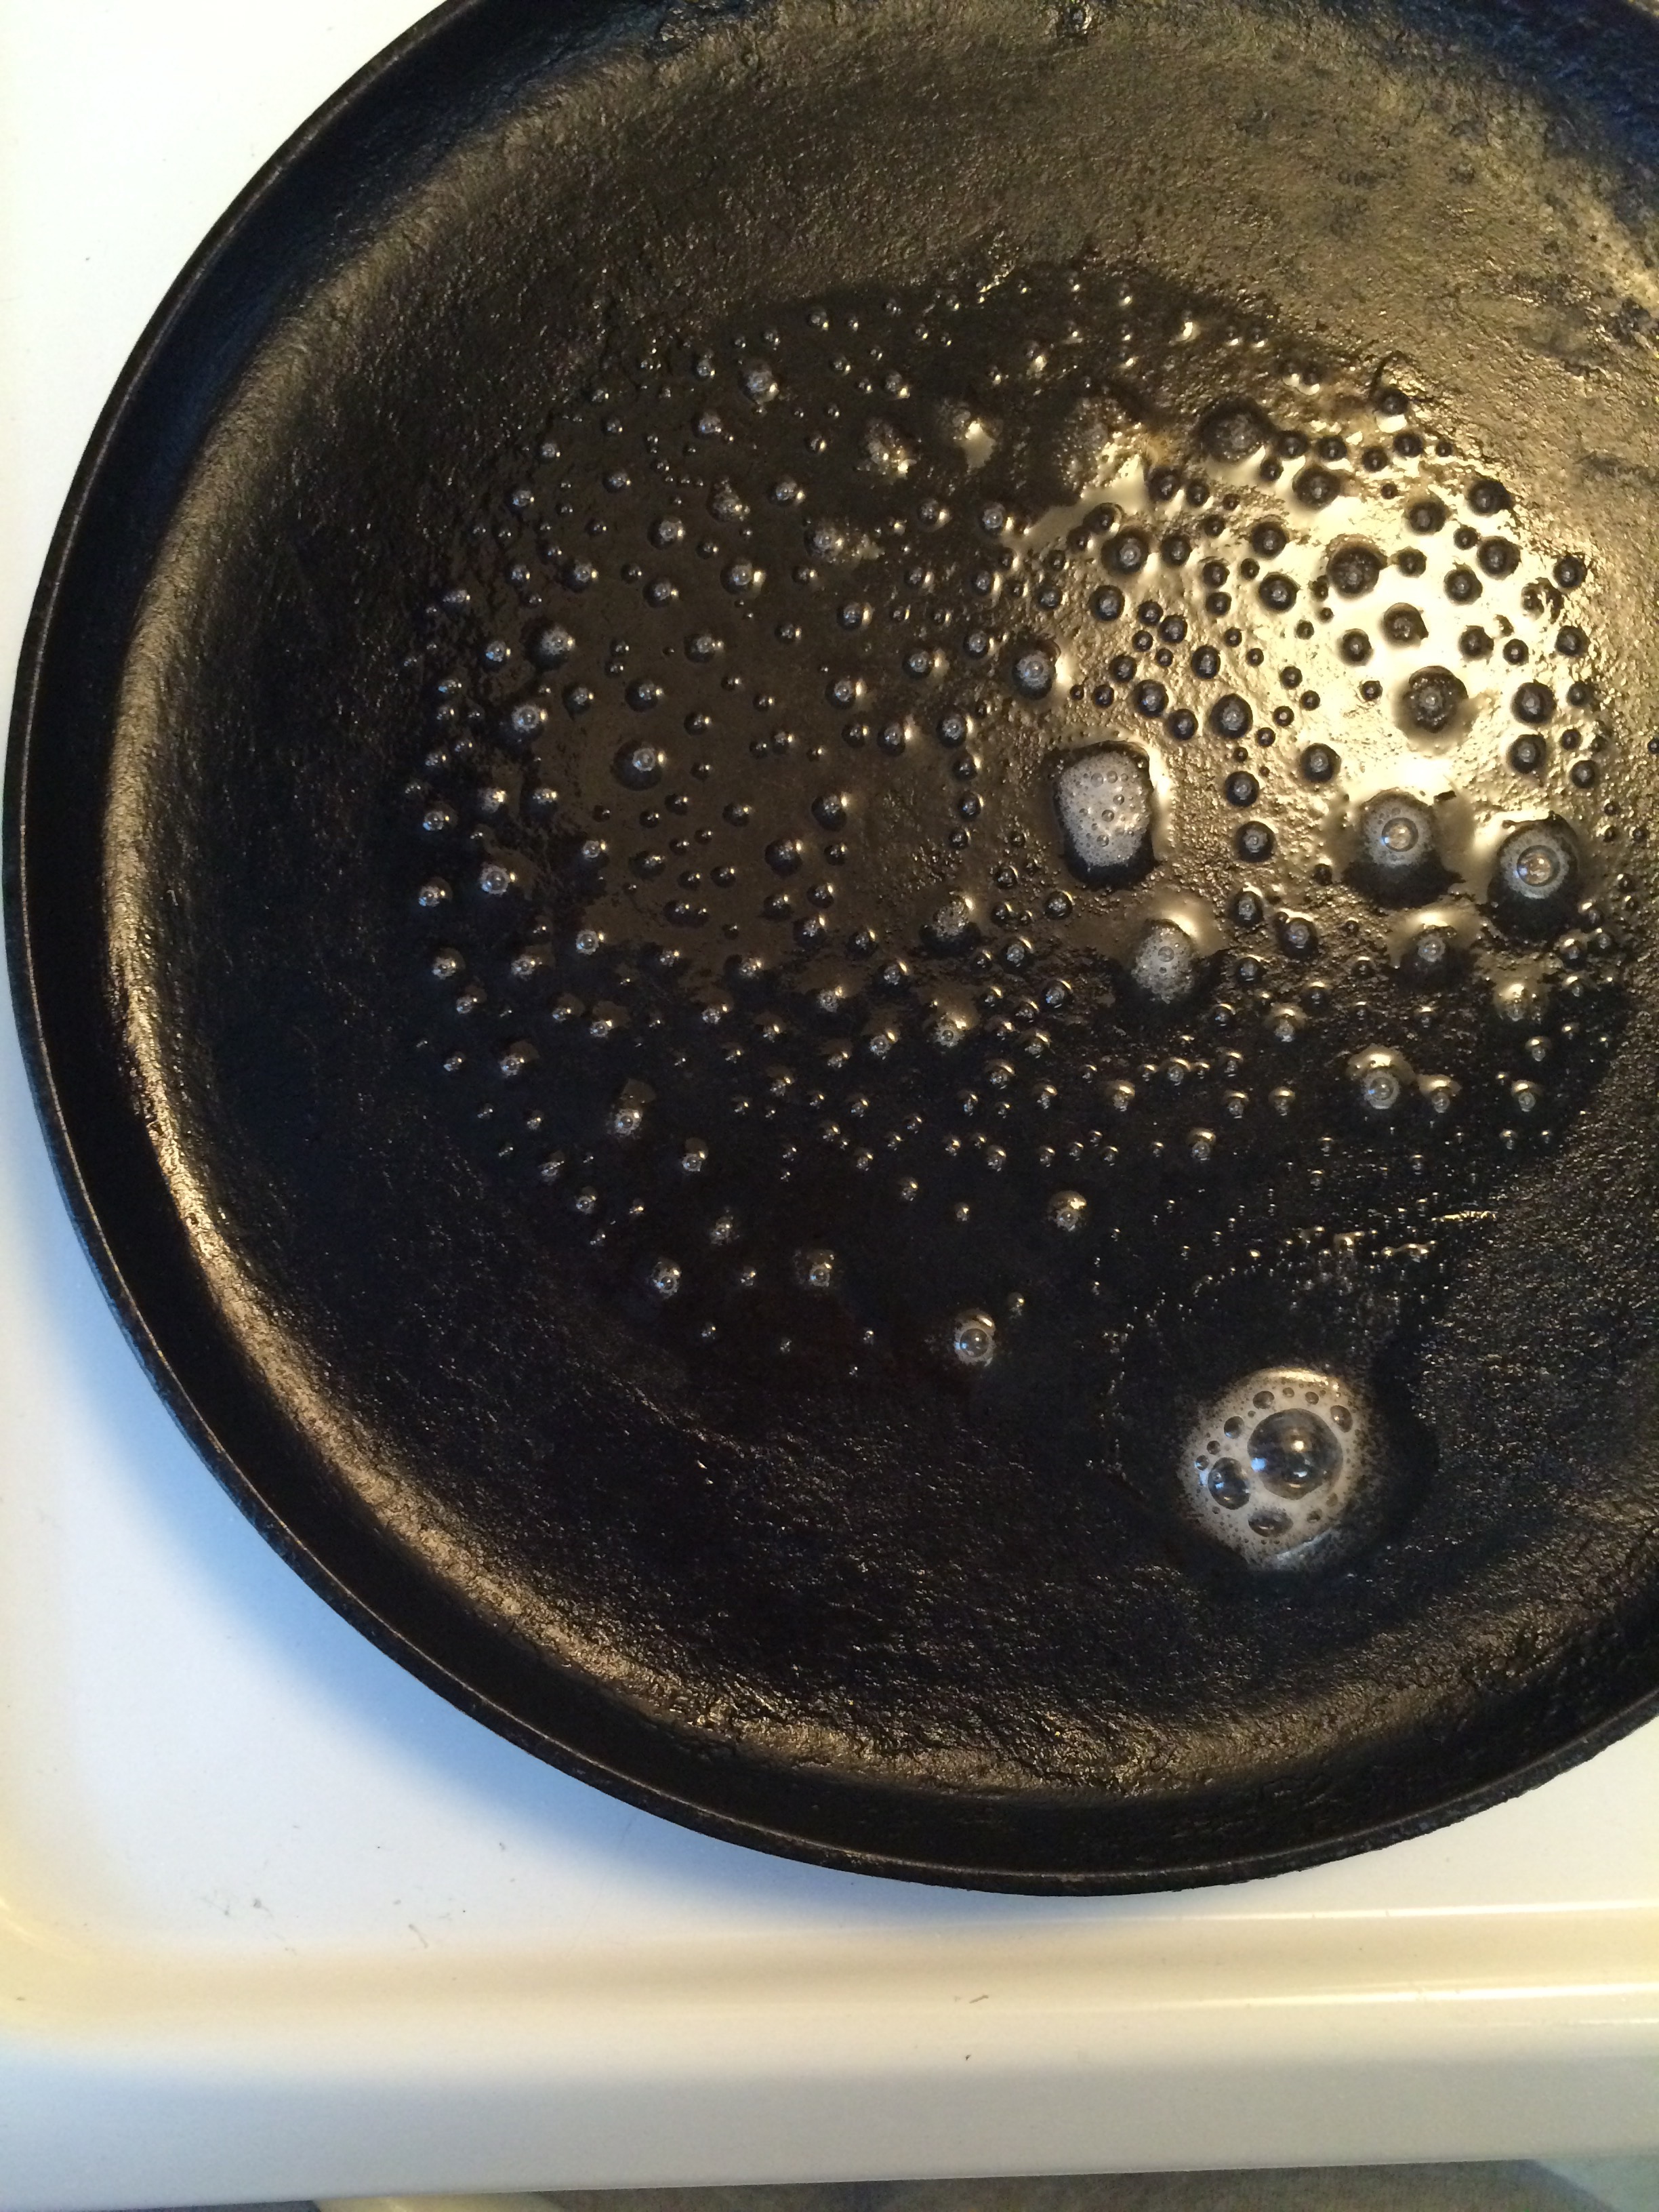
Turns out a lot difficult. Okay, so it’s not like I blew up the stove or anything. They were tortilla-esque, but not really. Were they edible? Sure, if dry and crunchy around the edges is edible to you as a tortilla. I’m a perfectionist, so in my eyes they were a complete-and-utter failure. If you ask Michael, he says they were great, but he’s kind of required to say that to prevent the next tortilla from being thrown at his face…(which totally didn’t happen, by the way…)

Processed with VSCOcam with f2 preset

Like with a lot of traditional dishes cherished by their people, a recipe is sometimes just no good. It will never be helpful. Especially concerning tortillas. I just didn’t know what the dough was suppose to look like or feel like. As it turns out, my dough was too dry. It needed more moisture for the inside to steam open as it cooked on the griddle in order to make a soft and tender finished product. But hey, you can’t truly appreciate success unless you’ve failed a couple of times before that, right?

I’ll give it another go this week. Hell, I bought enough Crisco to give it a go once a week every week for the foreseeable future.

Until next time…


Advertisement

A Dream and Blueberry Pancakes.

As far back as I can remember, I’ve always wanted to be a chef. I’m not really sure what drew me to the profession, but it had a hold on me that I just couldn’t let go and trust me, I tried. I went to Auburn University, which doesn’t have a Culinary School for those of you who aren’t up on universities in the South. But, that didn’t keep me from it. I left during the middle of my junior year to go to Johnson and Wales. Yup, that’s right. In the MIDDLE of my JUNIOR year. I had 30 credits left until graduation. THIRTY, people.

Do I regret it? No. Sometimes I want to regret it, but I don’t. I met the most amazing people and had the most incredible experiences because of the change and you just don’t regret something that brought that much happiness to your life. I won’t regret it no matter how much some people wish that I would.

Sure, it feels like I’m starting from square one after quitting my job in the kitchen. Sure, this blog doesn’t make up for the money I wasted (other peoples’ words, not mine) at all the schools I attended the previous six years. Nope, it doesn’t help me out in my current career choice. But what it does do is make me happy. It brings a joy to my life that I’ve been lacking since I left Five and Ten in August of 2011. And that’s enough for me.

Processed with VSCOcam with f2 preset

This happiness was originally brought on by watching cooking shows on the Food Network and pretending to host my own show from the kitchen while my family was gone. It was adorable, trust me. My dish of choice was Chocolate Pancakes that I made using Aunt Jemima’s Pancake Mix and Hershey’s Cocoa. Oh, those were the days. If only cooking was as simple as that now…

As I’ve matured, my pancake making methods have matured, too. So to honor my young self who had the audacity to believe she would one day be a “famous chef” (as is evident by the dream ladder my class made as sixth graders and was brought back to us as seniors in high school), I will share with you one of my favorite pancake recipes.

Let’s get started…

Processed with VSCOcam with f2 presetProcessed with VSCOcam with f2 presetProcessed with VSCOcam with f2 presetProcessed with VSCOcam with f2 preset

THE INGREDIENTS. 

  • 2 Cups AP Flour
  • 2 Teaspoons Baking Powder
  • 1 Teaspoon Baking Soda
  • 1/2 Teaspoon Salt
  • 3 Tablespoons Sugar
  • 2 Eggs, lightly beaten
  • 3 Cups Buttermilk
  • 4 Tablespoons Butter, melted ( plus more for the griddle/pan)
  • Blueberries, optional (or chocolate chips, raspberries, blackberries, pecans…)

THE METHOD. Pancakes are made by adding the wet ingredients to the dry ingredients and stirring just until the batter comes together. If you over-mix, your pancakes will be tough. Nobody likes tough pancakes. I mean, nobody.

  1. Heat a pan/griddle over medium heat.
  2. Sift the flour, baking powder, baking soda, salt, and sugar together and place in a large mixing bowl.
  3. Add your buttermilk and your beaten eggs.
  4. Mix until the batter just comes together.
  5. Add your melted butter and stir until just combined.
  6. Grease the griddle/pan with butter and pour a ladle of pancake mix. This is where you would also add any toppings you would like in your pancakes…blueberries in this case.
  7. Flip once the bubbles on top begin to subside and cook until the other side becomes a lovely golden brown.
  8. Continue this process until the batter is gone and you have a beautiful stack of delicious pancakes.

IMG_3288

Processed with VSCOcam with f2 preset

ENJOY. Sure, it’s easier to make pancakes from mixes that you can purchase in the store. But a culinary school graduate can’t use those…that would be blasphemous. Plus, it would be doing a disservice to young Kelley, who always thought she’d be making pancakes for brunch in her own little cafe. So do me a favor? Make these pancakes to honor your young selves, who thought they could be anything they wanted to be before the world darkened their dreams. You won’t regret it.

Processed with VSCOcam with f2 preset

Buttermilk Biscuits

Ya know, some recipes are just hard to master. You follow the recipe to a tee and it comes out of the oven looking like something your 5 year old would have made.

IMG_2516For me, that particular recipe is for biscuits. I’ve tried making them the way my mom did and nothing. I’ve followed other recipes. Zilch. Nada. Even the ones I made in my Introduction to Baking class at Johnson and Wales came out flat and dry. It was terrible. Me, a Southern woman, could not make a biscuit to save her life. What would my future kids say? Or even worse…what would my grandmother say? The woman who made biscuits every single day of her life while my mom was growing up. It would be an embarrassment to her to have a granddaughter who could’t make a fluffy and delicious, buttermilk biscuit.

There was only one thing I could do…”Do. Or do not. There is not try.”

There is no trying in biscuit making. Only doing. The biscuit would not get the best of me!

…and I am officially happy to say that it didn’t. I FINALLY mastered the proper technique (for my liking, anyways). After all, everything involving cooking revolves around technique…

IMG_2494THE INGREDIENTS. Short. Simple. To the point.

  • 2 cups AP flour, sifted
  • 5 tablespoons unsalted butter*, cut into small cubes, kept cold
  • 2 1/4 teaspoons baking powder
  • 1/2 teaspoon kosher salt
  • 3/4 cup buttermilk, kept cold

THE METHOD. The biscuit method. The pie crust method. Basically, the method to make things flaky, buttery, and delicious. It involves cutting the fat into the dry ingredients, adding the cold liquid, and mixing until the dough just comes together.

THE CUT. After all of the dry ingredients have been measured and sifted into a large bowl, we add the COLD butter. The butter should be cut into small cubes because this makes it faster to work them into the flour. You can use a cutting tool, but I usually just use my hands. The fat should be kept cold because this is what makes the biscuit flaky.

But, how?

After cutting in the butter, the flour should have a cornmeal-like texture

After cutting in the butter, the flour should have a cornmeal-like texture

The cold butter melts in the oven and creates a pocket of steam. These pockets create a flaky and delicate biscuit. If the butter is too warm when you cut it into the dough, you won’t get the flakiness, which would be sad.

Incorporate the butter as quickly as possible. The mixture should now resemble corn meal. After you are finished, put the bowl into the fridge just to make sure the butter remains cold. Leave it there 10 minutes before adding in the liquid ingredients.

THE MIX. Now that the butter has been chilled back down, it is time to add the COLD liquid. I’m using buttermilk because I love the tang that it gives to the biscuits. Cream is another good substitution due to its high fat content (Fun Fact: Fat makes baked goods tender…and more delicious, of course).

So, add your cold buttermilk (cold keeps the fat solid prior to baking) and mix until the dough just comes together. You don’t want to over mix biscuit dough because that will make for some tough and abnormally shaped biscuits.

FullSizeRenderTHE FOLD AND ROLL. Pour the contents of the bowl out onto a lightly floured surface. Gently fold it 3-4 times just so the dough completely comes together. Roll the dough into a rectangle about 1/2 inch thick. Fold it in thirds like you are folding a business letter. Roll it back out to 1/2 inch thick. Repeat the folding. Now, roll it out to 3/4 inches thick (the shape is up to you) and use a biscuit cutter (any size) to cut the biscuits. It’s important that you push straight down and DO NOT twist the cutter. Turning the cutter inhibits the formation of the layers.

The technique used here is similar to the technique used to make croissant dough and we all know how decadent and flaky croissants are, so it doesn’t hurt to borrow the technique for your biscuits.

IMG_2523-1

Slathered with sausage gravy…a recipe for another day!

THE BAKE. Place the biscuits about an inch apart on a lightly greased baking pan. Brush them with melted butter or buttermilk. I have also seasoned the tops of mine with a little bit of salt and black pepper. Bake them for about 15 minutes (or until lightly golden brown) at 400 F. I brush them with more melted butter once they are out of the oven because…well, why not? Butter makes everything better.

ENJOY THEM. Now, open one of these bad boys up and slather with more butter or some jam. Bite into the flaky tastiness that is a traditional and Southern buttermilk biscuit. They are to die for. Or you can slather them with some sausage gravy. It’s really up to you. All that matters is that you make you some biscuits because like butter, biscuits make everything better.

* You might notice that some recipes use shortening and others use part shortening and part butter. What gives? Well, shortening makes for a really flaky dough while butter adds some flakiness AND flavor. I wouldn’t make the biscuits just with shortening, but doing half-and-half would work out well. 

Pizza Dough and a Big Whoops

I love pizza. Pizza bagels, pizza quesadillas, pizza bread…you name a type of pizza and I probably love it. I’ve never met a person who doesn’t love this delectable dish and if I did, I probably wouldn’t trust them very much. I mean, who doesn’t like pizza?

IMG_2476Lately, I’ve been trying to perfect my own pizza. The toppings are the easy part. Can’t go wrong with whatever you put on it. The dough is where it gets tough. People spend years upon years trying to get their pizza dough just right. During my own time, I’ve learned that the taste and the texture of the dough all depends on the amount of time you let the dough ferment and rise. All over Pinterest there are recipes for “30 minute pizza dough” or “Quick and Easy Pizza.” Let me set everything straight right now: There is no such thing as “30 minute” or “Quick and Easy” pizza doughs. Well, at least no such thing as good pizza with such titles. Honestly, if you want to go that route, I’d suggest calling the local pizza place. It will taste better and not leave you feeling deflated.

Yesterday, I made yet another attempt at my pizza dough and frankly, it went quite well. The process of mixing it, that is.

Let’s turn back the clock…

THE INGREDIENTS.

  • 2 cups Bread Flour + some
  • 1 Packet Active Dry Yeast
  • Water (Honestly, don’t know the amount)
  • 1 Teaspoon Honey
  • 1 Tablespoon Olive Oil
  • Salt (to taste…I probably used 1/2 teaspoon)

IMG_2459THE METHOD. When you make doughs using yeast, you always start out with blooming/proofing the yeast, which basically activates the yeast and gets the process started more rapidly. Also, if your yeast doesn’t bloom, it’s a sign that it’s old and won’t work. So, it’s a nice check to have in place to make sure you will get a good rise out of your dough.

Simply, place a 1/2 cup of warm water (about 100 degrees F) in the bottom of the mixing bowl. Add the honey and stir (yeast feeds on sugar). Add the packet of yeast and stir. Allow it to sit for 10 minutes and you should have something that looks like the picture.

Now we will add the 2 cups of flour and then the salt on top of the flour. Salt kills yeast so we want to make sure the yeast stays active by incorporating the salt in last. Add your olive oil (optional) and turn your mixer on (or hand mix if you don’t have a mixer, bummer for you, though).

The dough has come up from the bottom of the bowl.

The dough has come up from the bottom of the bowl.

Let the mixer run for about 3 minutes. You may have to add more flour or water depending on the constancy. It’s all about the feel of the dough. It should feel tacky to the touch and should also come up off the sides of the bowl ( see picture).

Once the dough is at a good consistency, let the machine run for another 10 minutes on a medium setting. This will need the dough and form the gluten network so it will have a nice “chew” to it.

THE RISE. Place the ball of dough in an oiled bowl and allow to rise. For a “quick” dough, let it rise for two hours, but this won’t have much flavor or elasticity to it. The trick to pizza dough is to allow it to rise and ferment for as long as possible. A good rule of thumb is to make it the day before and allow it to rise for 8 hours on the counter then put it back in the fridge overnight. The yeast will continue to ferment even in the cold, which will give a nice flavor to the dough. Pull out the dough the next day and let it come to room temperature and rise a final time.

Most people don’t remember to make their dough in advance, which is fine. Just make the dough early in the day so it can get as much rise-time as possible.

Place in an oiled bowl to rise.

Place in an oiled bowl to rise.

THE WHOOPS. So, my dough was all ready to go. My mouth was watering just thinking about the delicious Cheese and Pesto pizza I was going to have. My kitchen was a little chilly and I’m super impatient. I wanted to help the yeast along (it likes to be warm) so I placed the bowl in the oven and turned it on to warm up slightly. Then I did the worst thing I could possibly do at that moment: I. Walked. Away. 

I know. I know. It was an amateur move. You see, I’m making dinner one night on a trip in a couple of weeks and I’m having trouble thinking of an idea, so I grabbed a cookbook (“A New Turn in the South” by Hugh Acheson if you must know) and started flipping through it…the libations, the starters, the poultry, the pork…

“OH NO!” I jumped up from the couch and ran into the kitchen to turn off the oven and pull the bowl of dough out. Shit…

The dough was still dough except the part that was directly touching the bowl, of course. The metal bowl was hot as hell. I was pretty sure I had deactivated the yeast and I would no longer get a rise out of my dough. What. A. Bummer. I couldn’t be completely positive, though. Not until  the time had passed and I made my pizza. I had a hunch. And it wasn’t a good one.

I’m also pretty positive I pulled my left ass muscle, though. I hadn’t moved that fast in awhile and now I have a slight limp. A reminder to get back to the gym…

My hunch was right. The dough did not turn out like I had expected. Lesson learned. Patience is a virtue. Especially when it comes to dough.

Even us trained folk mess up every once in awhile, but it won’t keep my from going back in that kitchen next week and trying my pizza dough out. Again. It shouldn’t keep you out either. People sometimes get defeated when it comes to cooking and they think they just can’t cook because it doesn’t naturally come to them. But you learn to cook. You learn what flavors go together. You learn the techniques and the methods. One day, you’ll wake up and realize that you can cook. And just maybe, you’ll be pretty damn good at it.