Shrimp Scampi

Okay. Okay. Okay.

There is a slight theme developing among my recent posts. There is a lot of pasta going on. It wasn’t planned. It’s just what I ended up making and they were dishes that I wanted to share with all five of you. But this time it wasn’t of my choosing. My family chose it and I obliged in making it for them because I’m such a kind and thoughtful person. But then again, is there such a thing as too much pasta? I didn’t think so…

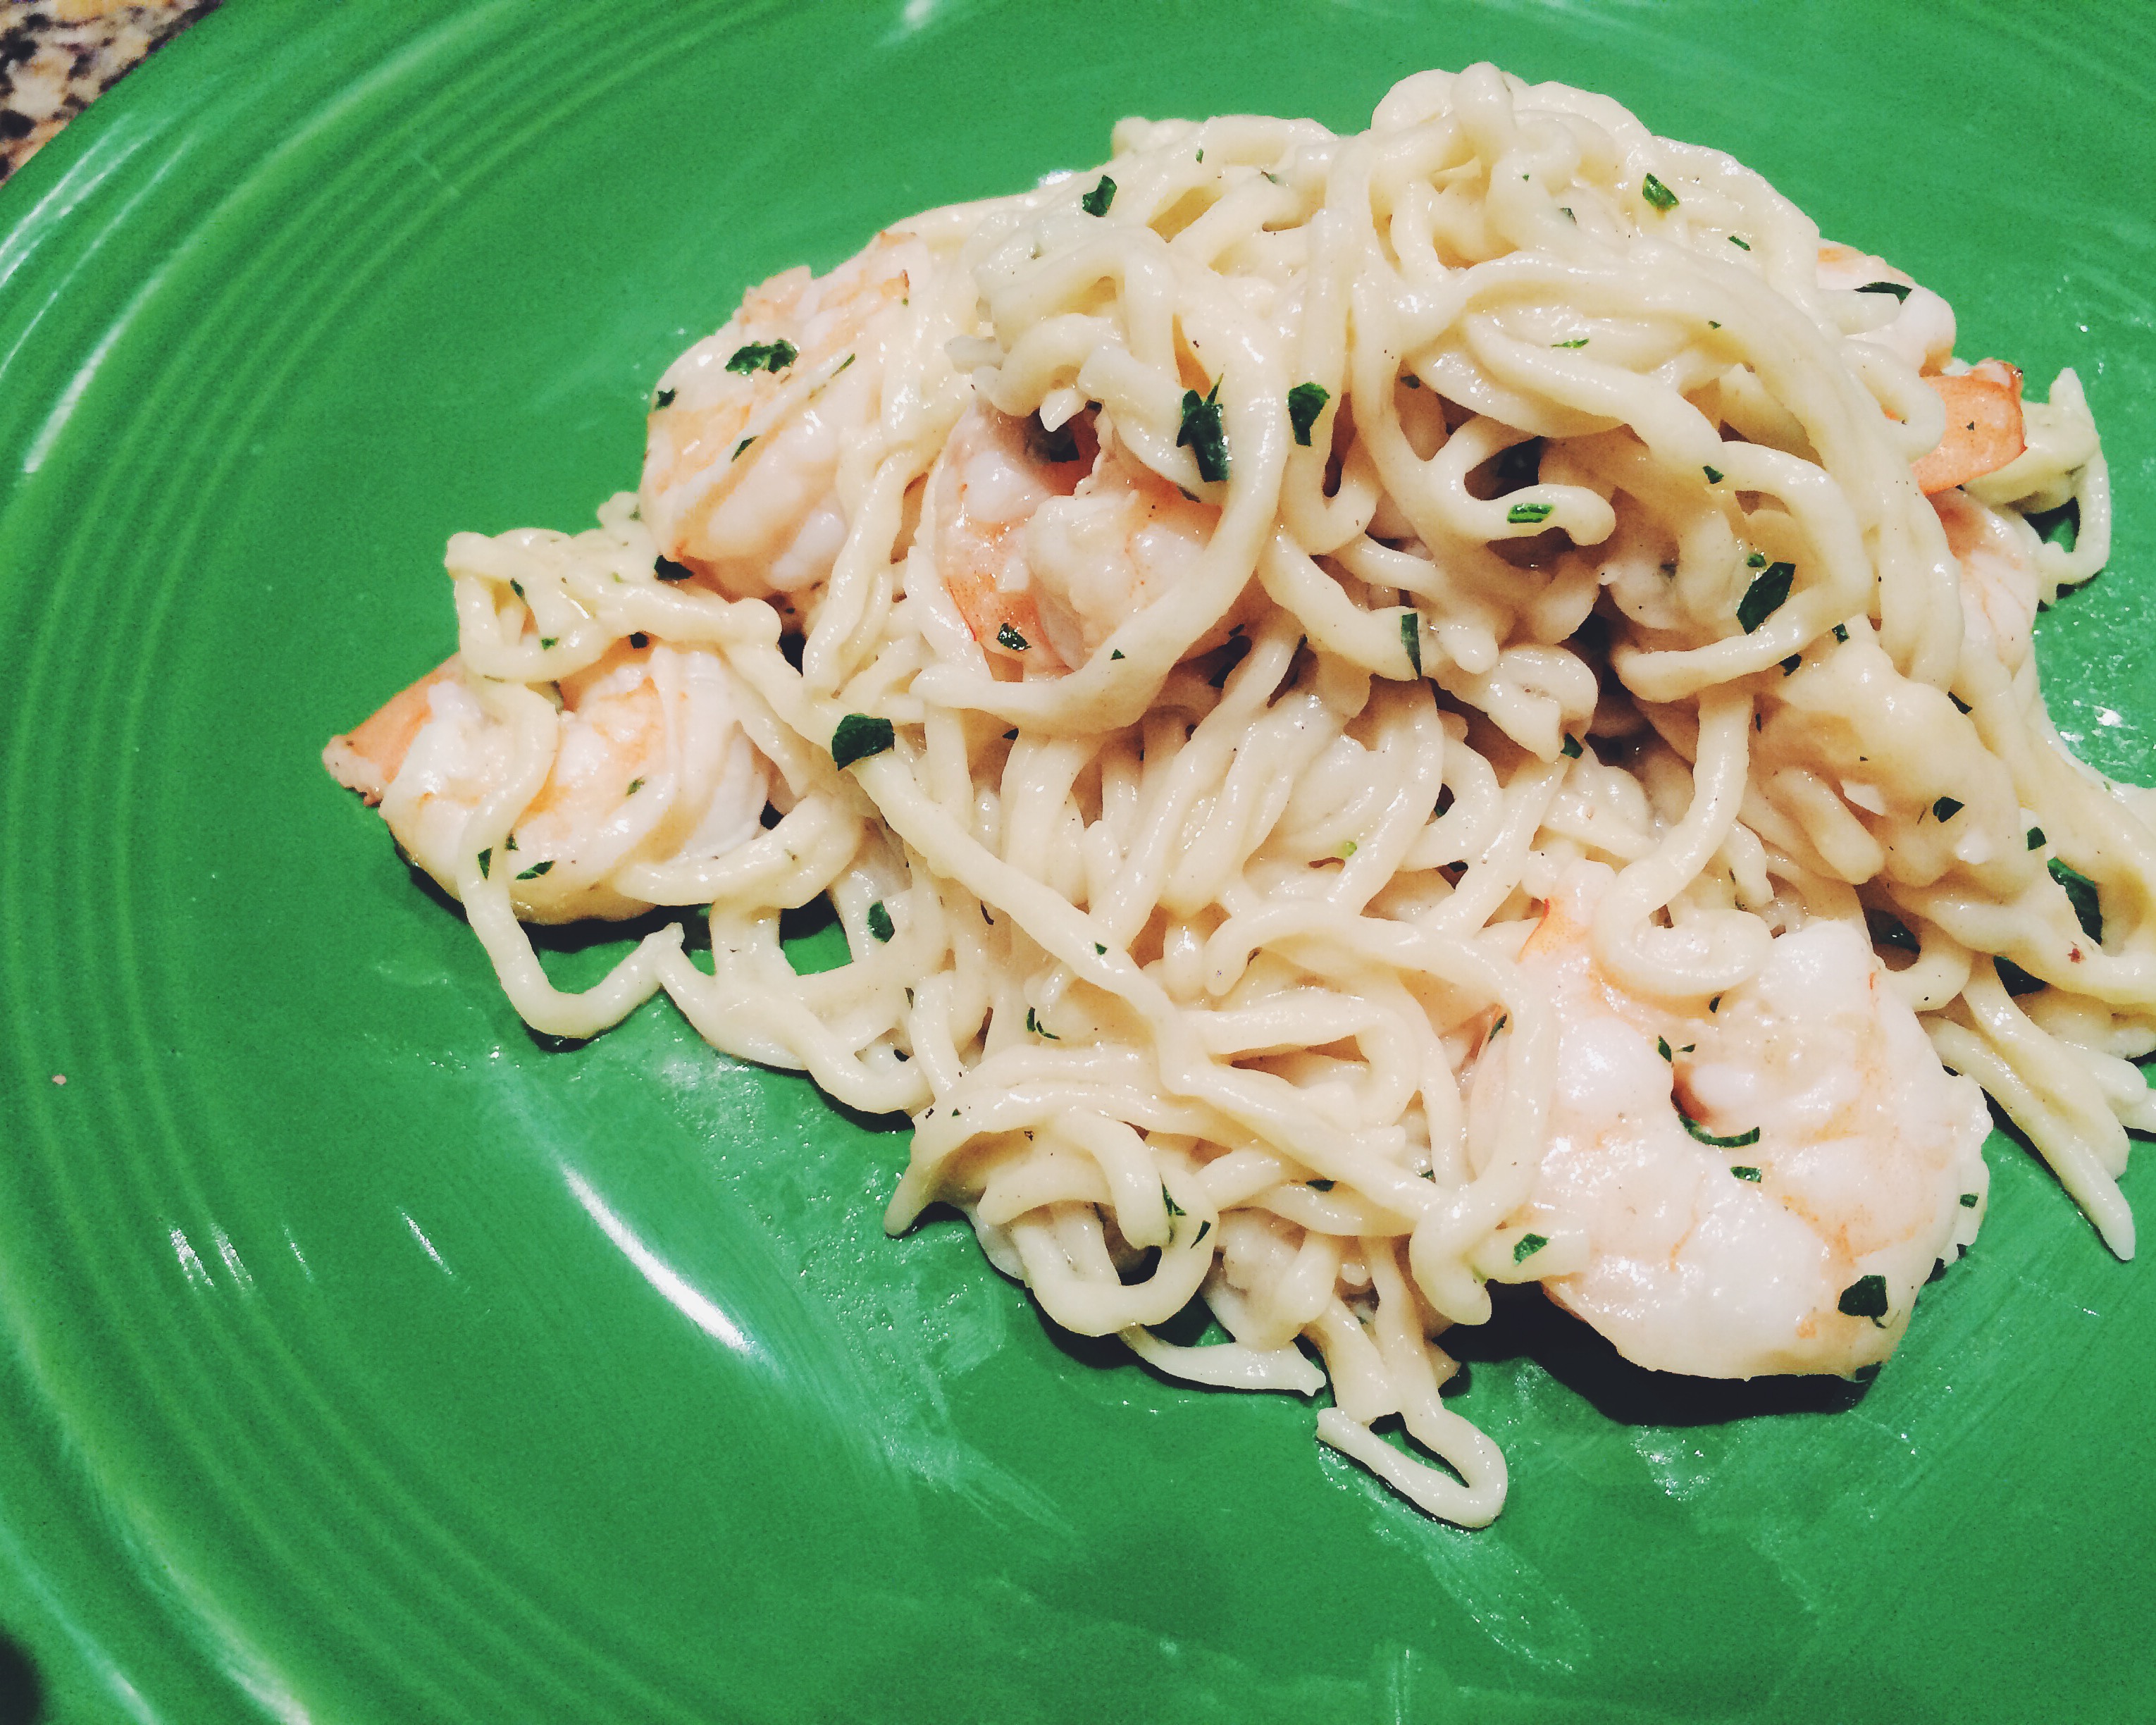
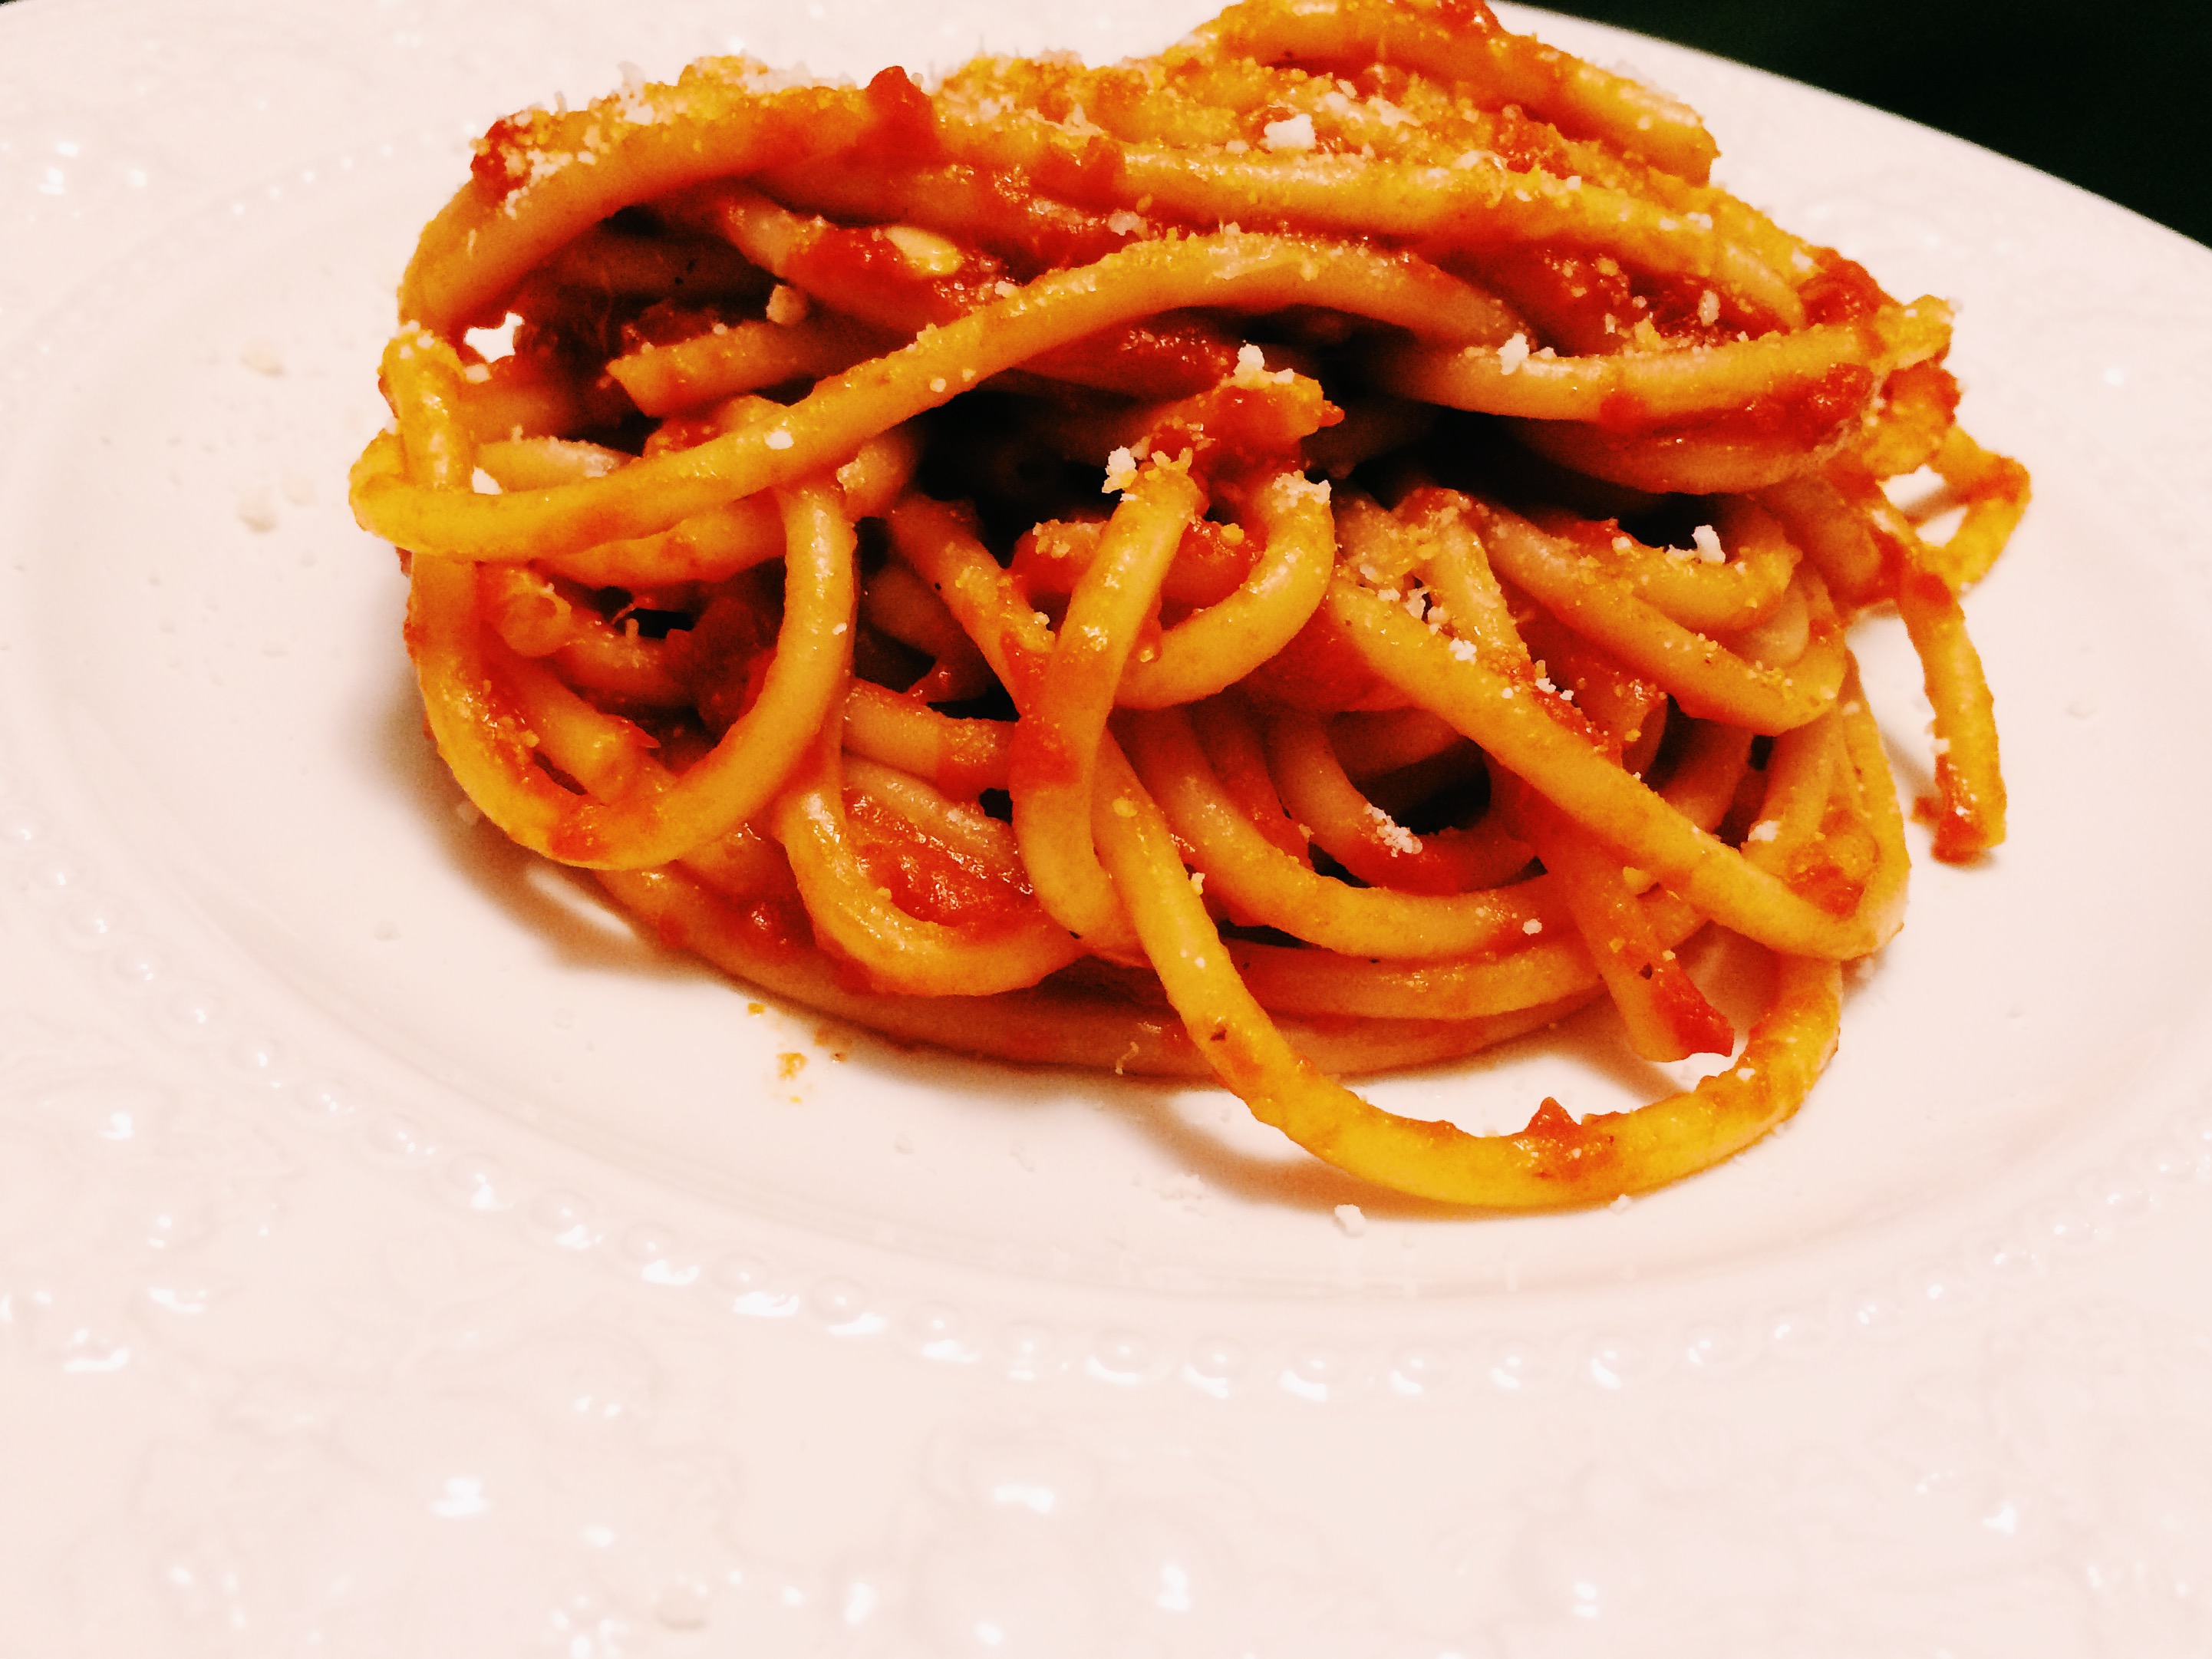
So, I gave the people what they asked for: Shrimp Scampi.

Whenever I am about to make something, I make a game plan. I plan out steps. I mise en place (a place for everything and everything in its place…French for organizing and arranging ingredients). I do this for all cooking because it limits chaos and it makes cooking fun. I even draw it up.

Processed with VSCOcam with f2 preset

I kid you not. I do this every single time. And then I cook. I don’t measure anything either. I just guess as well as I can when I go back to write about it. I measure by tasting. Needs acid? I add lemon juice. Lacking salt? You guessed it…I add salt. A lot of times, cooking is a guessing game. In restaurants, line cooks aren’t back in the kitchen using tablespoons and measuring cups. They are using pinches of this and handfuls of that. After cooking for awhile, you just know how much is needed. Actual recipe creation in written format is time consuming. Just ask any cookbook writer.

So, take every recipe I post with a grain of salt. Alter it to your tastes.

With that being said, let’s get started…

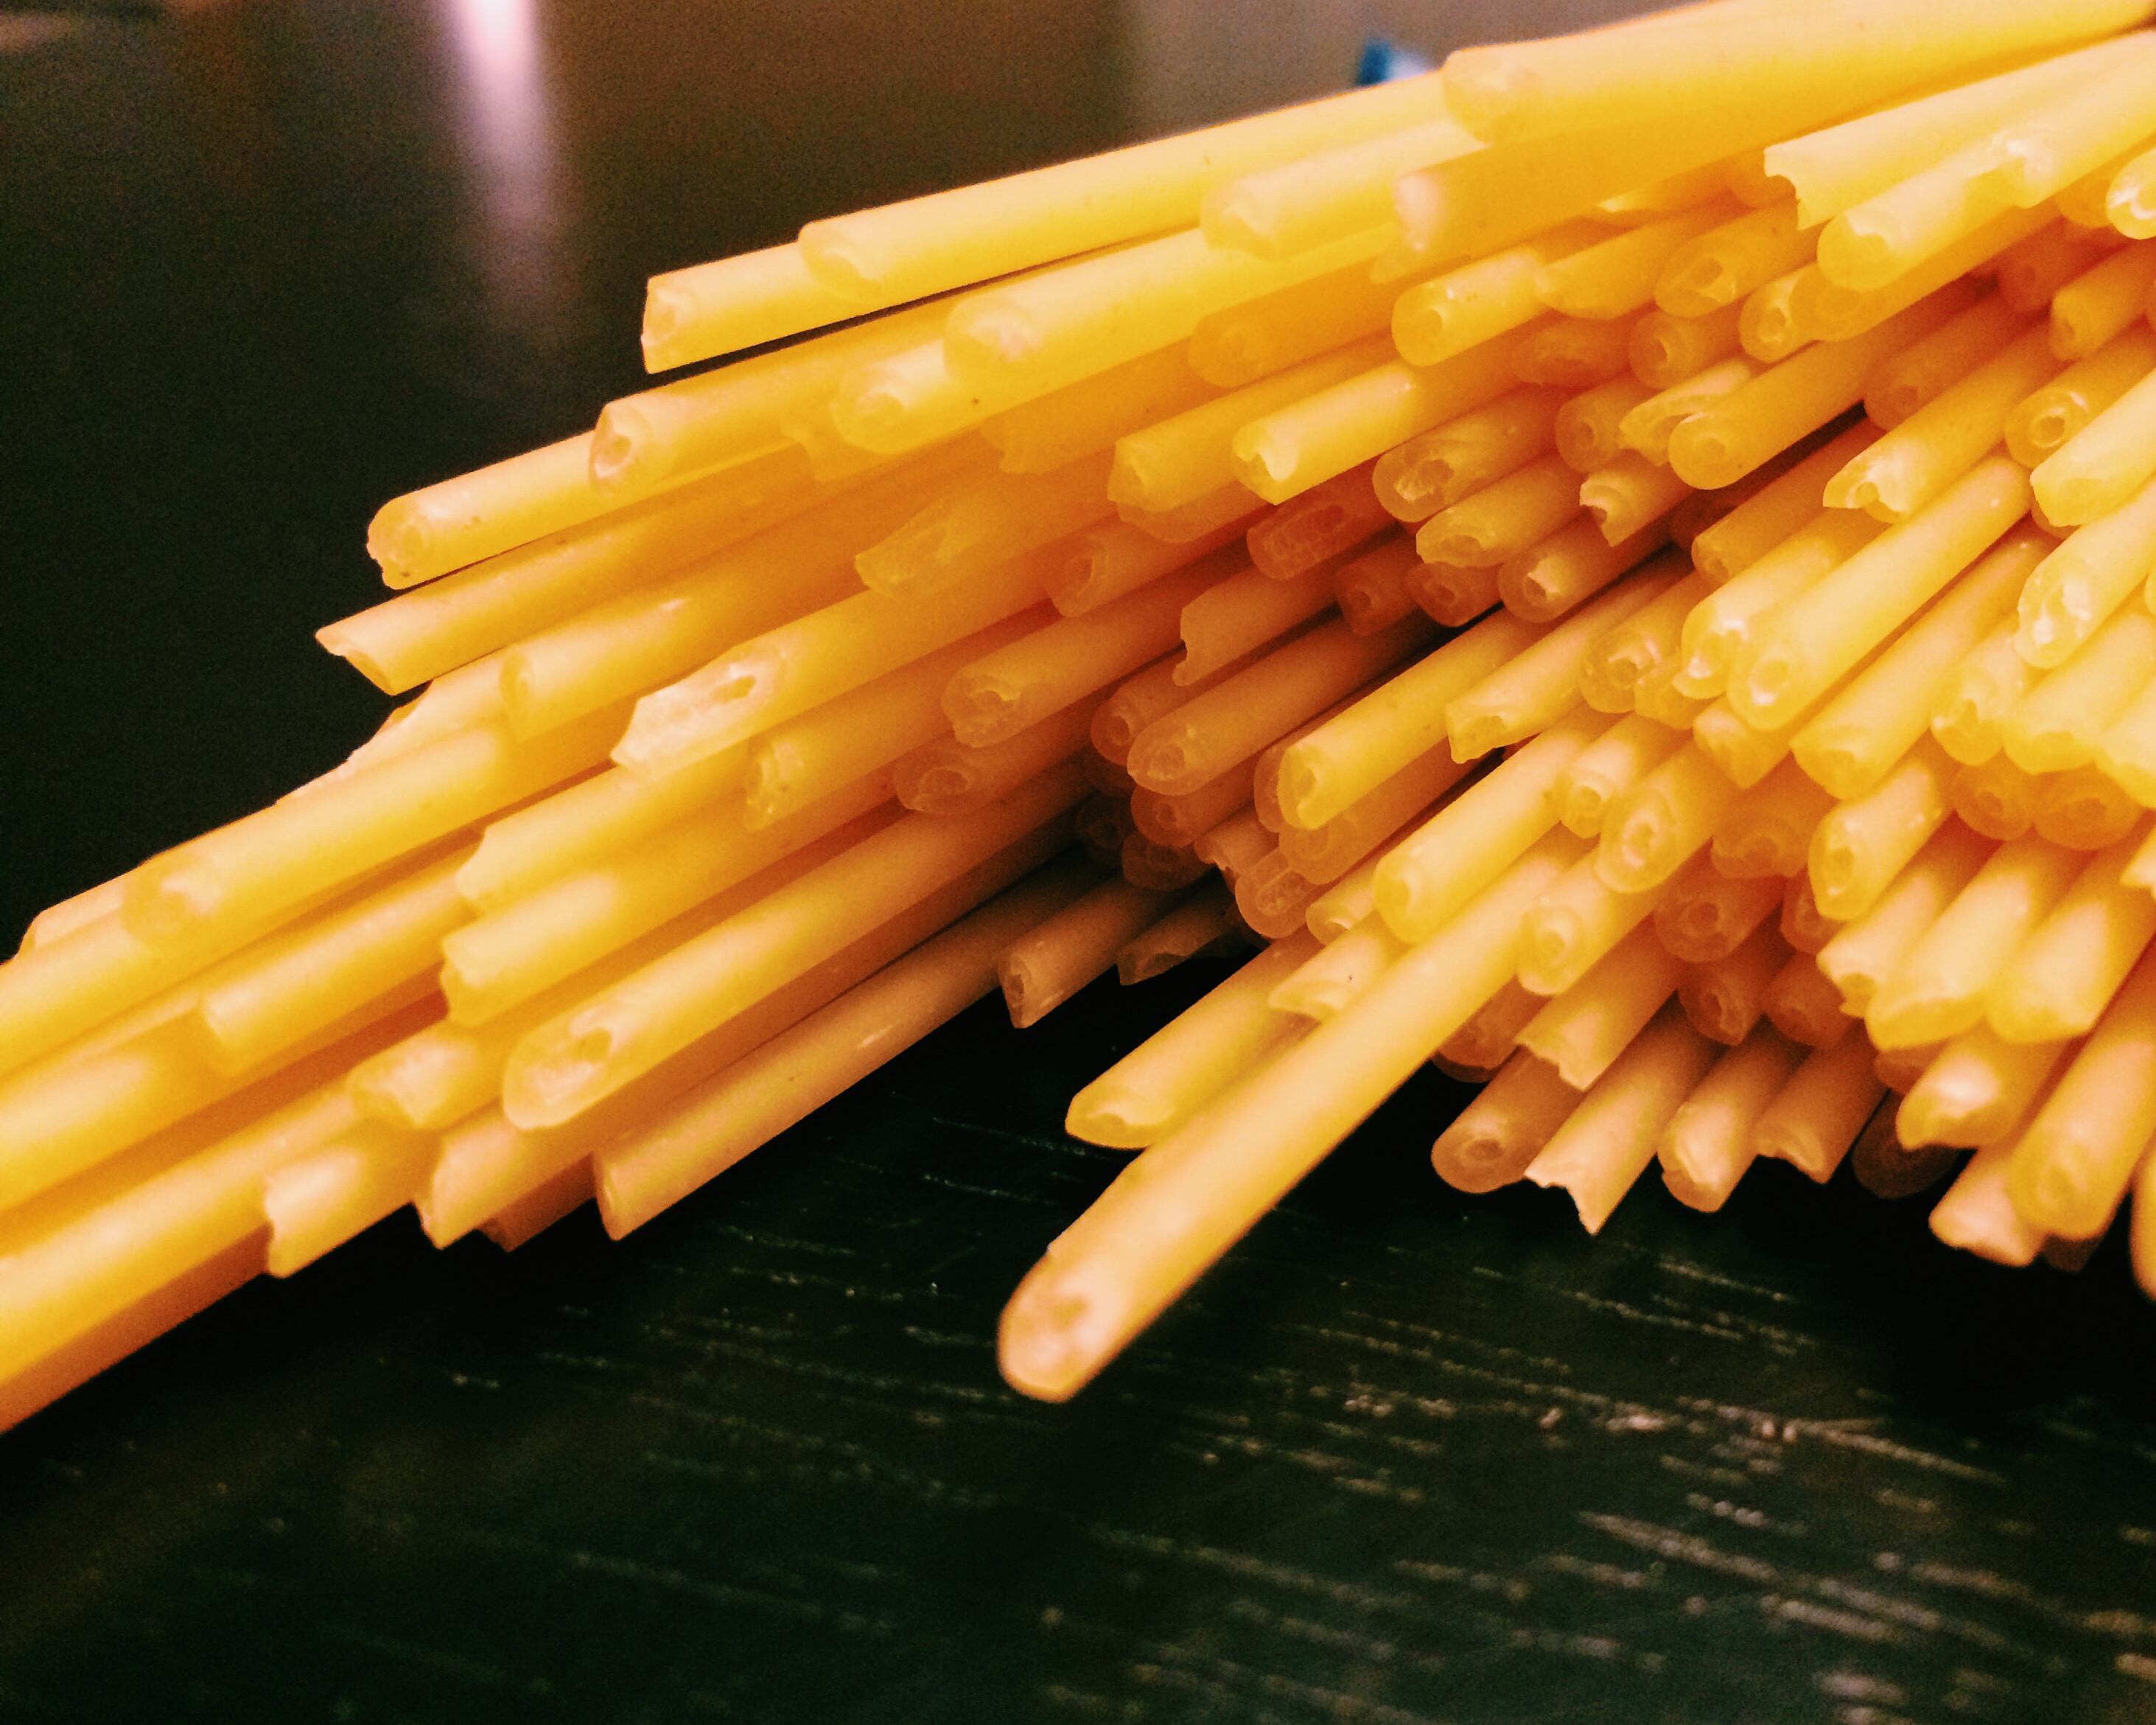
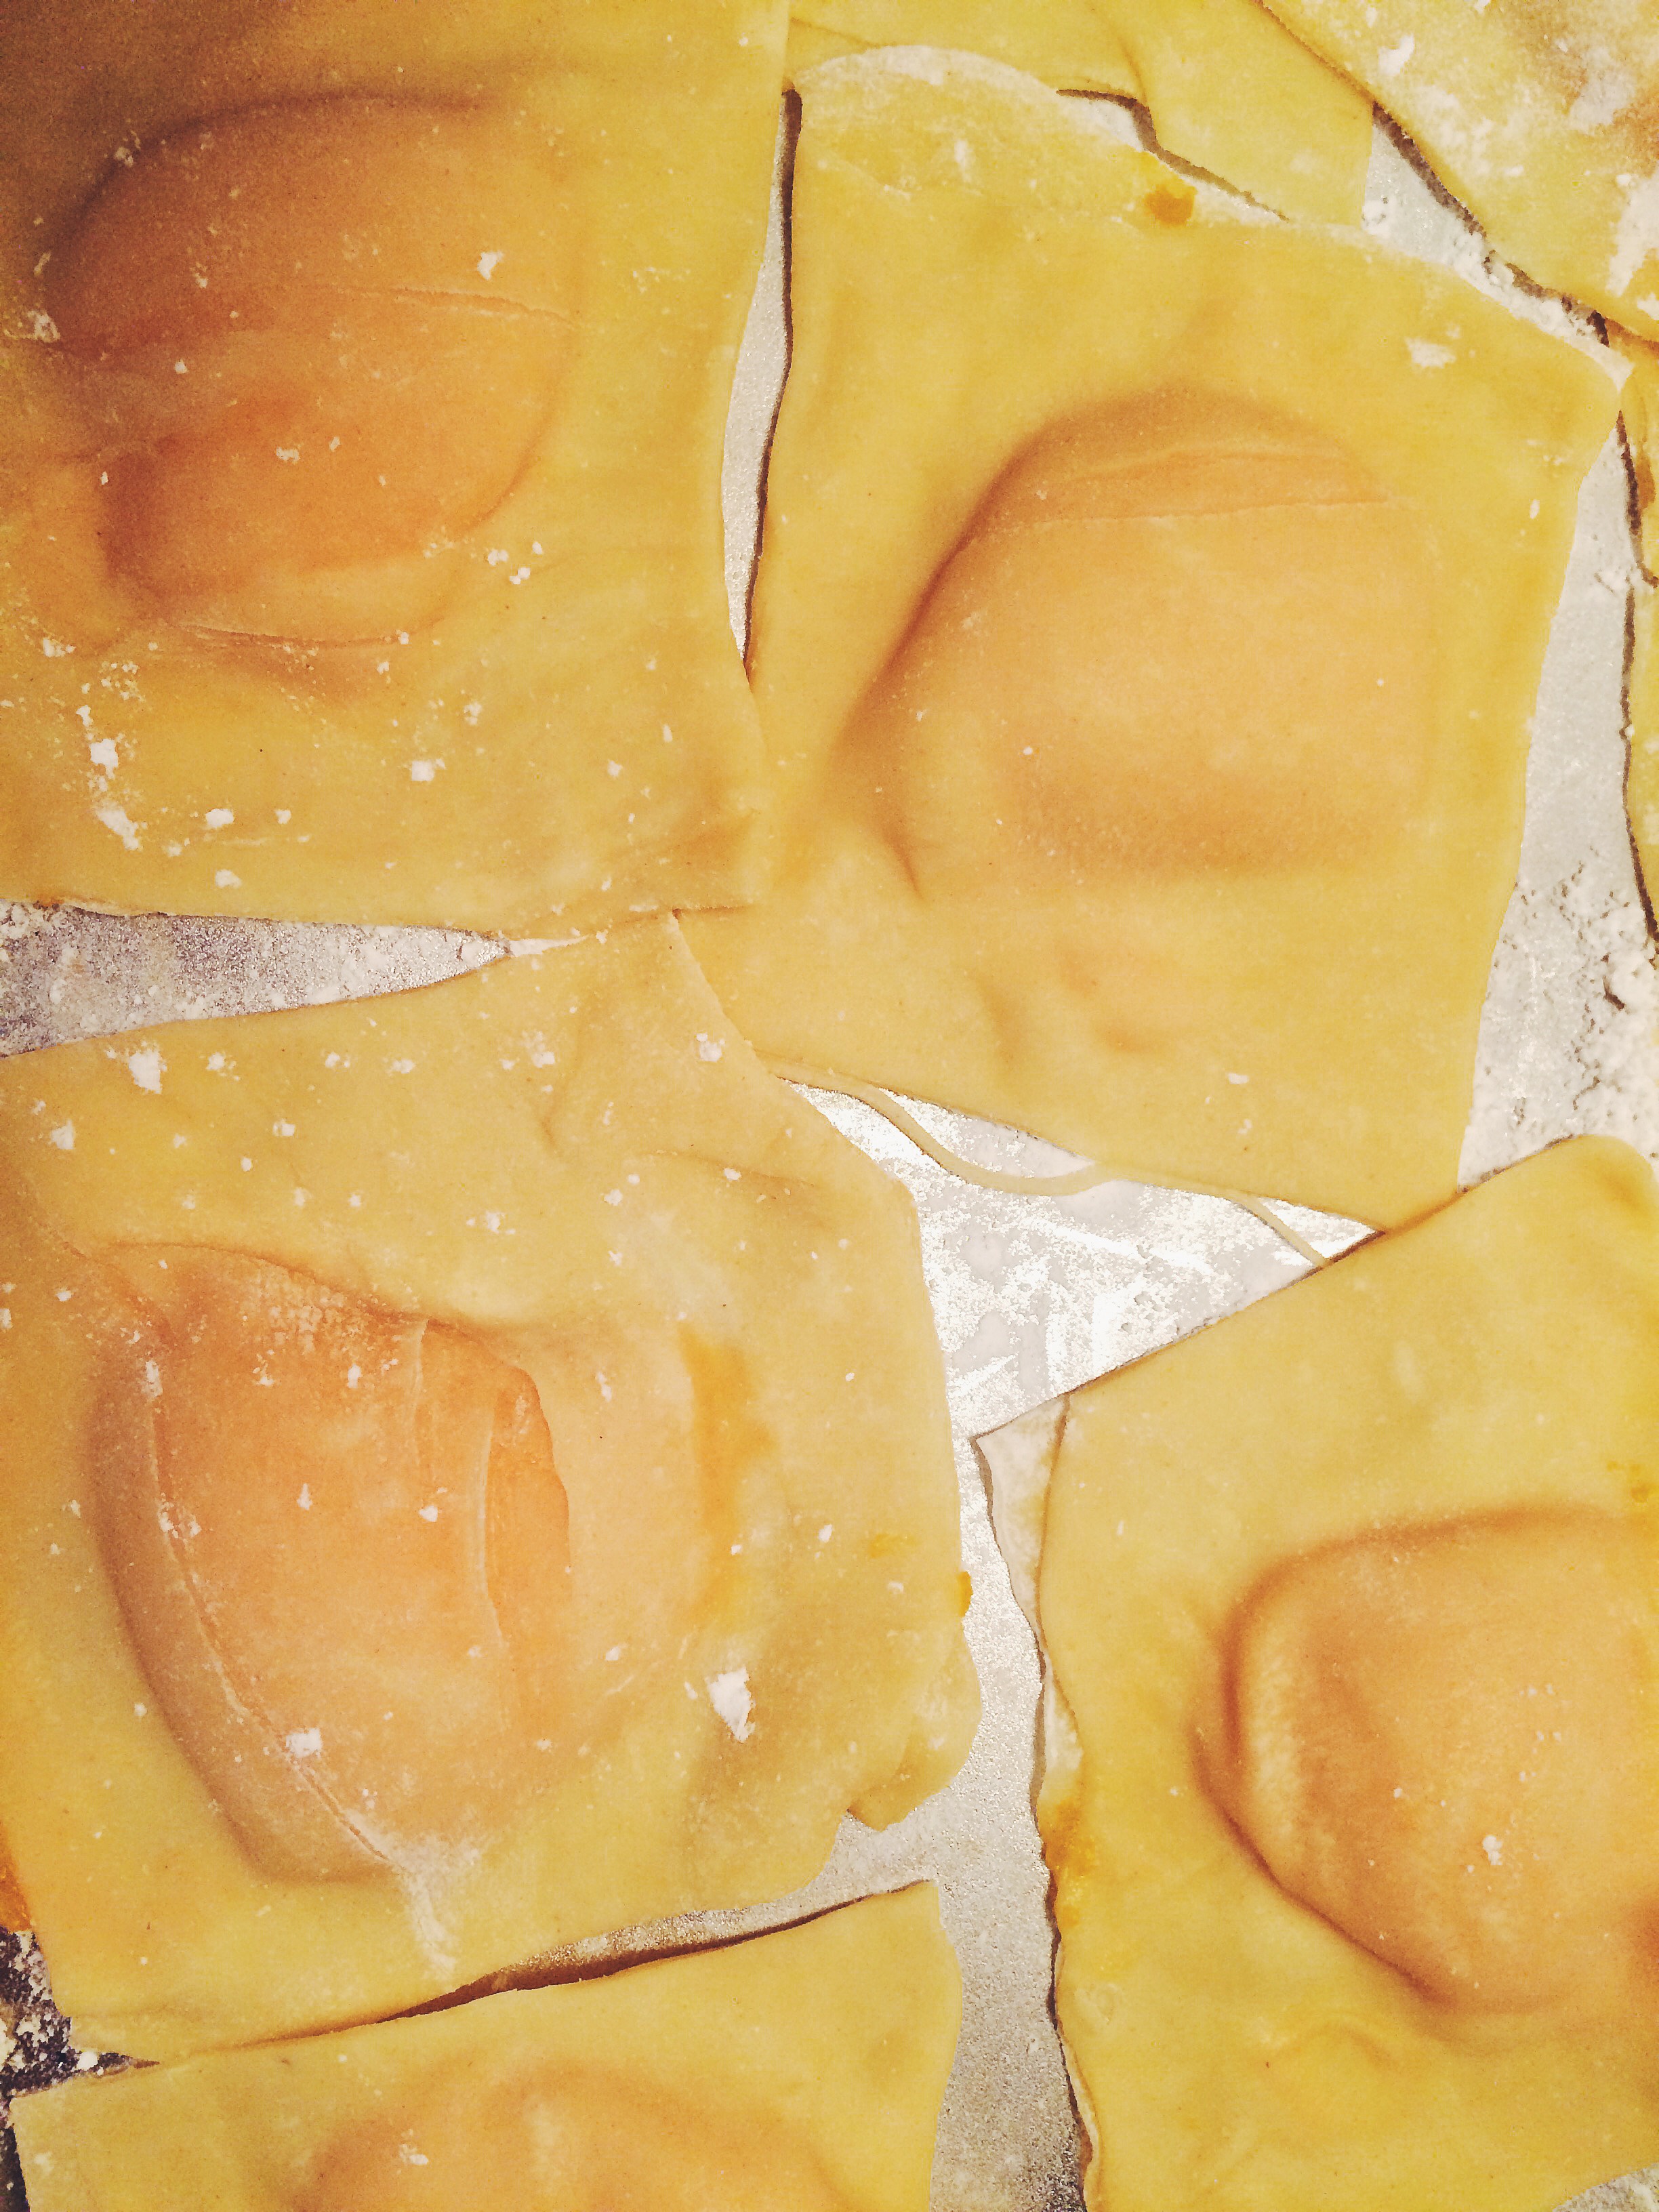
THE INGREDIENTS. The success of shrimp scampi falls on the freshness of your ingredients. Gotta use fresh shrimp. Gotta use fresh parsley…the dry stuff is no good here. Fresh pasta (either handmade or store bought) is also the best option here. It just adds something that dry pasta can’t. You know what I am talking about if you’ve ever had freshly made pasta.

  • 1 lb of Shrimp, fresh
  • 1 Shallot, minced
  • 6 cloves of Garlic, minced
  • 1/2 cup of White wine (best to use a dry one such as Pinot Grigio)
  • juice of half a Lemon
  • 1/2 stick of Butter (plus or minus), cut into cubes
  • Salt and Pepper to taste
  • Oil
  • Fresh Spaghetti/Linguini (I personally made mine using this pasta recipe. But if you don’t have time for that, you can purchase it.)
  • Fresh parsley, finely chopped

Processed with VSCOcam with f2 preset

Processed with VSCOcam with f2 preset

Processed with VSCOcam with f2 preset

THE METHOD. Once the process starts, it’s best not to stop it. So it’s important to have everything ready to go before you start cooking.

  1. Bring a large pot of salted water to a boil.
  2. In a large pan over medium-high heat, add some oil. Add you garlic and shallot and sauté until softened.
  3. Add the wine and the lemon juice, allowing the alcohol in the wine to cook out.
  4. Reduce the heat to low and mount the sauce with butter. Take small amounts of the butter and whisk it into the sauce. You will notice the sauce starts to thicken. Continue added whole butter until the sauce it as a consistency of your liking.
  5. Season to taste with salt and pepper.
  6. Season the shrimp with salt and add them the pan with the sauce. The shrimp will slowly come up to temperature in the sauce and give it a delicious, shrimpy flavor.
  7. Once the shrimp are added, place the fresh pasta in the salted, boiling water. Fresh pasta takes only minutes to cook so it should be ready about the same time as the shrimp.
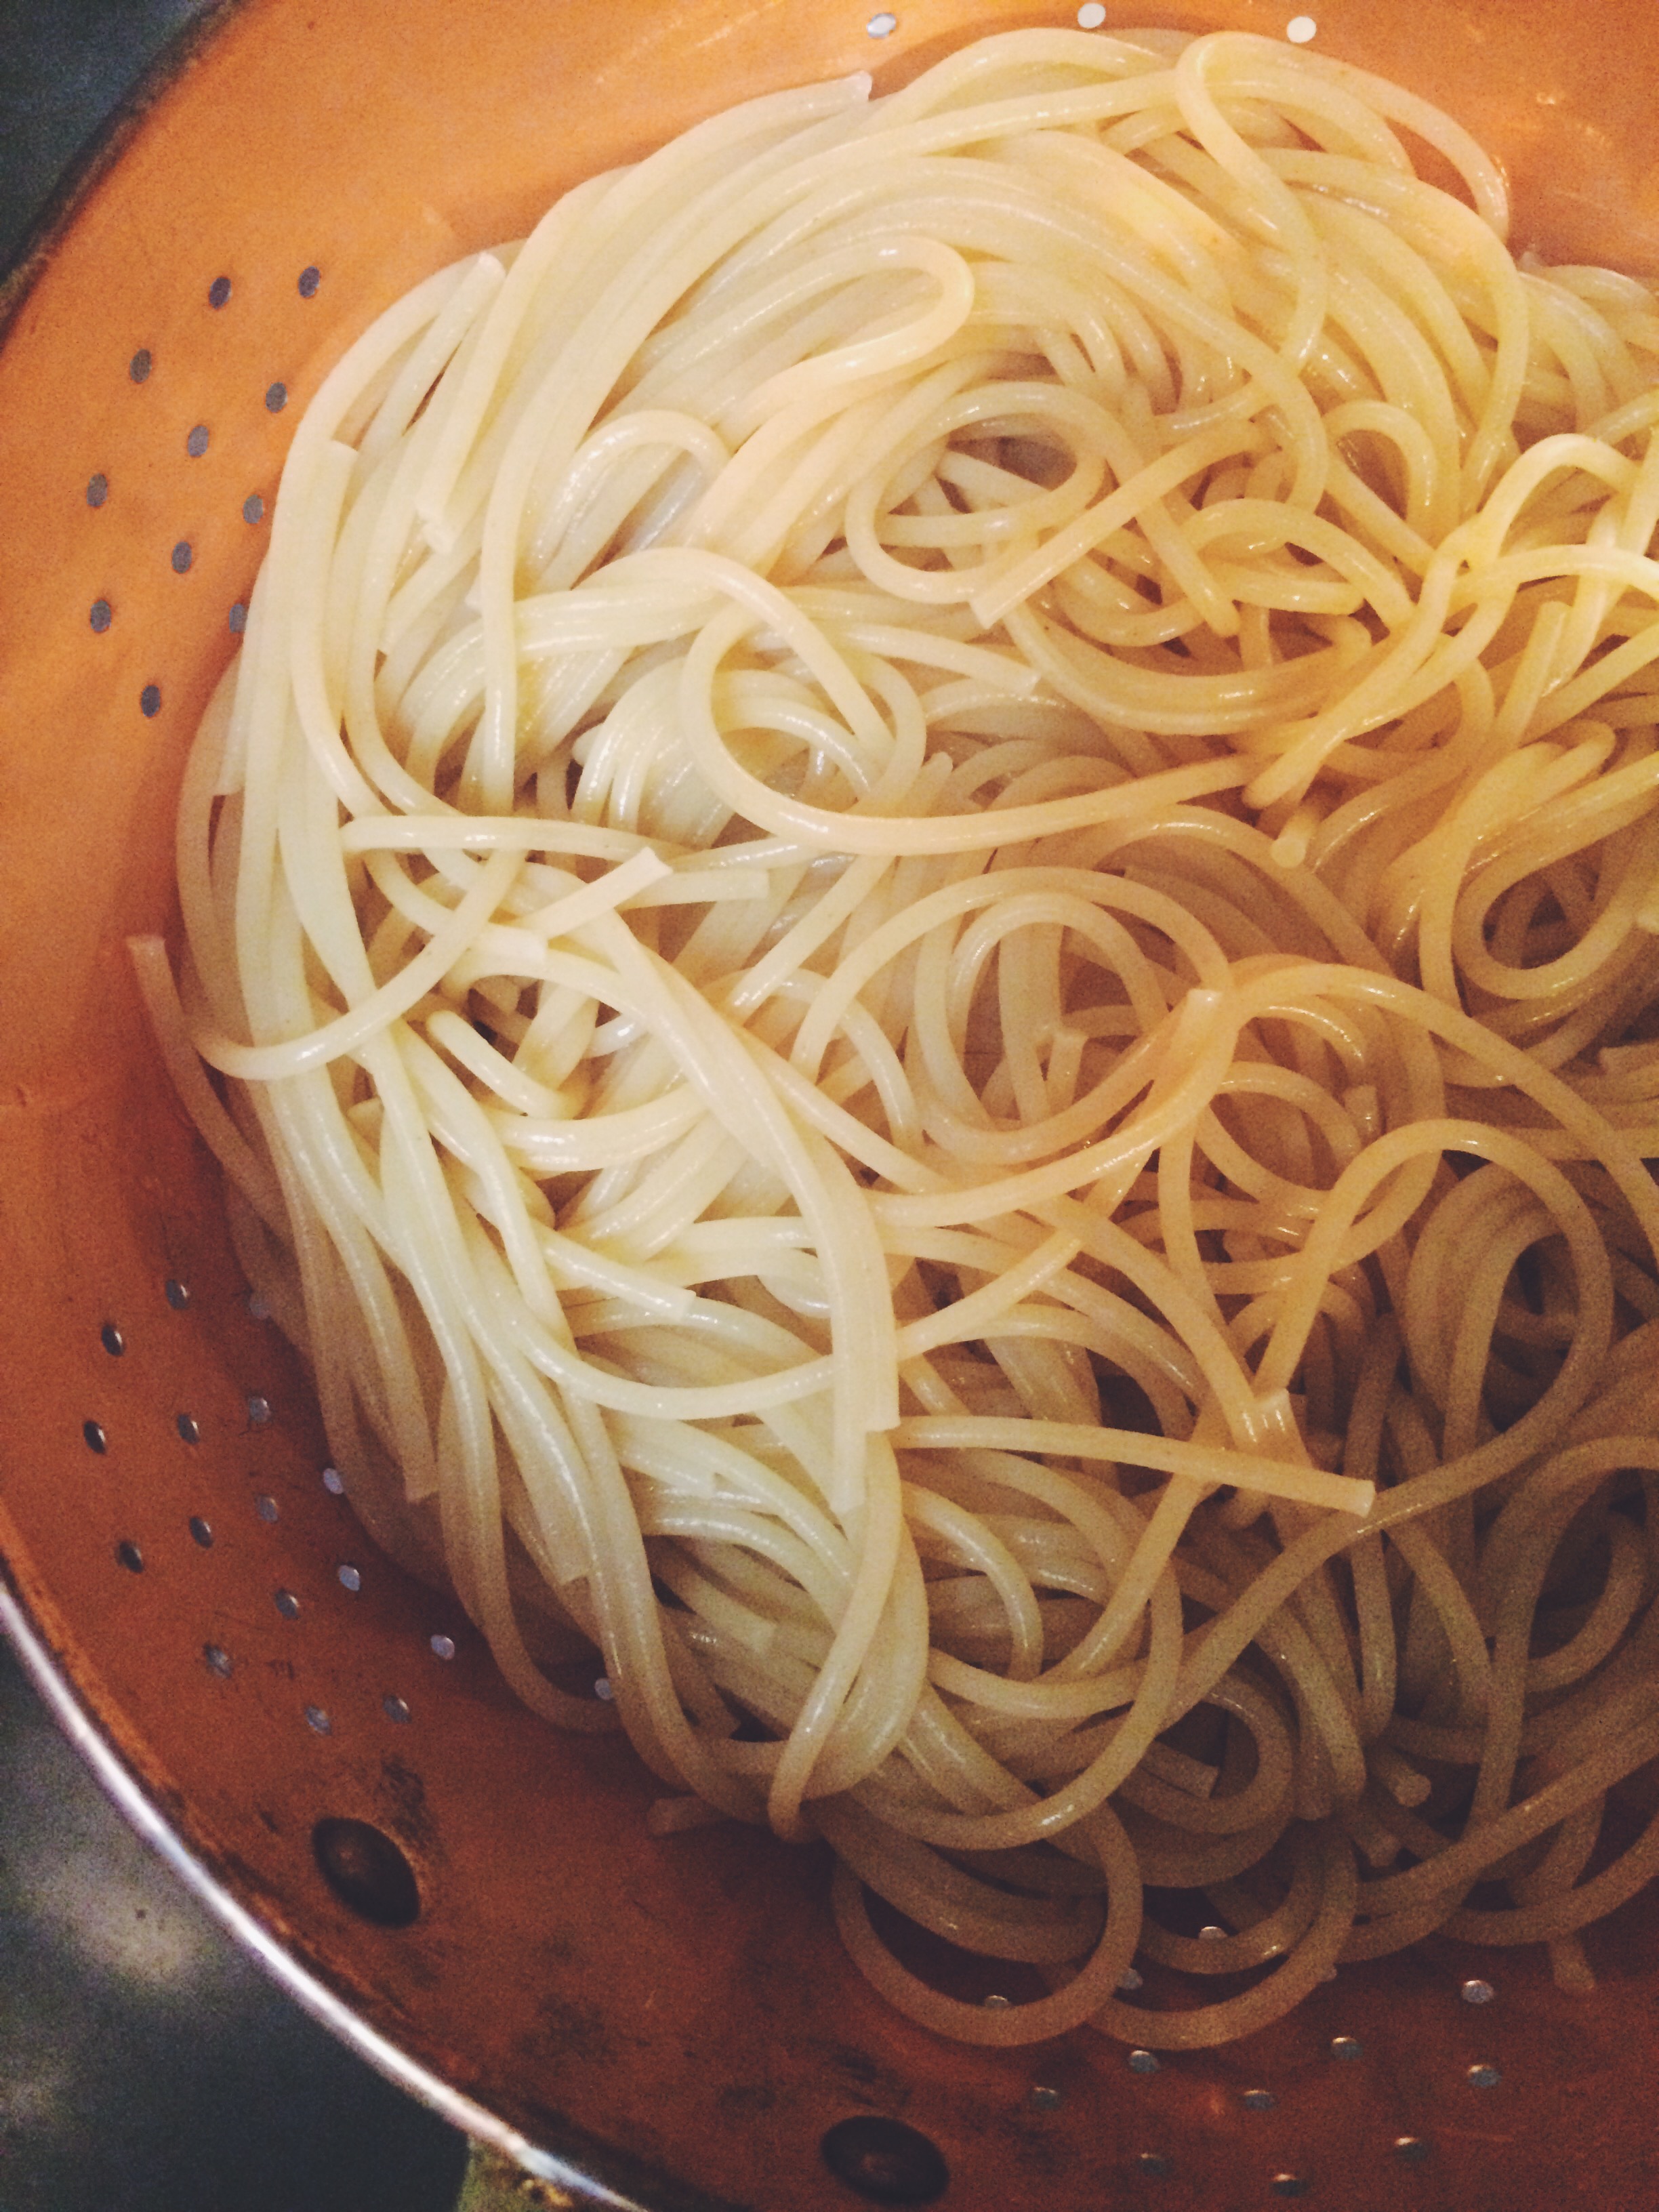
  8. Drain the pasta once it’s al dente, reserving some of the cooking water.
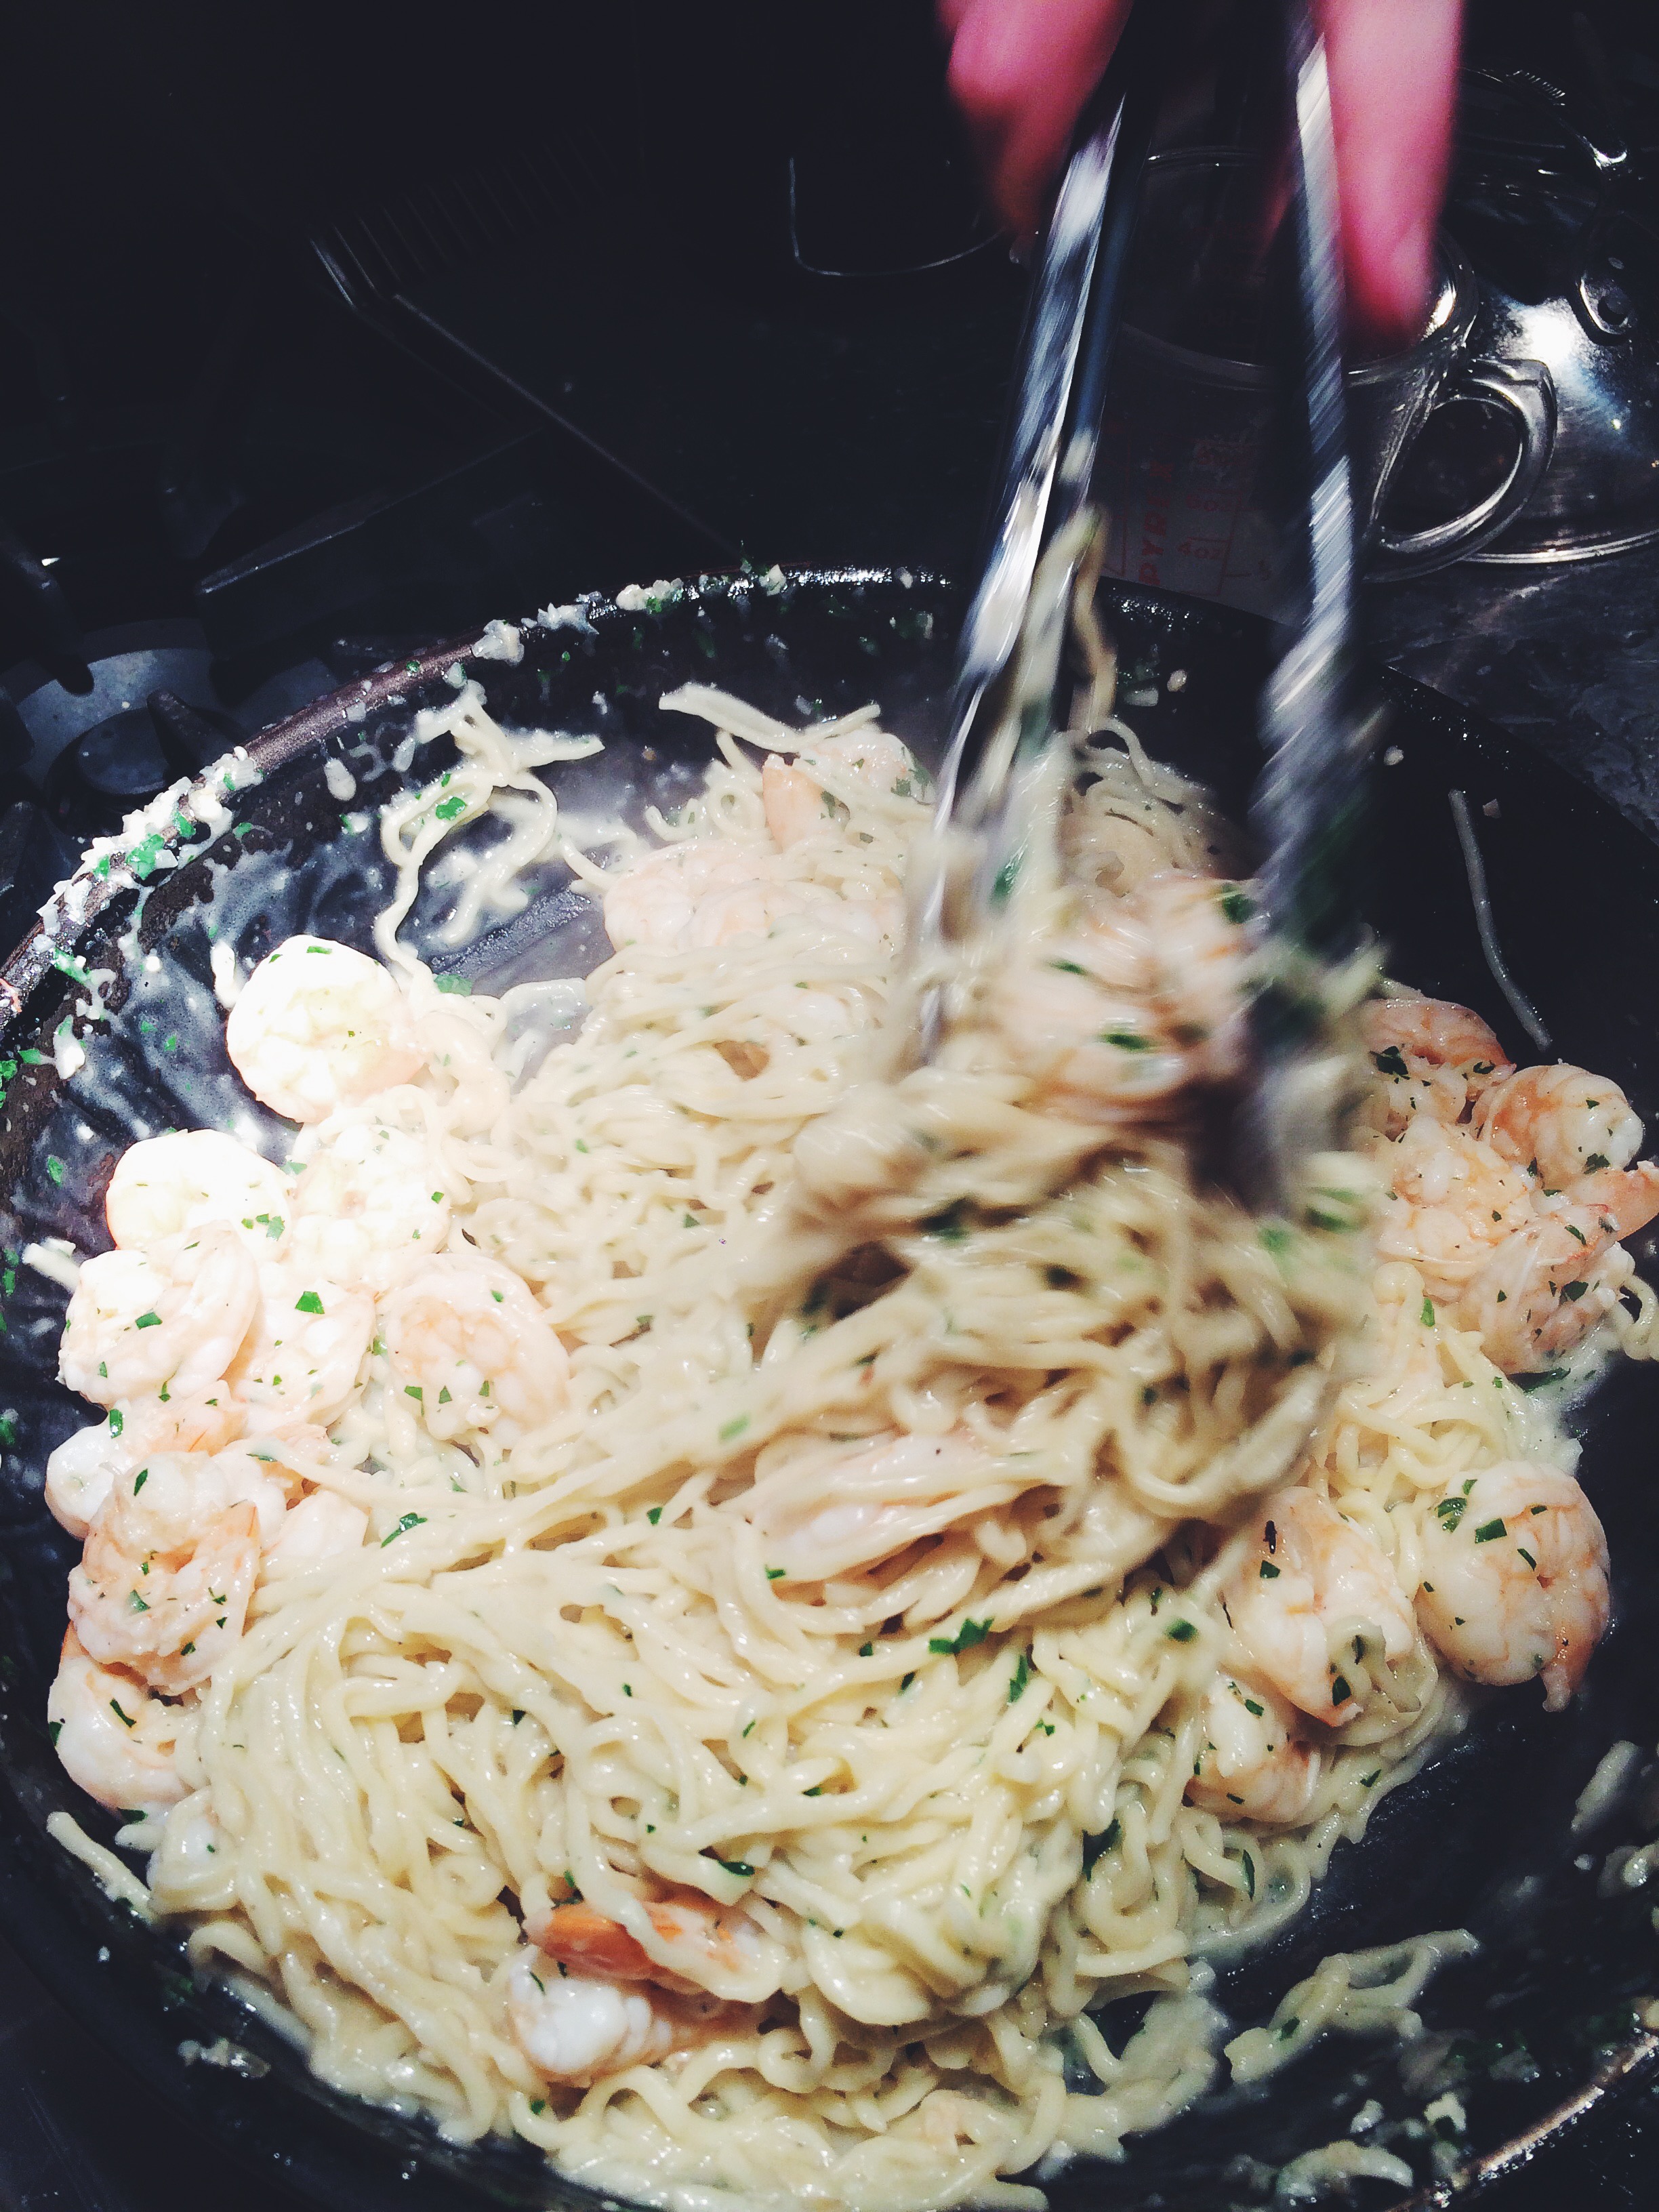
  9. Add the pasta directly to the pan with the shrimp, tossing it all together. If it’s dry, add some pasta water. The starch in the water also helps to thicken the sauce even more.
  10. Finish with the fresh parsley. Toss and serve.

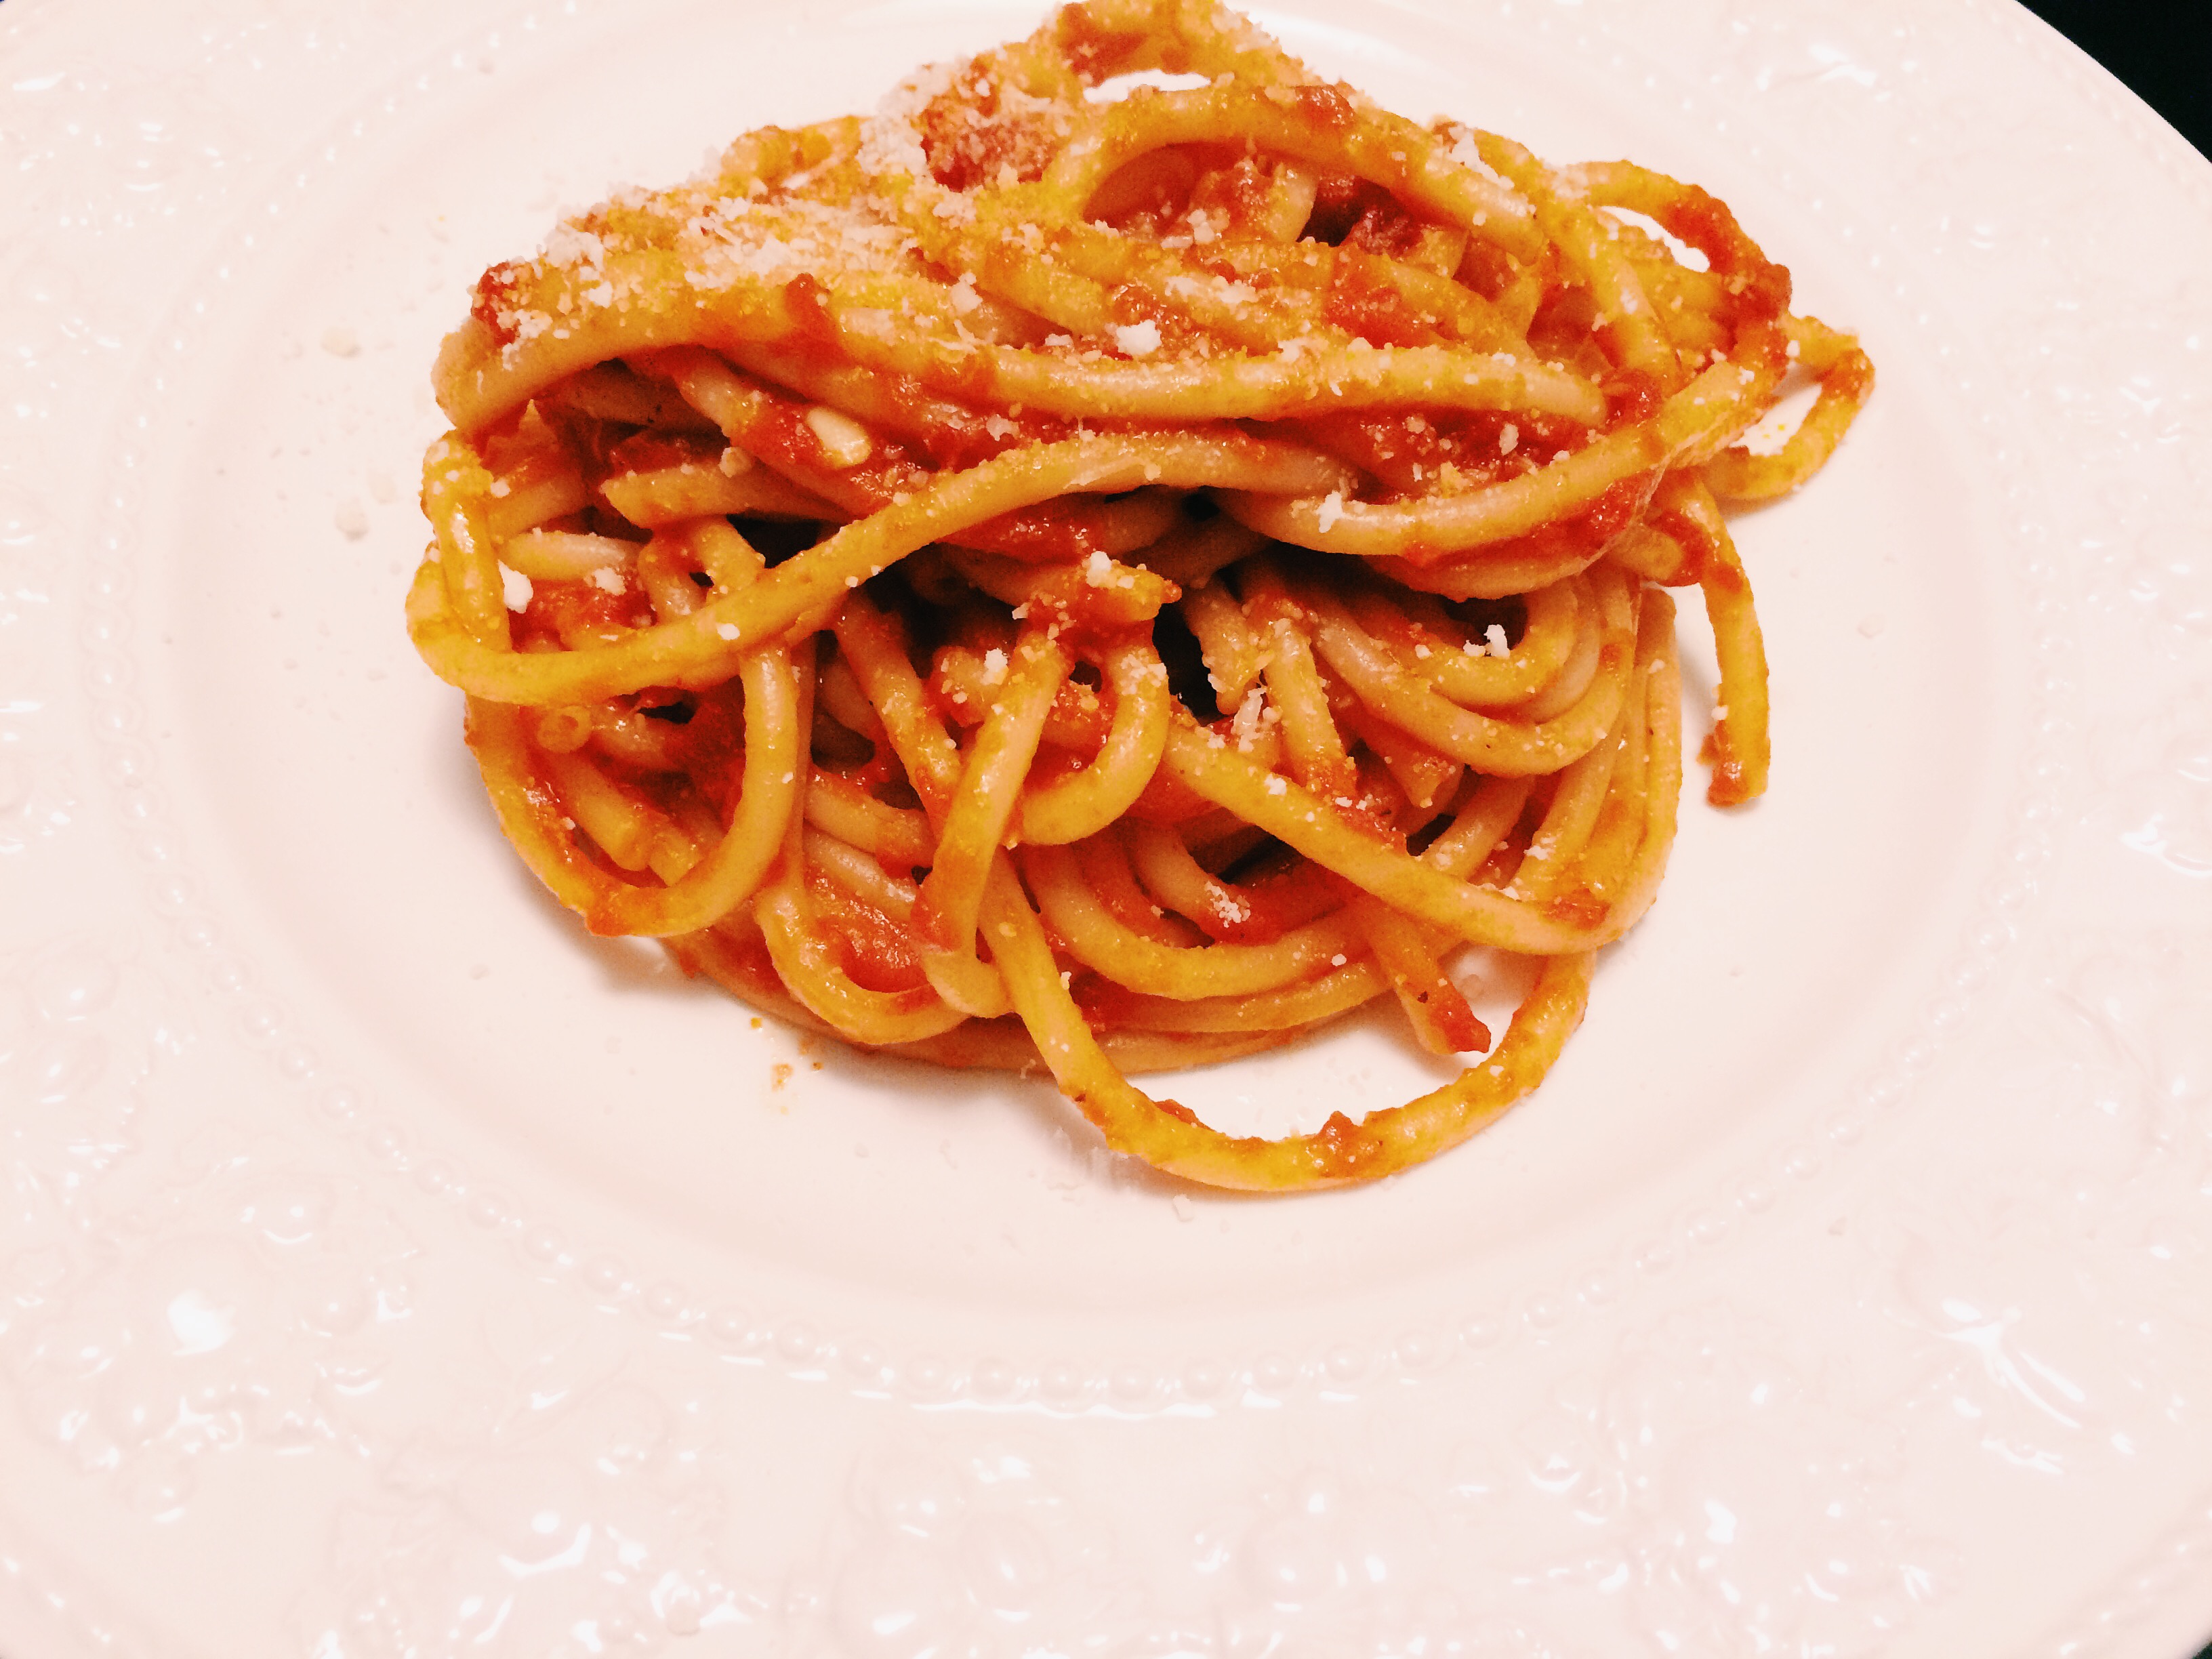
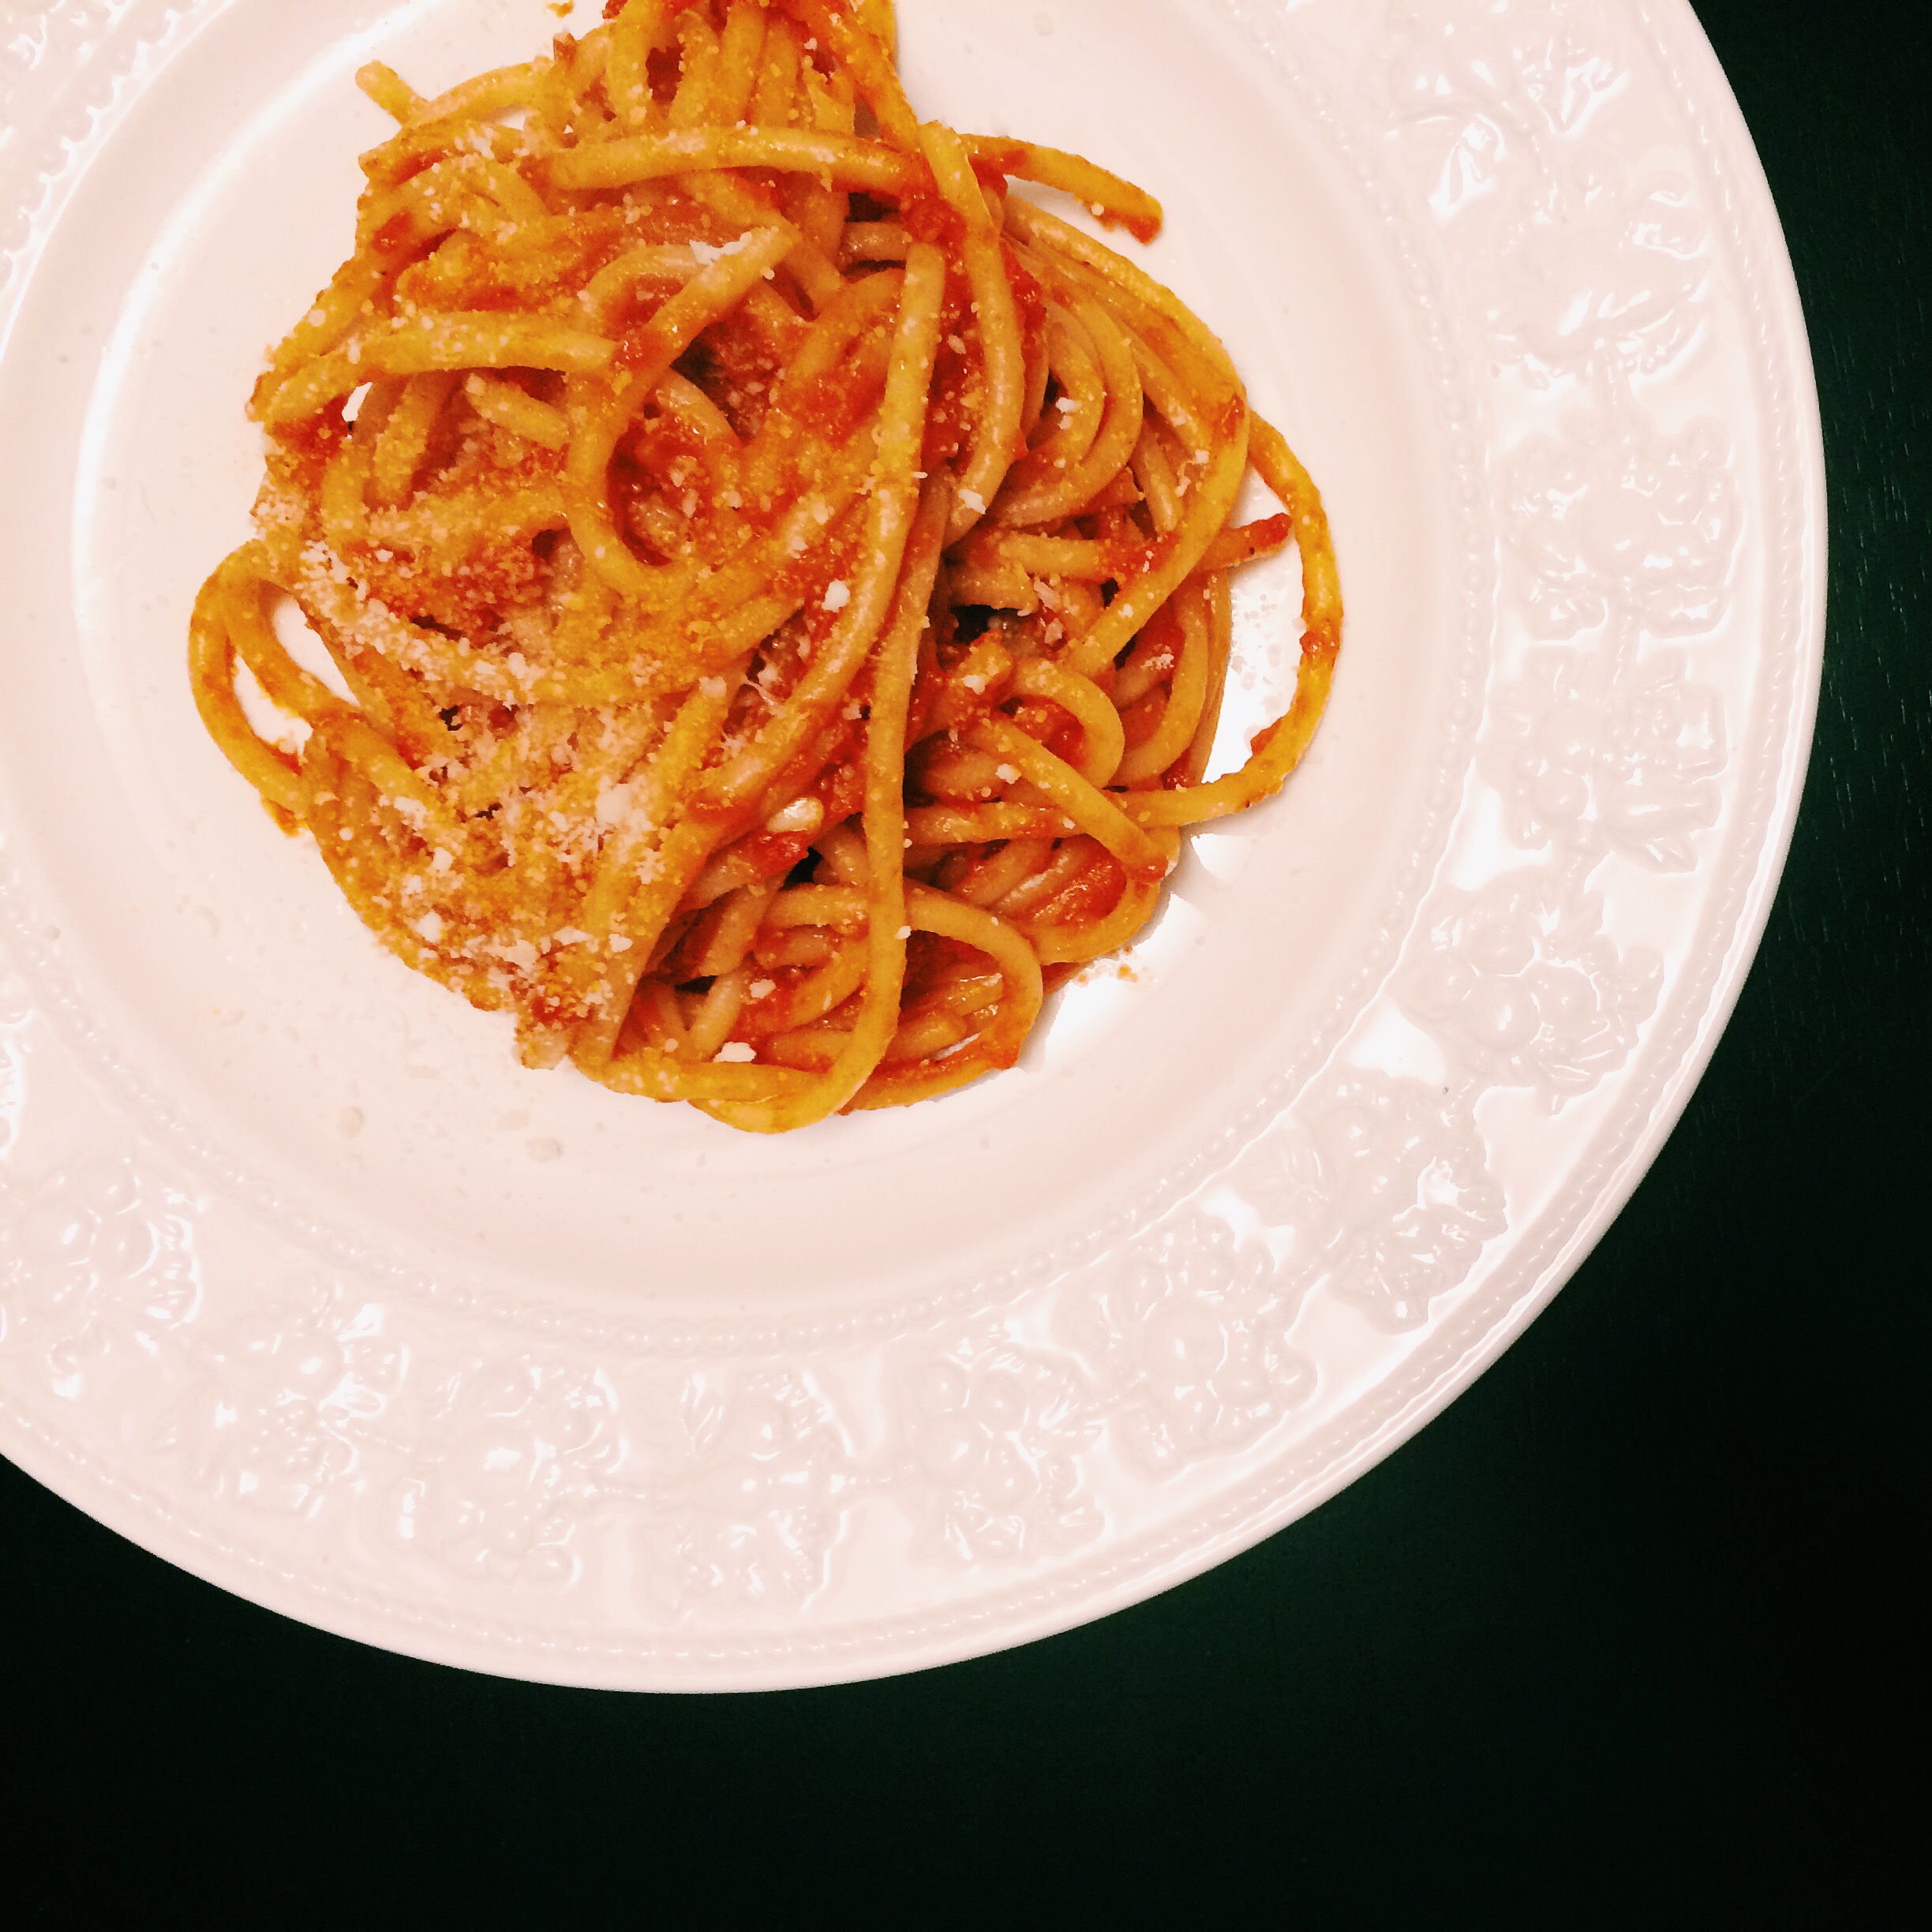
ENJOY IT. It’s bright. It’s zesty. It has a subtle richness. It’s really quite delicious. Sure to be a hit at your next dinner party. It also has the added bonus of being thrown together in 10-15 minutes if all of your ingredients are prepared ahead of time.

Processed with VSCOcam with f2 preset

Until next time…


Advertisement

Ricotta Gnudi

Okay…I’ll admit it. I have a favorite type of food.

But who doesn’t?

My favorite type of food is homey. It’s comfort. It’s not pretentious.

It’s Italian.

A dream of mine is to travel to Italy and study the food. The wine. But just one region. I don’t know…Tuscany…or maybe Florence…Sicily? I haven’t decided yet. Each has their perks.

Why just one region you might ask? Well, think of the United States. We have different regions that consume different types of food. Down here in the Southern states we eat heavier items such as fried chicken and macaroni and cheese. Up in the Northern areas you have pizza and Philly cheesesteaks. You can’t forget about chili and tacos as you head out West. I mean, you very rarely walk into a restaurant that has all of these options available to you. So why should you walk into an Italian restaurant expecting items from each region? You shouldn’t. The climate dictates the food. And as it should.

I want to take this knowledge and open up my own little Italian place. Great food. Great wine. What’s not to love?

The only problem is that I have to choose. But I don’t have to choose now. Today, I can make whatever I want. Today, I will make Ricotta Gnudi or as I like to call them…Delicious, Cheesy Pillows.

Shall we begin?

Processed with VSCOcam with f2 preset

THE INGREDIENTS.

  • 2 cups Whole Milk Ricotta
  • ½ cup Parmesan, finely grated
  • 1 Whole Egg, beaten
  • 1 Egg Yolk, beaten
  • ½ teaspoon Black Pepper
  • ½ teaspoon Salt
  • ½ cup Flour (plus some)
  • Tomato Sauce

Processed with VSCOcam with f2 presetProcessed with VSCOcam with f2 preset


Processed with VSCOcam with f2 presetProcessed with VSCOcam with f2 preset

THE METHOD. We are basically making a very light dumpling. It’s easy to throw together, but takes a little bit of trial and error.

  • Place the ricotta, Parmesan, whole egg, egg yolk, salt and pepper in a bowl. Stir until everything is combined.
  • Fold in the ½ cup of flour. The dough will probably be pretty wet at this point. Add more flour a little bit at a time (say a tablespoon at a time) until the dough is soft, but not wet looking. It will sort of form a ball.
    • This step is why I said it’s trial and error. Until you make them once, you won’t really know what works and what doesn’t. To make this easier, have a pot of boiling water on the stove. Make a dumpling and cook it. Taste it. If it works, then make the rest. If it doesn’t (taste wise or consistency wise, fix it and repeat).
  • To make the gnudi, you’ll need two large spoons. We’ll be making “quenelles” or oval, football-shaped dumplings. You use the two spoons to mold the dough in the shape. Very difficult to explain via text so look at the pictures.

Processed with VSCOcam with f2 preset

Processed with VSCOcam with f2 preset

Processed with VSCOcam with f2 preset

  • As you form the quenelles, place them on a floured baking sheet.
  • To cook, place the dumplings in the boiling water. They will float to the top pretty soon after you add them, but they aren’t done cooking yet. Allow the dumplings to cook for 5-6 minutes. Strain them and toss with your favorite sauce…tomato…brown butter and sage…it’s your choice!

Processed with VSCOcam with f2 preset

Processed with VSCOcam with f2 preset

ENJOY IT. This is a dish that you might not get right the first time. Maybe the gnudi are too dense or perhaps they disintegrated while you cooked them. Most foods are trial and error. Very rarely does a dish turn out fantastic the first time you make it. But don’t give up because there is nothing like the feeling of finally nailing a recipe that you’ve been struggling with for awhile. If you do nail it the first time, eat a gnudi and do a happy dance.

Until next time…


Bucatini with Roasted Tomato Sauce

I love a traditional tomato sauce. I mean, who doesn’t? It’s used as the base of many Italian favorites such as Spaghetti and Meatballs, Pizza, and Eggplant Parmigiana. Everyone has their own variation that they claim is the best. Each has a special step or a secret ingredient that makes it stand our from all the rest. I am no different. I have my own recipe for what I think is the best tomato sauce (and it’s pretty dank, I’m not going to lie).

There is one problem, though. It takes at least half a day to make a great tomato sauce. It’s not something that can just be thrown together in a hour. Okay…it can be thrown together in an hour, but it’s not going to taste near as good as it would if you let it simmer for several hours. As with many great dishes, the longer the cooking process the more depth of flavor you will create. And flavor is the primary goal for us cooks.

But what if I were to tell you that there is in fact a way for you to get a robust and flavorful tomato sauce in under an hour?

I’m serious! It’s the easiest sauce you’ve ever made and it might even taste better than the one you slave away on all day long.

The key is roasting. Yup, thats right. You roast your entire tomato sauce in the oven…and 45 minutes later you have a delicious topping for that pasta of yours.

Processed with VSCOcam with c1 preset


THE INGREDIENTS. 

  • 1 28 oz. can of Whole Tomatoes, peeled. ( I personally use San Marzano tomatoes because they are the best. No contest.)
  • 6-8 cloves of Garlic, peeled and crushed
  • 1 tsp Anchovy paste (or 2 anchovy fillets packed in oil)
  • 1/2 cup of butter, cut into small pieces
  • a pinch or two of red pepper flake (the amount depends on how spicy you want it)
  • Salt and Pepper to taste
  • Grated/Shaved Pecorino
  • 12 oz. Bucatini

Processed with VSCOcam with f2 presetProcessed with VSCOcam with c1 presetProcessed with VSCOcam with c1 preset

THE METHOD. This sauce couldn’t be any easier to throw together. The only way it’d be easier is if someone else invited you over to dinner and this was the sauce they made, which, not gonna lie,  would actually be my preferred way to have it made. But…no one invited me over this week so I made it myself.

  1. Preheat your oven to 425 F.
  2. In a baking dish, place the tomatoes (crushed up a bit, but not too much because we like a chunky sauce), the garlic, the anchovy, red pepper flake, and the salt and pepper. Mix it up a bit. Top it with the butter and throw it on in the oven.
  3. Roast it for 35-45 minutes. Half way through the process, give the tomatoes a stir.
  4. Once the garlic is soft, take the sauce out of the oven and let it cool a bit. Then take a potato masher or immersion blender and give it a little mash up to combine everything. (This can be done in advance and the sauce warmed before serving).
  5. Bring water to a boil in a large pot. Add salt until it tastes like the sea. Cook the pasta until it’s al dente.  
  6. Drain the pasta, making sure to reserve 1/2 cup of the cooking water.
  7. Place the pasta back in the pot, add the pasta, and the water. Toss the pasta and sauce together, cooking it for an additional 3 minutes.
  8. Serve with the grated pecorino. You can also use parmesan.

Processed with VSCOcam with c1 presetProcessed with VSCOcam with c1 preset

ENJOY IT. This sauce is an intense tomato sauce. It has a nice spice from the red pepper flake and the anchovy adds that umami effect, which is all the rage these days. So if you were wondering if you could leave the anchovy out because you just can’t stand anchovy, I wouldn’t. (FYI, you’ve had anchovy before. You just don’t know it. It’s a key ingredient in Caesar dressing as well as Worcestershire sauce. So there). Just don’t tell anyone that it’s in there. They’ll never know, I promise.

Until next time…

Processed with VSCOcam with c1 preset


Chicken Tetrazzini

Sometimes, you just want to eat comfort food. No muss, no fuss. It’s not the prettiest dish in the world. It doesn’t require the most effort. But, it’s delicious. It warms your heart in a way that some fancy beef roast or rack of lamb just can’t.

This week, I needed that warmth. I craved that warmth. Mostly because it’s freezing in my apartment. Sure, it’s a little chilly outside,but I’m not outside that much. I’m inside. And it’s way too cold. You see, last month (in my personal opinion) the power bill was astronomical. (It wasn’t really astronomical, but there was a significant jump between months, which simply will not be tolerated). I absolutely hate to spend money on bills. Can’t stand it, actually. So when the monetary amount on my utility bills start to move in the wrong direction, I take drastic action. This means wearing sweat pants, sweatshirts, and socks around the apartment because heaven forbid I turn the heat on for one solitary second. And it’s during times like these that I need some food that sticks to my ribs. Some comfort food that is creamy and, frankly, a little bit fatty so that for a moment, I feel all toasty inside.

Processed with VSCOcam with f2 preset

The dish to bring me this feeling was chicken tetrazzini. It’s a dish my mom would make growing up and quickly became a favorite amongst us siblings. It’s simple to throw together and is quite tasty.

THE INGREDIENTS. Most of the ingredients for this dish I usually always have in the kitchen and you probably do, too.

  • 2 small chicken breasts, cooked and diced
  • sliced button mushrooms
  • diced onion ( Shockingly, I didn’t have an onion so I used shallots. Worked splendidly. Honestly? I liked the switch better).
  • Butter
  • Flour
  • Milk
  • Parmesan
  • Paprika
  • Spaghetti, cooked (Make sure your water tastes like the sea! Bland pasta will make for a bland dish)

Now, usually there is some cooking sherry thrown in there, as well. I don’t have cooking sherry at the moment so I just leave it out. Guess what? Tastes pretty damn good without it. Remember, cooking isn’t about following a recipe. It’s about being creative. If you don’t have an ingredient (an unimportant ingredient that is), use a substitute or leave it out. Think outside the box!

Processed with VSCOcam with f2 presetProcessed with VSCOcam with f2 presetProcessed with VSCOcam with f2 presetIMG_3072Processed with VSCOcam with f2 preset

THE METHOD. To make this dish, we will be making a béchamel, which we have made before (the chicken enchiladas, anyone?). Then we will layer the pasta, the sauce, and the cheese to make a delightful casserole.

  1. Throw some butter (let’s say 3 tablespoons) in pot over medium heat.
  2. Add your mushrooms and onions. Sauté until the onions are translucent.
  3. Add 3 tablespoons of flour and stir around, creating a roux. (Fun Fact: When you sprinkle flour in a pot like this to create a thickening agent it’s called singer, which is French.) Cook for a couple of minutes.
  4. Add 3-4 cups of milk and stir.
  5. Bring the mixture to a boil. This activates the thickening power of the flour. Cook for 5 minutes or so to allow it to thicken. If it’s too thick, add some more milk or water. If it’s too thin, make a slurry (equal parts flour + water) and pour it in while the mixture is boiling until the desired thickness is reached. (Rule of Thumb: It’s best to not make sauces too thin because it’s much harder to thicken them back up. Add your liquid a little at a time until the desired viscosity is reached).
  6. Now, season the sauce pretty liberally with salt and pepper. Every single layer needs to be seasoned perfectly or else the end product won’t come out tasting that great.
  7. Add you cooked and diced chicken. You can boil it or used a store bought chicken. I personally seasoned them up and roasted them in the oven.
  8. Take a baking dish and spray it with nonstick spray. Take a ladle or so of the sauce and pour it in the bottom of the dish. Spread it around. Sprinkle this layer with parmesan cheese and paprika. If you’re feeling zesty, sprinkle it with some cayenne, too. Add a layer of pasta. Add another layer of sauce. Sprinkle with parmesan and paprika. Add another pasta layer…Continue this until it fills up the dish. Make sure you finish with a layer of sauce.
  9. Sprinkle the top with more parmesan and bake in a 375 F until bubbly and delicious.

ENJOY IT. Forget about the calories. Forget about the carbs. Forget about the fat. Just forget about it all. It’s almost the holidays, anyways. Plus, it’s comfort food. Take some time and enjoy a dish like this every once in awhile.

Until next time…

Processed with VSCOcam with f2 presetProcessed with VSCOcam with f2 presetProcessed with VSCOcam with f2 preset

Butternut Squash Ravioli with Brown Butter and Sage

Homemade pasta. Just let that sink in. Ponder it. Think back to those times that you’ve had the opportunity to consume it. Such wonderful memories. Such amazing dishes. Homemade pasta can’t be beat. No, really, it can’t. The fresh stuff doesn’t compare and the dry variety isn’t even invited to the party. There’s just something about the flavor. Something about the texture…

Calm down. It isn’t that difficult to make. No…it’s not. I know…I know…you’ve tried it before and it didn’t go well. That was one time. I mean, success is a journey, not a destination. You learn something about yourself each time you fail. Success will taste so sweet when you finally get it right. Trust me.

Now that we’ve had that nice little pep talk, let’s get down to business…

Processed with VSCOcam with f2 preset

Butternut. Squash. Ravioli. Three reasons why:

  1. It’s delicious.
  2. It’s the perfect dish for Fall/Winter.
  3. It’s simple and requires very few ingredients.

We’ll take it step-by-step. And if you think about it, there are just three components. Each of these components will come together to make something divine.

Processed with VSCOcam with f2 preset

THE PASTA. Let’s start with the pasta because it has to rest before we do anything else with it. Easy peasy, lemon squeezey, I promise.

What you’ll need…

  • 2 cups AP Flour
  • 2 Whole Eggs
  • 1 Egg Yolk
  • Salt (to taste)
  • Drizzle of Olive Oil

Now, you can make it using a KitchenAid or by hand ( the flour well-method). I’ve been successful using both, but today we are using the mixer because it makes life easy (and who doesn’t like having their made a little bit easier from time to time?)

The Method…

  1. Place the flour in the bowl of a mixer with a dough hook attachment.
  2. Season to taste with salt.
  3. Add your eggs.
  4. Drizzle in a little bit of olive oil.
  5. Turn the mixer on to low and allow all the ingredients to incorporate.
  6. Turn the mixer to medium and let it go until the dough becomes smooth, about 10 minutes (this step is kneading the dough and developing the gluten). Occasionally, stop the mixer and add more flour if it is sticky. If the dough is dry, add a touch of water.
  7. Wrap the dough ball in plastic wrap and let it rest at room temperature for 1 hour. This will relax the dough so that it is easier to work with.

IMG_3008IMG_2990IMG_3003Processed with VSCOcam with f2 presetProcessed with VSCOcam with f2 preset

IMG_3001IMG_2999

THE FILLING. While the dough is resting, let’s make the filling.

What you’ll need…

  • 1 Small Butternut Squash
  • 1 Shallot
  • Oil
  • Salt and Pepper
  • Cream
  • 3 Tablespoons Parmesan

The Method…

  1. Preheat your oven to 400 F.
  2. Slice the butternut squash in half lengthwise. Oil it up and season it with salt and pepper. Place on a baking pan.
  3. Slice the shallot in half lengthwise, skin and all. Oil it up and season with salt and pepper. Place on the same baking dish.
  4. Place the pan in the oven and roast for 45 minutes to 1 hour.
  5. Check on the shallot after 20-30 minutes. It should be nice and caramelized. Remove it from the pan and place it on a dish to cool.
  6. Once the squash is fork tender, remove it from the oven and allow it to cool.
  7. Once cooled, scrape out the squash and place in a food processor. Remove the skin of the shallot and place it in the processor, too.
  8. Add a splash of cream and the parmesan. Mix her up…It’ll be pretty thick.
  9. Season to taste with salt and pepper. Set aside.

Processed with VSCOcam with f2 presetProcessed with VSCOcam with f2 presetProcessed with VSCOcam with f2 presetProcessed with VSCOcam with f2 preset

The Ravioli. The hard part. The combination of components one and two. But it’s really not that hard. Just time consuming.

Now, I’m using a hand-cranked pasta roller. I’ve also rolled it out by hand using a rolling pin…It just takes a little bit of elbow grease.

The Method…

  1. Cut your dough ball into quarters.
  2. Take one and flatten it out a little bit so that it will go through the pasta roller. Sprinkle generously with cornmeal (flour will also work here, but cornmeal works better).
  3. Roll it through the widest setting (mine’s is 7). Fold the dough over on itself and pass it through the roller again, trying your best to keep it in a rectangular shape.
  4. Turn the dial to the next setting (in my case, down to the 6). Pass the dough through this setting two to three times.
  5. Continue this step through all the settings (5,4, and 3). The 3 setting on my machine is where I like to stop. If the dough gets to be too long to handle, feel free to cut it in half so that it is easier to work with.
  6. Take a rectangular sheet and place a small amount of the filling on the sheet as shown in the picture above.
  7. Use water or an egg wash and go around each ravioli where you plan to seal it. Doing this will provide a better seal so that your filling doesn’t ooze out into the pasta water.
  8. Place a second rectangular sheet on top and press down to form the ravioli.
  9. Using a knife (or biscuit cutter if you want round ravioli) cut out your ravioli.
  10. Place on a floured baking dish until ready to cook.

Processed with VSCOcam with f2 presetProcessed with VSCOcam with f2 preset

THE SAUCE. This is perhaps the easiest sauce in the entire world to make. It is two ingredients: Butter and Sage. These flavors pair so well with the ravioli, it’s kind of insane.

But, before we get started on this…let’s bring a large pot of water to a boil. Add some salt and your ravioli…we will be finishing the dish in this step.

The Method…

  1. Take two tablespoon of butter for every serving of pasta and add it to a sauté pan over medium heat.
  2. Add 2-3 sage leaves for every serving to the melting butter.
  3. Cook until the butter is browned. It will start to smell nutty and floral…so basically amazing.
  4. The ravioli should take about two minutes to cook. Remove the ravioli from the water and place them directly in the sauce. Toss them around and serve topped with some shaved parmesan.

Processed with VSCOcam with f2 presetProcessed with VSCOcam with f2 presetProcessed with VSCOcam with f2 preset

ENJOY IT. I mean, come on. We just made homemade ravioli. Homemade. We didn’t go to the freezer section. We didn’t go to the local Italian place. We powered through and have been rewarded with a delicious meal. It’s nutty, it’s sweet, and the sage adds a nice floral note to it. Perfection, really.


This is How We Roll…Lasagna That Is…

In the middle of the week, I like to do something simple. Who doesn’t? And what’s simpler than going onto Pinterest and finding yourself a recipe? Not much, in my opinion. These recipes cater to college students and moms who, frankly, don’t have that much time on their hands, but yet they want to make a delicious and healthy meal for their family. Kudos to them.

Lasagna Rolls

Lasagna Rolls

I stumbled upon this recipe several months ago and I love it. It’s Lasagna Rolls. What’s not to love about it? You get lasagna in half the time. Not to mention it also bakes in half the time. Cha-ching, people. Cha-ching.

I’m not one to follow a recipe, though. It’s a waste of my culinary education (to the parentals…) if I don’t add a little something that makes it my own. So, how does Portobello Mushroom Lasagna Rolls sound? Delicious? I thought so…

Let’s get started!

THE INGREDIENTS.

  • Pancetta
  • Tomato Sauce (Recipe to follow)
  • Portobello Mushroom
  • Whole Milk Ricotta
  • Parmesan
  • Mozzarella
  • Egg
  • Salt and Pepper
  • Lasagna Noodles, par cooked

THE METHOD. Surprisingly, there are a couple of techniques to learn while making this dish as strange as that sounds. The two major components here are the sauce and the filling.

TIMG_2550
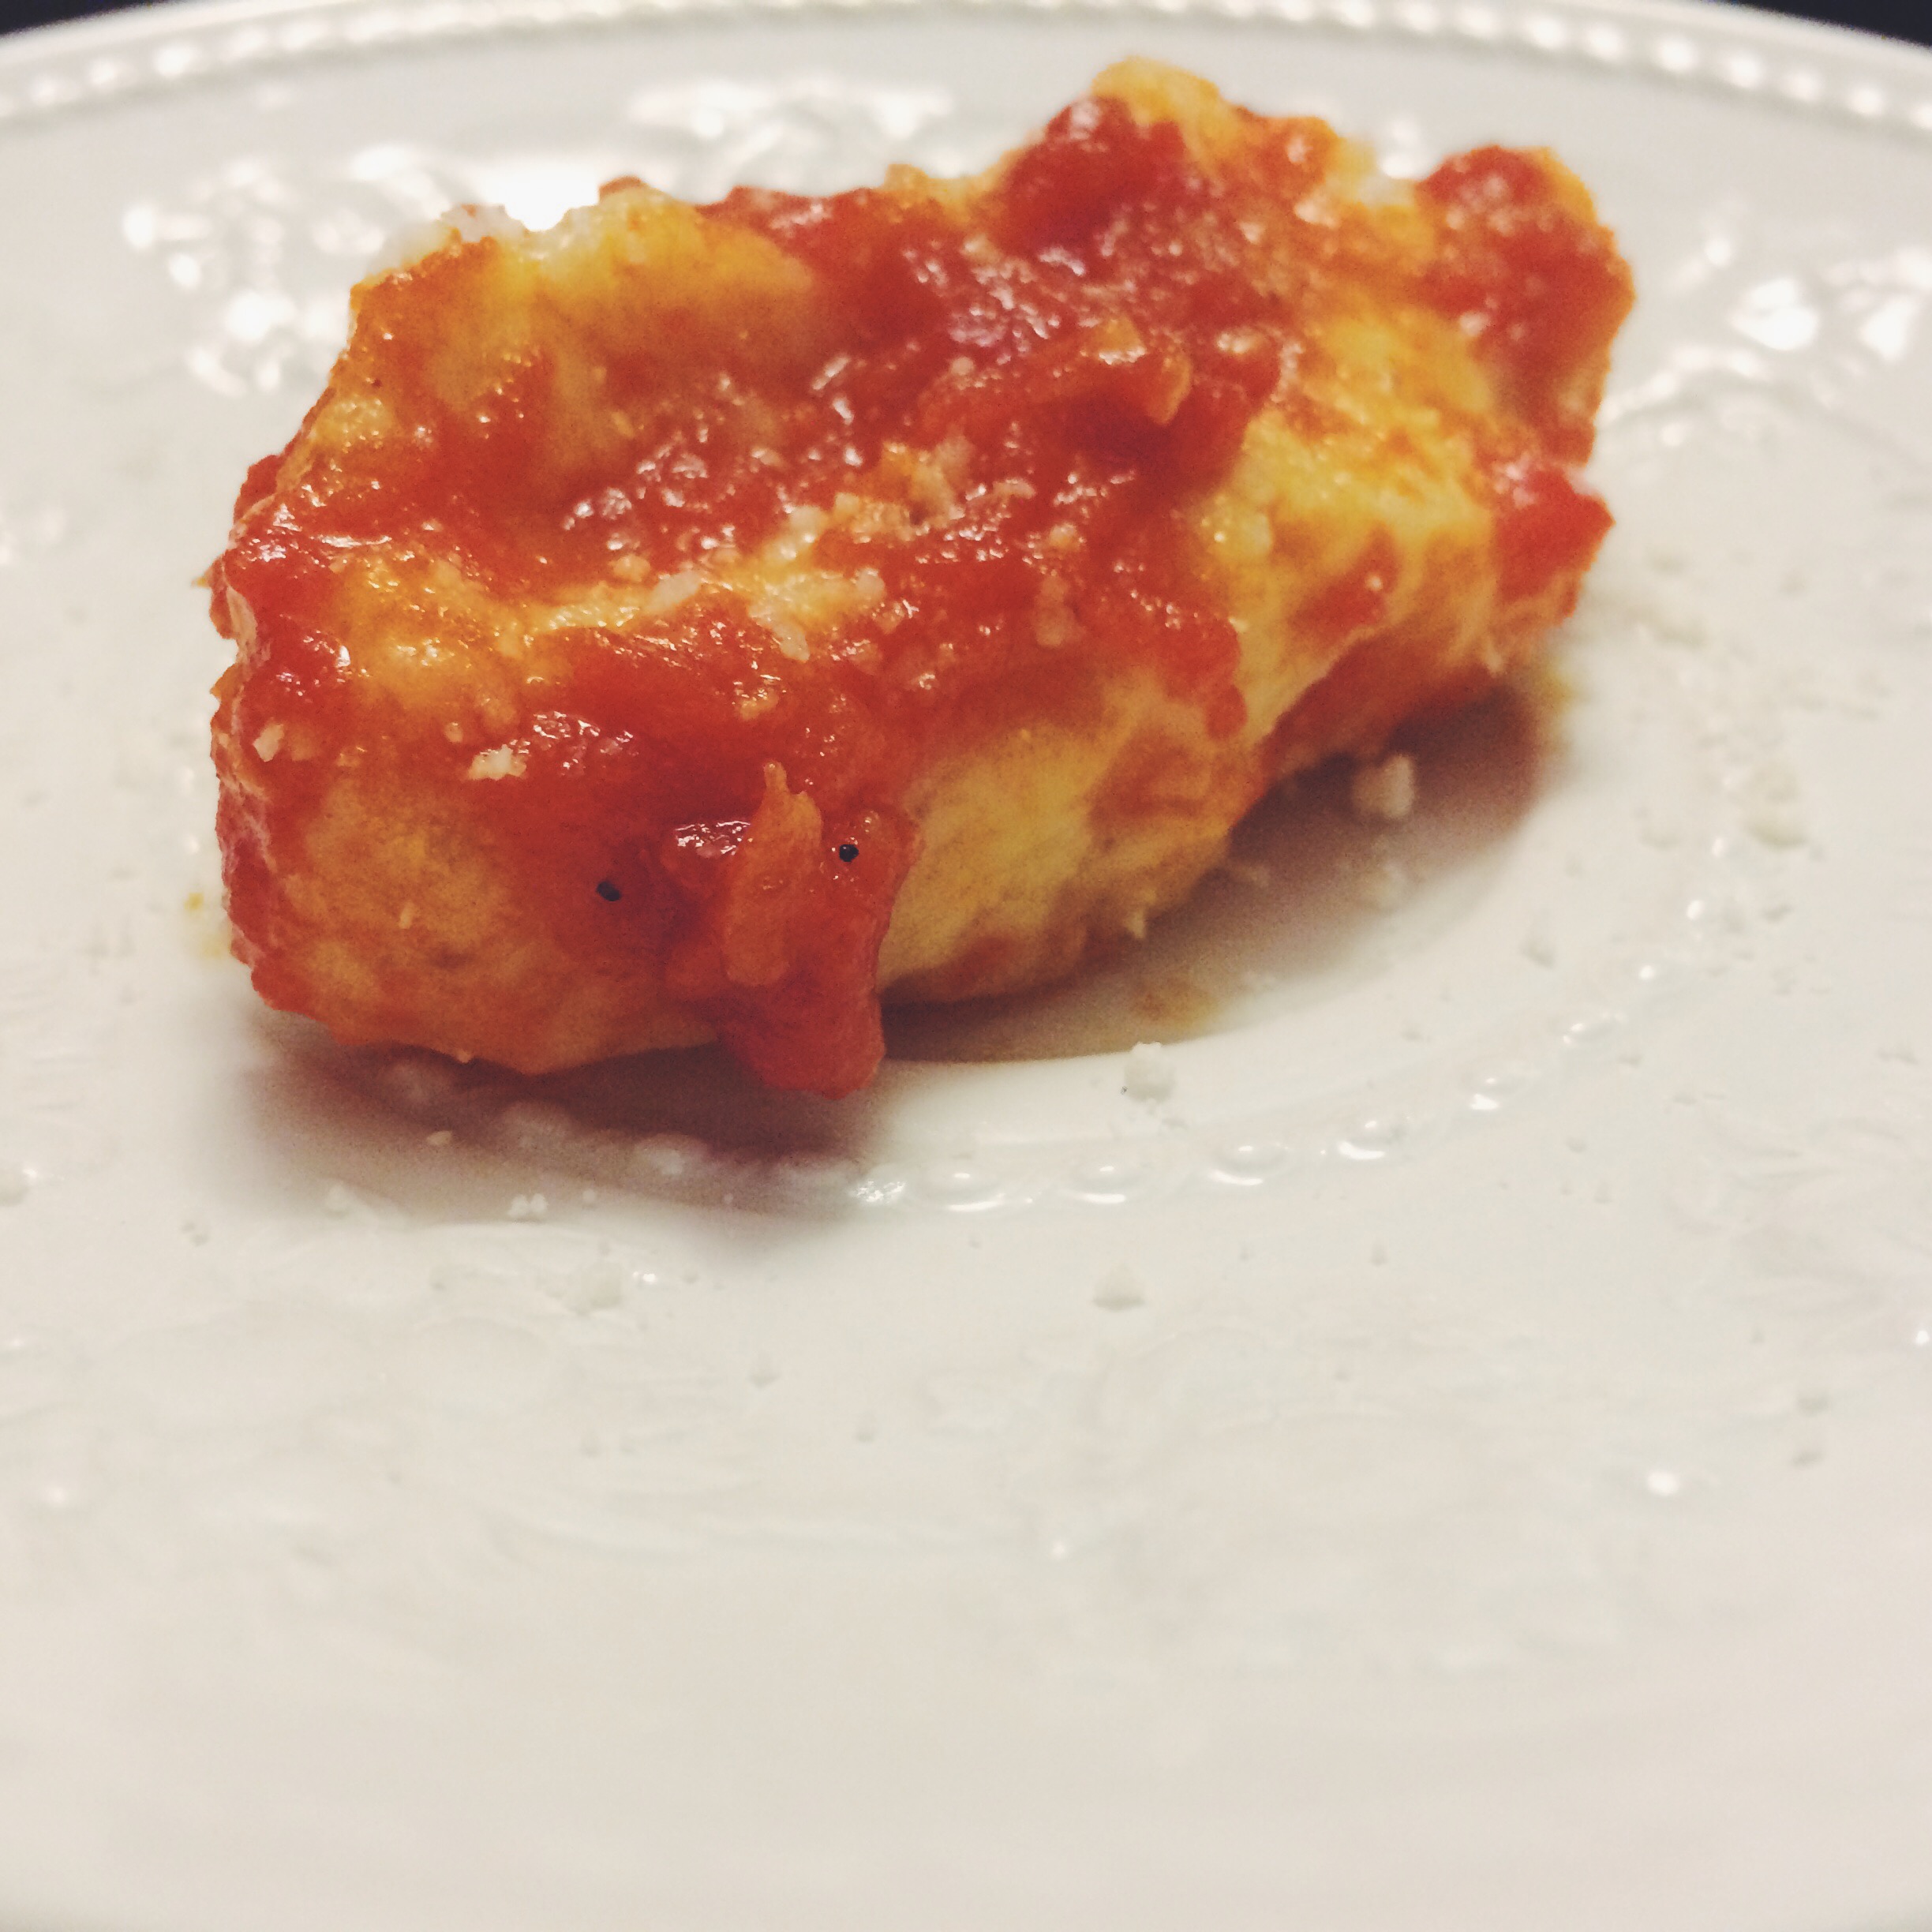
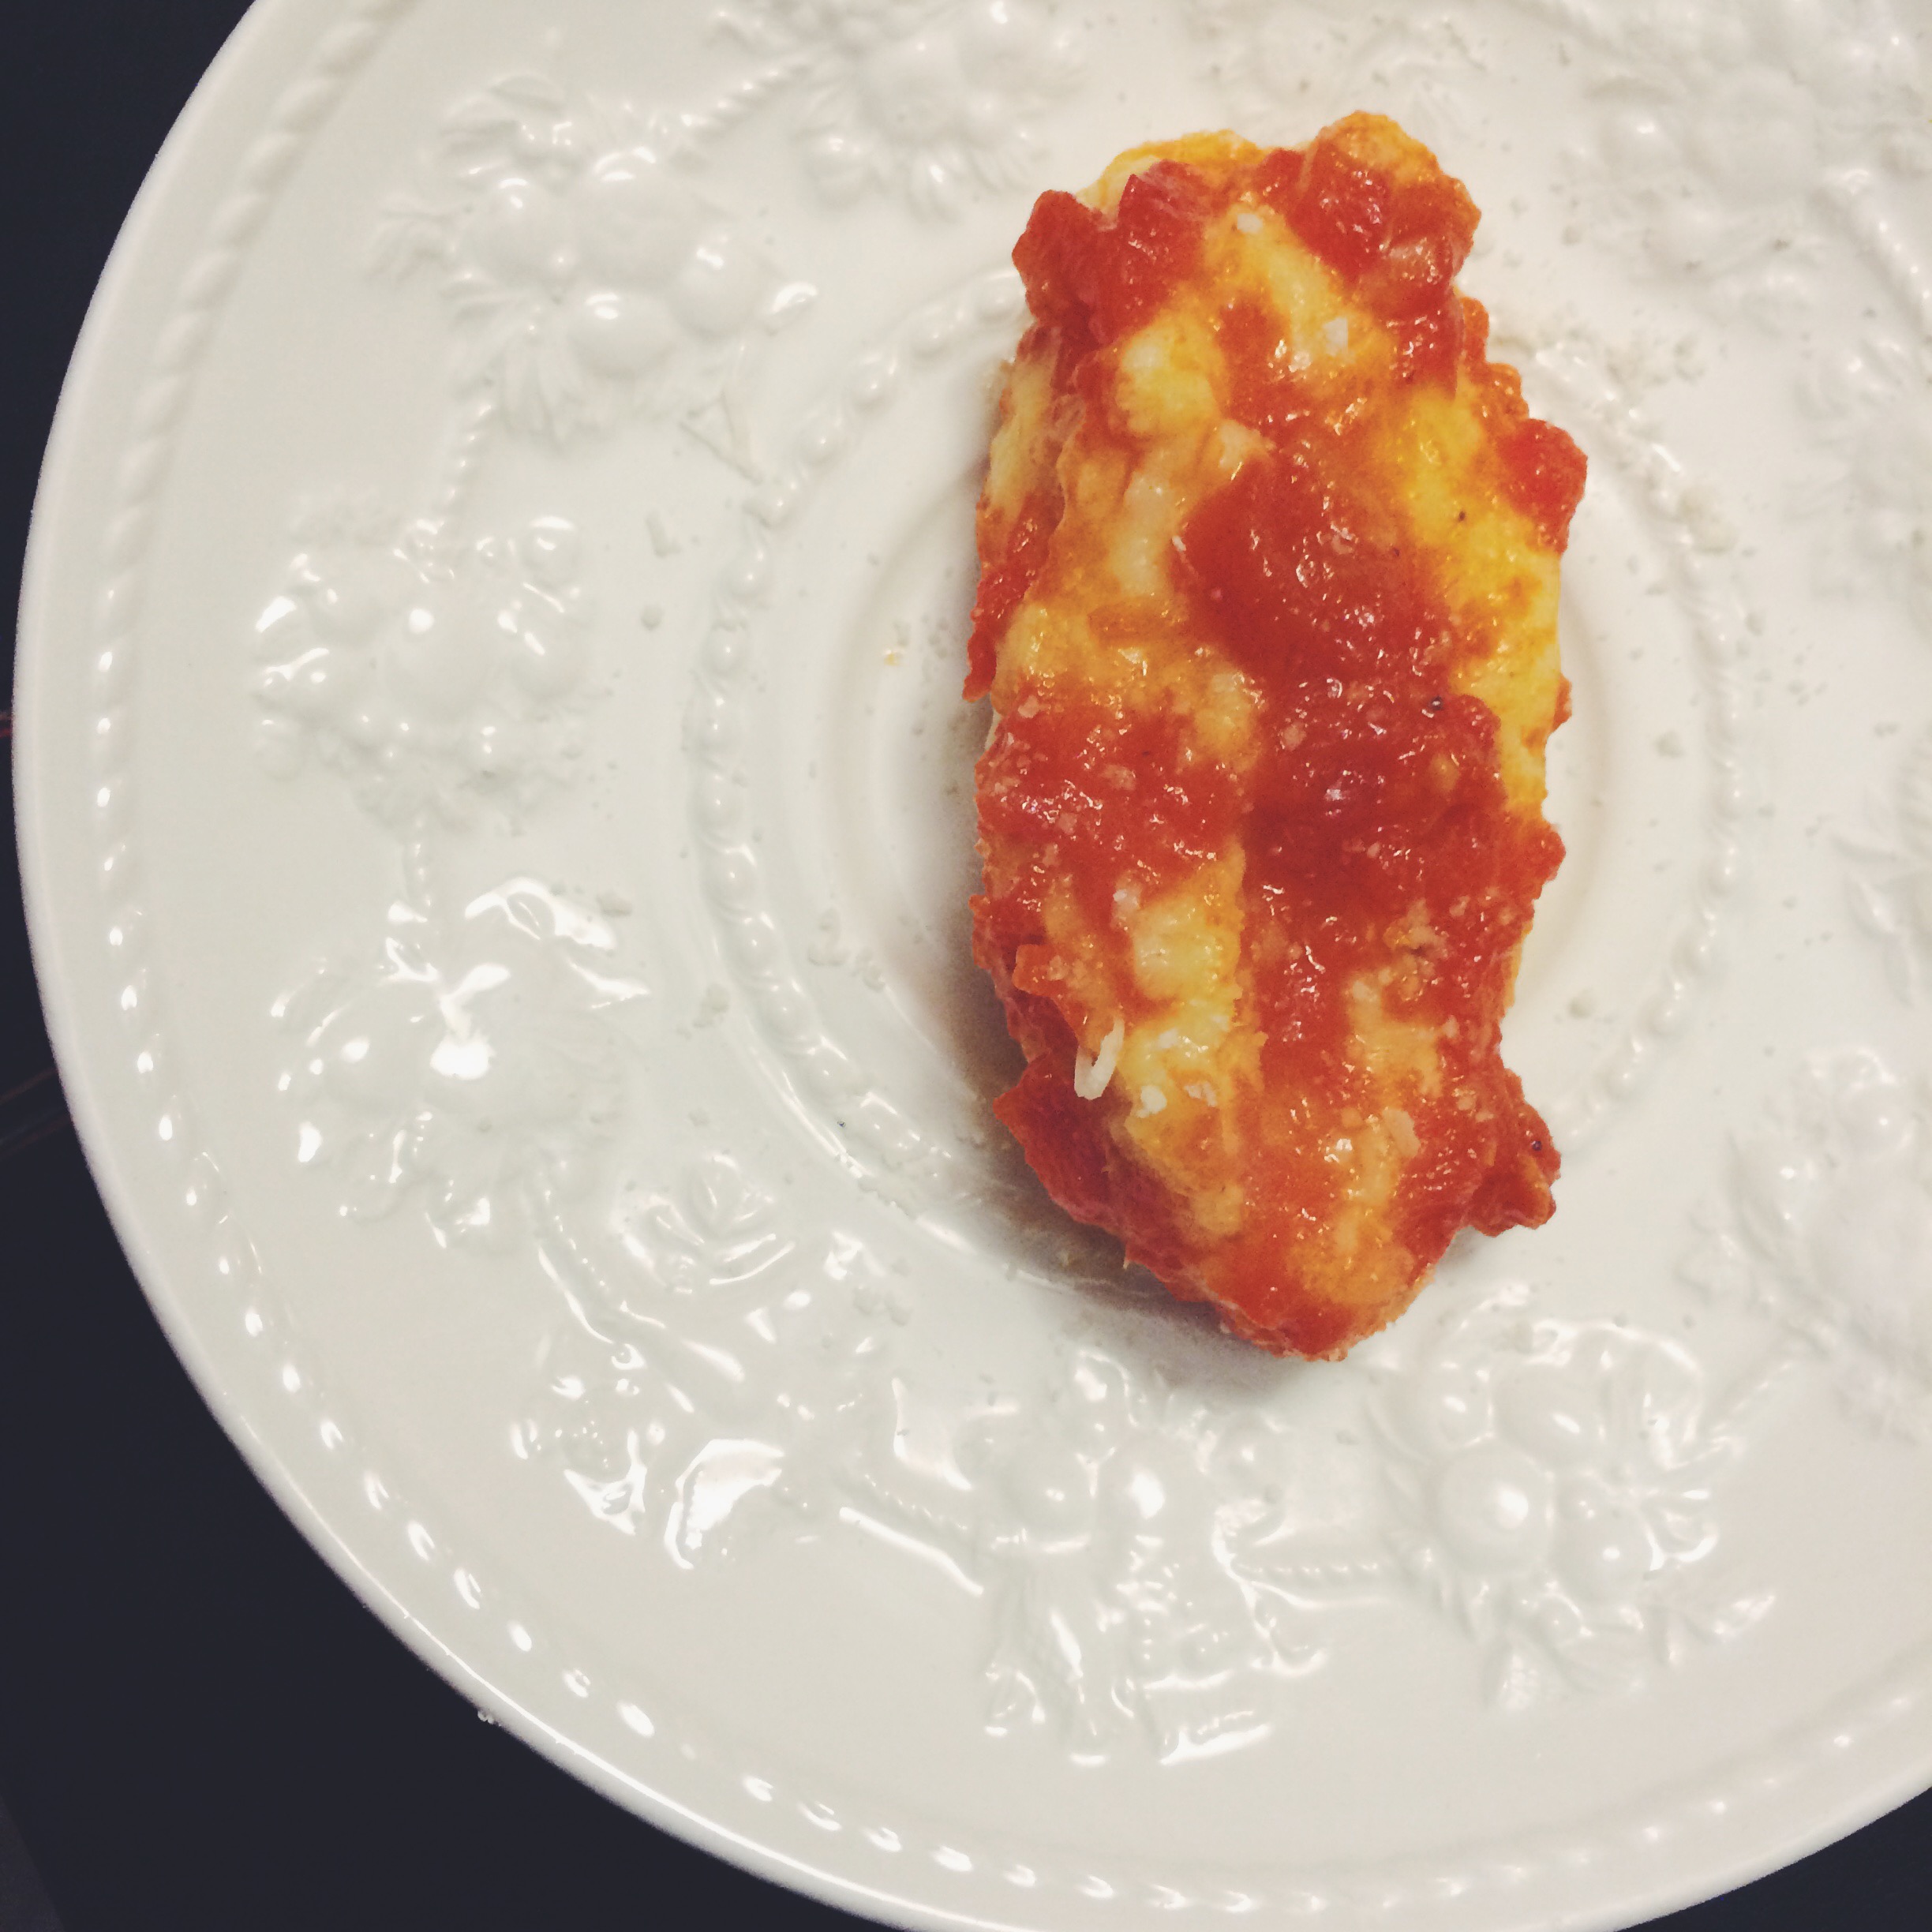
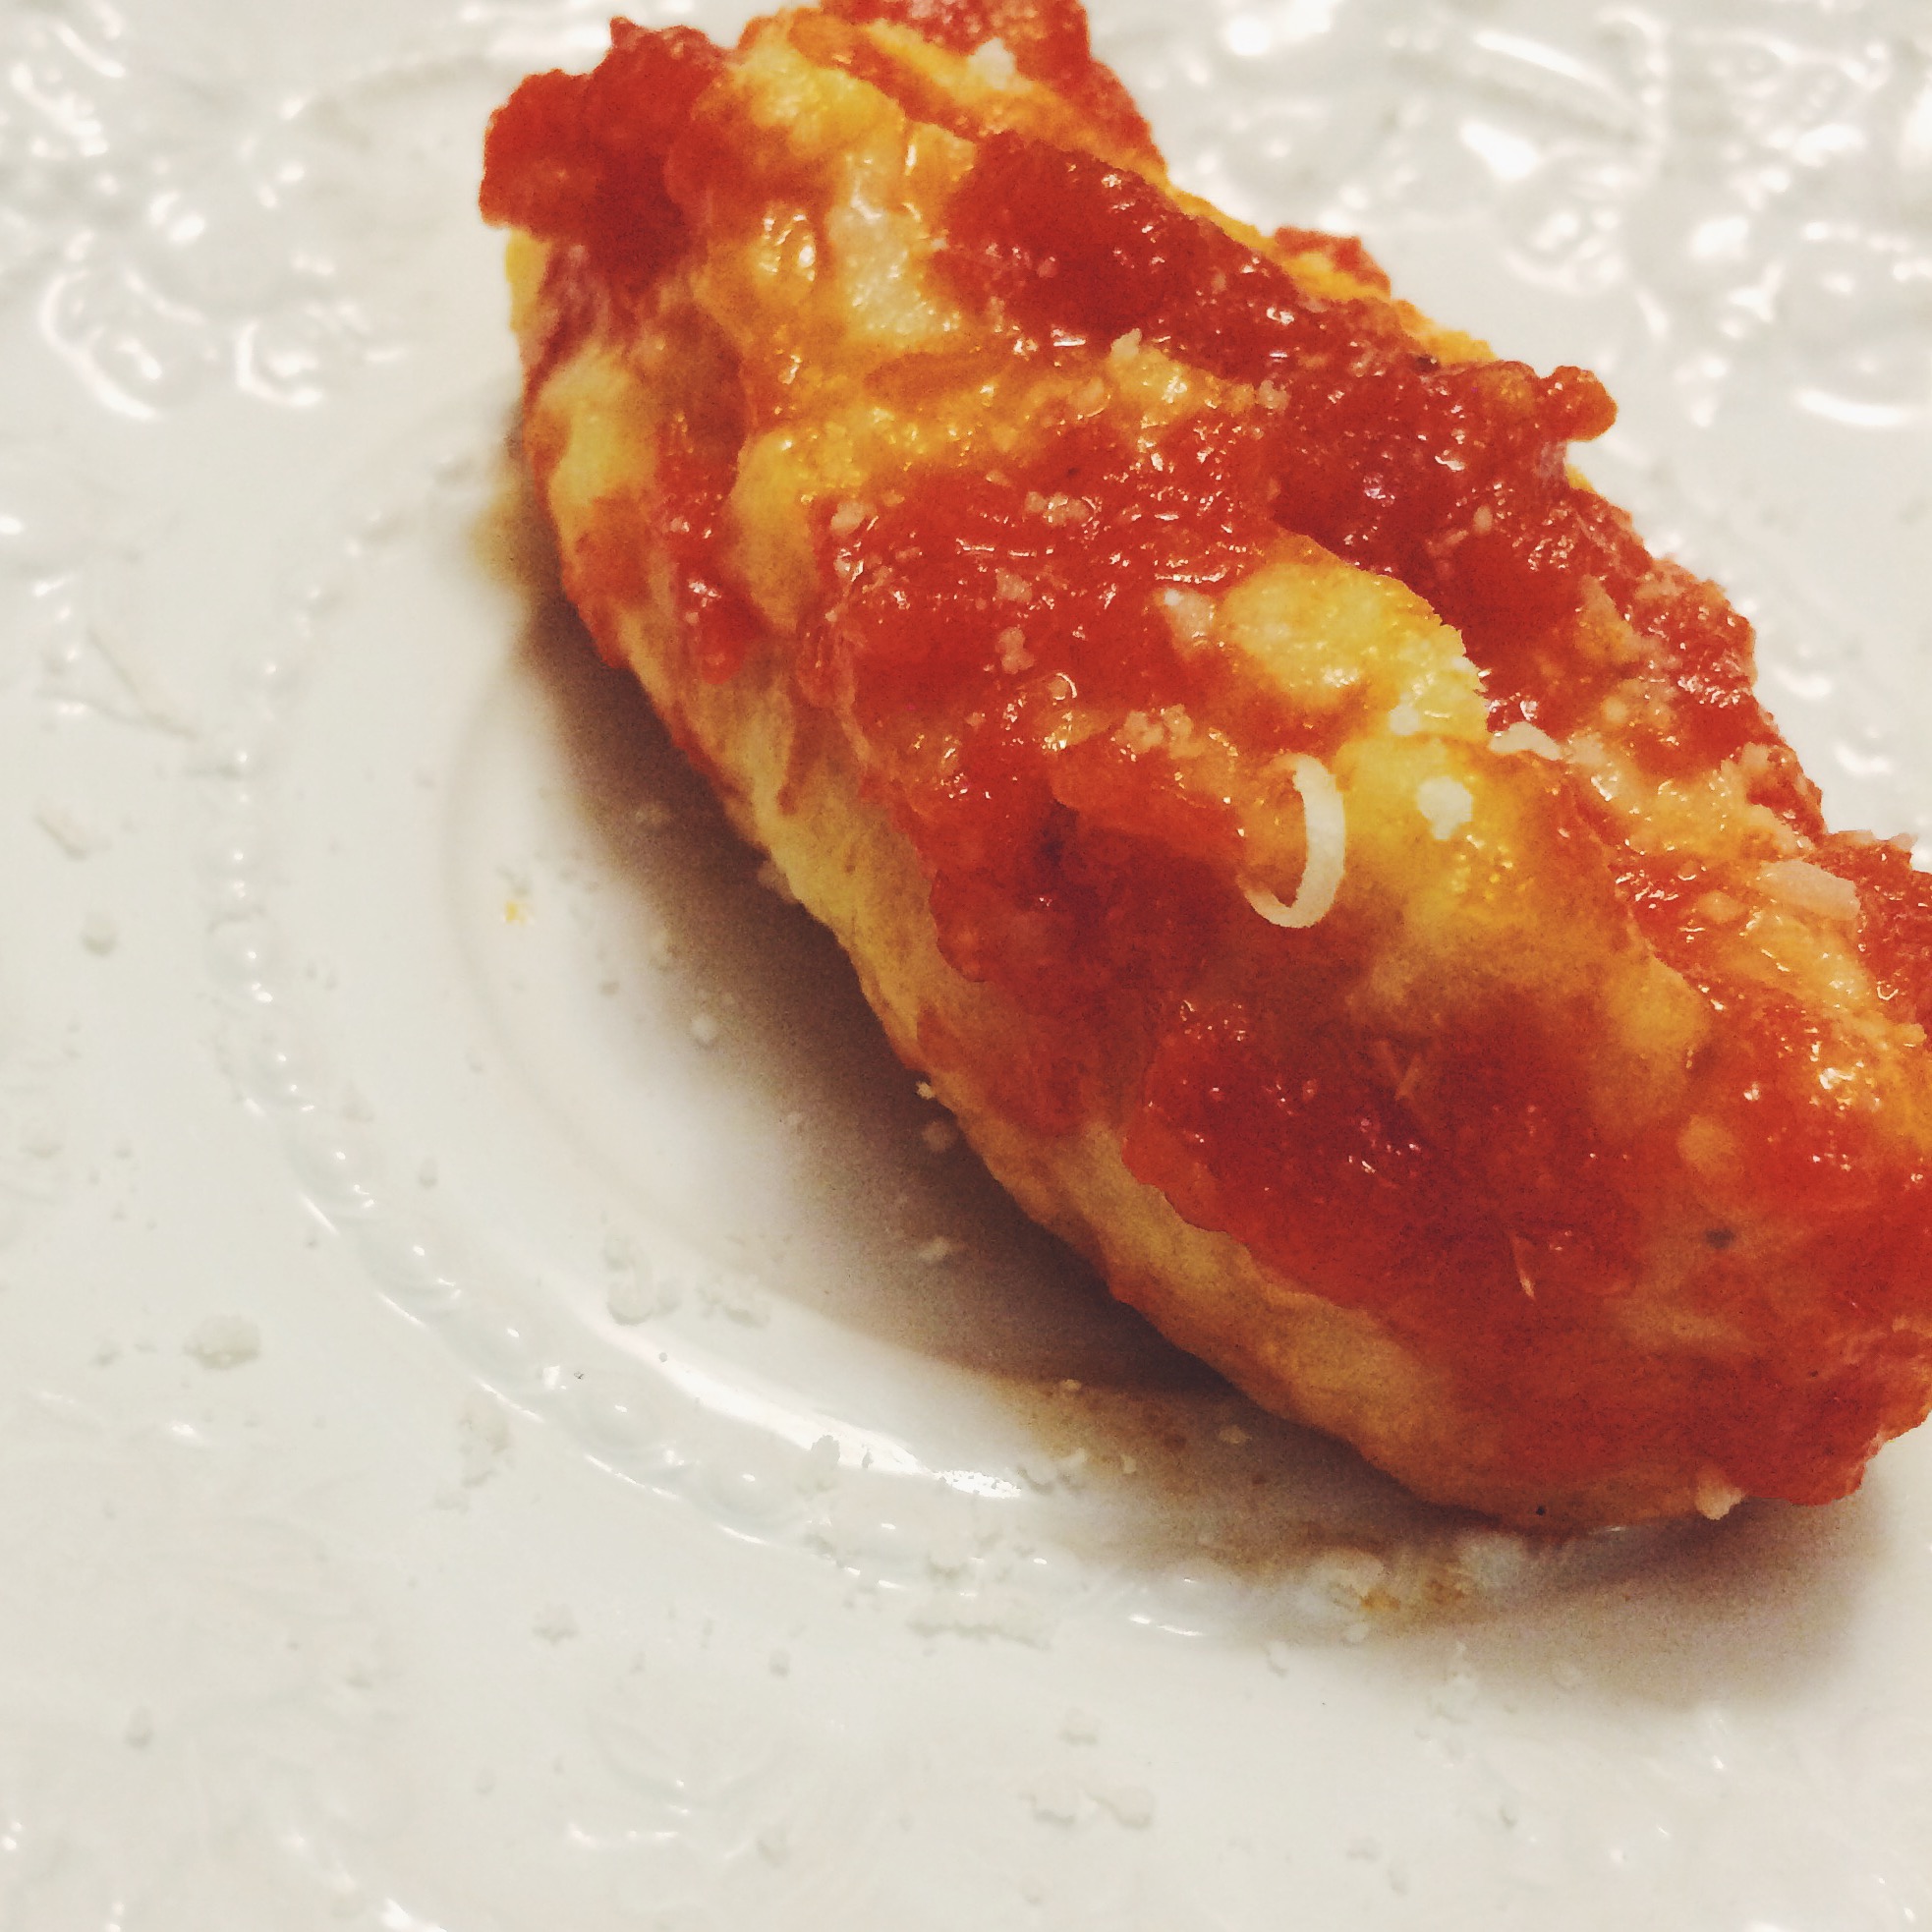
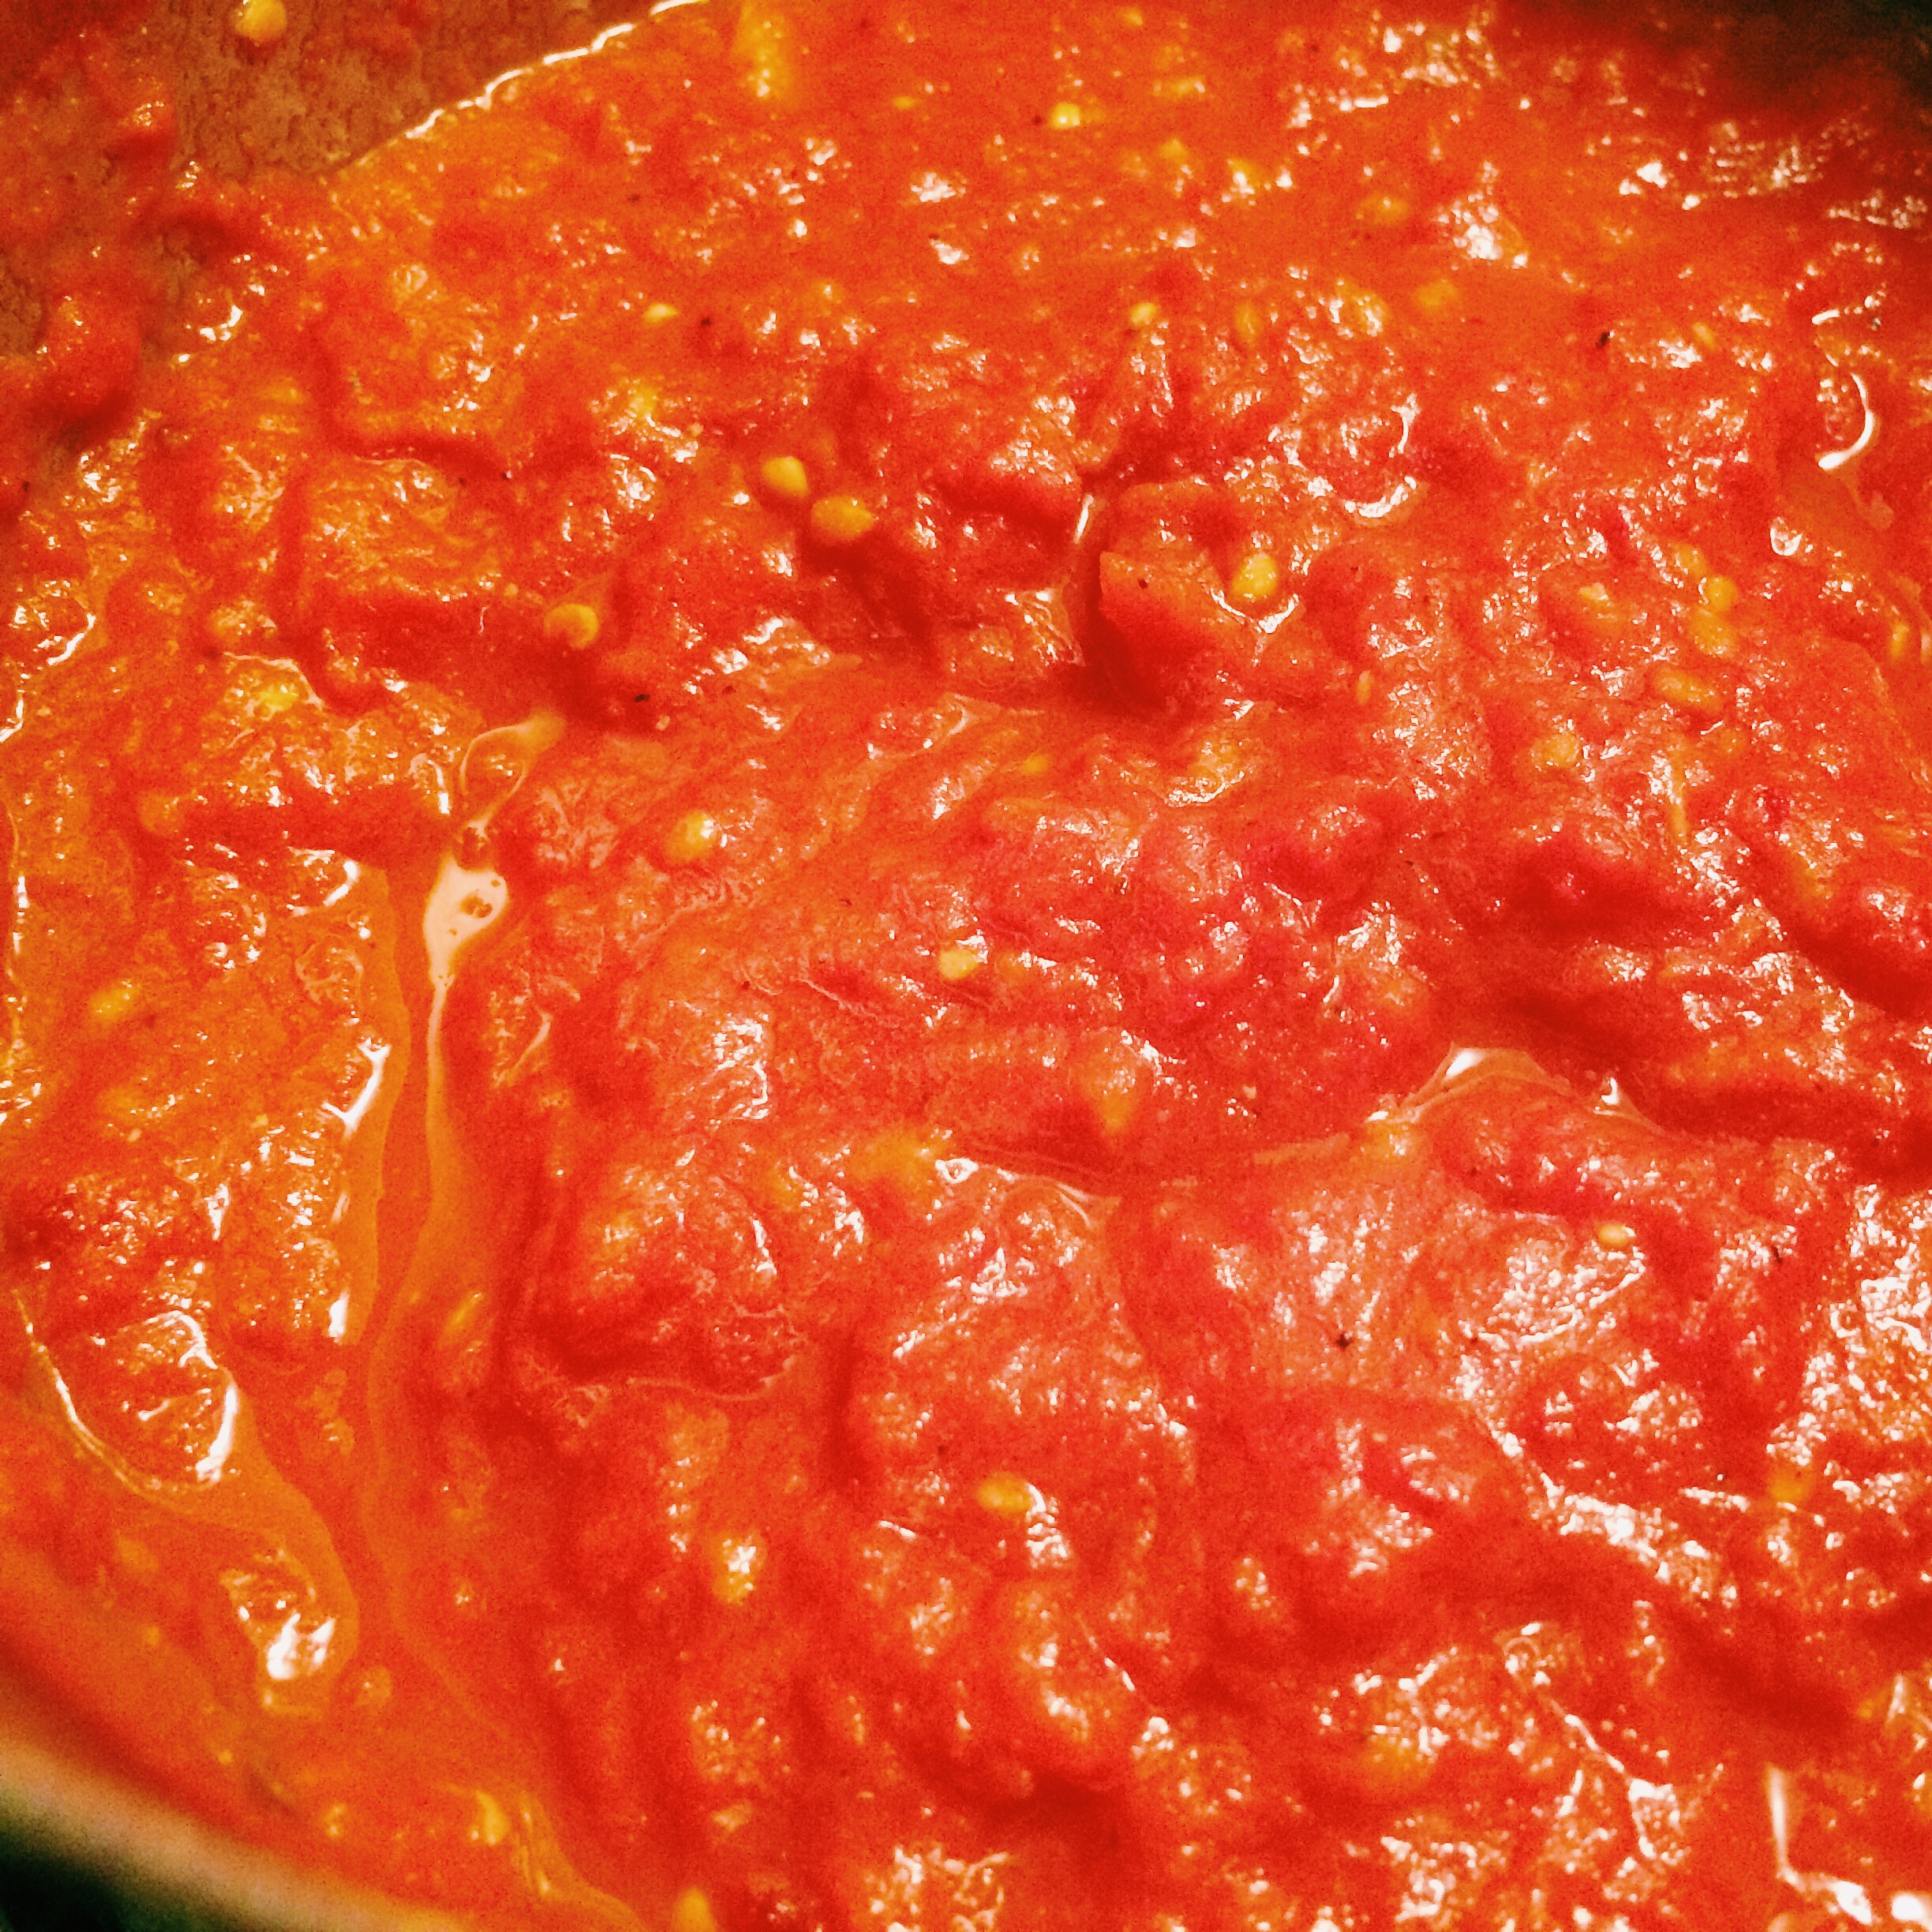
HE SAUCE. I make a basic tomato sauce. There are 6 ingredients ( Well, main ingredients. I don’t count oil, salt, and pepper as ingredients…those are requirements to almost any dish). That’s it. It’s a sauce that lets the ingredients shine, which is what I love about it. And since there are only six ingredients, they need to be some of the best ingredients that you’ve ever eaten.


  • San Marzano Tomatoes, whole, canned
  • Yellow Onion, chopped
  • Garlic Cloves, minced
  • Red Pepper Flake
  • Fresh Thyme
  • Dried Bay Leaf
  • Olive Oil
  • Salt and Pepper, to taste

In a hot pot, add the olive oil and sauté the onion until translucent. Add your minced garlic and and red pepper flake. Cook this for a minute just to bring out the aromatics. Crush the whole tomatoes and add to the pot. Add whole thyme sprigs and bay leaf. Season to taste with salt and pepper. Leave it to cook over low heat for as long as possible. Tomato sauce is one of those things that the longer you let it cook, the better it will taste.

Some folks add sugar to their tomato sauce to combat the acidity of the tomatoes, but I really like it the way it is. I like it to have that bite. Also, I always make my tomato sauce with canned tomatoes because they are picked when ripe, steamed, and then canned. You can’t get a better tomato for a sauce than that. That’s just my opinion, though.

Now, I already had the sauce made from a previous Italian dish. So, I just pulled it out of the freezer and let it thaw out. To add a little something extra to this dish, I crisped up some pancetta and then poured the sauce over it to cook for a couple more hours. It gives it a unique saltiness and flavor.

IMG_2542THE FILLING. The other main component is, of course, the filling. It starts out as a basic ricotta filling and then you can add whatever flavors you want to it. I bought some baby portobello mushrooms at the grocery store earlier in the week and I know that they will work really well in this lasagna.

To prepare the mushrooms for the filling, chop them as fine as possible. I used a food processor for this because it makes life easier. You’re basically making a mushroom paste here. Add the paste to a dry pan over medium heat and cook down until all the moisture has evaporated. Believe it or not, mushrooms hold a lot of moisture and it is necessary to cook it all out so that the filling doesn’t become soggy. It will take about 15 to 20 minutes.

IMG_2548
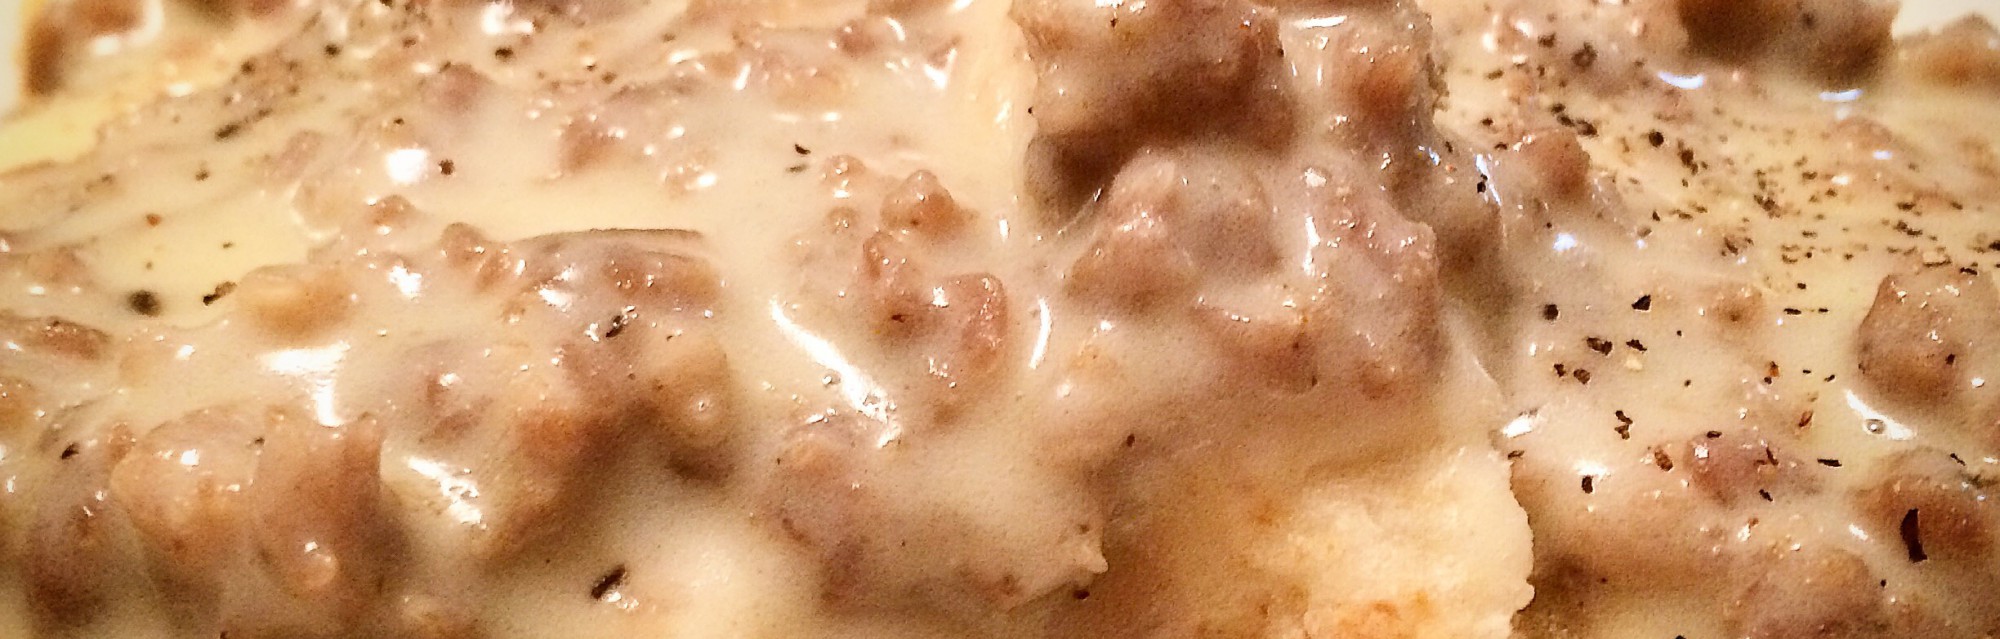
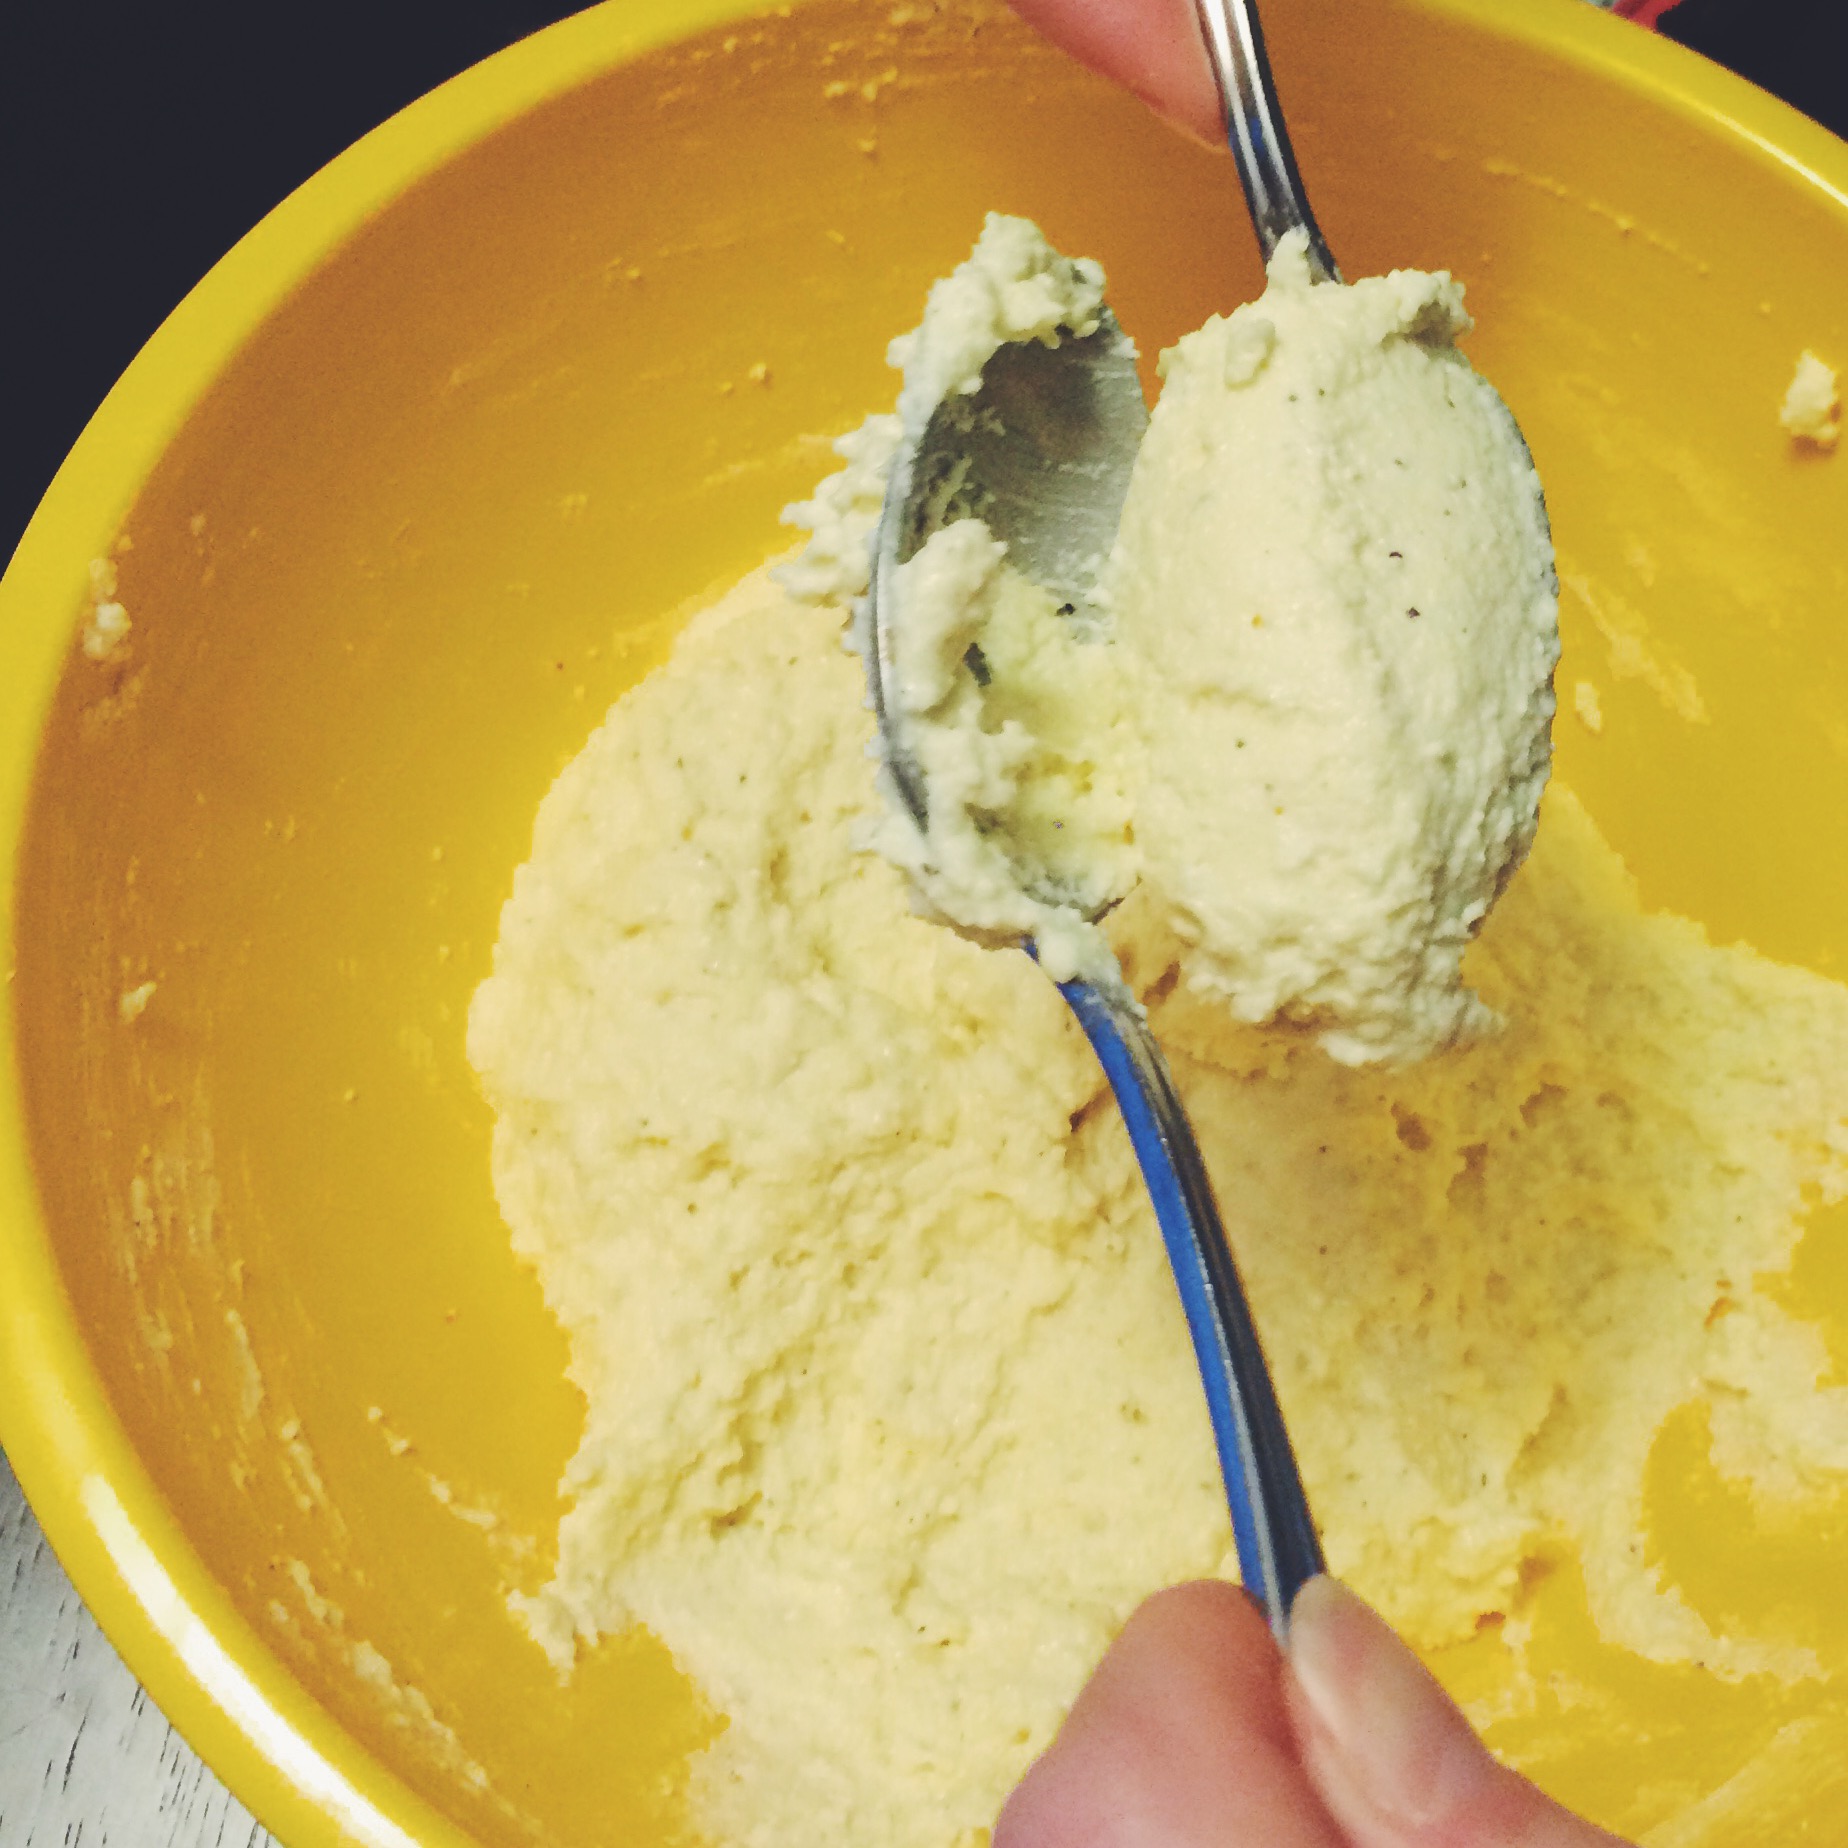
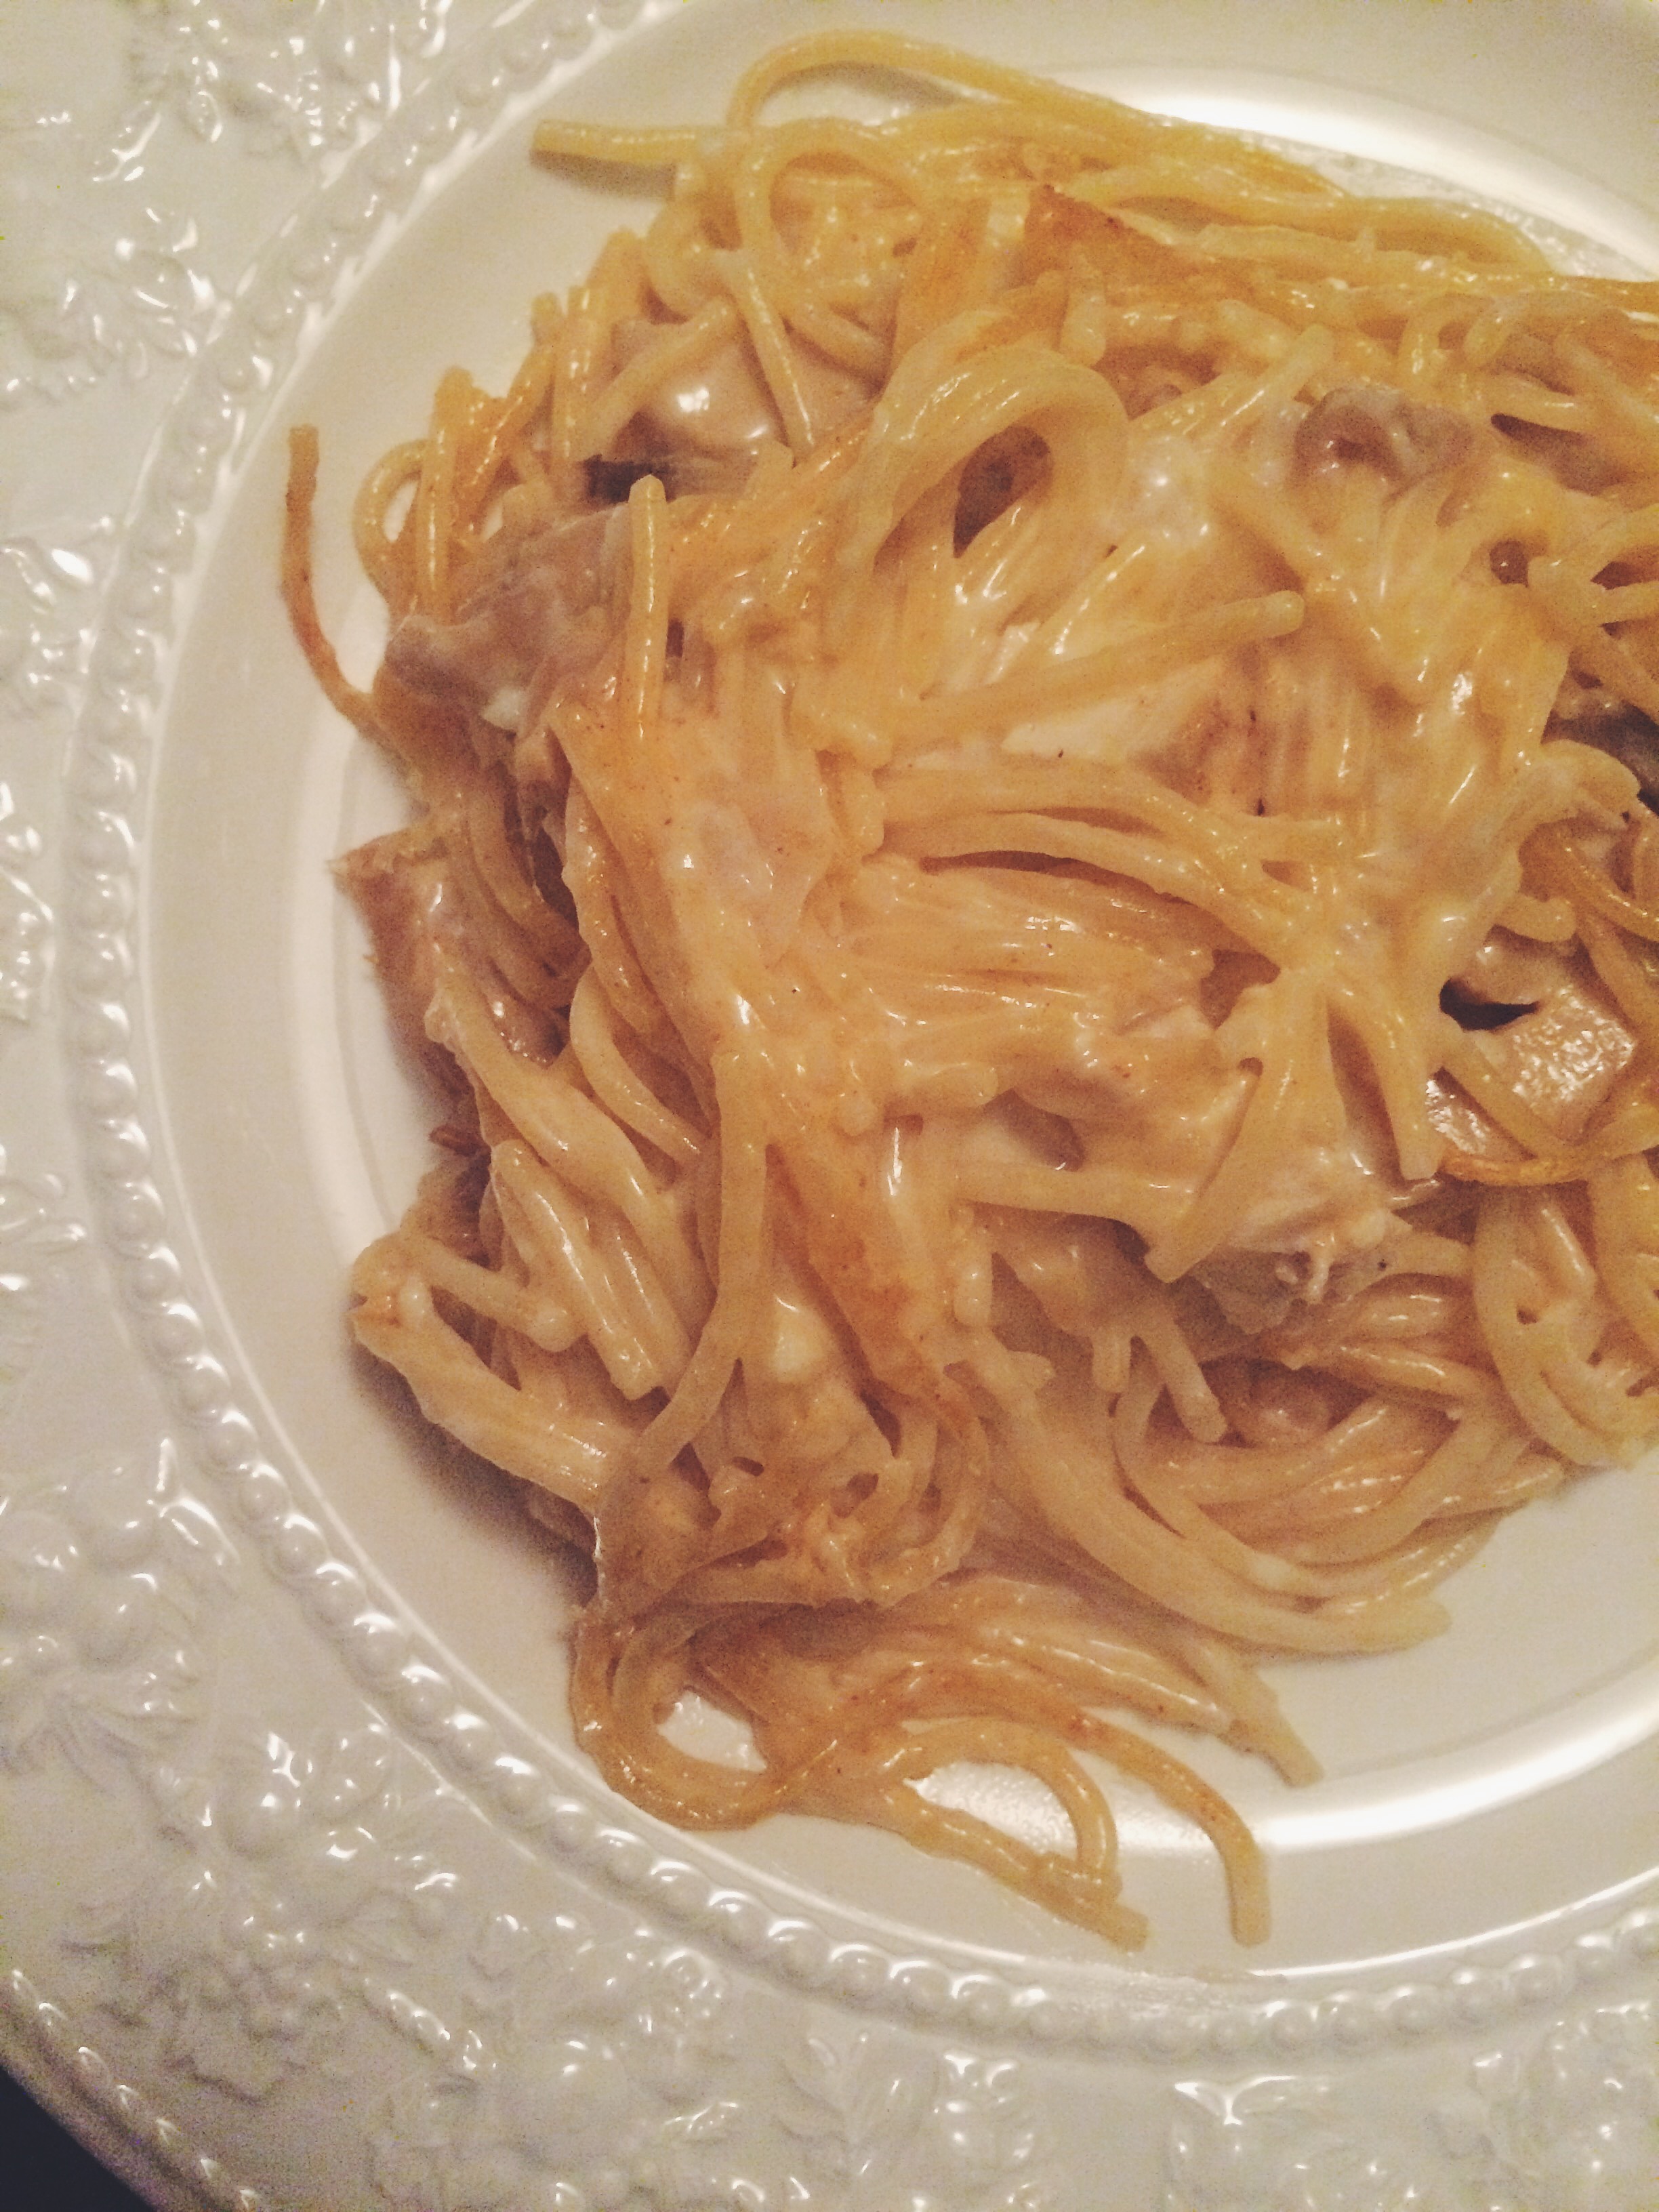
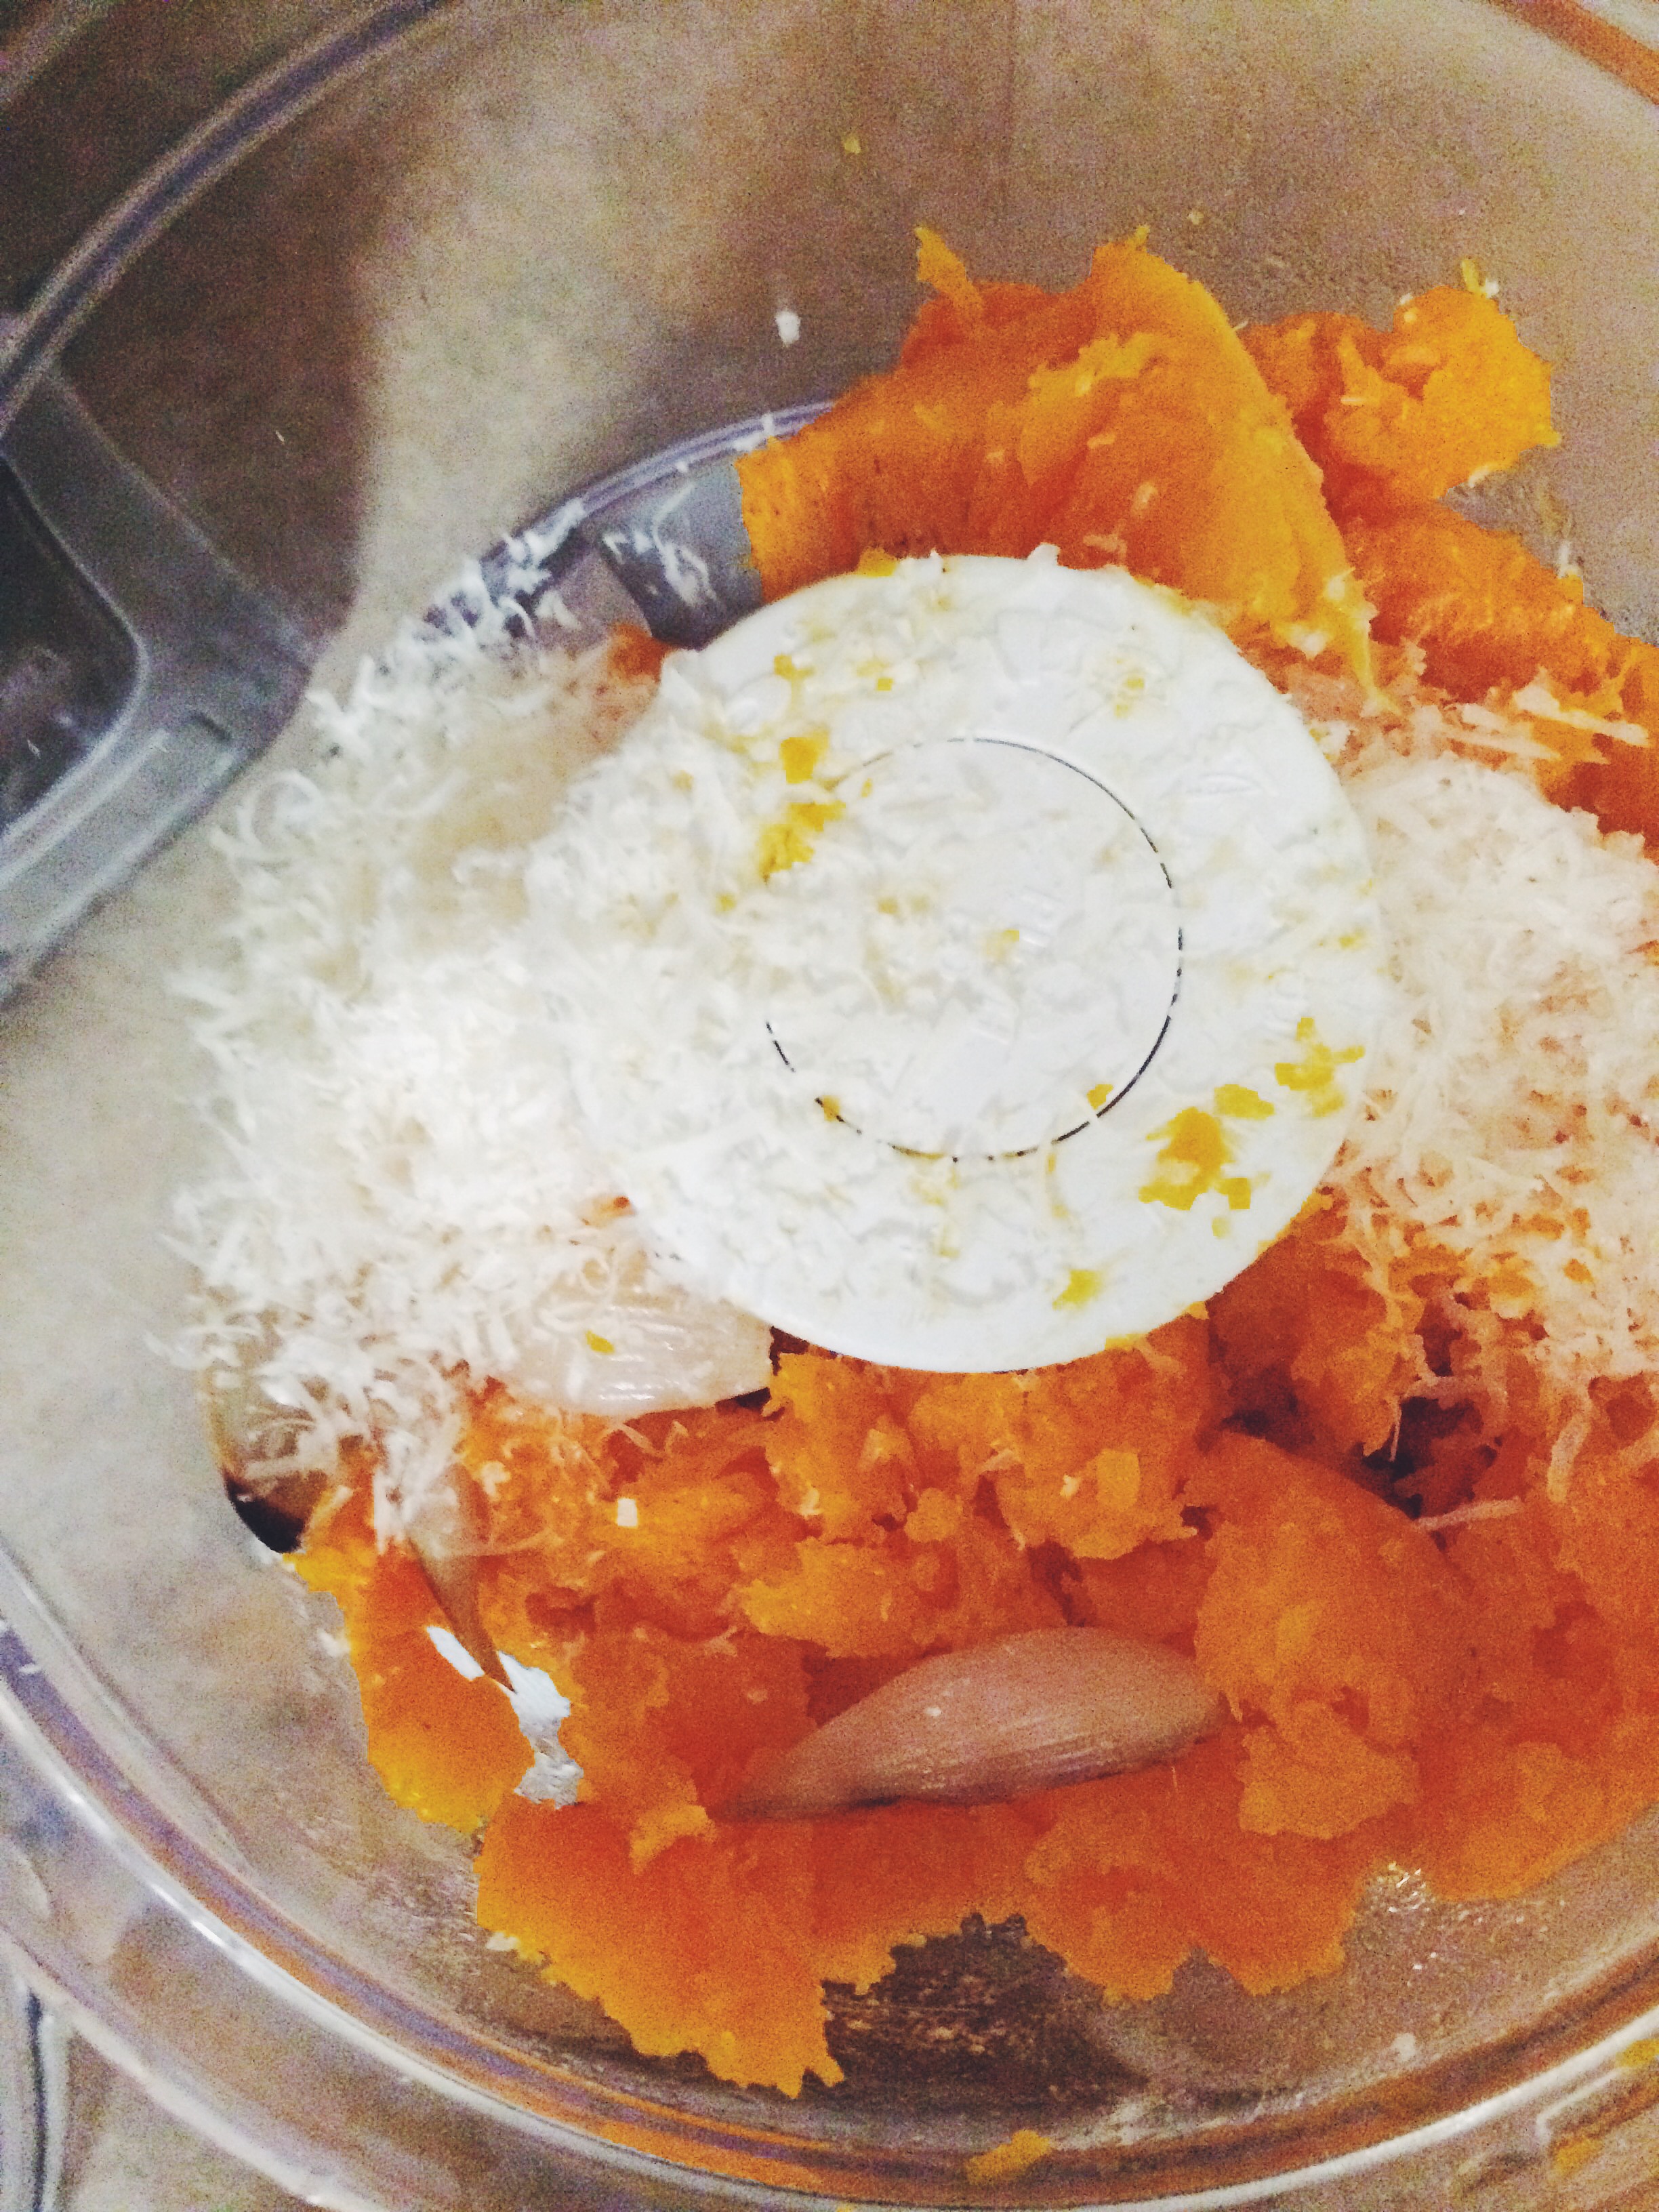
Put the cooked down paste into a medium-sized bowl and let it cool down. Once it is cool, add your ricotta, parmesan, and shredded mozzarella. Season to taste with salt and pepper. Stir until fully combined. This is where you need to make sure that your seasoning is on point. It actually should be a little over seasoned because once it is added to the pasta, the flavor will neutralize a bit.

At this point, it’s time to add the egg. The egg functions as a binder for the filling. It will make sure it holds together and doesn’t ooze out of your roll as you bake it in the oven. This is also why I suggested you already have your seasoning on point because people have issues with eating raw egg (unless it’s part of cookie dough/ cake batter it seems, but the egg really isn’t raw in those recipes, it is?)

IMG_2551THE ASSEMBLY.  Ah, the easy part. All you do is take par-cooked lasagna noodles and lay them out on a clean surface. Spread a thin layer of the filling all the way down the noodle. Roll it up and place in a lightly-greased baking dish. Cover with your sauce. Bake covered with aluminum foil for 20 minutes at 400 F.

IMG_2552ENJOY IT. Serve with bread and a green salad. Relish in the fact that you made a delectable lasagna without all the hassle of the traditional lasagna. I personally think it’s a perfectly respectable replacement. Simple doesn’t have to be bland and I think that this recipe shows that. It has big, powerful flavors. Perhaps even the Italians will be accepting?