Pot Likker Soup

Growing up, I hated greens. Turnip greens, collard greens, mustard greens, etc. I even hated most foods that were just green in general…spinach, green peas, lima beans. The exception was always green beans because, let’s face it, those are delicious and will always be delicious. But as I mature, my relationship with food matures, as well. There isn’t really anything I won’t eat anymore (except green peas…I still refuse to eat those. They are gross and have a weird texture. No, thank you).

So, you can imagine that on New Year’s Day, I had a fit when it came to dinner time. Being Southern, my mom always whipped up turnip greens, black-eyed peas, and corn bread. And everyone had to have a “Cherokee serving.”

You’re probably thinking, “What the hell is a ‘Cherokee serving’?”

And that is completely within you’re right as a forward-thinking human being.

As a child, my mother used this phrase all of the time when my siblings and I didn’t want something she made. It was a requirement in our home that we all take a small portion of the foods she prepared to try.” (We really just pushed it around our plates or fed it to the dogs, but oh well). You see, she worked at a camp called “Cherokee” and it was a practice there that she took and used with us.

But, since we grew up hearing this phrase all of the time, we just assumed that it was a common thing (apparently not). We’d go around telling our friends that they had to have a Cherokee serving of everything. They would always turn and look at us like we were crazy. We were so shocked that they didn’t know what we were talking about. They were the crazy ones, not us. Eventually the truth came out, but we all still use it to this day.

No longer am I required to take a “Cherokee serving’ because I love (almost) all foods and New Year’s Day food is among my favorites these days. My mom makes the black-eyed peas and cornbread and I prepare some collard greens. Everyone takes a little bit of everything for “luck” and “money”, of course. But I refuse to believe that I have to wait around to enjoy this food once a year…

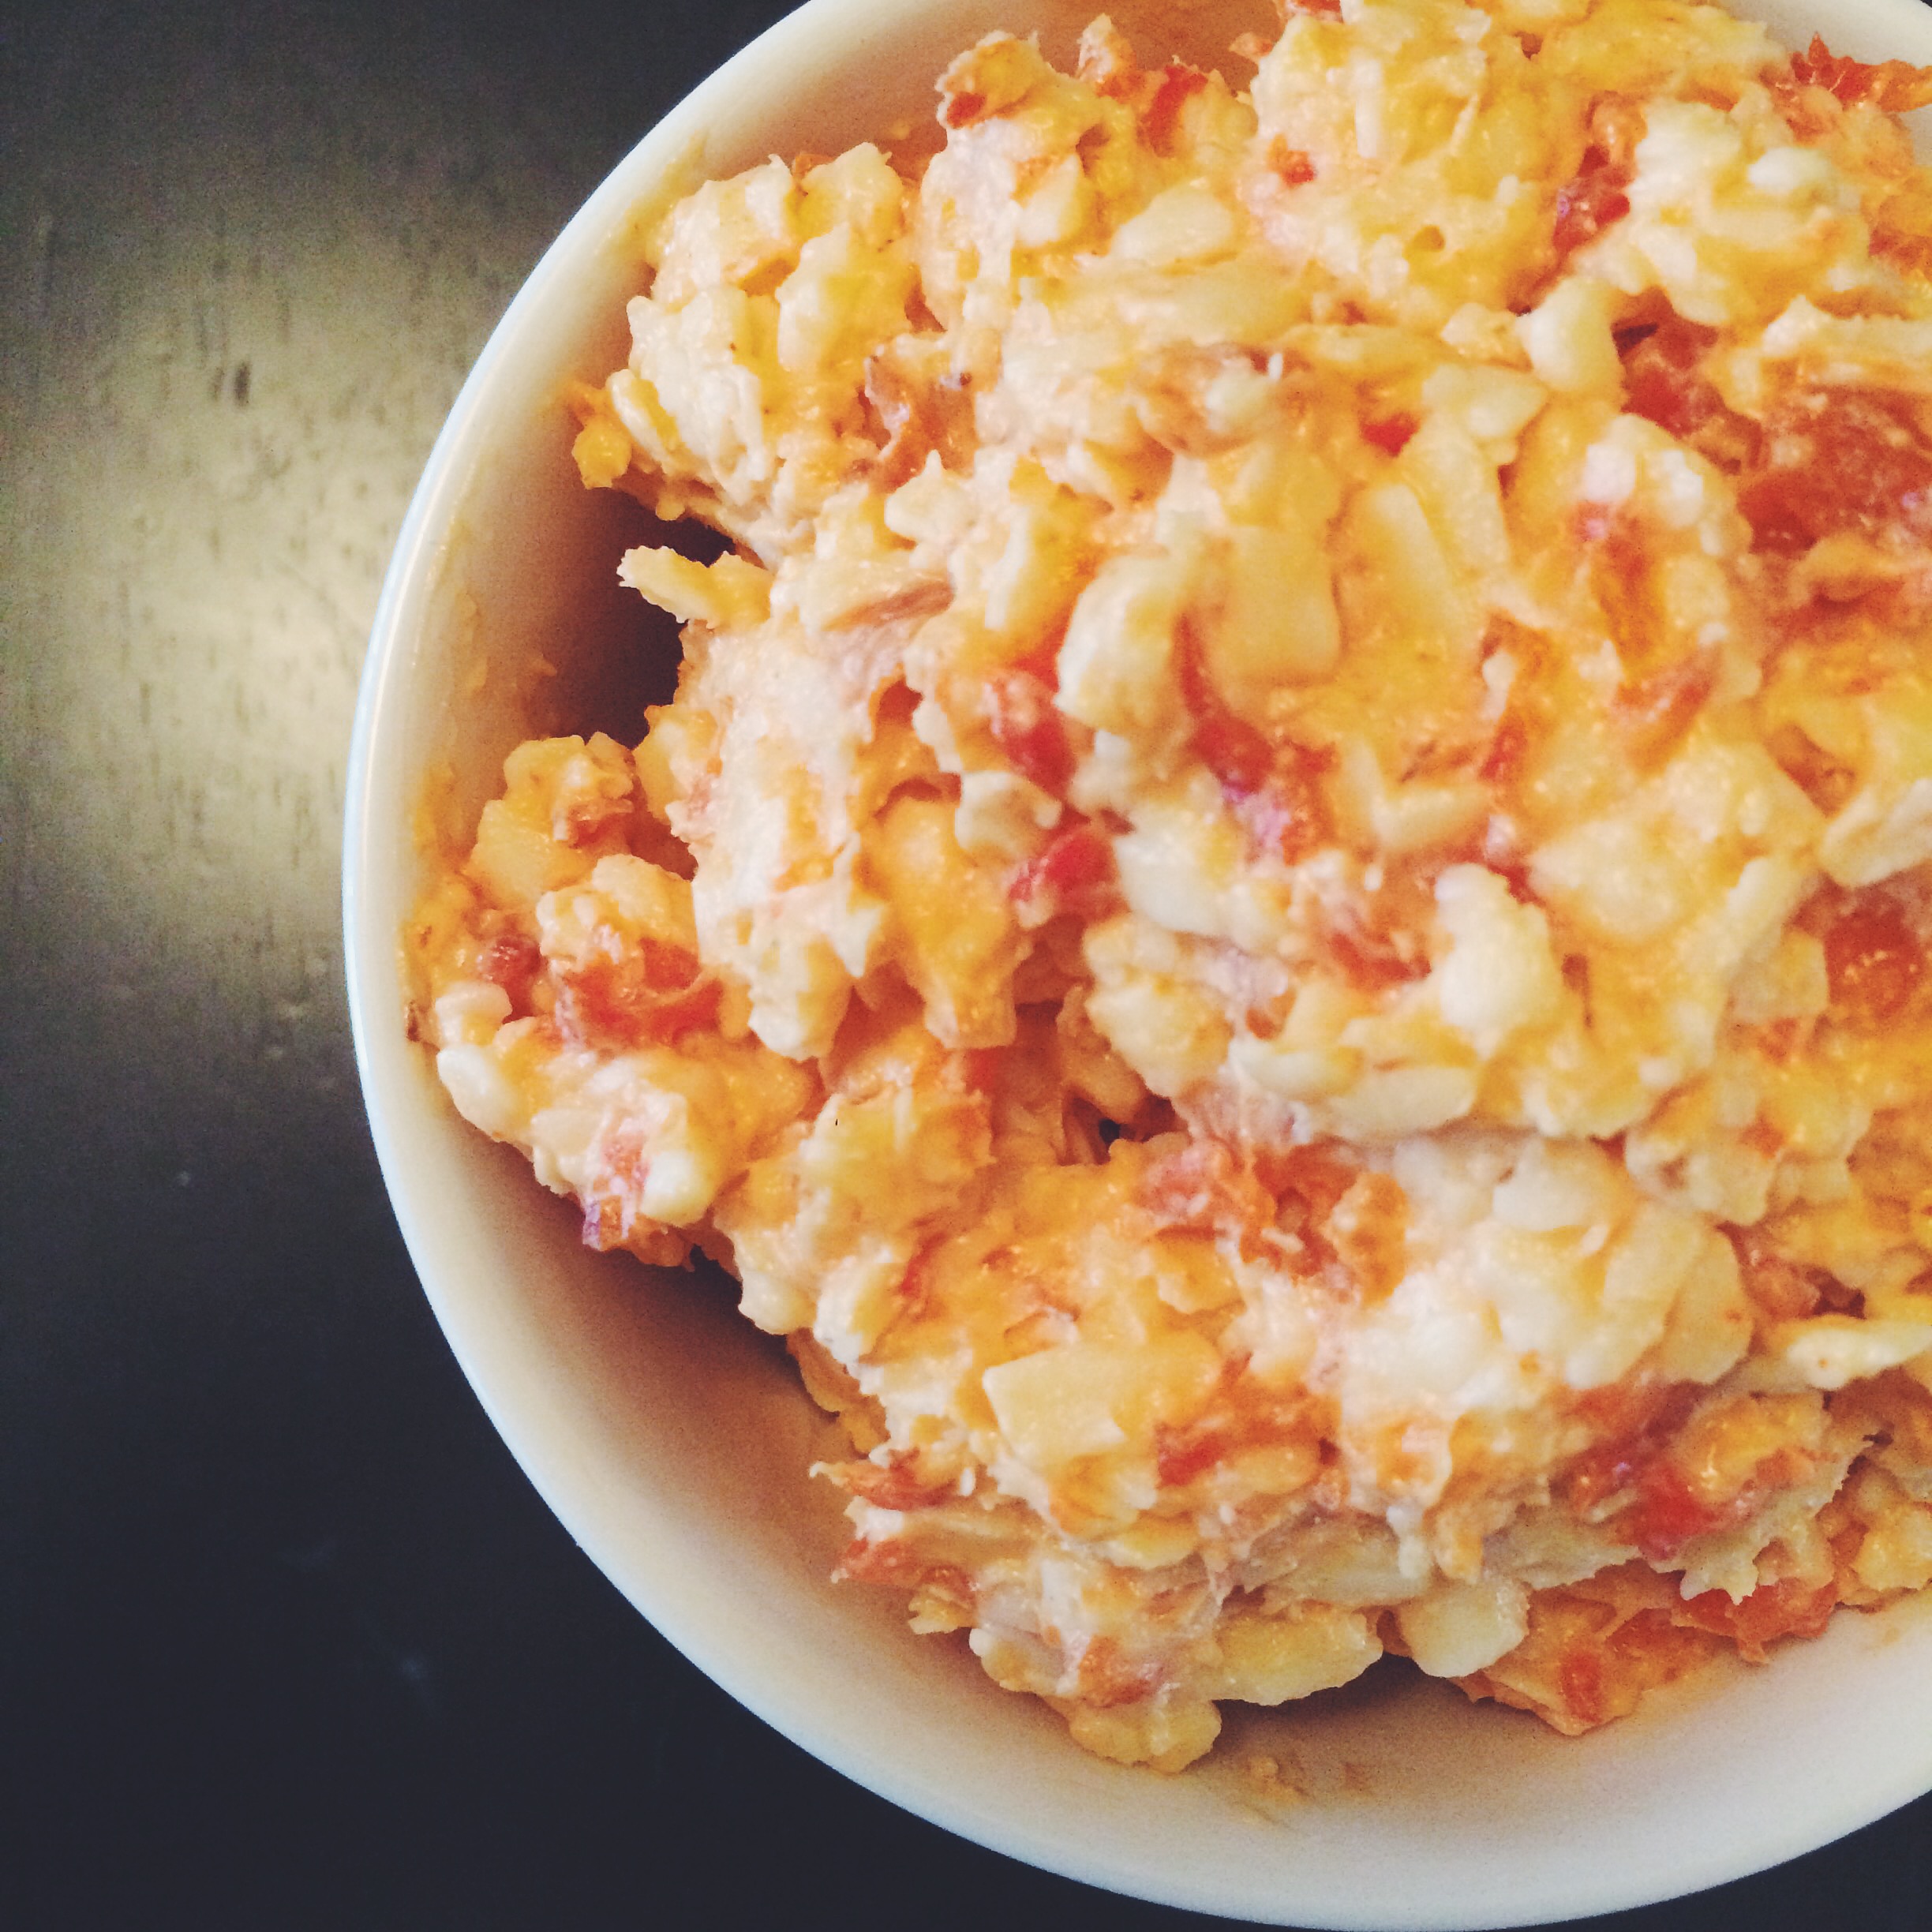
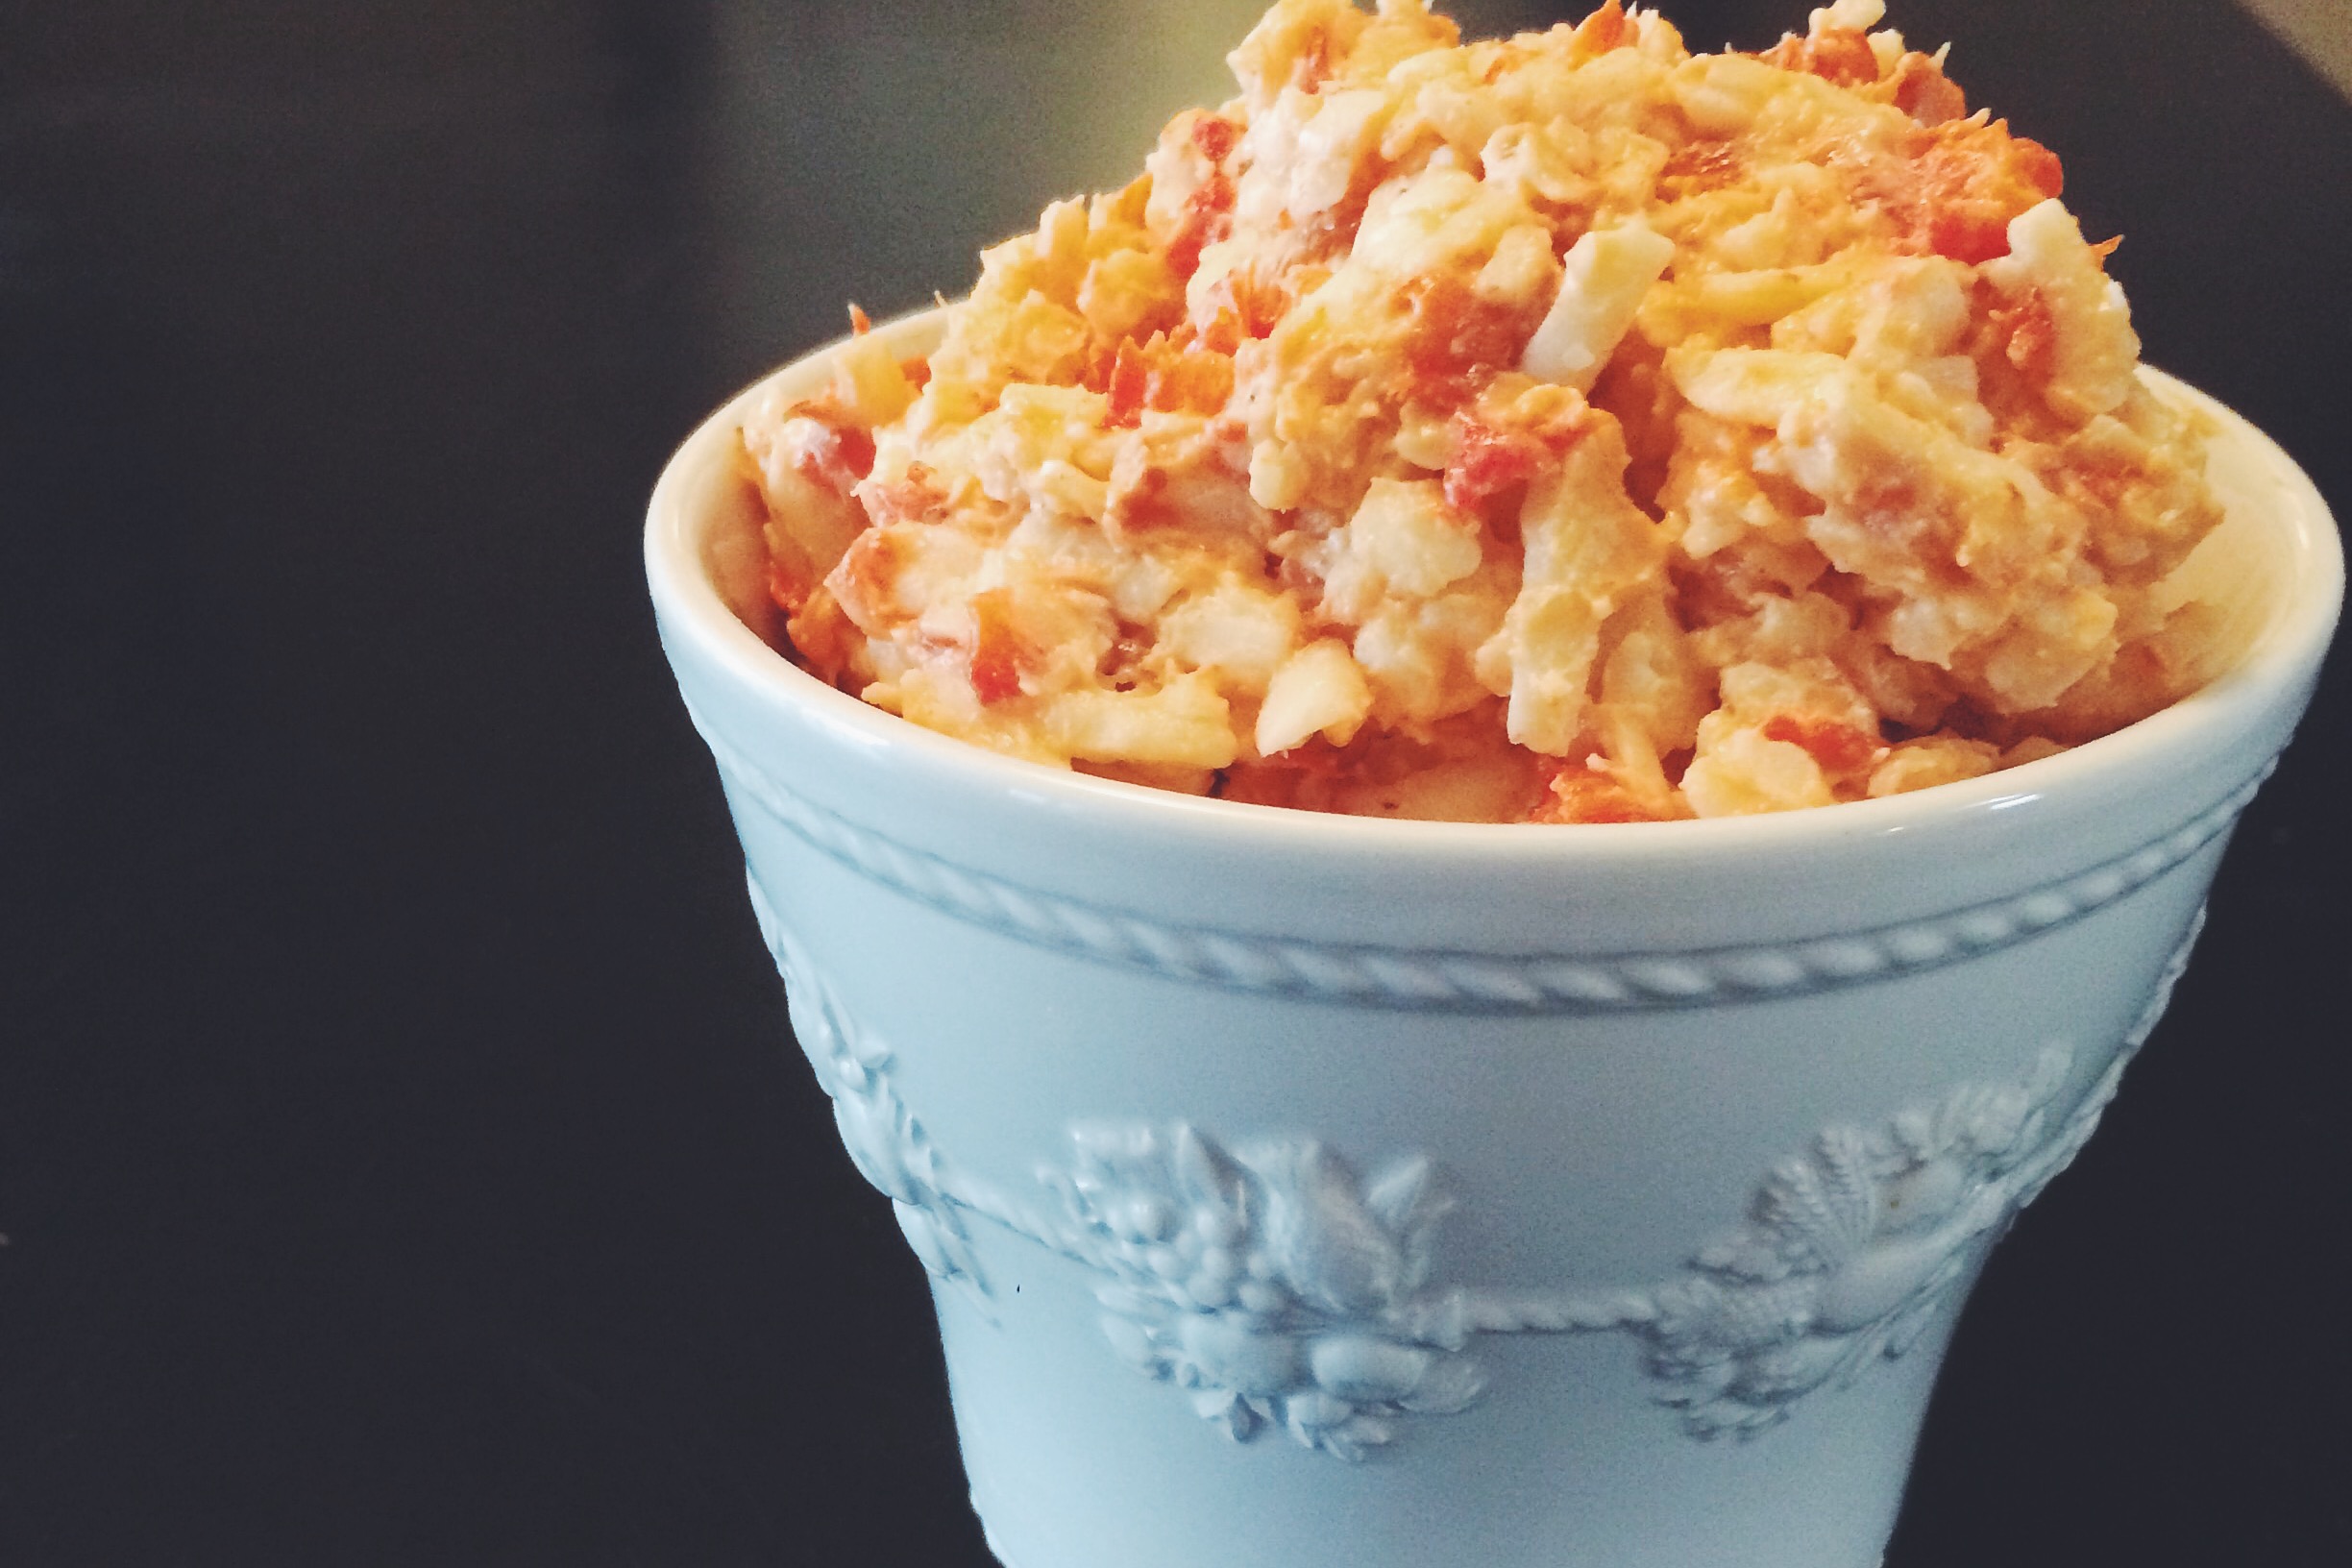
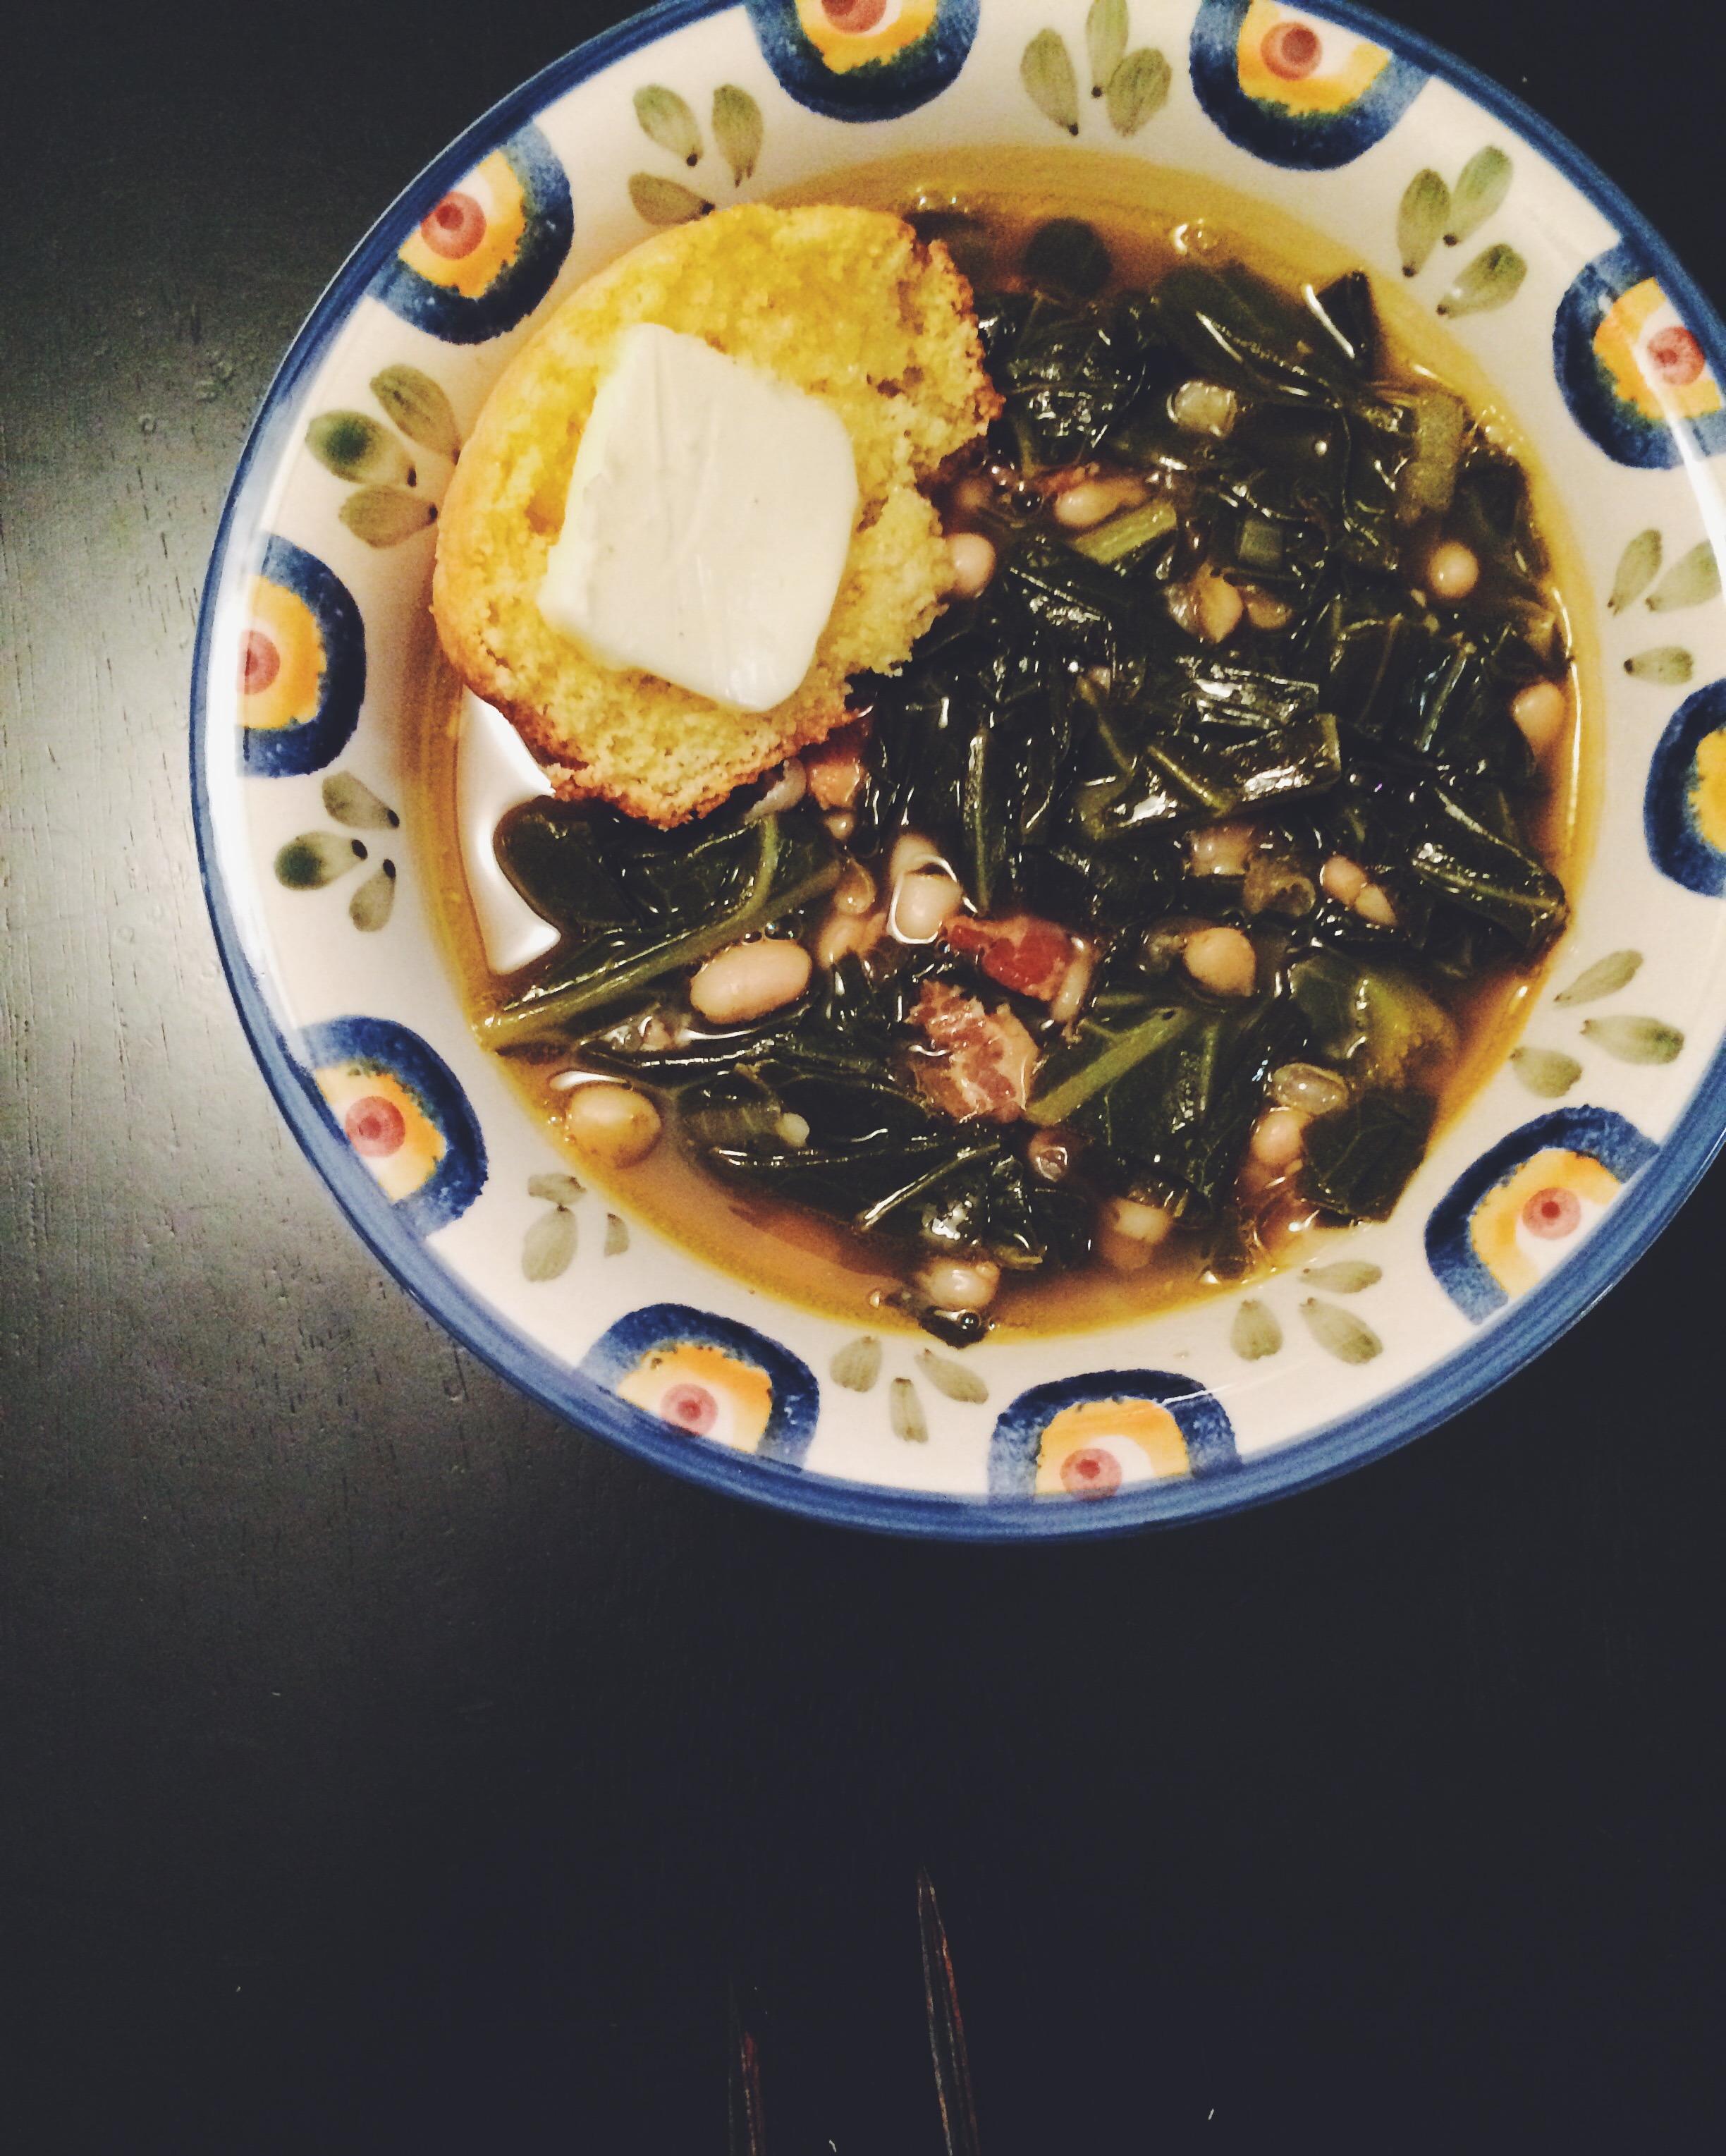
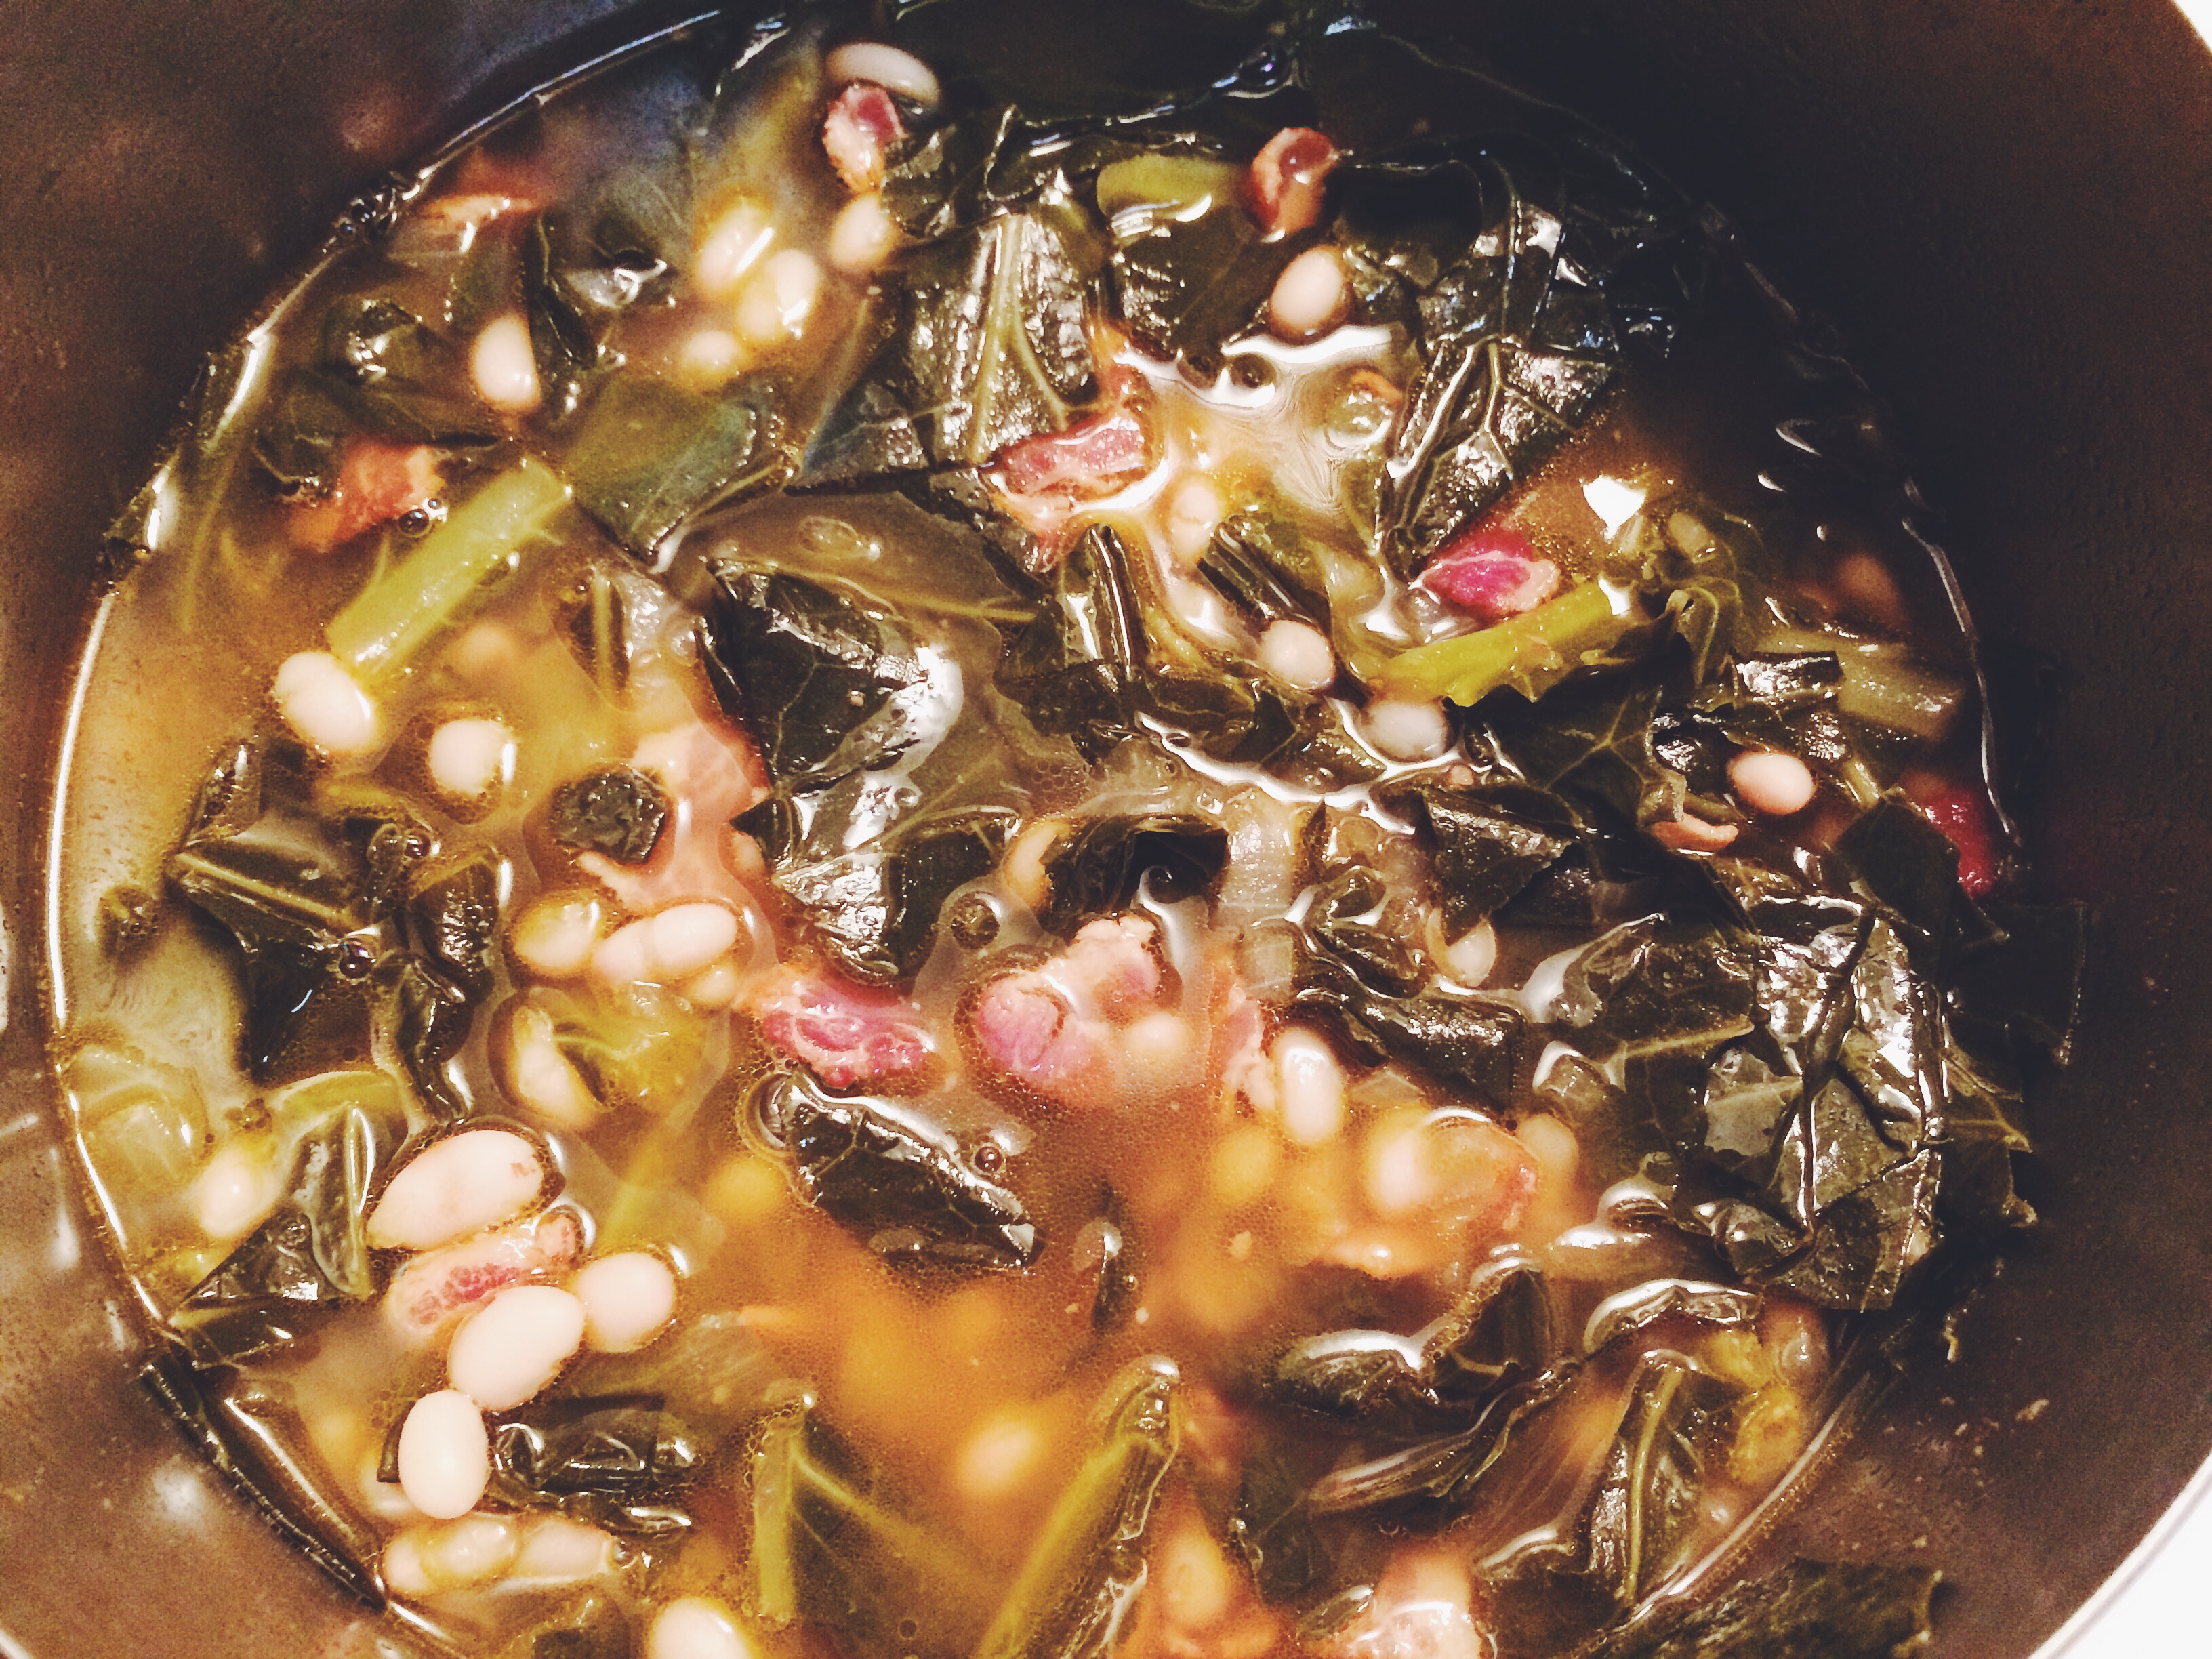
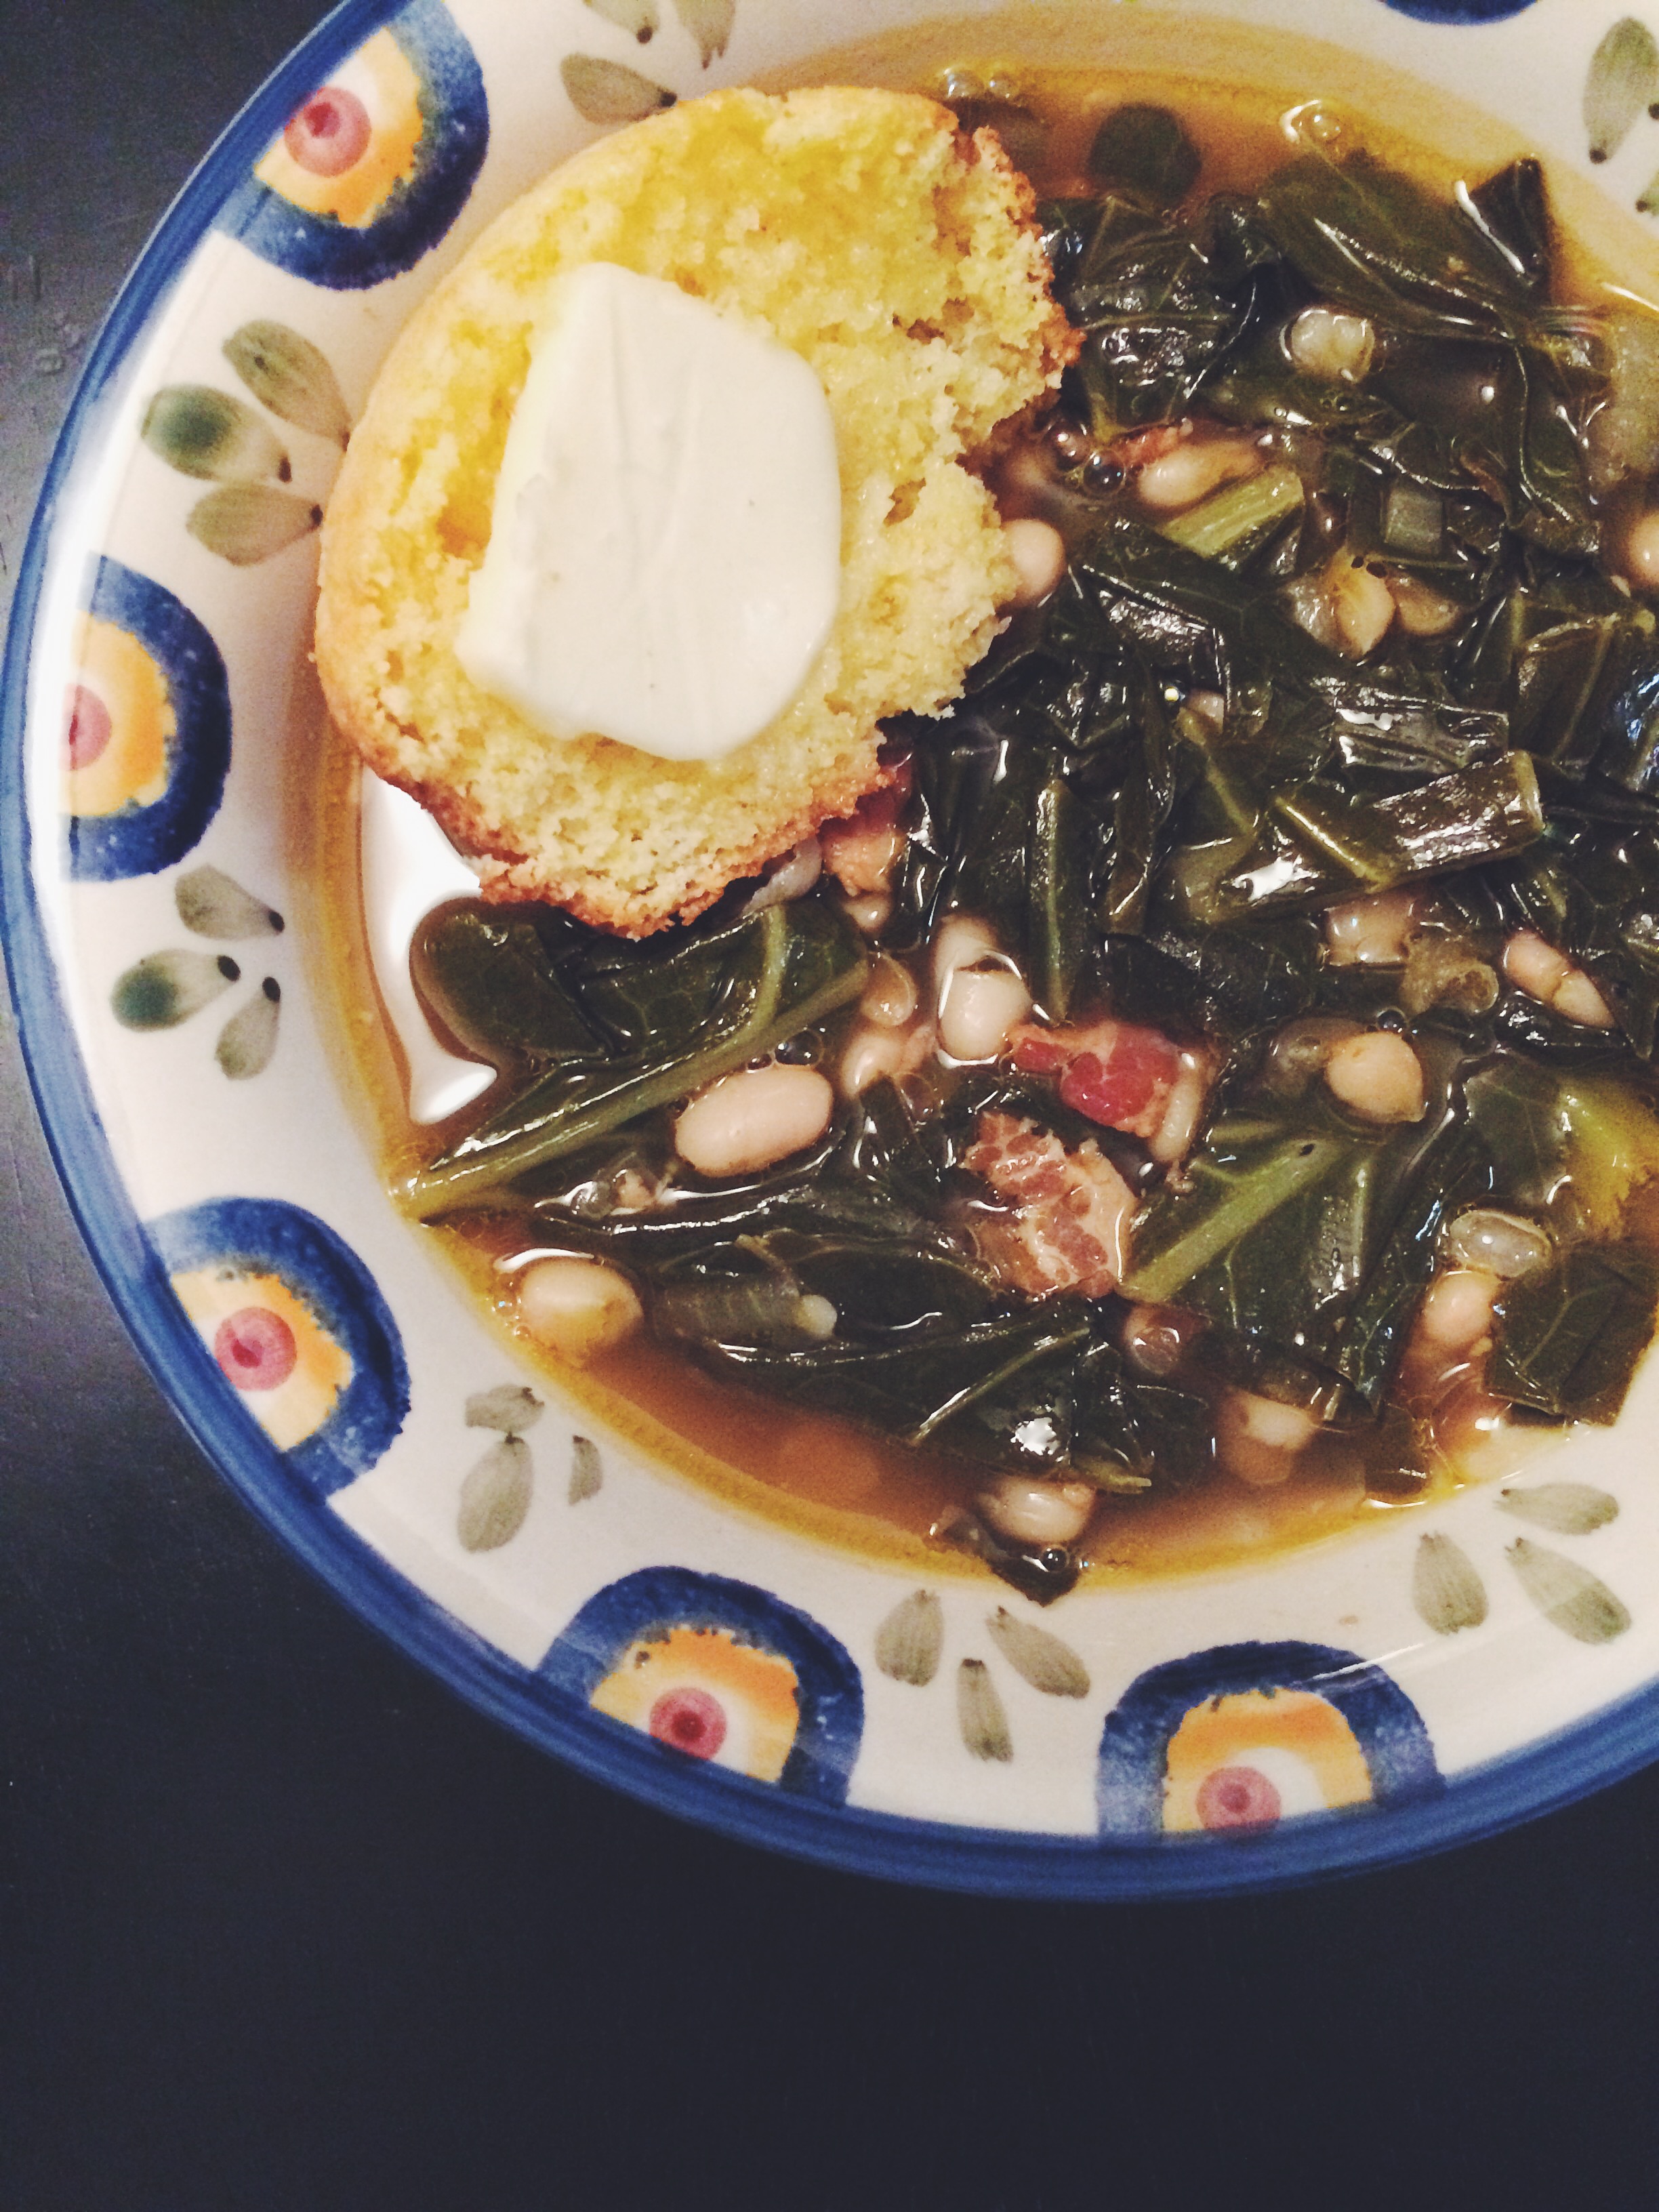
That’s where Pot Likker soup comes into play. It’s a New Year’s meal in one delicious bowl. For those of you who don’t know, pot likker is the juice left over after cooking greens and it is. To. Die. For. It’s liquid gold and is perfect for the base of a soup.

Processed with VSCOcam with f2 preset

In reality, I make collard greens with double the liquid and just add some peas/beans and call it a day because there isn’t much liquid left after a batch of collards with all the cornbread-sopping that goes around.

Let’s begin…

Processed with VSCOcam with f2 presetProcessed with VSCOcam with f2 presetIMG_3338Processed with VSCOcam with f2 preset

THE INGREDIENTS. 

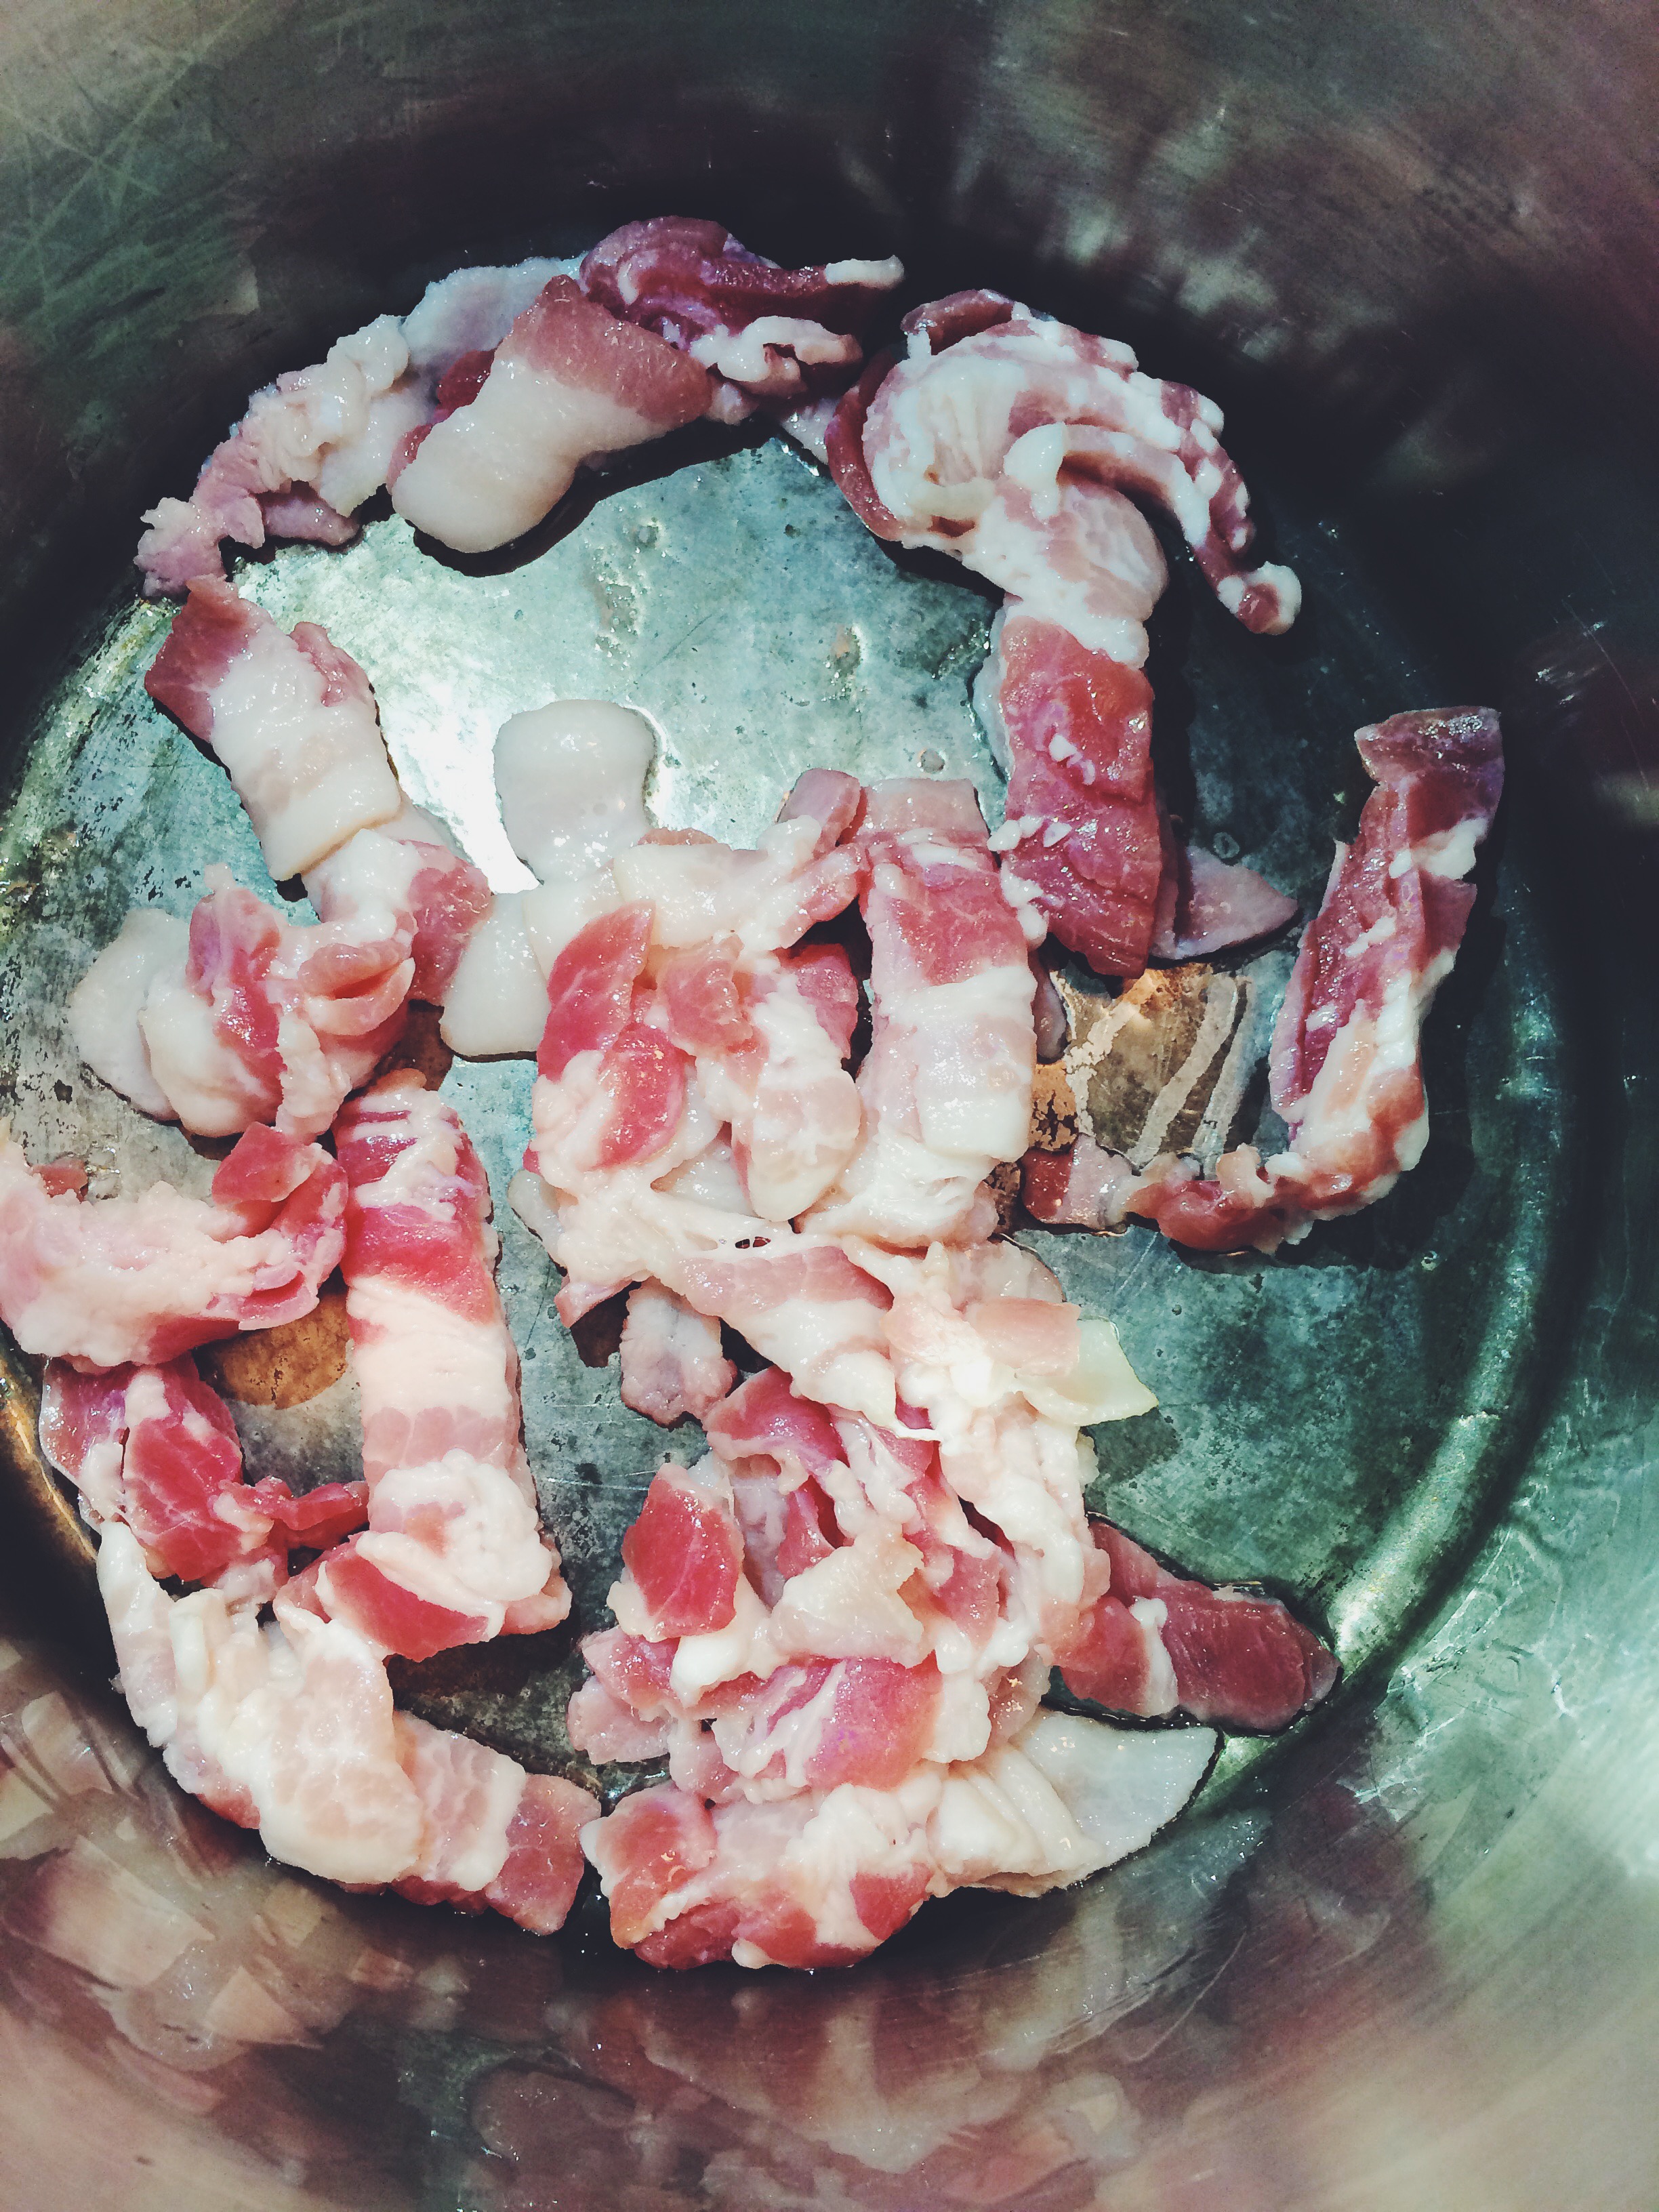
  • 6 slices of Bacon, diced
  • 1 small-medium Onion, small dice
  • 2 tablespoons Brown Sugar
  • 2 tablespoons Sherry Vinegar
  • a pinch of Red Pepper Flake
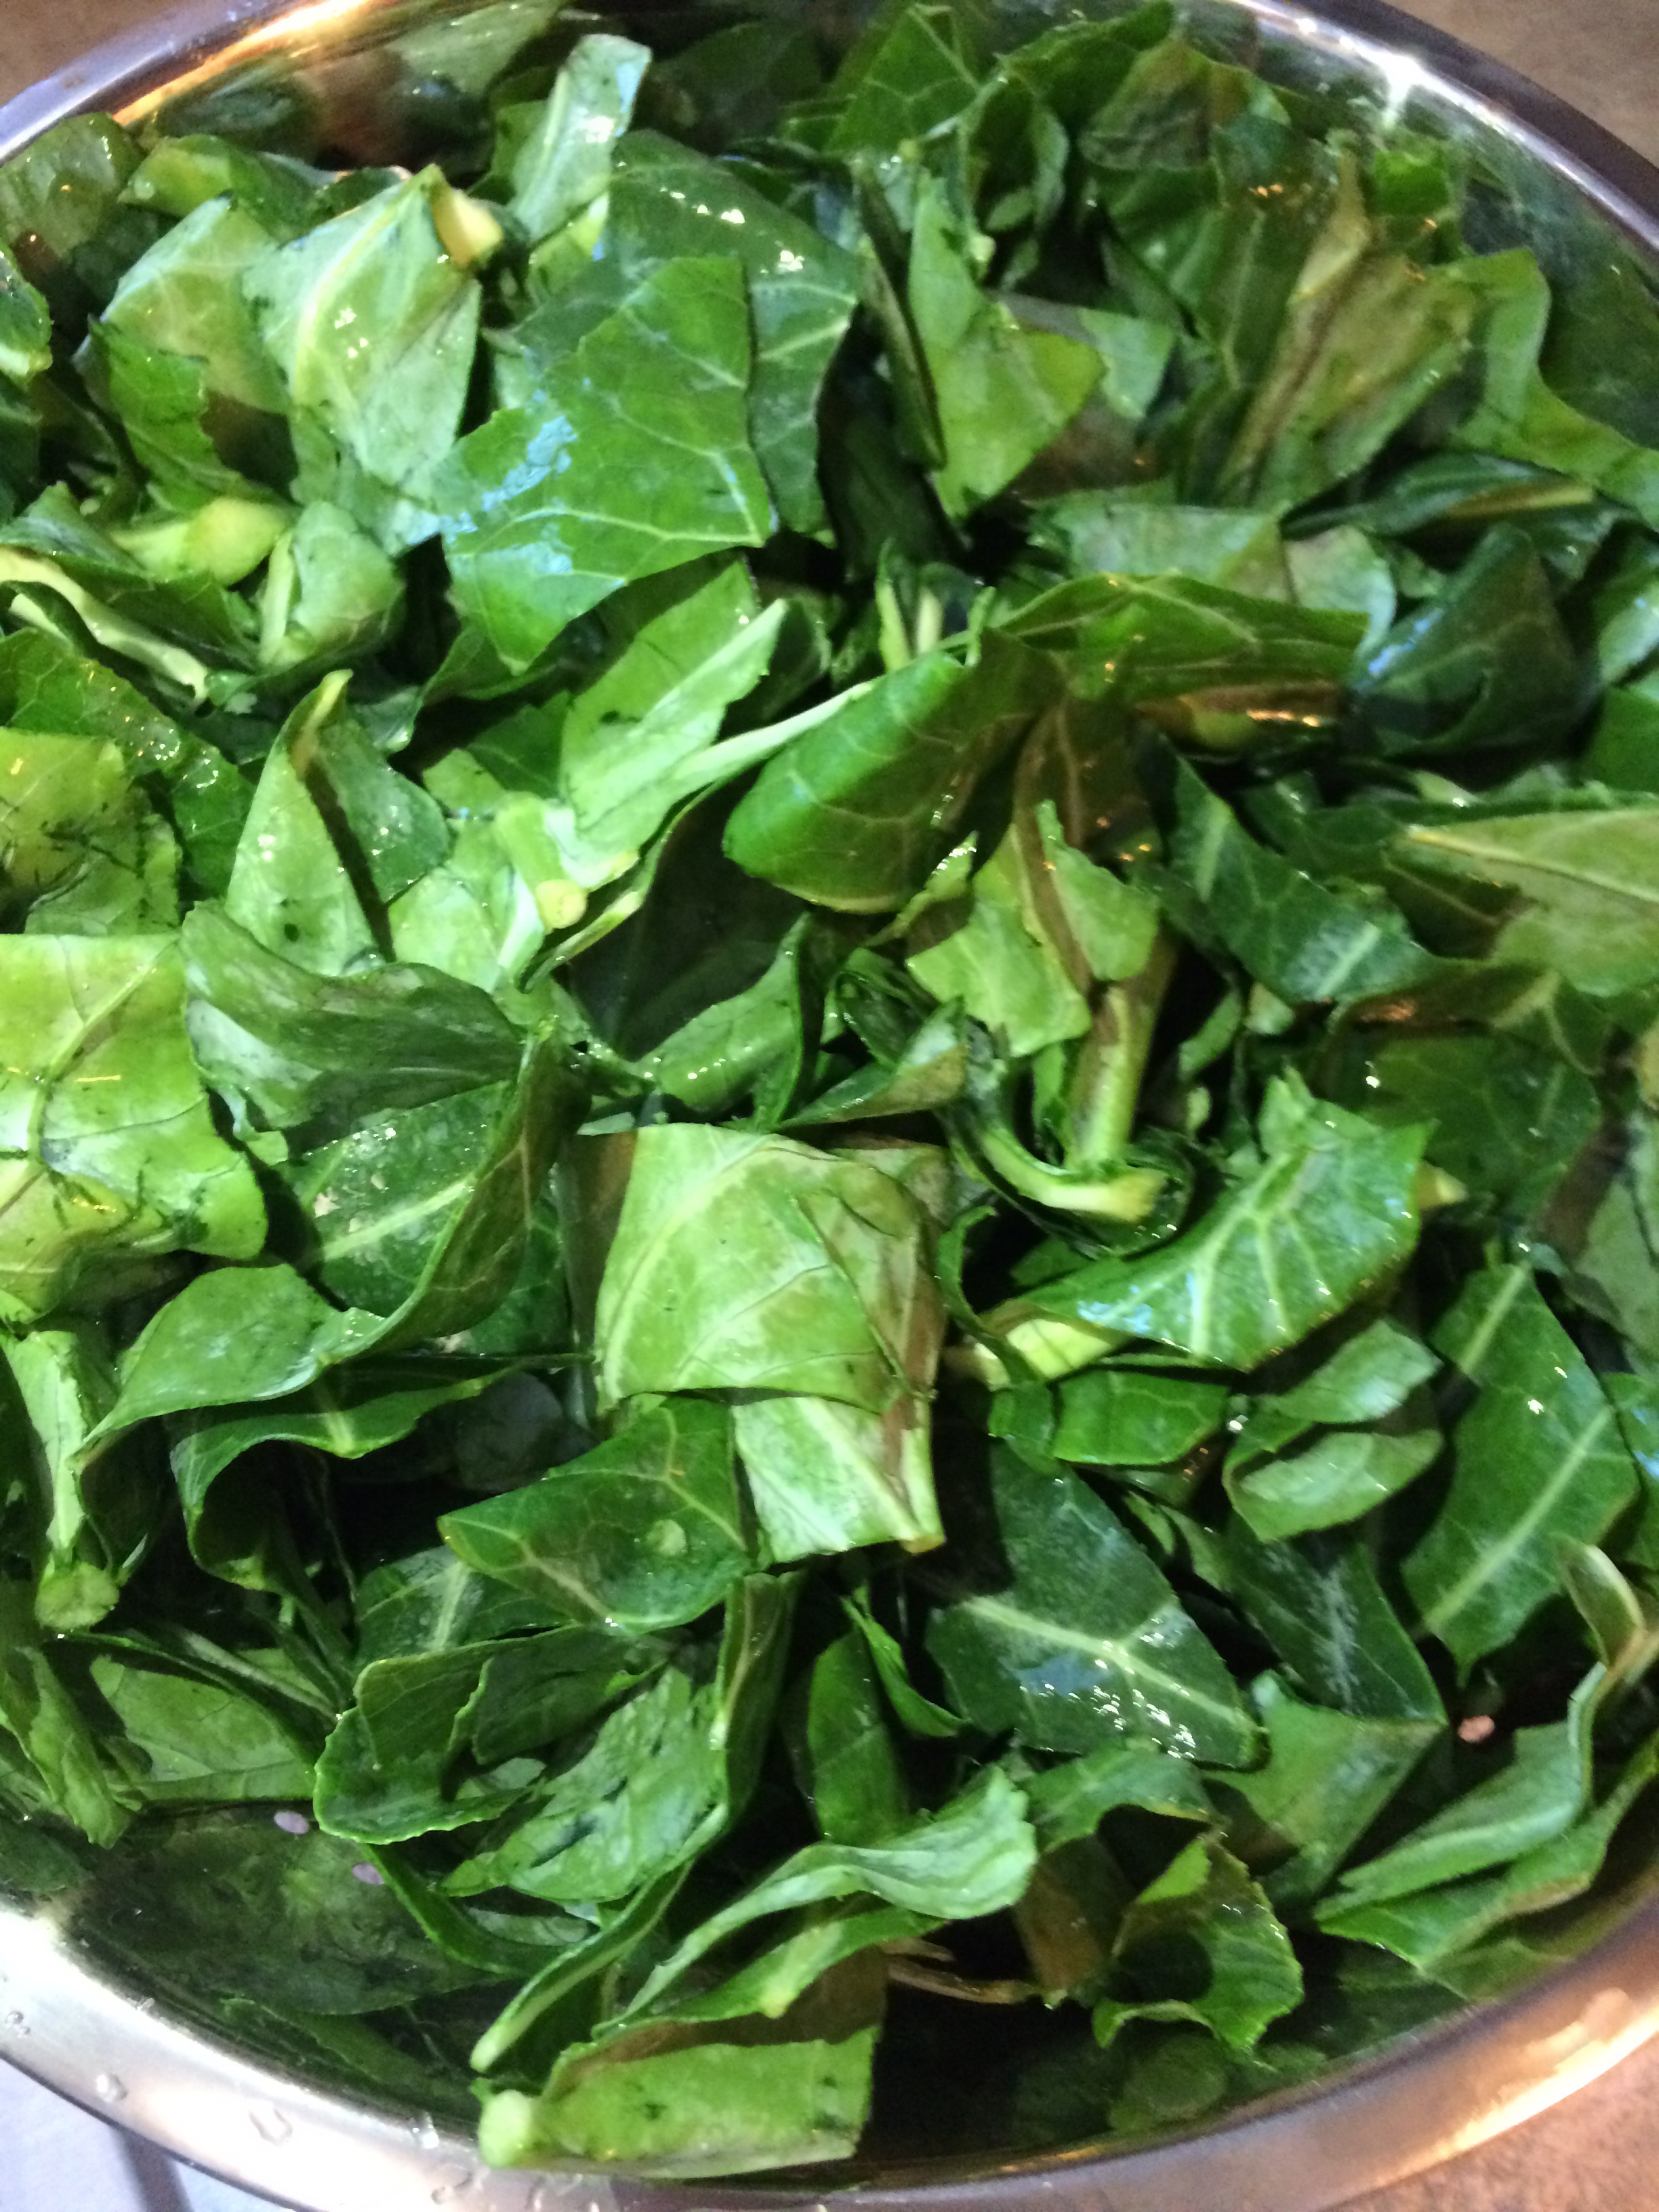
  • Collard Greens (I used of bag of the pre-cut greens often found at the grocery store), chopped into bite-size pieces
  • 1 quart Chicken Stock
  • Salt to taste
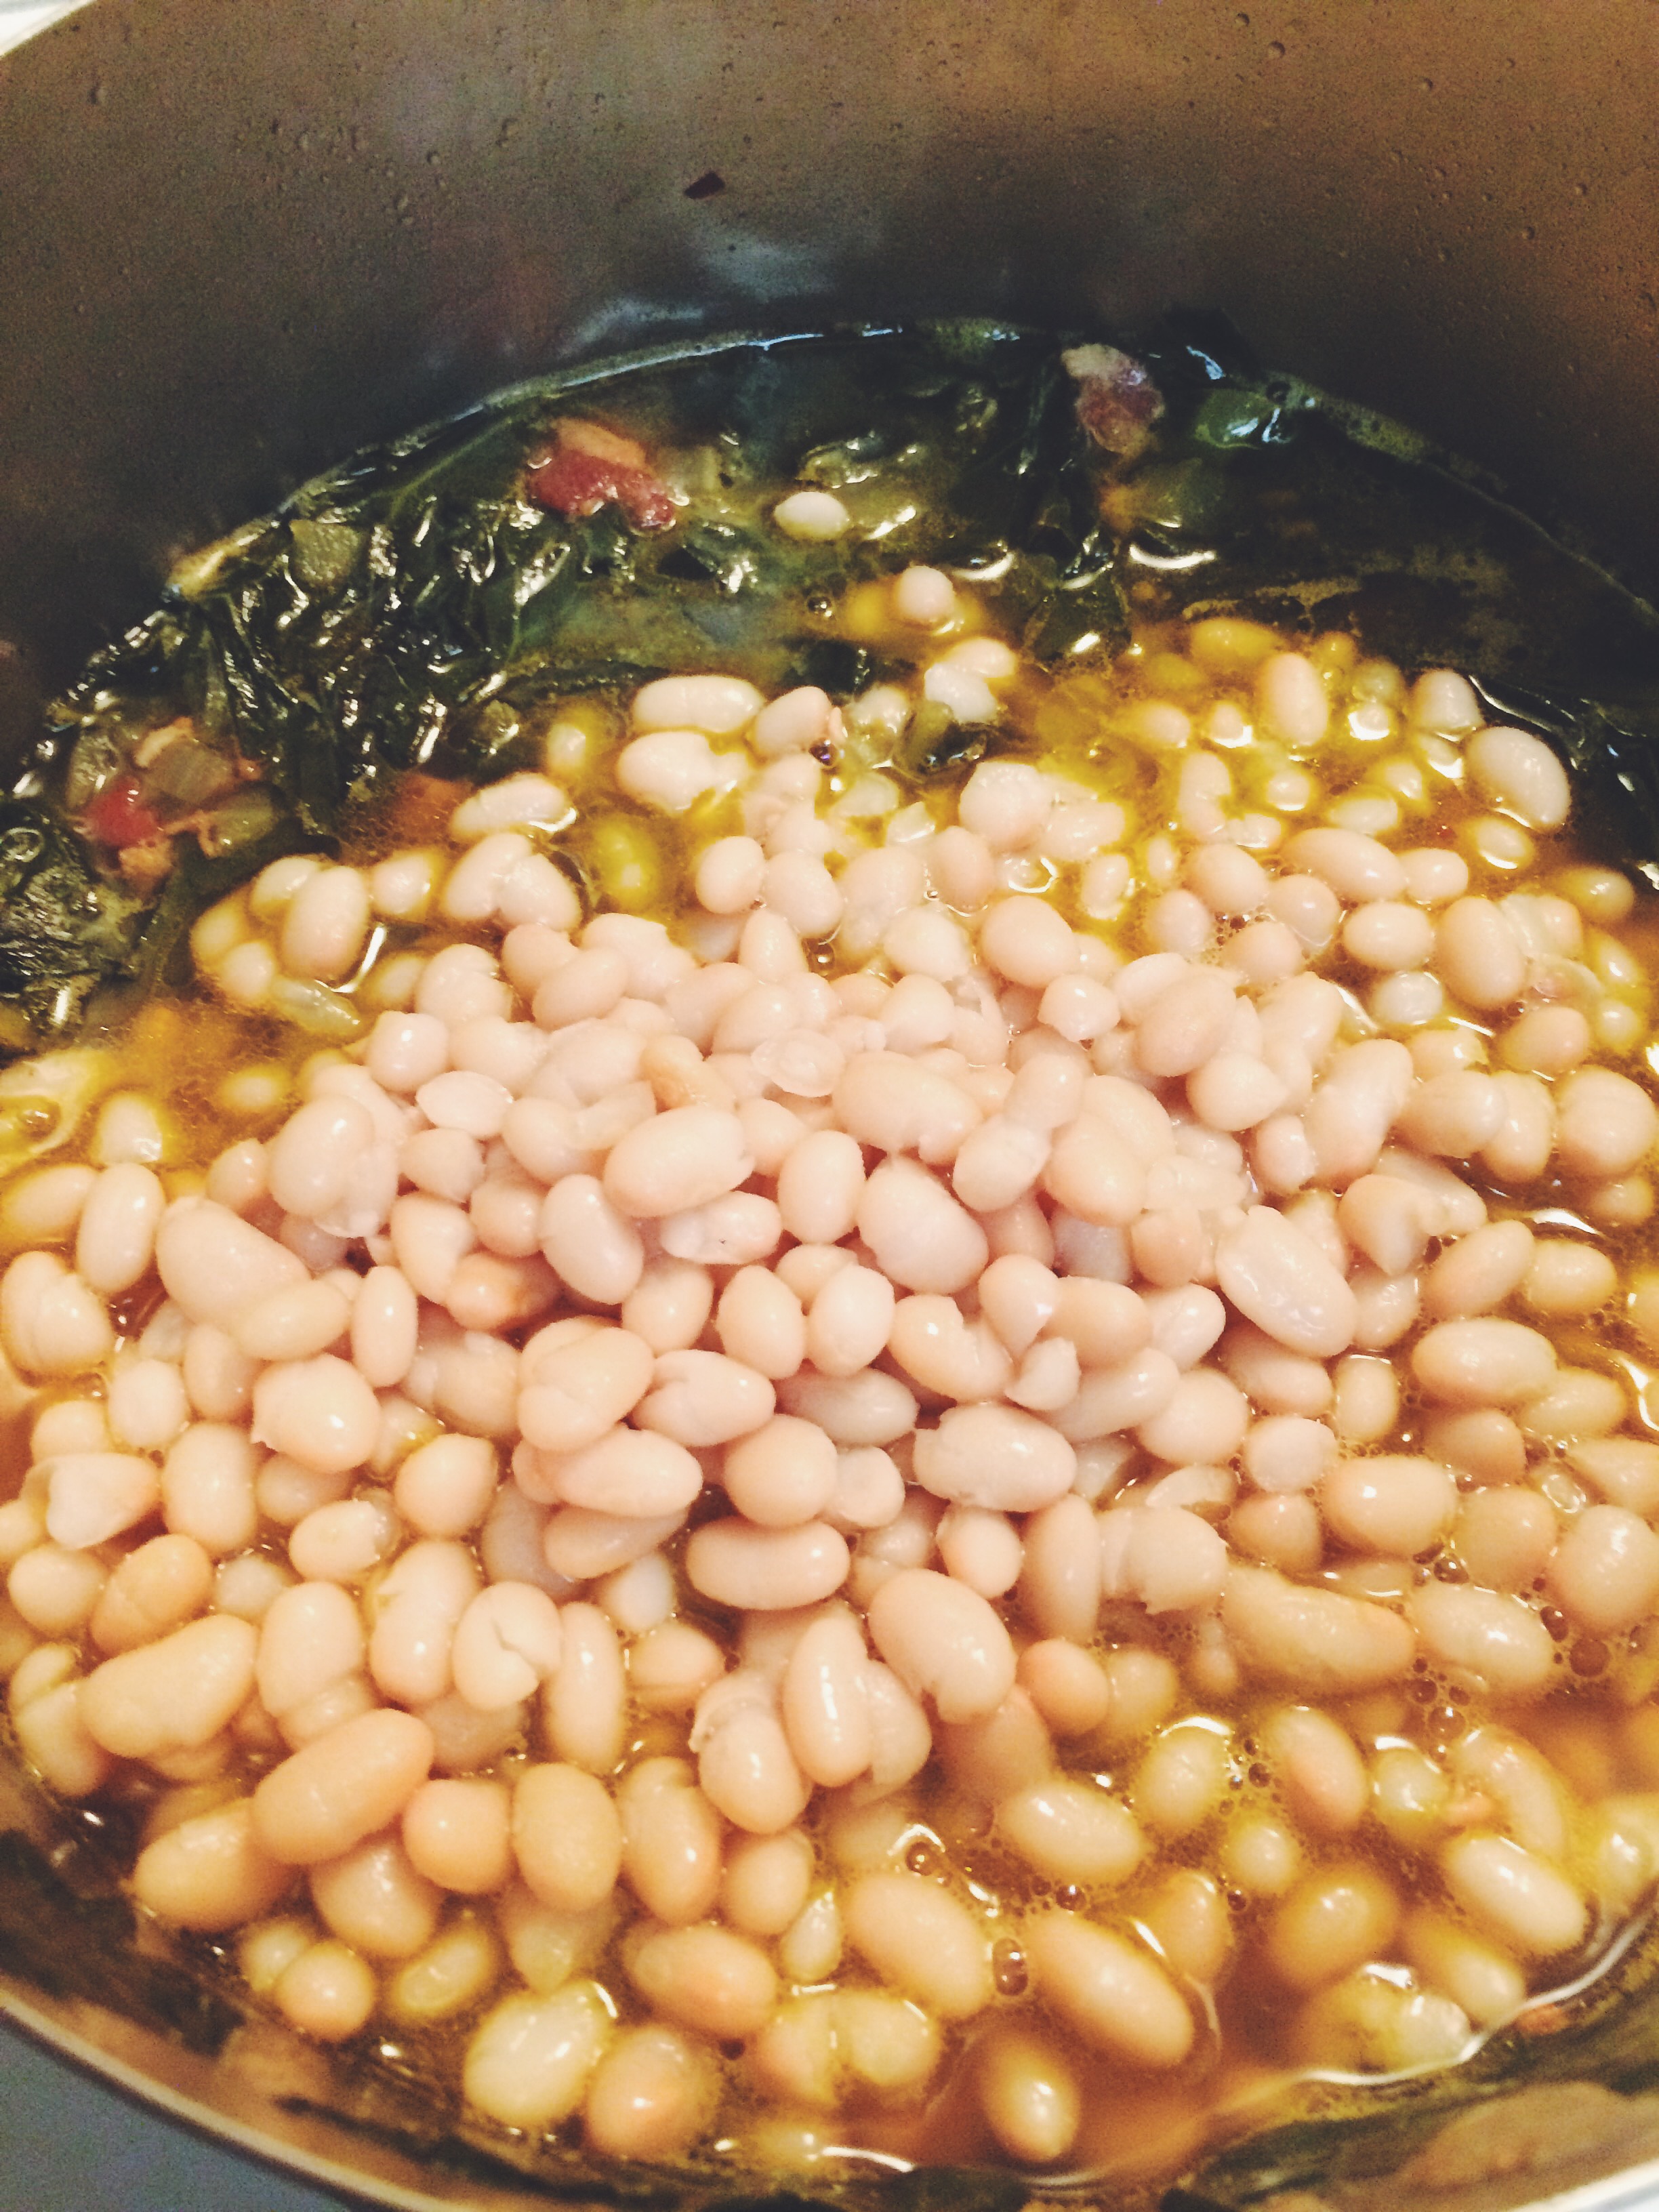
  • 2 cans White Navy Beans (Or Black-eyed Peas) (You can use dried if you wish, but canned is just so much easier for this soup)

Processed with VSCOcam with f2 preset

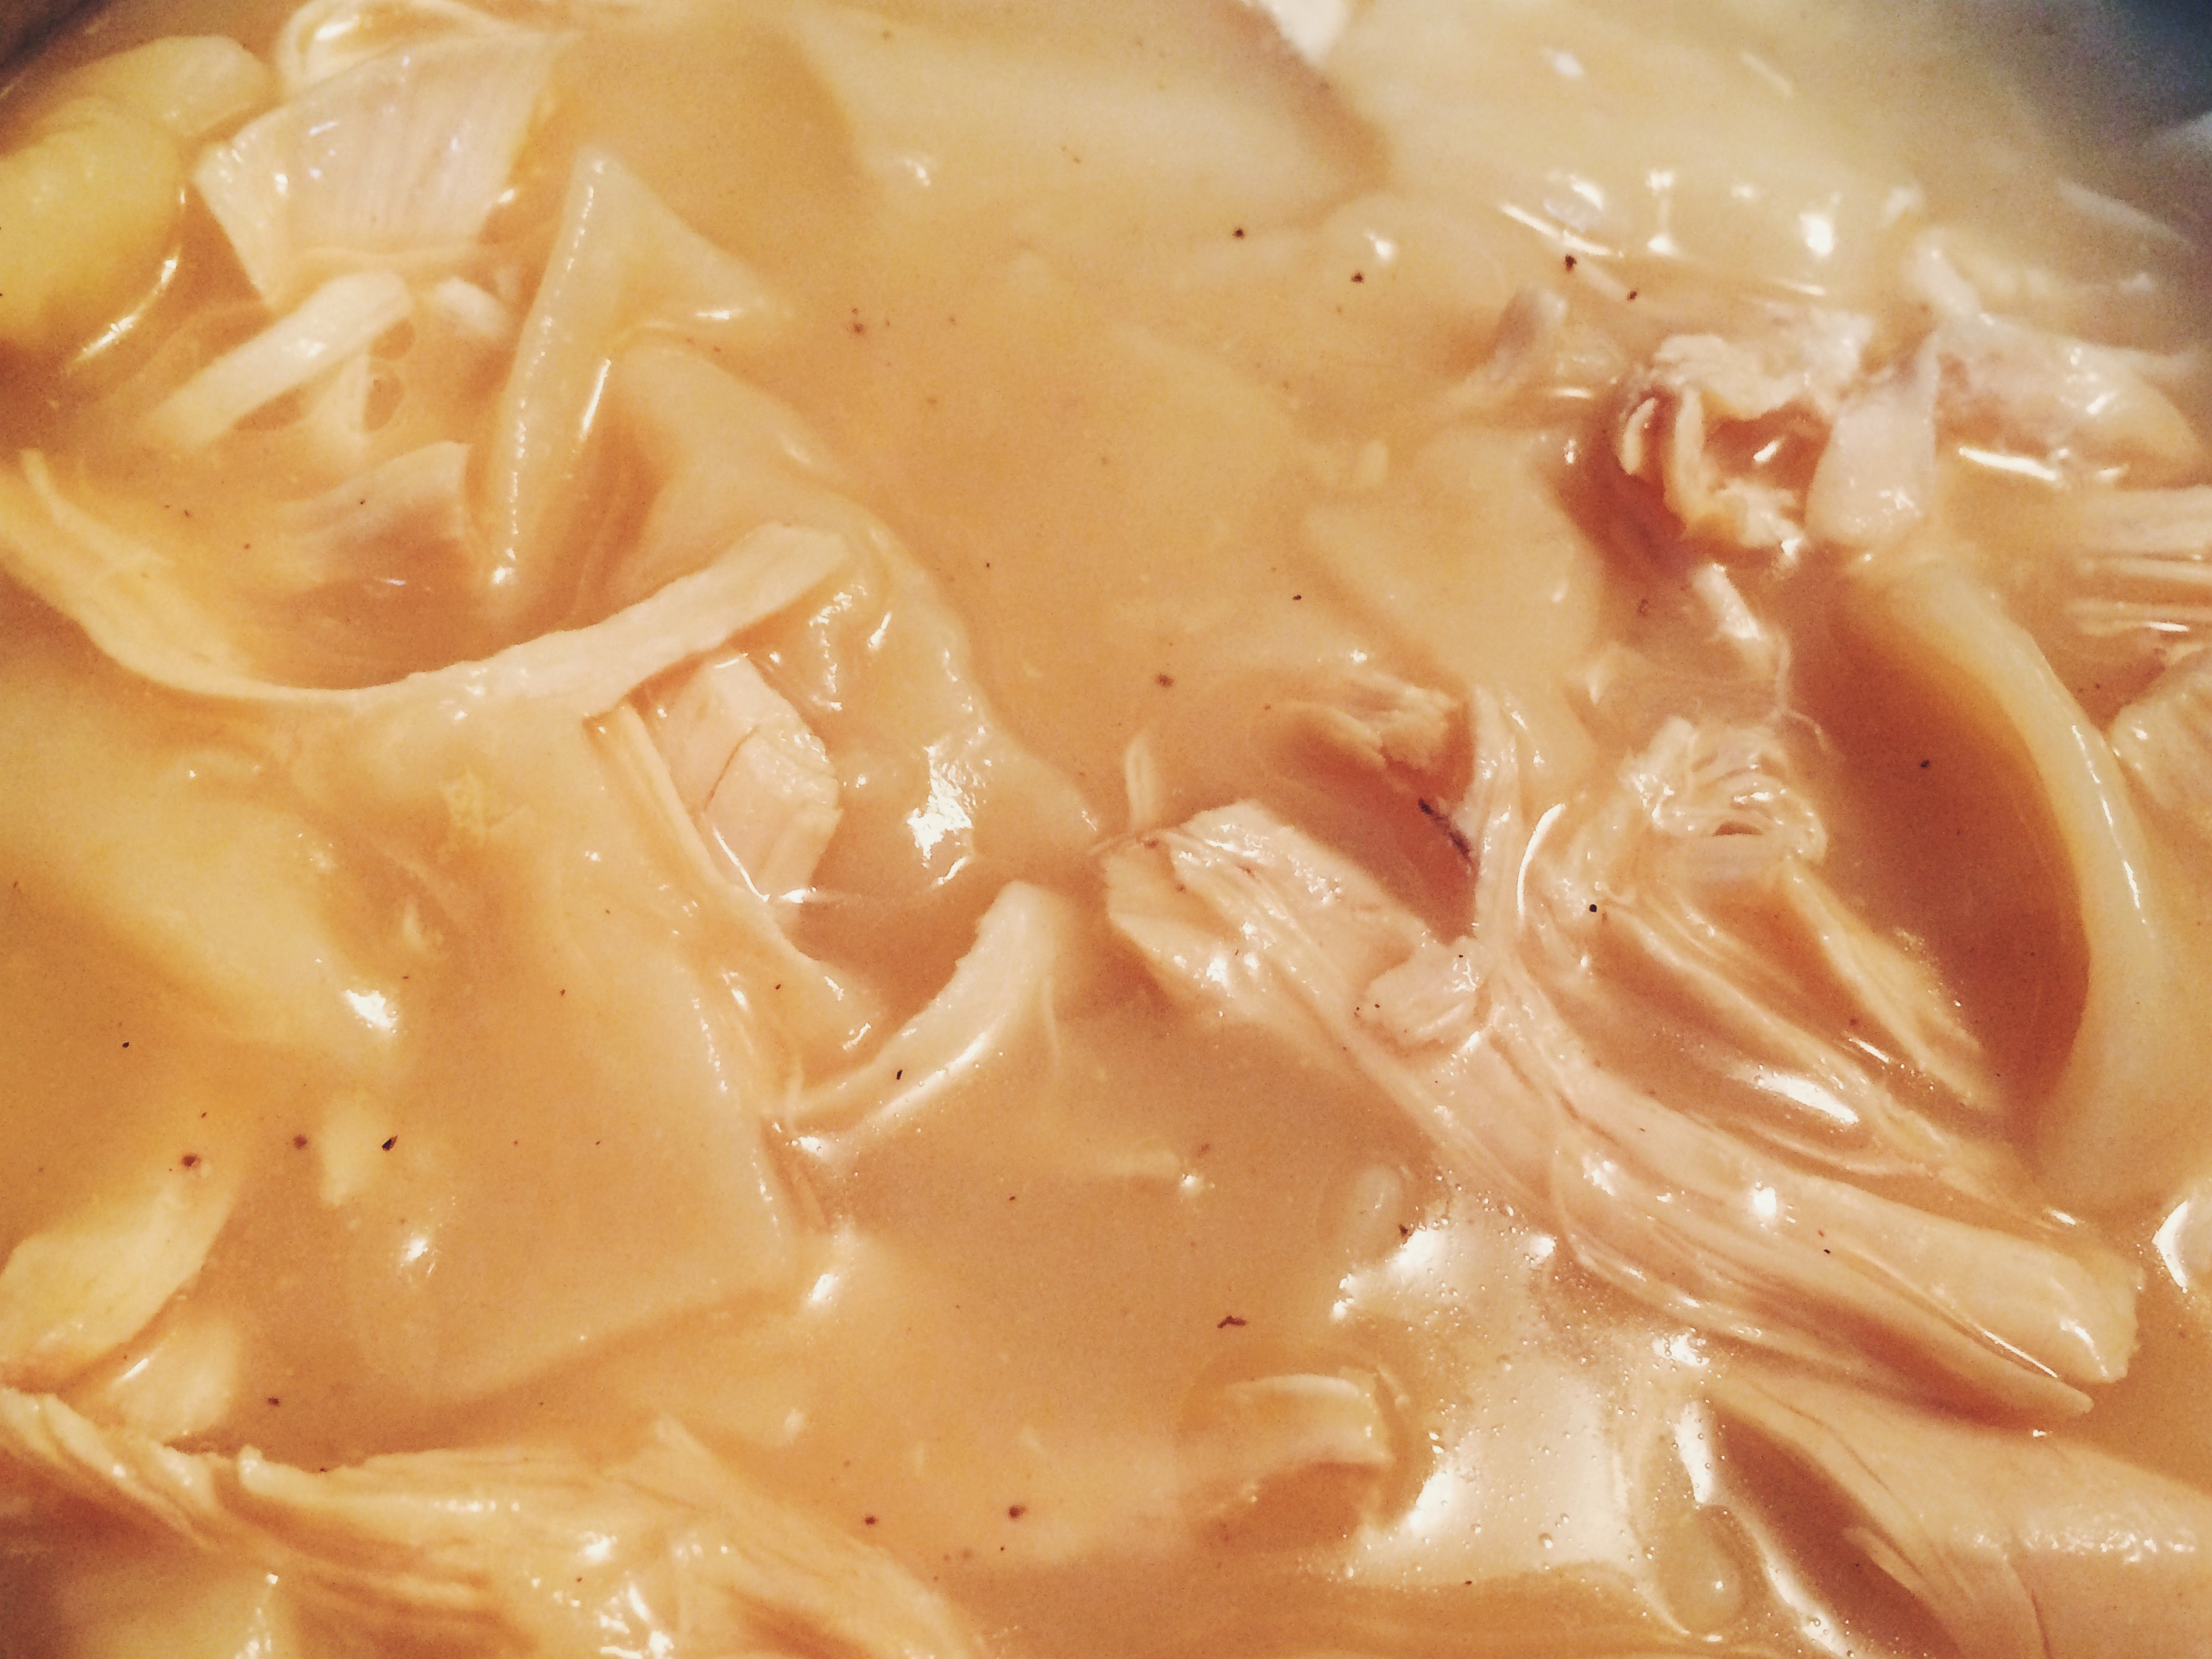
** You’ll notice that the greens become darker as they cook, this is completely normal and expected **

Processed with VSCOcam with f2 preset

Processed with VSCOcam with f2 preset


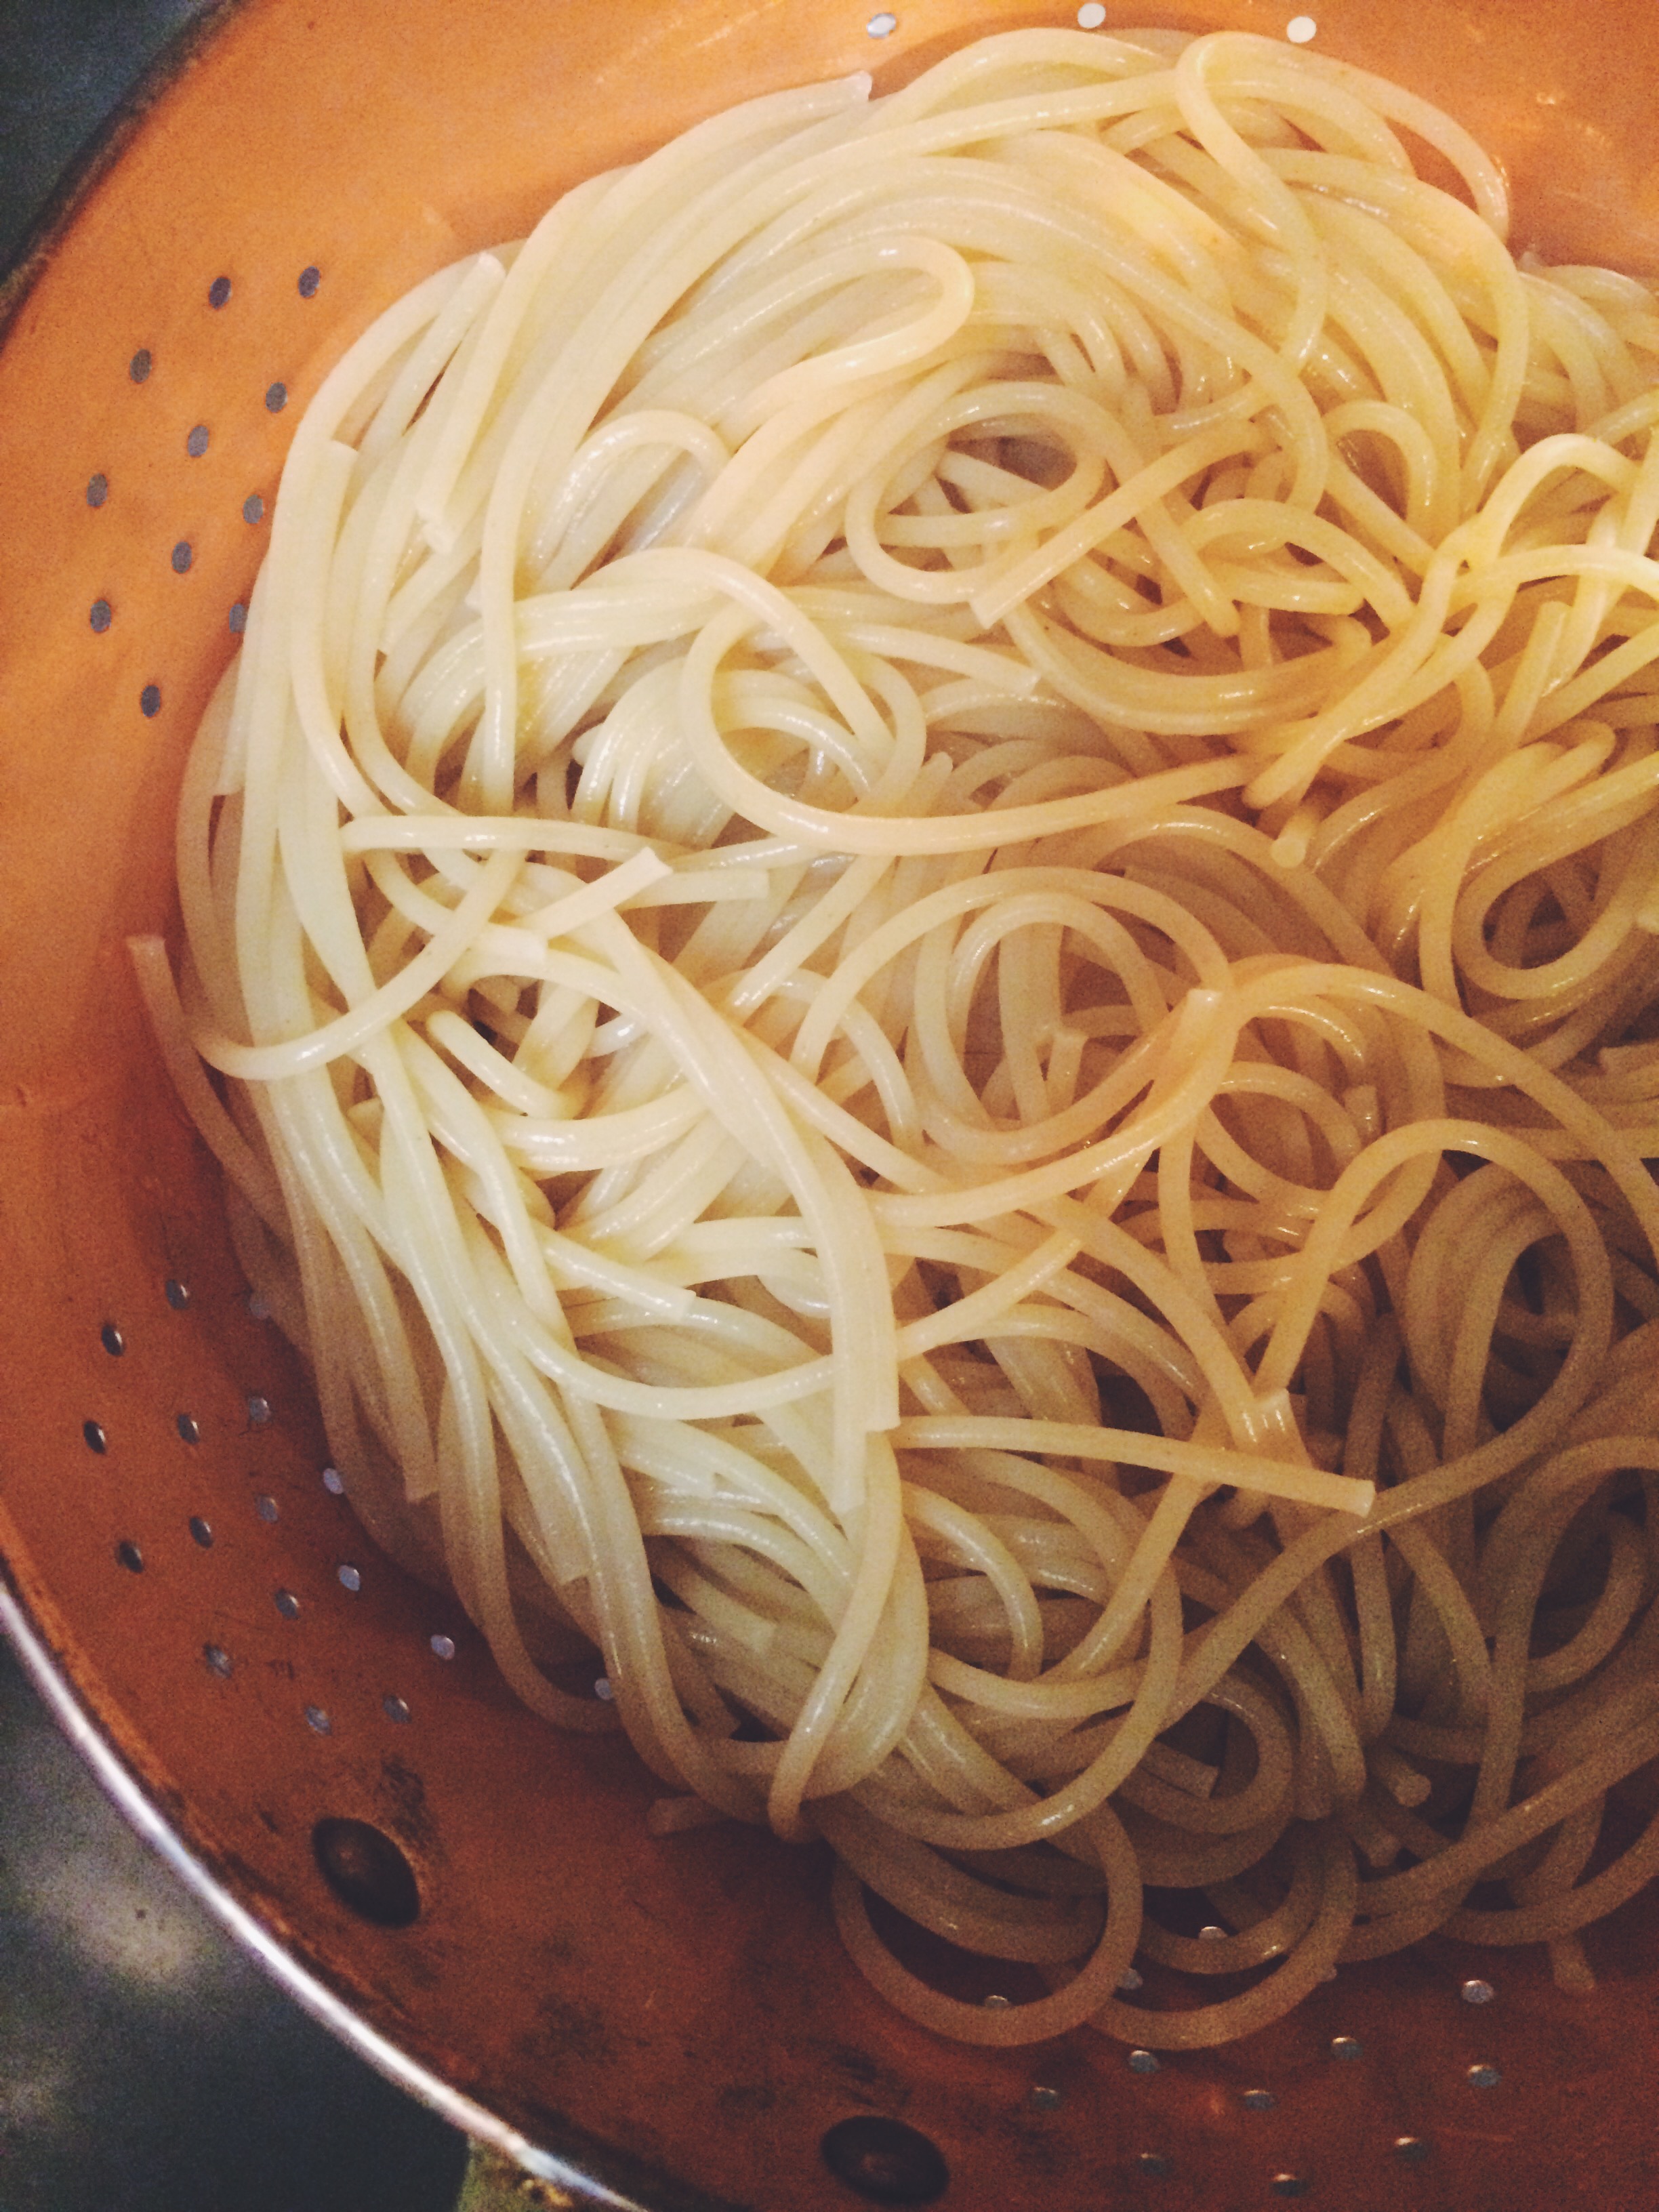
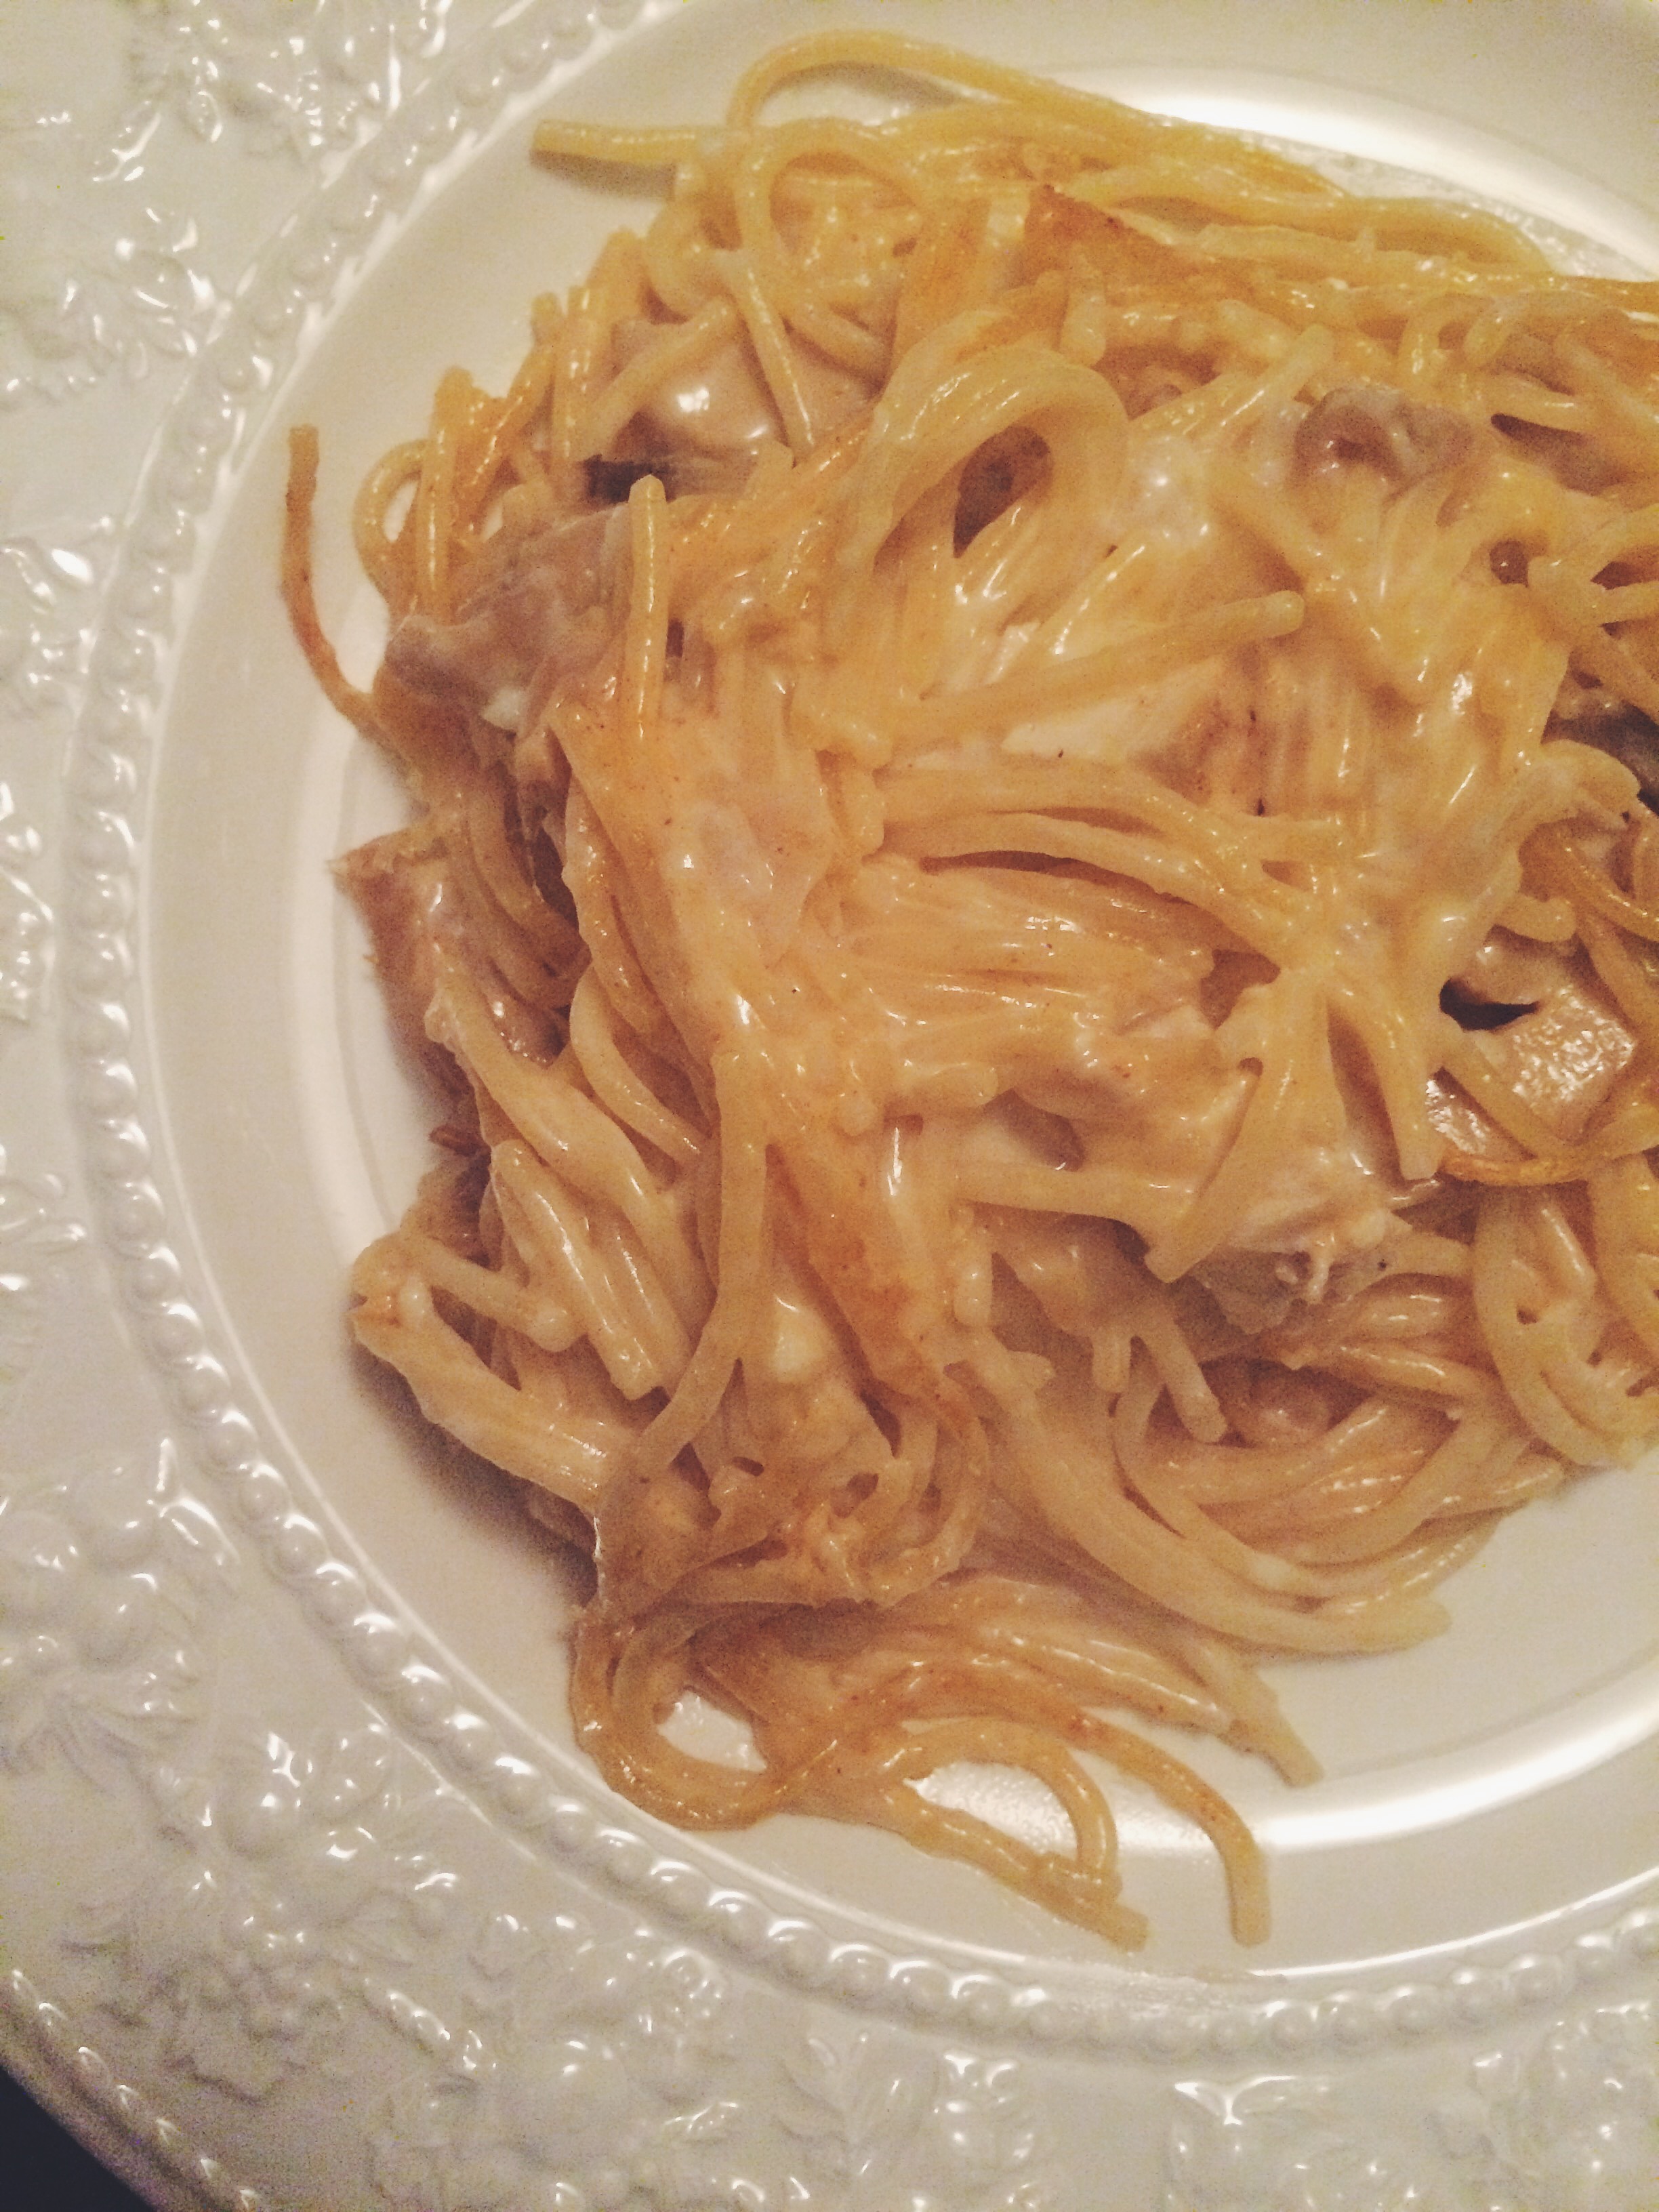
THE METHOD. Making soup is one of the easiest things to do. You simply cook down the vegetables, add your liquid, and simmer for as long as you want. But I’ll break it down for you below.

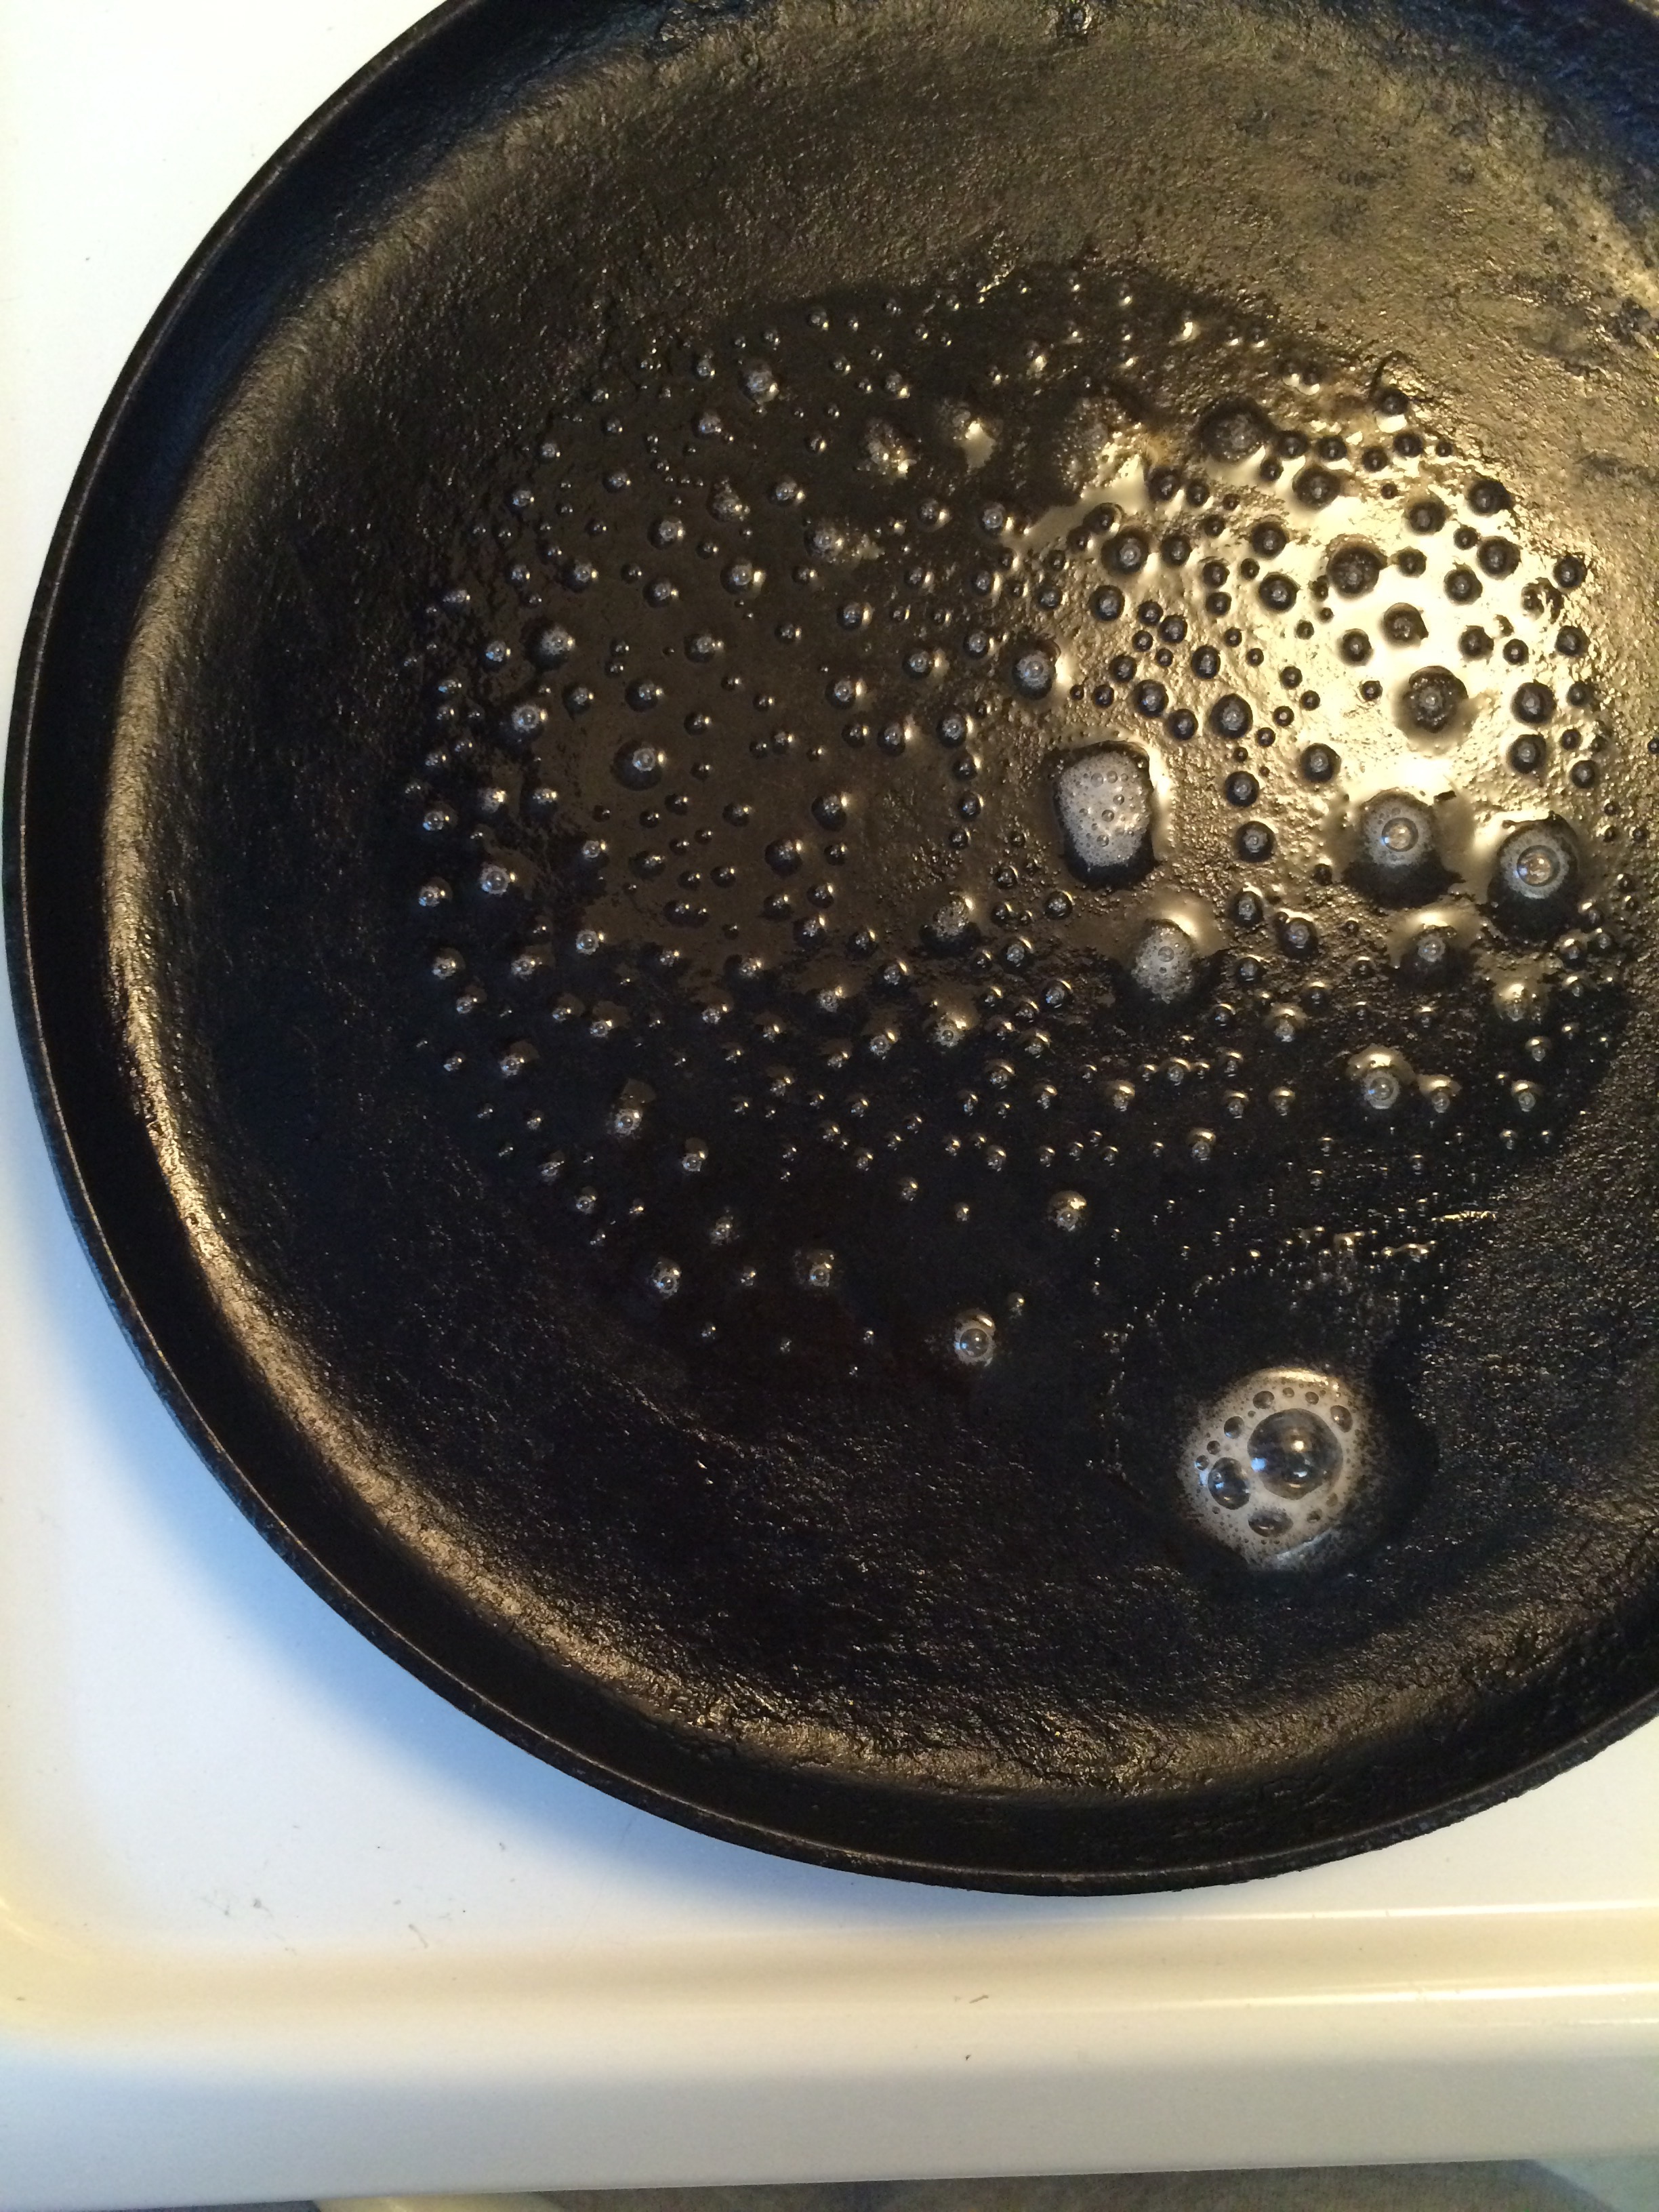
  1. In a large pot over medium heat, render out your bacon to crisp it up. It’s important that you render all of that fat out or you’ll have stringy pieces of fatty bacon in your soup, which is not scrumptious.
  2. Once the bacon is crisp, add your onion and red pepper flake and cook down for about 10 minutes.
  3. Add your brown sugar and sherry vinegar. I usually use equal parts for a nice balance, but if you want yours sweeter or more acidic, simply adjust the proportions accordingly.
  4. Start adding your collards and cook them down. It always looks like you have way too many greens, but they cook down quite a bit so just keep on adding them.
  5. Top the pot off with your chicken stock and add some salt.
  6. Cover and allow this to cook for 2 to 3 hours or until the collards are tender.
  7. Add your beans/peas 20 to 30 minutes prior to serving just to warm them through.

Processed with VSCOcam with f2 preset

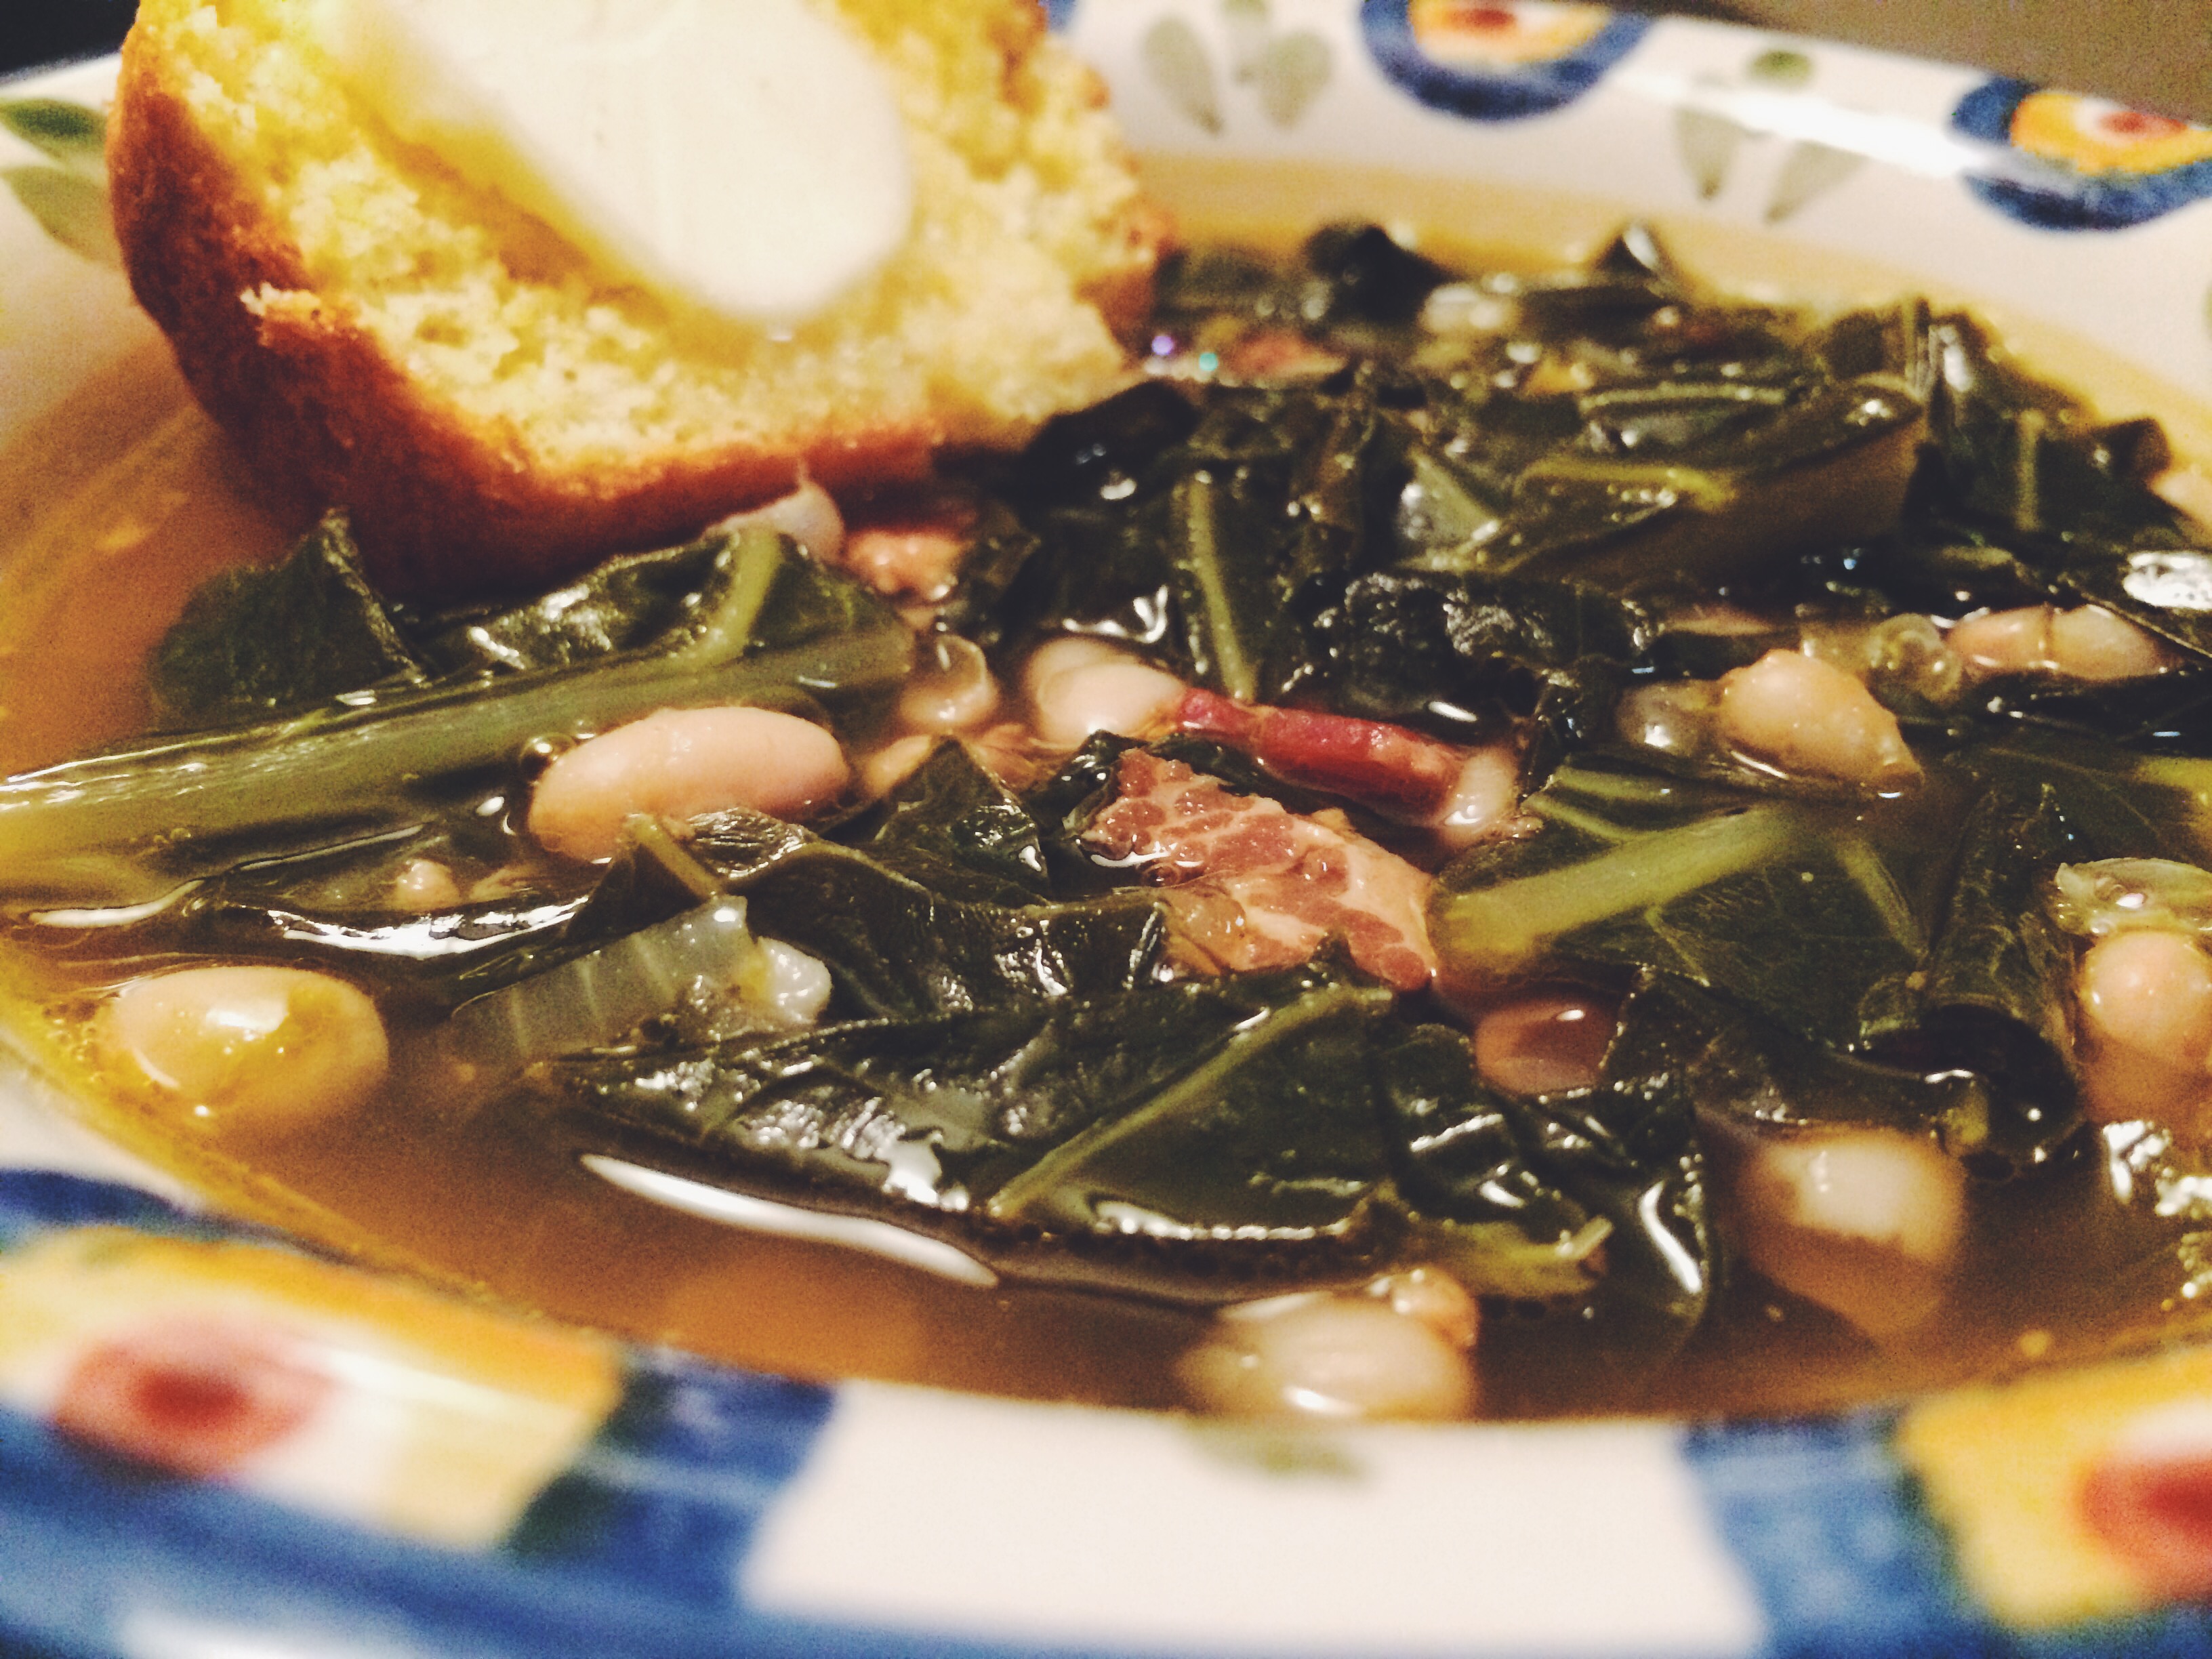
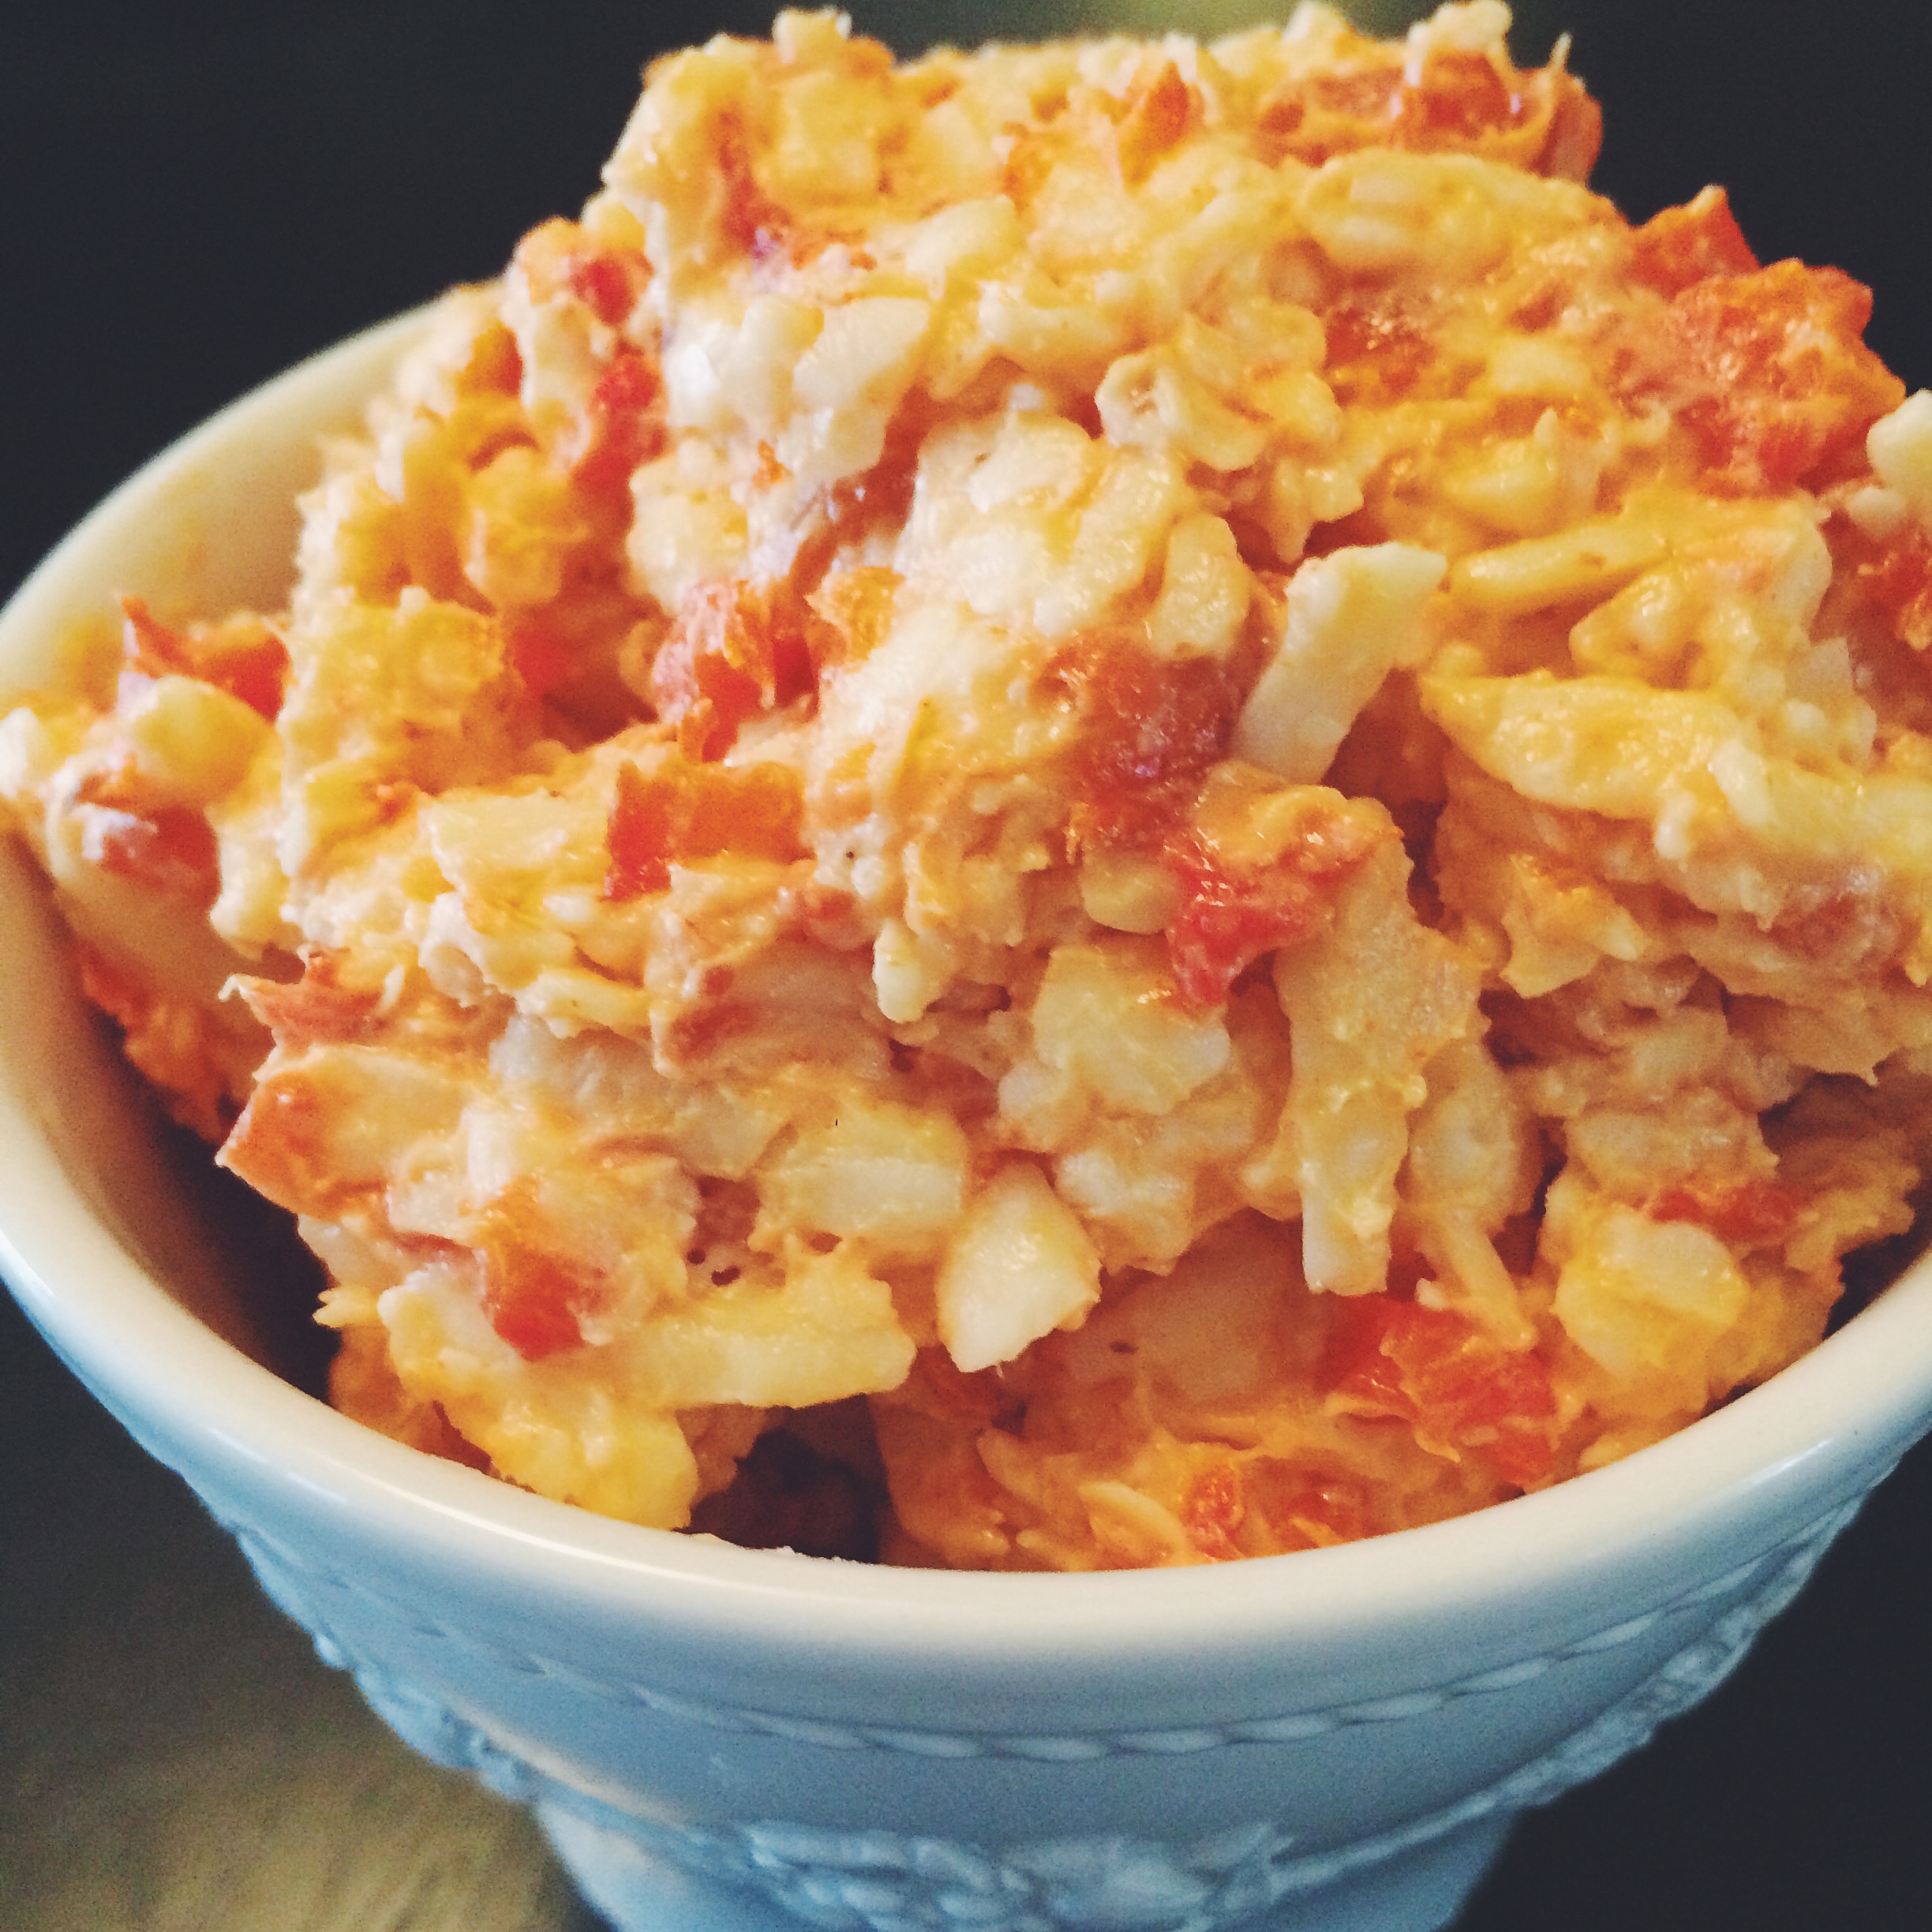
ENJOY IT. To me, this soup is pure comfort food. It’s warm and incredibly filling. I simply serve it up with some buttered cornbread and it just can’t be beat. Honestly, it’s the South in a bowl and you really can’t have a better region in a bowl, in my opinion anyways.

Make a pot of this soup and let me know what you think. Or you can give me another region in a bowl that would be better than the South. We can have fun bantering back and forth about why I’m right 🙂

Until next time…

Advertisement

A Dream and Blueberry Pancakes.

As far back as I can remember, I’ve always wanted to be a chef. I’m not really sure what drew me to the profession, but it had a hold on me that I just couldn’t let go and trust me, I tried. I went to Auburn University, which doesn’t have a Culinary School for those of you who aren’t up on universities in the South. But, that didn’t keep me from it. I left during the middle of my junior year to go to Johnson and Wales. Yup, that’s right. In the MIDDLE of my JUNIOR year. I had 30 credits left until graduation. THIRTY, people.

Do I regret it? No. Sometimes I want to regret it, but I don’t. I met the most amazing people and had the most incredible experiences because of the change and you just don’t regret something that brought that much happiness to your life. I won’t regret it no matter how much some people wish that I would.

Sure, it feels like I’m starting from square one after quitting my job in the kitchen. Sure, this blog doesn’t make up for the money I wasted (other peoples’ words, not mine) at all the schools I attended the previous six years. Nope, it doesn’t help me out in my current career choice. But what it does do is make me happy. It brings a joy to my life that I’ve been lacking since I left Five and Ten in August of 2011. And that’s enough for me.

Processed with VSCOcam with f2 preset

This happiness was originally brought on by watching cooking shows on the Food Network and pretending to host my own show from the kitchen while my family was gone. It was adorable, trust me. My dish of choice was Chocolate Pancakes that I made using Aunt Jemima’s Pancake Mix and Hershey’s Cocoa. Oh, those were the days. If only cooking was as simple as that now…

As I’ve matured, my pancake making methods have matured, too. So to honor my young self who had the audacity to believe she would one day be a “famous chef” (as is evident by the dream ladder my class made as sixth graders and was brought back to us as seniors in high school), I will share with you one of my favorite pancake recipes.

Let’s get started…

Processed with VSCOcam with f2 presetProcessed with VSCOcam with f2 presetProcessed with VSCOcam with f2 presetProcessed with VSCOcam with f2 preset

THE INGREDIENTS. 

  • 2 Cups AP Flour
  • 2 Teaspoons Baking Powder
  • 1 Teaspoon Baking Soda
  • 1/2 Teaspoon Salt
  • 3 Tablespoons Sugar
  • 2 Eggs, lightly beaten
  • 3 Cups Buttermilk
  • 4 Tablespoons Butter, melted ( plus more for the griddle/pan)
  • Blueberries, optional (or chocolate chips, raspberries, blackberries, pecans…)

THE METHOD. Pancakes are made by adding the wet ingredients to the dry ingredients and stirring just until the batter comes together. If you over-mix, your pancakes will be tough. Nobody likes tough pancakes. I mean, nobody.

  1. Heat a pan/griddle over medium heat.
  2. Sift the flour, baking powder, baking soda, salt, and sugar together and place in a large mixing bowl.
  3. Add your buttermilk and your beaten eggs.
  4. Mix until the batter just comes together.
  5. Add your melted butter and stir until just combined.
  6. Grease the griddle/pan with butter and pour a ladle of pancake mix. This is where you would also add any toppings you would like in your pancakes…blueberries in this case.
  7. Flip once the bubbles on top begin to subside and cook until the other side becomes a lovely golden brown.
  8. Continue this process until the batter is gone and you have a beautiful stack of delicious pancakes.

IMG_3288

Processed with VSCOcam with f2 preset

ENJOY. Sure, it’s easier to make pancakes from mixes that you can purchase in the store. But a culinary school graduate can’t use those…that would be blasphemous. Plus, it would be doing a disservice to young Kelley, who always thought she’d be making pancakes for brunch in her own little cafe. So do me a favor? Make these pancakes to honor your young selves, who thought they could be anything they wanted to be before the world darkened their dreams. You won’t regret it.

Processed with VSCOcam with f2 preset

The Holt Christmas and New Year’s Wrap-Up

**Recipe posts will continue next week!**

The holidays are officially over. Everyone is officially back to work. I think that’s the worst part about all of this. Sure, we are all sad that the holidays have come and gone, but the most depressing thing of all is that we are sitting in an office as opposed to enjoying time with our friends and family. There isn’t another break to look forward to for quite some time. But we do have the memories of the past couple of weeks to get us through this tough time…

I, personally, celebrated Christmas in Tennessee as well as New York. Lots of traveling and meeting of new faces. You see, Michael and I got engaged (thank you…thank you…) earlier in the holiday season and it was time for us to endure all of the “Congratulations” and “Best Wishes.” He flew out the 23rd and I followed the 26th. We purchased separate tickets prior to the engagement for any of those people who find it weird we spent the actual Christmas holiday apart. So off he went to the Big Apple and I stayed to enjoy some holiday fun here at home.

My family has our traditions, of course. After all, what kind of Southern family would we be without our traditions? To start, there is the Christmas Eve Cocktail Party at my Grandmother’s house. It’s hard to imagine a holiday without this particular event since I’ve been attending it for as long as I can remember. The food is great and the company is even better. With my engagement as well as my brother’s (last Christmas), I’ve really begun to cherish these moments because the traditions may be changing as new additions to the family are made.

IMG_3190

FullSizeRenderThe cocktail party is followed by Christmas morning, of course. It is filled with gift giving and receiving as well as brunch that always consists of breakfast casserole, potato casserole, sausage balls, and sausage pinwheels. Screwdrivers and Mimosas’ are also flowing at this point (it makes it easier to graciously accept that ugly sweater your Aunt gave you…)

The rest of the day is full of movies and dinner preparations on my part. You see, I make Beef Wellington every year for dinner (for the last several years, that is) and lots of prep is involved, but it’s always worth it because it’s a wonderful addition to the celebration.

Processed with VSCOcam with f2 preset Processed with VSCOcam with f2 preset Processed with VSCOcam with f2 preset Processed with VSCOcam with f2 preset

After good times with my immediate family, the traditional Christmas was over because I was off to New York the next day to see Michael’s family and attend their annual Christmas party, which was a blast. It also gave me an opportunity to eat some delicious pizza and NY bagels (trust me, no bagel down here comes close to what they have up there).

Oh, the holidays were far from over, though. We flew home the following Monday and went up to the mountains of North Carolina to celebrate New Year’s on Wednesday. The rest of the week was filled with football games, fattening food, and cold champagne. Then, suitcases were packed and goodbyes were said. It was time to get back to our normal lives. 😦

So, here I am writing this from my couch in Chattanooga, Tennessee. It finally feels like Winter as there is quite the chill in the air. Christmas decorations have been put away and the pine needles that fell from the tree have been vacuumed up. I have a feeling this year will be one for the books. My baby brother is getting married in June, my older sister and her husband are officially house hunting, and Michael and I will be married be years-end. 2014, you were spectacular, but 2015 will be the year to beat.

Cheers and I wish you a wonderful New Year!

Pimento Cheese

The holidays are officially in full swing. Office parties, cocktail parties, and Christmas dinners are the norm. Food and drinks are everywhere. More than likely, you’ll be asked to bring an appetizer or two to an event in the coming weeks. Sure, you have your go-to’s, but attend the same parties every year and that particular dish is beginning to become a little bit boring.

I, myself, have a go-to and I’m willing to share this item with all of you so that you can have something new to bring to the table. You’re welcome.

Now, I’m famous in my family and friend circles for this, so you must do it proud and make it the right way. You have to agree to this before I share anything with you…

Agreed?

Good.

Let’s get started.

Drum roll please…

The infamous dish is…Pimento Cheese! It’s a Southern classic and delicious to boot. With only 5 ingredients, it’s a simple recipe to throw together in time for any kind of party.

So what are we waiting for?

Processed with VSCOcam with f2 presetProcessed with VSCOcam with f2 presetProcessed with VSCOcam with f2 presetProcessed with VSCOcam with f2 preset

THE INGREDIENTS. These ingredients are specific and very much necessary to the final product.

  • 1 lb Sharp White Cheddar Cheese (No, you can’t use yellow…Why? Because I said so. Also, don’t use pre-grated cheese.)
  • 2 Red Bell Peppers (No, you can’t use that jar of pimento peppers. Why? Because it makes crappy pimento cheese.)
  • 1/2 cup of mayonnaise (You can make your own or you can use store bought. I recommend Blue Plate or Duke’s.)
  • 1/2 teaspoon Spanish Paprika
  • Pinch of Cayenne
  • Pinch of Salt

THE METHOD. Basically, throw everything into a bowl and stir it on up while tasting here and there to make sure that everything is coming together nicely.

  1. For the peppers, you can use your grill or turn your broiler on to high. Oil up the peppers and roast until they are charred on all sides. The better the char, the easier it will be to peel them later on. We’re going for total blackness. Once they are done, place them a bowl to cool off.
  2. Grate up your pound of white cheddar and place it in a large mixing bowl.
  3. Peel the char off of your peppers. Remove all the seeds. Chop the up into a nice, small dice. Add them to the bowl with the cheese.
  4. Add your 1/2 cup of mayo, the paprika, cayenne, and salt.
  5. Mix it up until everything is thoroughly combined.
  6. Taste to check your seasoning. If you want it kicked up notch, add some more cayenne.

ENJOY IT. Pimento cheese is delicious on it’s own. It’s wonderful on buttered crostini or grilled in the form of a sandwich. If you’d like to be healthy, eat it with some celery. It’s a very versatile dish.

So, change up your usual appetizer and make some pimento cheese. Your guests will love it, I promise you. In fact, I just made it for my sister’s company Christmas party and they said it reminded them of their Grandmother’s. Honestly? That’s the best kind of compliment because everyone knows Grandma’s food is the best.

Go on. Give it a try. You won’t be disappointed.

Processed with VSCOcam with f2 presetProcessed with VSCOcam with f2 presetProcessed with VSCOcam with f2 preset

Chicken Tetrazzini

Sometimes, you just want to eat comfort food. No muss, no fuss. It’s not the prettiest dish in the world. It doesn’t require the most effort. But, it’s delicious. It warms your heart in a way that some fancy beef roast or rack of lamb just can’t.

This week, I needed that warmth. I craved that warmth. Mostly because it’s freezing in my apartment. Sure, it’s a little chilly outside,but I’m not outside that much. I’m inside. And it’s way too cold. You see, last month (in my personal opinion) the power bill was astronomical. (It wasn’t really astronomical, but there was a significant jump between months, which simply will not be tolerated). I absolutely hate to spend money on bills. Can’t stand it, actually. So when the monetary amount on my utility bills start to move in the wrong direction, I take drastic action. This means wearing sweat pants, sweatshirts, and socks around the apartment because heaven forbid I turn the heat on for one solitary second. And it’s during times like these that I need some food that sticks to my ribs. Some comfort food that is creamy and, frankly, a little bit fatty so that for a moment, I feel all toasty inside.

Processed with VSCOcam with f2 preset

The dish to bring me this feeling was chicken tetrazzini. It’s a dish my mom would make growing up and quickly became a favorite amongst us siblings. It’s simple to throw together and is quite tasty.

THE INGREDIENTS. Most of the ingredients for this dish I usually always have in the kitchen and you probably do, too.

  • 2 small chicken breasts, cooked and diced
  • sliced button mushrooms
  • diced onion ( Shockingly, I didn’t have an onion so I used shallots. Worked splendidly. Honestly? I liked the switch better).
  • Butter
  • Flour
  • Milk
  • Parmesan
  • Paprika
  • Spaghetti, cooked (Make sure your water tastes like the sea! Bland pasta will make for a bland dish)

Now, usually there is some cooking sherry thrown in there, as well. I don’t have cooking sherry at the moment so I just leave it out. Guess what? Tastes pretty damn good without it. Remember, cooking isn’t about following a recipe. It’s about being creative. If you don’t have an ingredient (an unimportant ingredient that is), use a substitute or leave it out. Think outside the box!

Processed with VSCOcam with f2 presetProcessed with VSCOcam with f2 presetProcessed with VSCOcam with f2 presetIMG_3072Processed with VSCOcam with f2 preset

THE METHOD. To make this dish, we will be making a béchamel, which we have made before (the chicken enchiladas, anyone?). Then we will layer the pasta, the sauce, and the cheese to make a delightful casserole.

  1. Throw some butter (let’s say 3 tablespoons) in pot over medium heat.
  2. Add your mushrooms and onions. Sauté until the onions are translucent.
  3. Add 3 tablespoons of flour and stir around, creating a roux. (Fun Fact: When you sprinkle flour in a pot like this to create a thickening agent it’s called singer, which is French.) Cook for a couple of minutes.
  4. Add 3-4 cups of milk and stir.
  5. Bring the mixture to a boil. This activates the thickening power of the flour. Cook for 5 minutes or so to allow it to thicken. If it’s too thick, add some more milk or water. If it’s too thin, make a slurry (equal parts flour + water) and pour it in while the mixture is boiling until the desired thickness is reached. (Rule of Thumb: It’s best to not make sauces too thin because it’s much harder to thicken them back up. Add your liquid a little at a time until the desired viscosity is reached).
  6. Now, season the sauce pretty liberally with salt and pepper. Every single layer needs to be seasoned perfectly or else the end product won’t come out tasting that great.
  7. Add you cooked and diced chicken. You can boil it or used a store bought chicken. I personally seasoned them up and roasted them in the oven.
  8. Take a baking dish and spray it with nonstick spray. Take a ladle or so of the sauce and pour it in the bottom of the dish. Spread it around. Sprinkle this layer with parmesan cheese and paprika. If you’re feeling zesty, sprinkle it with some cayenne, too. Add a layer of pasta. Add another layer of sauce. Sprinkle with parmesan and paprika. Add another pasta layer…Continue this until it fills up the dish. Make sure you finish with a layer of sauce.
  9. Sprinkle the top with more parmesan and bake in a 375 F until bubbly and delicious.

ENJOY IT. Forget about the calories. Forget about the carbs. Forget about the fat. Just forget about it all. It’s almost the holidays, anyways. Plus, it’s comfort food. Take some time and enjoy a dish like this every once in awhile.

Until next time…

Processed with VSCOcam with f2 presetProcessed with VSCOcam with f2 presetProcessed with VSCOcam with f2 preset

Butternut Squash Ravioli with Brown Butter and Sage

Homemade pasta. Just let that sink in. Ponder it. Think back to those times that you’ve had the opportunity to consume it. Such wonderful memories. Such amazing dishes. Homemade pasta can’t be beat. No, really, it can’t. The fresh stuff doesn’t compare and the dry variety isn’t even invited to the party. There’s just something about the flavor. Something about the texture…

Calm down. It isn’t that difficult to make. No…it’s not. I know…I know…you’ve tried it before and it didn’t go well. That was one time. I mean, success is a journey, not a destination. You learn something about yourself each time you fail. Success will taste so sweet when you finally get it right. Trust me.

Now that we’ve had that nice little pep talk, let’s get down to business…

Processed with VSCOcam with f2 preset

Butternut. Squash. Ravioli. Three reasons why:

  1. It’s delicious.
  2. It’s the perfect dish for Fall/Winter.
  3. It’s simple and requires very few ingredients.

We’ll take it step-by-step. And if you think about it, there are just three components. Each of these components will come together to make something divine.

Processed with VSCOcam with f2 preset

THE PASTA. Let’s start with the pasta because it has to rest before we do anything else with it. Easy peasy, lemon squeezey, I promise.

What you’ll need…

  • 2 cups AP Flour
  • 2 Whole Eggs
  • 1 Egg Yolk
  • Salt (to taste)
  • Drizzle of Olive Oil

Now, you can make it using a KitchenAid or by hand ( the flour well-method). I’ve been successful using both, but today we are using the mixer because it makes life easy (and who doesn’t like having their made a little bit easier from time to time?)

The Method…

  1. Place the flour in the bowl of a mixer with a dough hook attachment.
  2. Season to taste with salt.
  3. Add your eggs.
  4. Drizzle in a little bit of olive oil.
  5. Turn the mixer on to low and allow all the ingredients to incorporate.
  6. Turn the mixer to medium and let it go until the dough becomes smooth, about 10 minutes (this step is kneading the dough and developing the gluten). Occasionally, stop the mixer and add more flour if it is sticky. If the dough is dry, add a touch of water.
  7. Wrap the dough ball in plastic wrap and let it rest at room temperature for 1 hour. This will relax the dough so that it is easier to work with.

IMG_3008IMG_2990IMG_3003Processed with VSCOcam with f2 presetProcessed with VSCOcam with f2 preset

IMG_3001IMG_2999

THE FILLING. While the dough is resting, let’s make the filling.

What you’ll need…

  • 1 Small Butternut Squash
  • 1 Shallot
  • Oil
  • Salt and Pepper
  • Cream
  • 3 Tablespoons Parmesan

The Method…

  1. Preheat your oven to 400 F.
  2. Slice the butternut squash in half lengthwise. Oil it up and season it with salt and pepper. Place on a baking pan.
  3. Slice the shallot in half lengthwise, skin and all. Oil it up and season with salt and pepper. Place on the same baking dish.
  4. Place the pan in the oven and roast for 45 minutes to 1 hour.
  5. Check on the shallot after 20-30 minutes. It should be nice and caramelized. Remove it from the pan and place it on a dish to cool.
  6. Once the squash is fork tender, remove it from the oven and allow it to cool.
  7. Once cooled, scrape out the squash and place in a food processor. Remove the skin of the shallot and place it in the processor, too.
  8. Add a splash of cream and the parmesan. Mix her up…It’ll be pretty thick.
  9. Season to taste with salt and pepper. Set aside.

Processed with VSCOcam with f2 presetProcessed with VSCOcam with f2 presetProcessed with VSCOcam with f2 presetProcessed with VSCOcam with f2 preset

The Ravioli. The hard part. The combination of components one and two. But it’s really not that hard. Just time consuming.

Now, I’m using a hand-cranked pasta roller. I’ve also rolled it out by hand using a rolling pin…It just takes a little bit of elbow grease.

The Method…

  1. Cut your dough ball into quarters.
  2. Take one and flatten it out a little bit so that it will go through the pasta roller. Sprinkle generously with cornmeal (flour will also work here, but cornmeal works better).
  3. Roll it through the widest setting (mine’s is 7). Fold the dough over on itself and pass it through the roller again, trying your best to keep it in a rectangular shape.
  4. Turn the dial to the next setting (in my case, down to the 6). Pass the dough through this setting two to three times.
  5. Continue this step through all the settings (5,4, and 3). The 3 setting on my machine is where I like to stop. If the dough gets to be too long to handle, feel free to cut it in half so that it is easier to work with.
  6. Take a rectangular sheet and place a small amount of the filling on the sheet as shown in the picture above.
  7. Use water or an egg wash and go around each ravioli where you plan to seal it. Doing this will provide a better seal so that your filling doesn’t ooze out into the pasta water.
  8. Place a second rectangular sheet on top and press down to form the ravioli.
  9. Using a knife (or biscuit cutter if you want round ravioli) cut out your ravioli.
  10. Place on a floured baking dish until ready to cook.

Processed with VSCOcam with f2 presetProcessed with VSCOcam with f2 preset

THE SAUCE. This is perhaps the easiest sauce in the entire world to make. It is two ingredients: Butter and Sage. These flavors pair so well with the ravioli, it’s kind of insane.

But, before we get started on this…let’s bring a large pot of water to a boil. Add some salt and your ravioli…we will be finishing the dish in this step.

The Method…

  1. Take two tablespoon of butter for every serving of pasta and add it to a sauté pan over medium heat.
  2. Add 2-3 sage leaves for every serving to the melting butter.
  3. Cook until the butter is browned. It will start to smell nutty and floral…so basically amazing.
  4. The ravioli should take about two minutes to cook. Remove the ravioli from the water and place them directly in the sauce. Toss them around and serve topped with some shaved parmesan.

Processed with VSCOcam with f2 presetProcessed with VSCOcam with f2 presetProcessed with VSCOcam with f2 preset

ENJOY IT. I mean, come on. We just made homemade ravioli. Homemade. We didn’t go to the freezer section. We didn’t go to the local Italian place. We powered through and have been rewarded with a delicious meal. It’s nutty, it’s sweet, and the sage adds a nice floral note to it. Perfection, really.


Thanksgiving Wrap-Up

**I apologize, but due to Thanksgiving there isn’t going to be a recipe post this week. But I’ll be back at it next week with a delicious dish involving butternut squash! Yum!**

My favorite holiday of the year, Thanksgiving, is officially over. Sad day. But, I was able to spend most of the week with my wonderful family, which was pretty much the most amazing thing ever. With my younger brother and sister living in Alabama and South Carolina, respectively, I don’t get to see them that often. Thankfully, they both arrived by Wednesday and the good times started.

Why Wednesday? Well, we celebrate Thanksgiving-Eve. Yup. You read that correctly and the traditional Thanksgiving-Eve meal in our home is chili. Why? I don’t know, really. You’d have to ask my sisters because I don’t really remember it being a tradition, but don’t tell them that because they get a little touchy when traditions aren’t remembered. My best guess is that it’s a really easy meal to throw together the night before all hell breaks loose. I’d personally vote for no meal the evening before because there is so much food at our Thanksgiving celebration. So. Much. Like, it’s kind of ridiculous. We only have at most 11 people at our home, but we cook for 44. You got your 10 pound turkey, dressing, green been casserole, squash casserole, fried corn, mashed potatoes, macaroni and cheese, deviled eggs, apple and cheese casserole, some sort of gelatinized salad, cranberry sauce, and rolls. Oh, don’t forget the desserts…Sweet potato pie, Coca-Cola cake, ambrosia…Is it all delicious? Of course, but it’s getting out of hand. We’ve tried to take some of the dishes away, but believe it or not, each of them is someone’s favorite. You can’t go taking away someone’s favorite Thanksgiving dish. We also add a dish when a new member of the family is added. My sister’s husband gets sweet potato pie (which actually took the place of my favorite chocolate chess pie, but let’s just pretend that didn’t happen…). My brother’s fiancé is responsible for the mac & cheese addition (no complaints from this girl). I think we have a problem as a family…I really do…

IMG_2896

So, we ate dinner and then watched Home Alone. Yet another tradition. My family is just full of them…but, we usually watch Christmas Vacation. It’s hilarious. You can’t go wrong with that movie. Some folks decided that we needed to change it up and so Home Alone it was. It’s a great movie, but not as great as Christmas Vacation…

IMG_2906-1

And because spending the previous two days together isn’t enough, we had a siblings dinner Friday evening at a new Italian restaurant in town, IL Primo. Good food, good wine, and great conversation made for an excellent time. But the family time wasn’t over yet…

Saturday was Rivalry Weekend in College Football. We all attended SEC schools and, thus, have a specific rivalry to watch. You’ve got the Iron Bowl, Clean Old-Fashioned Hate, and South Carolina vs. Clemson (there could possibly be an actual name for this one, but I don’t know it. Sorry, Anne). And wouldn’t you know it that every single one of our football teams lost. All of them. It was a terrible day for football in the Holt house. Just terrible.

Processed with VSCOcam with f2 preset

The family fun still wasn’t over. You’d think we would have spent enough time together by this point in the week, but you would be wrong. We all met for brunch on Sunday at Chato Brasserie. I mean, you have to send everyone off in the proper manner. Plus, it has the added bonus of being that one family event that sends everyone over the edge. Everyone goes back to their lives and you don’t even miss them for the month of December because you got your fill at Thanksgiving. It’s really great. Just as Christmas is upon us, we are all ready to see each other again. Simply perfection.

Processed with VSCOcam with f2 presetProcessed with VSCOcam with f2 presetProcessed with VSCOcam with f2 presetProcessed with VSCOcam with f2 preset

Egg Poaching 101

To me, eggs are the perfect food. They contain almost all of the vital nutrients that your body needs plus, they can be served at almost any time of day. Over-easy for breakfast, egg salad for lunch, and Egg’s Wellington for dinner (just to name a few options…)

And get this, you can also use each part separately (for those of you who weren’t aware)…use the yolks to make a delicious custard and the whites for a merengue. What other food is so versatile and performs so many functions? I mean, you can’t have meatloaf without eggs. Well, you can have a pile of meat that tastes like meatloaf, but it won’t form into an actual loaf without the binding property of eggs. Want a smooth and creamy ice cream? Eggs are the key. A soufflé? The leavening comes from whipped egg whites. The fat found in the yolk tenderizes cakes and cookies. The lecithin (also in the yolk) acts as an emulsifier, which is what creates mayonnaise when eggs are whipped with oil.

Just look at the yolk just oozing out...It's a thing of beauty!

Basically, our food culture would be completely different without eggs. And it’s kind of ironic that we use them all the time in a variety of dishes, but when it comes to actually cooking them straight up for breakfast, most of us fail miserably. The cooking of them is hard as hell to master. You could have an entire culinary course dedicated to egg cookery. Over-easy, over-medium, over-hard, scrambled, poached…Raise your hand if you can cook all of these styles perfectly every time…? Yeah, I didn’t think so.

The key, really, is a low temperature. I know exactly how you people fry an egg. You get a pan super hot, add some butter, and crack open an egg into the pan. The second it hits the heat, a sizzle can be heard around the world. I bet when you poach an egg, you create that ridiculous vortex thing that they tell you to do on the Food Network. You place the egg in there and it spins around like a child rolling down a hill in a tire.

I mean, I’m no expert when it comes to cooking eggs. But I do know the proper techniques…

Today, we’ll focus on poaching. You can impress your family with Egg’s Benedict over the holidays.

Let’s get started…

WHAT YOU’LL NEED. Poaching an egg doesn’t require that many ingredients or tools. Keep it simple, stupid.

For the tools, you’ll need a pot, a slotted spoon, and a small bowl.

For the ingredients, you’ll need an egg (or a dozen if it takes you awhile to get the technique down…), white vinegar, salt, and pepper.

Now, each and every one of you should have all of the above things in your house at this very moment. If you don’t, please re-evaluate your priorities. So get them out and let’s get poachin’.

IMG_2868IMG_2869FullSizeRender-3FullSizeRender-7FullSizeRender-6

THE METHOD. I’ll break it down step by step…

  1. Fill your pot 3/4 with water.
  2. Add quite a bit of vinegar. (I know the TV tells you just to put a tablespoon in there, but honestly, what is a tablespoon of vinegar going to do in an entire pot of water? Nothing. Absolutely nothing. So go ahead and dump like half a cup in there. You should be able to smell it, but you won’t taste it in the egg. The vinegar helps to set the egg white quicker.)
  3. Place the pot on the stove over medium heat. Heat the water until it is slightly below a simmer. We don’t want the egg jumping around in the pot, we want it to sit there quietly. Small bubbles will form on the bottom of the pot and maybe every so often they will float to the surface. But not so often that we are at a simmer. Okay? Okay.
  4. Crack an egg into a small bowl. We do this to make sure no shell gets in there. Also, it’s a lot easier to slip an eggs into water from a bowl than it is from the shell.
  5. Resist the urge to grab wooden spoon and create the vortex. When you’re throwing a dinner party, are you going to just poach one egg at a time? Because you can’t do the vortex a second time once an egg is already in there…You’ll be poaching for hours…
  6. Now, gently slip the egg into the water and nothing else. Just leave it there. Don’t touch it. Don’t move it. Just watch.
  7. It might get stuck to the bottom of the pot, but that’s okay. Once the white is set, take a spoon and gently remove it from the bottom so that it is floating.
  8. Let the egg cook until the white is set, but the yolk is still runny (or longer if you don’t like your yolks runny, but that kind of defeats the purpose of a poached egg, in my opinion.) Use you finger to gently press the egg, it should be firm, but yet still have a little bit of give in the yolk.
  9. Remove with a slotted spoon and blot it on a paper towel to remove excess water.
  10. Season it to taste with salt and pepper,

ENJOY IT. You have just poached an egg. Celebrate. It’s the most difficult method of egg cookery and you had no problem with it (hopefully!). Now, go and show off your new talent to the world. After all, us old dogs can learn new tricks.

FullSizeRender-4FullSizeRender-2FullSizeRender-5

Marshmallows and Hot Cocoa

In case you were wondering, we received our first snow of the year in early November (the 1st to be exact), which is quite the rare occurrence in East Tennessee. No, it didn’t stick. No, I couldn’t play in it. But it still happened. You see, it’s not surprising for those of us who live here to have to wait until February to see beautiful, white flakes fall from the sky. Growing up, it was the weatherman’s cruel joke to warn us of a potential snow fall only to wake up the next morning to absolutely nothing on the ground. Usually, it didn’t actually rain so we couldn’t even hope that icy roads would delay the start of school.

Sure, you people who live up North laugh at us Southerners for getting the day off for an inch of snow, but what you don’t realize is that it’s really just the idea of a snow day. It was the school throwing us students a bone…”Sure, call off school. They’re built in days, anyway.” We got so excited for a snow day even though it rarely lead to an actual day of snow. But, man, when we finally got a good snow fall, those were some good times. It felt like Christmas morning. We would all wake up and run to the window to see the ground covered in snow. And it was beautiful because no one had walked all through it yet…it was pure, driven snow. We’d rush around, throwing on our cold weather layers and then we’d run straight outside to grab the sleds and head to the golf course, which is where everyone went to slide down the driving range. You’d see everyone you know and it was the ultimate day of fun.

IMG_2839

But, perhaps the best part of it all was coming home and getting out of your cold, wet clothes while cuddling up with a blanket, a movie, and a cup of hot chocolate. You’d sit around reminiscing about all the fun you just had, including that time you almost slid head first into that tree…

IMG_2838

These days, when I get cozy with a cup of hot cocoa it reminds me of those days and I can’t help but smile. Only, it’s not a cup filled with that pocket of powder and tiny marshmallows. I’ve learned to make homemade mallows and hot chocolate. Don’t worry, it’s a cinch. A little messy, but a cinch.

Let’s get started, shall we?IMG_2819IMG_2822


IMG_2827


THE INGREDIENTS. For the mallows…

  • 4 envelopes Unflavored Gelatin
  • 3 cups Granulated Sugar
  • 1 1/4 cup Light Corn Syrup
  • 1/4 teaspoon Salt
  • 2 teaspoons Vanilla Extract
  • 1 1/2 cups Powdered Sugar
  • 1 1/2 cups Water

THE METHOD. It’s the ‘Hope and Pray’ method…he he…Just kidding. It’s about temperature and timing.

  1. Grease a large baking dish and cover with parchment. ( I used aluminum foil because I’m a fool who forgot the parchment at the grocery store. Work with what you’ve got.) Oil up the parchment, as well. Marshmallows are quite sticky…
  2. Add your sugar, corn syrup, salt and 3/4 cup of water to a pot and bring it a boil while stirring. Once it’s boiling, stop stirring and let it boil away until the syrup reaches 238 F (Use a thermometer for this process).
  3. In a large mixing bowl with a whisk attachment, add the other 3/4 cup of water and the packets of gelatin. Let it sit for 5 minutes, softening the gelatin.
  4. Once the syrup has reached the appropriate temperature, turn on the mixer to low and slowly add the syrup to the bowl while gradually turning the speed up until it reaches the ‘high’ setting.
  5. Continue to whip air into the mixture until it turns white as snow and forms a stiff peak. This should take 10-12 minutes.
  6. Quickly, pour the mixture into the prepared pan and smooth it out. I found that heating a metal spoon with hot water really helps this process.
  7. Let it sit uncovered until the gelatin is set. This should take about 3 hours.
  8. Cover a clean surface with 3/4 cup of powdered sugar and turn the set marshmallows out onto it. Remove the parchment.
  9. Using an oiled knife, cut the mallows into 2 inch squares.
  10. Toss them with the remaining powdered sugar. This will keep them from sticking to one another.
  11. Place them in an airtight container for up to 3 days.

**Note: I halved the recipe because I would never have eaten 24 marshmallows in 3 days.**

Processed with VSCOcam with f2 preset

IMG_2840

Now, for the hot chocolate…(this is for a single serving)

THE INGREDIENTS.

  • 1 tablespoon Unsweetened powdered cocoa (plus or minus*)
  • 1 tablespoon Granulated Sugar (plus or minus*)
  • Milk
  • Vanilla Extract

THE METHOD. It’s not very conventional, but it works…

  1. Place the cocoa and the sugar in a microwave safe mug.
  2. Fill the mug with milk (the type is up to you). Place it in the microwave for 1 1/2- 2 minutes (or until hot…)
  3. Add a splash of vanilla. Stir it up.
  4. Add your mallows and enjoy!

You could just as easily make it on the stove top. Basically, equal parts cocoa and sugar. Add your milk and vanilla. Heat it up.

* Depends on your particular chocolate/sweetness tastes…

ENJOY IT.  Cuddle up and relax with your delicious cup of hot cocoa. It’s rich and decadent. So much better than that little pocket of powder…


Comfort

Quite frankly, it’s cold outside. Granted, it’s not a New York cold or a Michigan cold. Most certainly not an Alaskan cold. In my defense, for the past few years, it just hasn’t been that chilly down here in Tennessee. I’m pretty sure shorts were an acceptable option last Thanksgiving. Shorts, people! In late November!

Processed with VSCOcam with f2 presetDon’t get me wrong, though; I love the cold. I love the Fall. Why you might ask? Well, while there are several reasons that I could list out for you, the most obvious to me is comfort. Fall is comfort. Cold weather is comfort. There is just something about being able to cuddle up under a blanket with a loved one, a dog, or a cat and just relax. You know, read a book or watch a movie with a hot cup of coffee or tea. This activity seems most acceptable when a chill is in the air.

The colors of Fall are comforting, too. Watching the greens change to oranges, reds, yellows, and browns is calming. Looking out at the mountains this time of year is, quite simply, breathtaking. I could stare outside for hours on end if I had the time…

But perhaps the most comforting thing of all is the food. Soups, stews, and braises fill restaurant menus and family tables. The depth of flavors and the richness of such dishes brings warmth to our cores in a way a salad or a grilled piece of salmon just can’t do.

Processed with VSCOcam with f2 presetIt’s during this time of year that we have the opportunity to visit family and friends and it’s most often during these instances that we get to enjoy our favorite dishes from our youth. Maybe it’s a casserole that your aunt makes or an apple pie that your grandmother is famous for. When we take a bite of these foods, we are immediately brought back to our childhood and it’s as if we no longer have a care in the world. All that matters is the company we are with and the memories that we are making.

Processed with VSCOcam with f2 presetFor me? The dish that I crave is my mom’s chicken and dumplings. Growing up, it was always a special treat. We didn’t have it all of the time, but she whipped it up every now and then for a comforting family dinner. Even though I’m 25, whenever I speak to my mom and she tells me she made it for my dad, I get sad because nothing is like her chicken and dumplings. Sure, I could go to almost any Southern-style restaurant and order chicken and dumplings, but it’s never the same. It’s basic. It just falls flat.

IMG_2740Nothing compares to the richness of her broth, the moistness of her chicken, and the softness of her dumplings. All of these elements come together to create my perfect comfort food. I’ve always believed that the simplest dishes are the best dishes and chicken and dumplings is no exception. It’s difficult to master and I’ve tried many times, but it’s never as good as hers. One day, when I finally master the dish, I will share it all with you, but until then I’ll continue to look forward to the day that I can go home and enjoy it at my parent’s table while laughing with my siblings as they catch everyone up on how their lives are going.