The South is full of wonderful foods. We have fried chicken, mac & cheese, cornbread, and 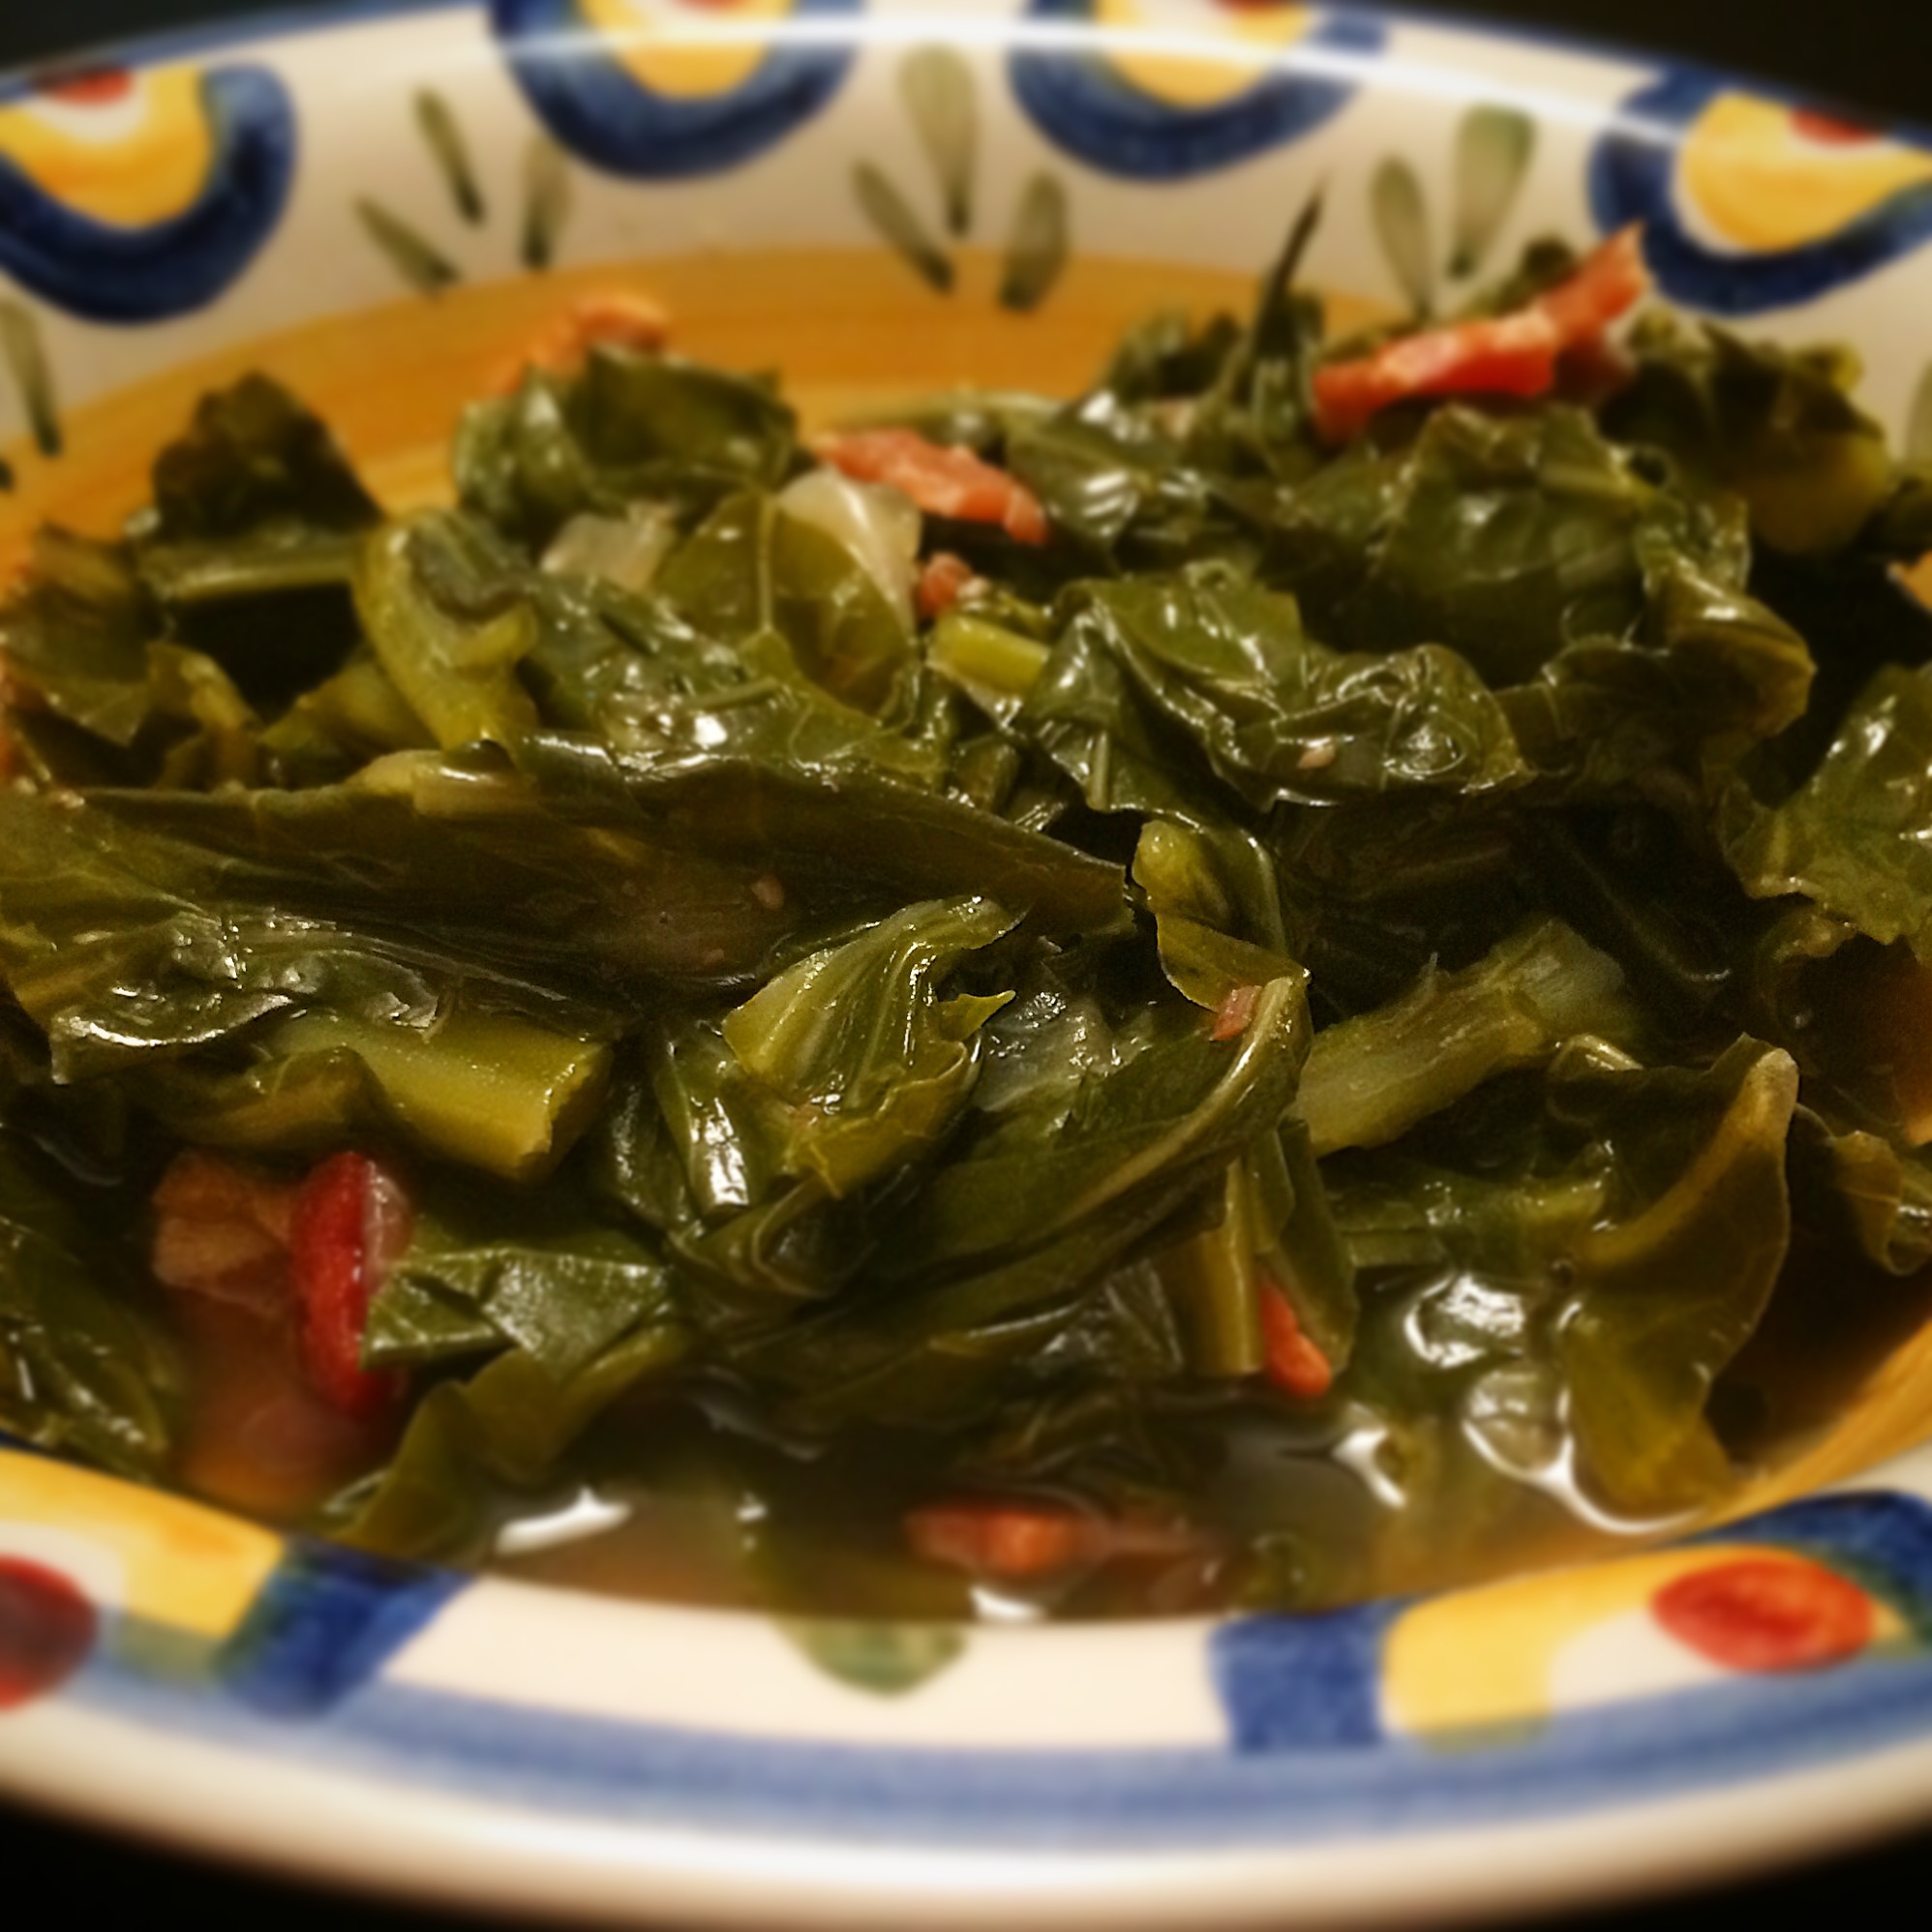 biscuits. Each and every one of us has consumed these foods our entire lives and often look forward to the next time that we get to do so. But not all Southern foods are like this. Some foods are very divisive. You either love it or you absolutely hate it. Perhaps the most popular one in this group is collard greens. I know people who can’t stand to be in the same house that they are being cooked in because they hate the smell. Others you can’t keep away from the stove…they have to eat a spoonful every time they go through the kitchen. (Some people purposefully pass by the kitchen just to get a little taste).
Personally? I love collard greens. Just give me a big bowl and a biscuit to sop up the juices and I’m good to go. (Traditionally cornbread is served, but I’m not much for cornbread. I know, I’m not a true Southern woman…blah, blah, blah. But biscuits are Southern, too, so there!) The flavor is complex. It’s earthy, salty, sweet, and acidic. You just can’t beat it, in my opinion.
So, you’re lucky. Today, you get to learn how to master this Southern staple. We eat them year-round down here, but they are most popularly consumed on New Year’s Day to ensure wealth for the coming year. I make sure I prepare them a few more times than that because a little extra help in the wealth department here and there isn’t a bad thing.
Let’s get started, shall we?
 THE INGREDIENTS.
- Fresh collard greens, cleaned and chopped (one stalk is what I’m using)
- Corn oil
- Thick-cut (or slab) bacon, small cubes
- Onion, medium dice
- Brown sugar
- Sherry vinegar
- Chicken stock
- Salt and Pepper
THE METHOD. Okay. So maybe there isn’t a classic “method” to making collard greens, but there is a method, nonetheless. It’s a method that you can use to make all of your greens (collard, turnip, and mustard…). Basically, it involves cleaning the greens and then cooking the greens.
 THE CLEAN. We begin by cleaning the collard greens. You can buy them already cleaned and bagged or still attached to the stalk, which his how I purchased them today.
Getting them off their stem is easy. Just grasp the stem near the bottom of the leaf and pull up. The leaves should just come right off.
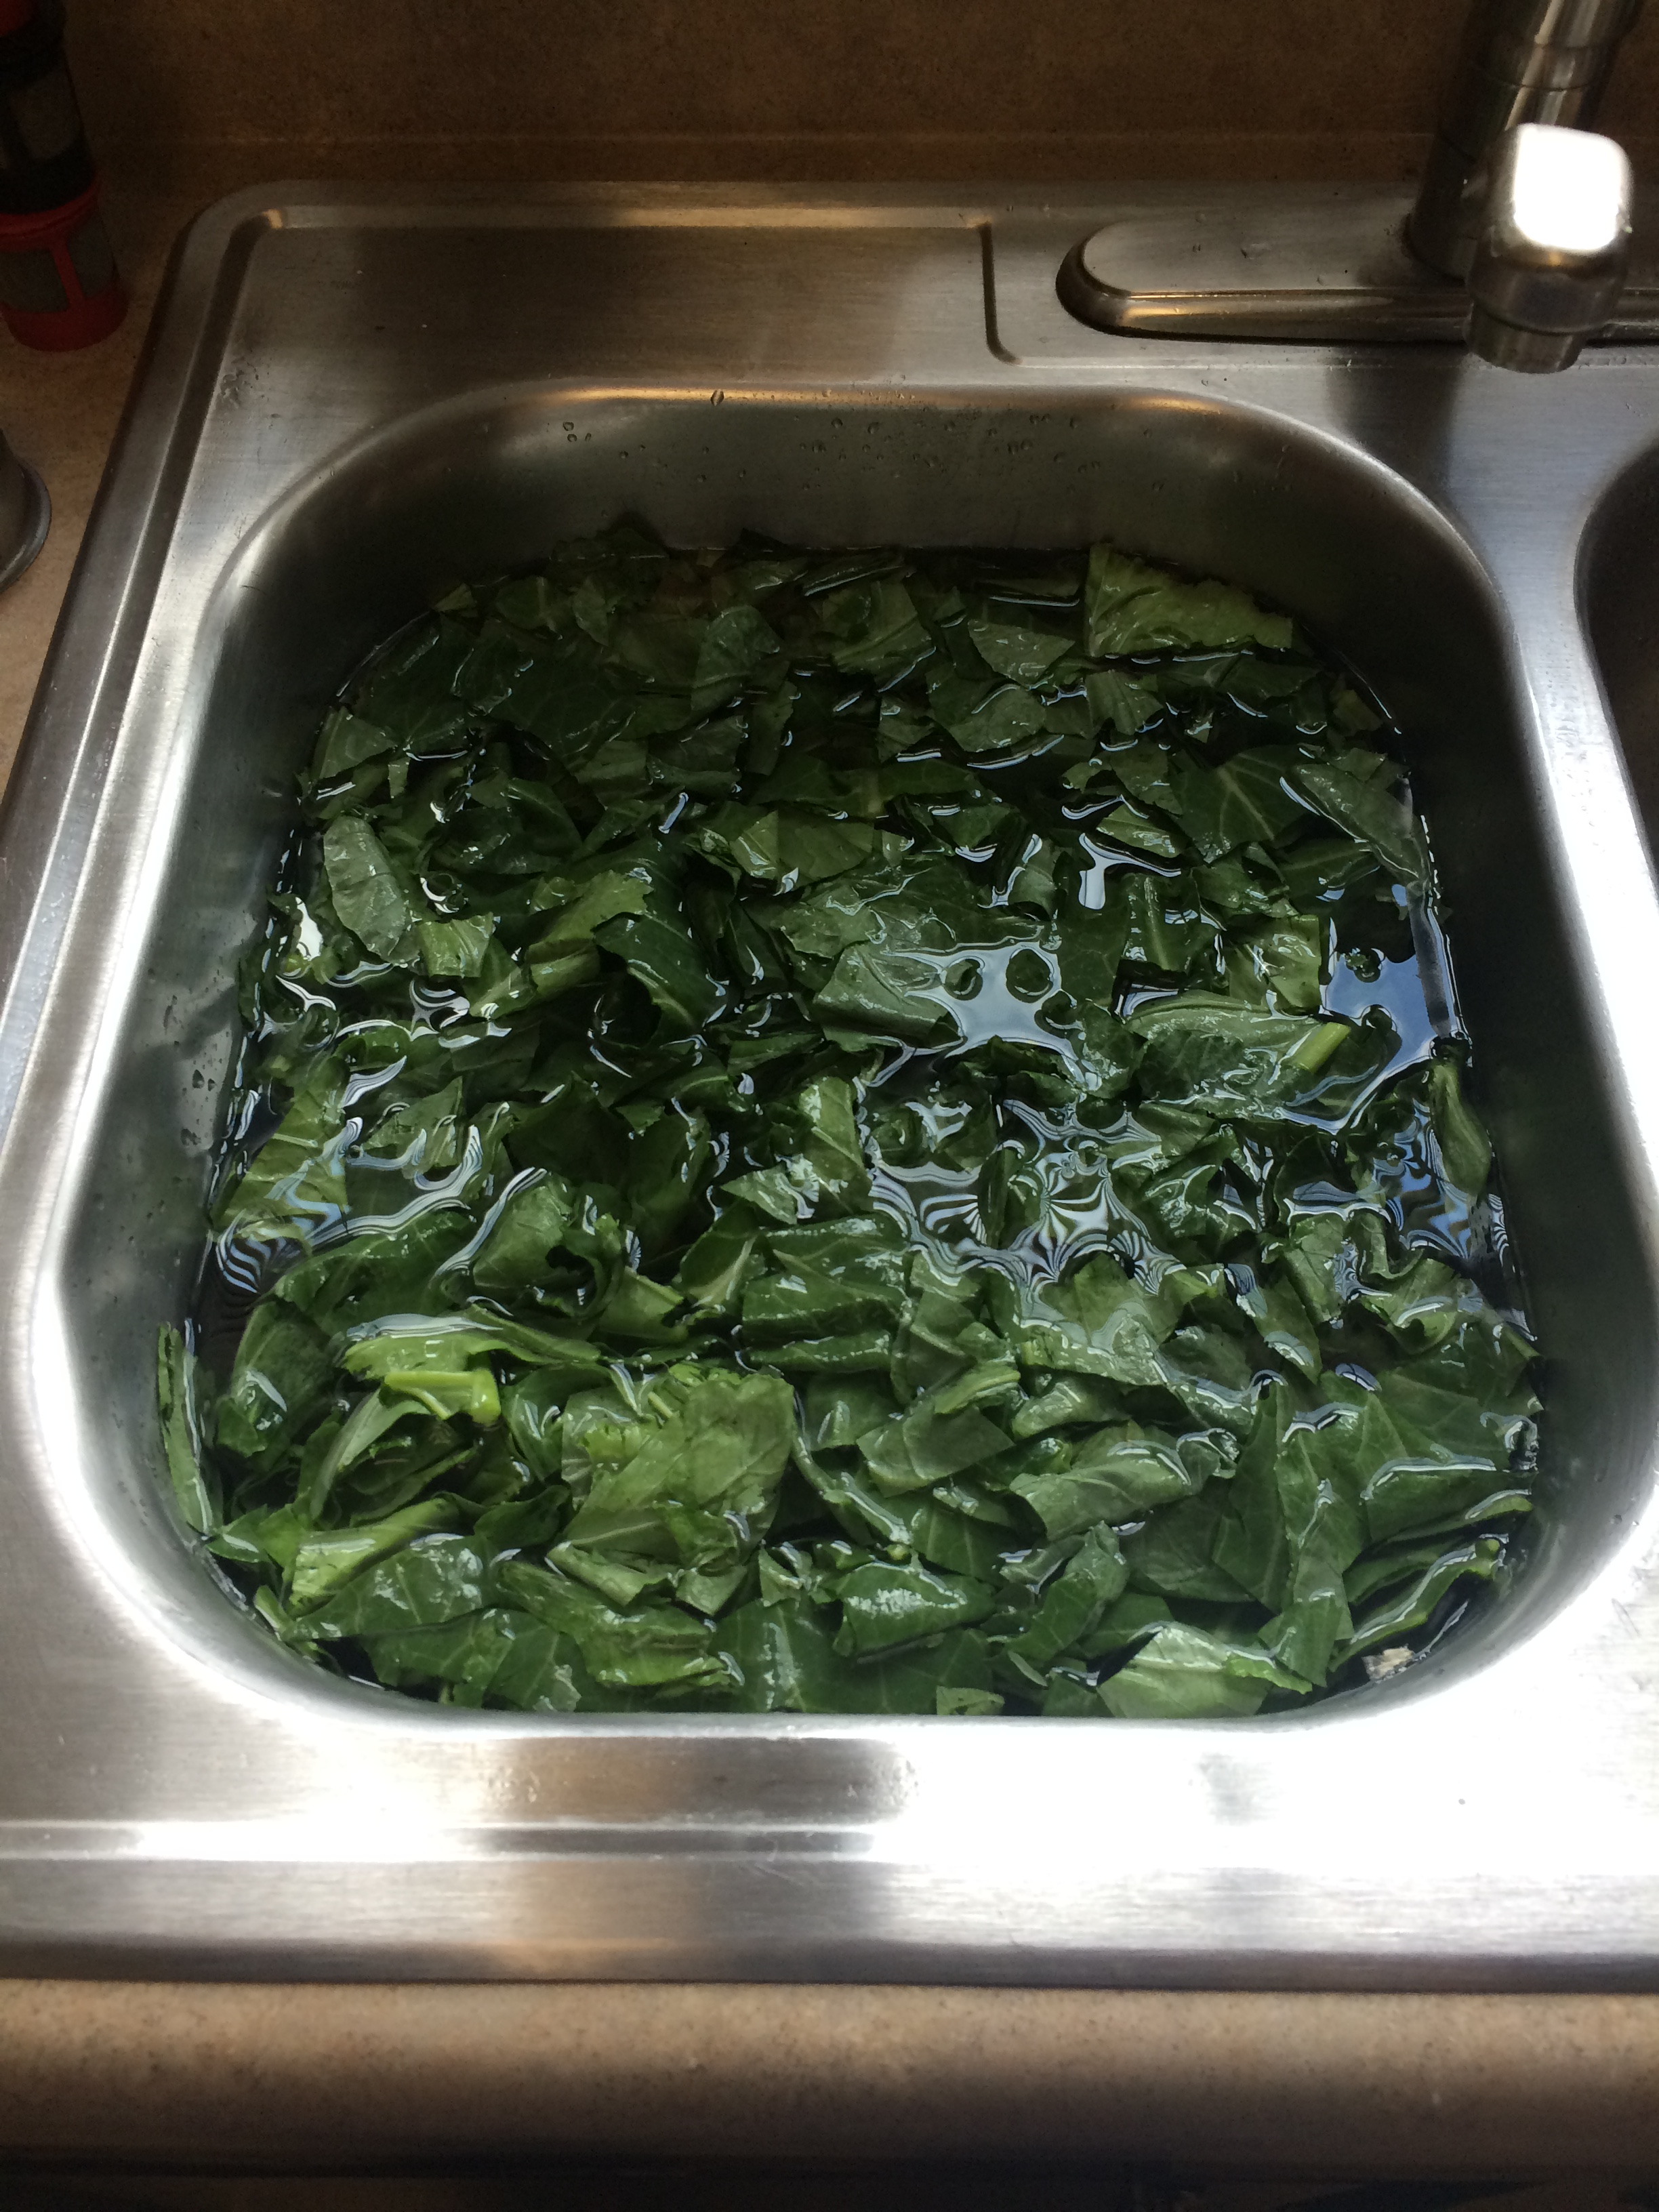
Now, collards grow in sandy soil, so they need to be cleaned. I do this by filling my sink with cold water and placing the chopped greens right on in there. The greens will float and the sand will sink to the bottom. Simply remove the greens and place in a colander. They will be good to go.

The rendering bacon…mmm…
THE COOK. Cooking these babies is so easy because it’s a one-pot wonder. Gotta love that.
- Heat a large pot over medium heat. Add a little bit of corn oil to coat the bottom of the pan and throw in the bacon. Render all the fat out so that the collards can absorb all of the deliciousness.
- Once the bacon is rendered, add the chopped onion. Cook this for a couple of minutes. I love the smell of bacon and onions cooking together. It’s absolutely divine and, in my opinion, tops the smell of onion and garlic. If I could put the smell onto the blog, I would. All of you would be racing to the store to purchase the ingredients to make these collards once you smelled this, I promise.
- Add a little bit of brown sugar. I used about a tablespoon, but this is really up to you. Some people choose to leave out this ingredient, but I like the balance that it gives to the dish.
- Add the sherry vinegar in equal parts with the sugar. The vinegar brightens the flavor of the greens.
 Now, it’s time to add the collard greens. Place as much as you can in the pot while still being able to stir.
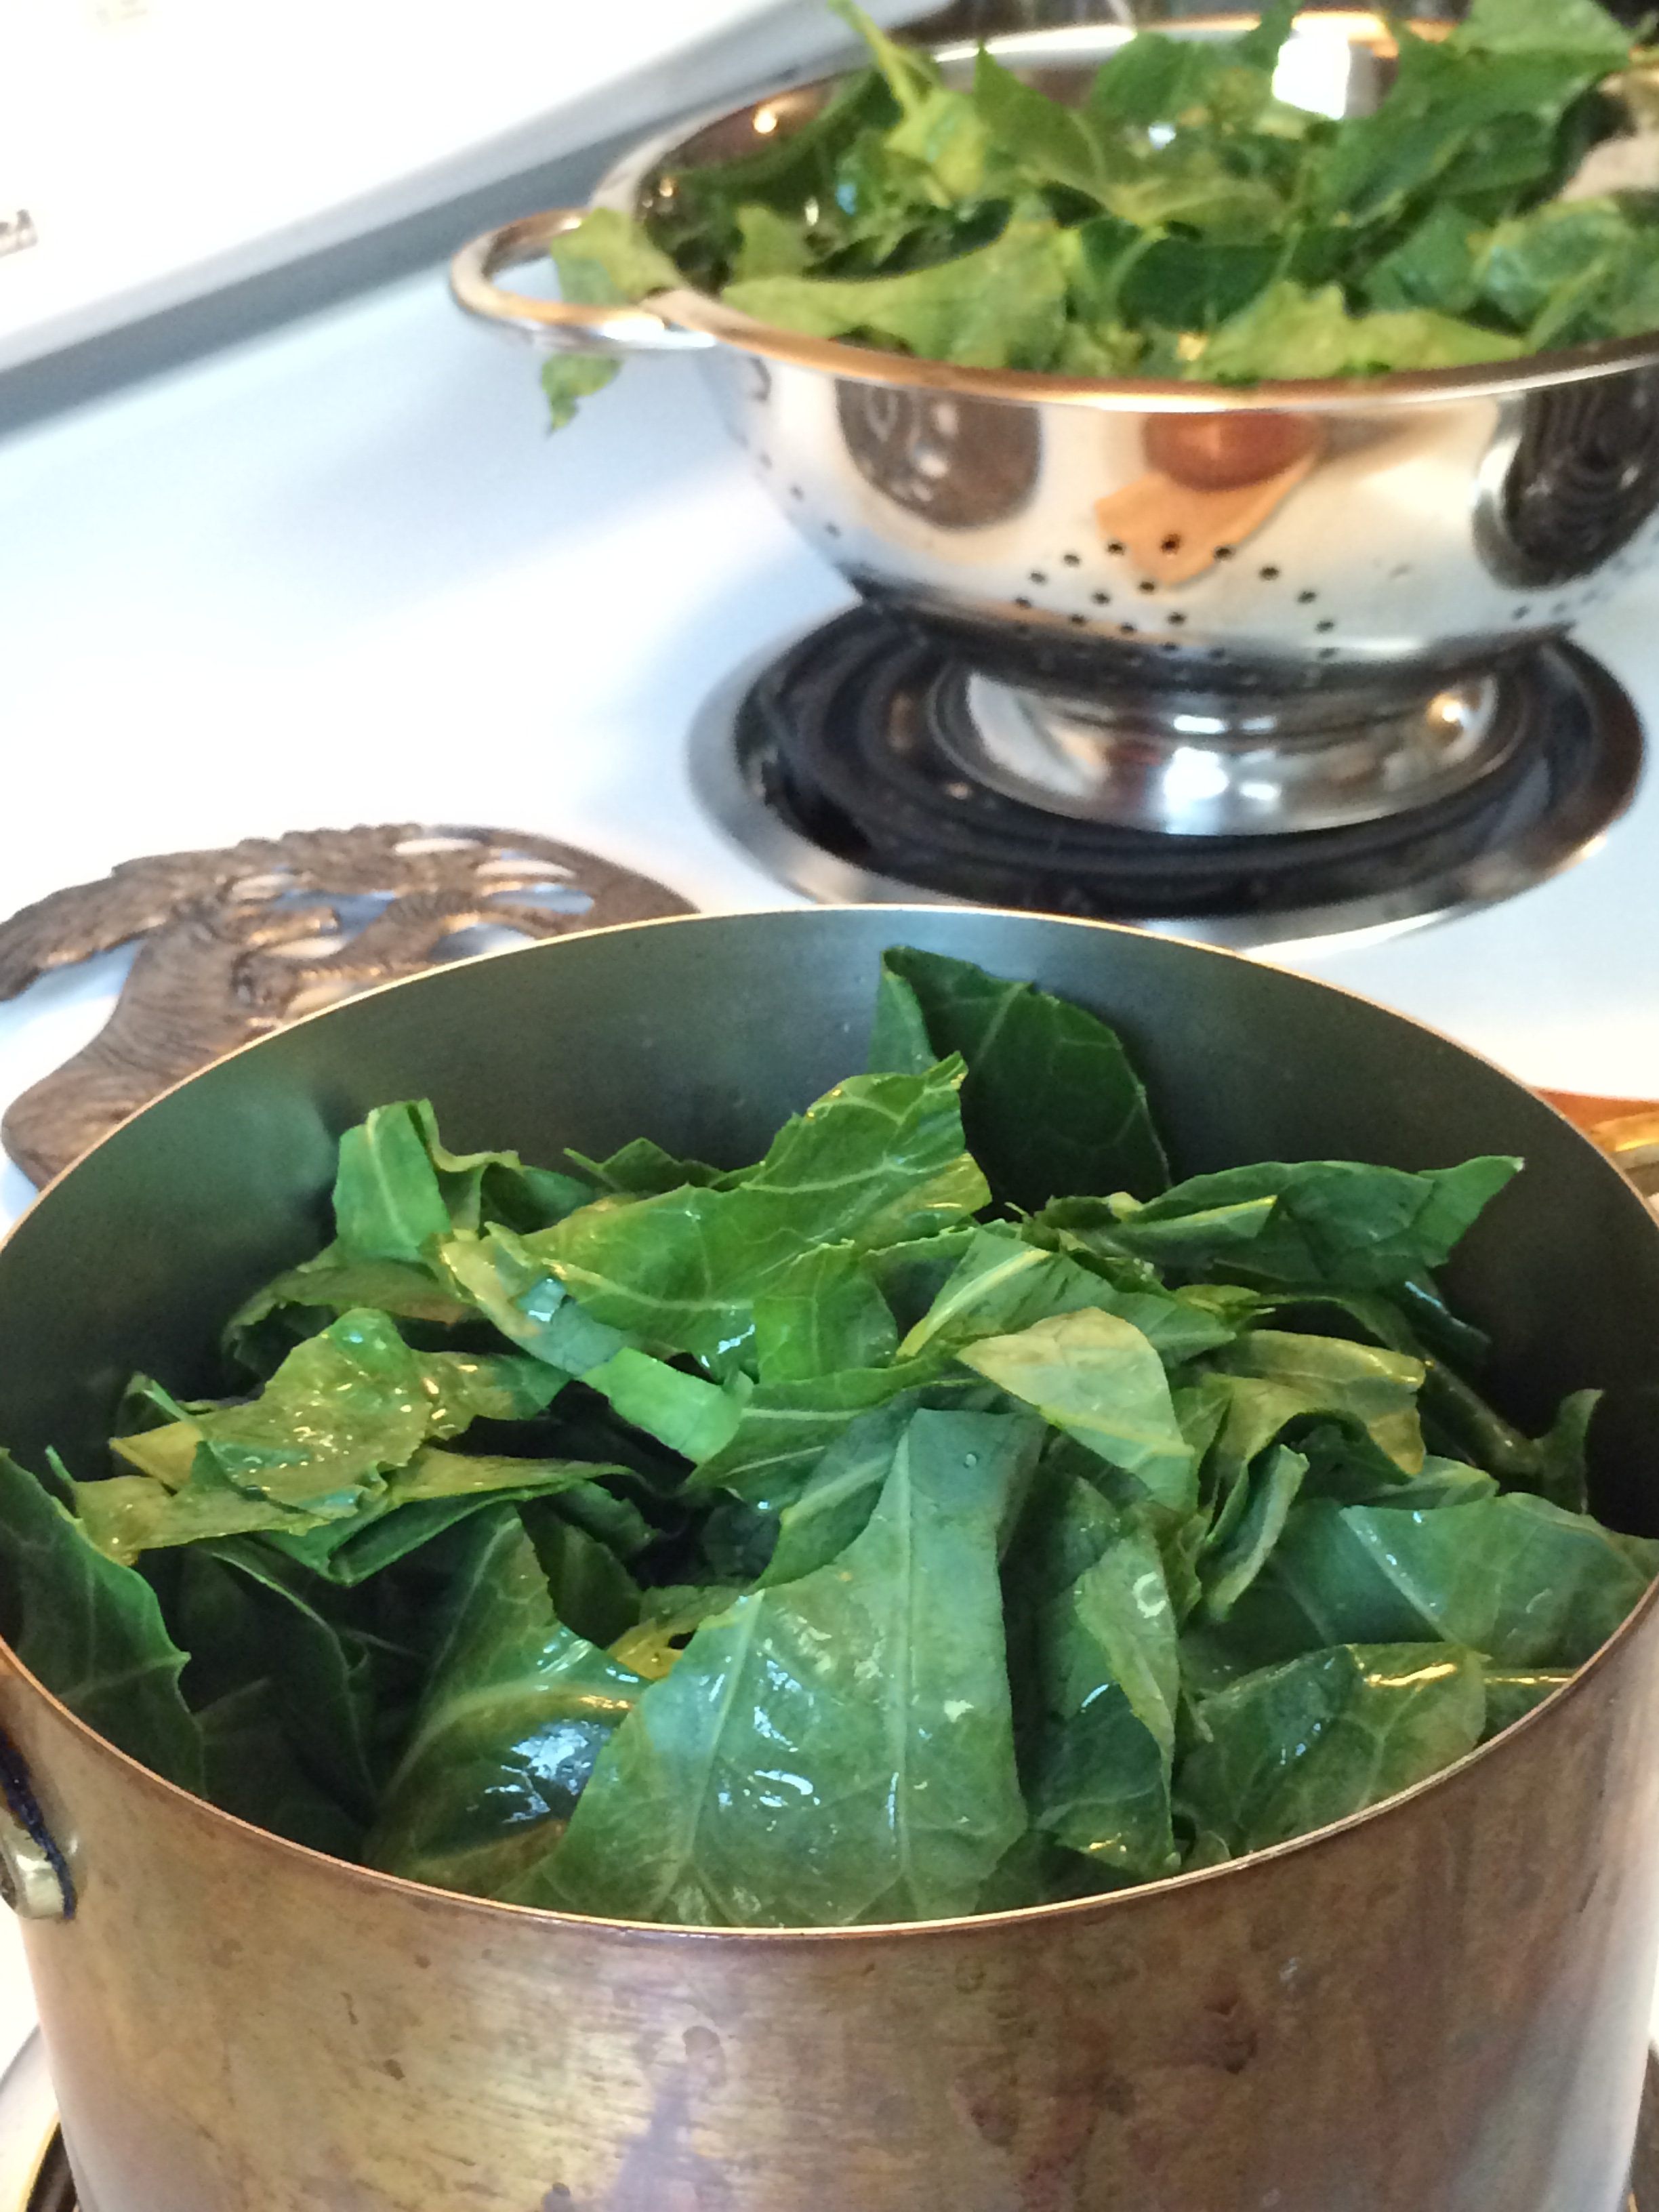
You’re probably thinking, “Holy cow! That’s way too many greens, Kelley. And you still have several handfuls left to add!”….I know, I know. It seems like a lot, but greens cook down a ridiculous amount. There will be plenty of room.
Stir the greens around and once they have cooked down a bit, add some more. Continue this process until all of the greens are in the pot.
- Add a cup or so of chicken stock to the pot. We’re braising the greens here so we don’t need to cover them with liquid.
Now, this liquid is what I refer to as “liquid gold.” Why? Because it’s the most complex part of the dish. It absorbs the saltiness and smokiness from the bacon as well as the sweetness from the onion and the brown sugar. The acidity from the vinegar and the bitter earthiness of the greens leach out into this liquid, too. It’s the perfect essence from the dish. You can even strain and use it as the base for soups or sauces. It’s what really makes these collard greens amazing.
Sorry for the rant…back to the greens…
 Add a little bit of salt and pepper. You’ll probably add more of both at the end of the cooking process. Remember, you can always add more, but you can’t take it away once it’s already in there. Let the greens cook for an hour or so and re-check your seasoning.

- Cover and cook for 3-4 hours on low, or until the greens are tender. A younger green won’t take as long to cook, but most of the greens in the grocery store are older and sturdier. Plus, the longer they cook, the more complex the flavors get and that’s a good thing.
ENJOY IT. Serve them up in a bowl with some biscuits (or cornbread) and you’ll have a delicious lunch. You can also serve them with some black-eyed peas or fried chicken. Honestly, you can’t go wrong with these collard greens.