I’m a Southern girl living in a very Southern world. This world includes Fall’s filled with College Football and tailgating. How could it not? I was born yelling “Go Dawgs!” and transitioned into saying “War Eagle!” after my time at Auburn. Fall is my favorite time of year solely because of football. Plus, during this time we get to chow down on Southern favorite’s such as fried chicken, mac & cheese, and BBQ. It’s pretty much essential to eat BBQ during at least ONE tailgate during the season and there are zero complaints coming from this girl. What’s not to love about BBQ? It’s smoky and succulent. If you mix in the famous Tennessee sauce that is ketchup and vinegar-based, then you have a win-win combination. Sadly, there is a downside to this wonderful time of year. A lot of the BBQ joints down here have killer smoked pork, chicken, and brisket, but they really let us down when it comes to the sides. They have the gall to serve us pre-made sides from vendors like Sysco and U.S. Foods. Let me tell you, it really puts a damper on the experience because you totally can tell that they purchased these sides. Taking the easy way out, I say.
 The funny thing is that it’s so ironic. I mean, BBQ takes 10+ hours to really be delicious. It’s a process that is difficult to master and is very time consuming. Kudos to them. Seriously. They really put in the effort, but then they serve pre-made, store bought sides with their delectable smoked meats. It really defeats the purpose. As if making cole slaw and potato salad takes hours of their time…puh-lease. This is what is so frustrating. In the time it takes them to order and unload their pre-made potato salad, they could make their own from scratch and it would be 10 TIMES more delicious.
Perhaps I shouldn’t be so hard on them. Maybe they don’t know that it takes 30 minutes (an hour, tops, if you include making it in bulk) to make potato salad. So, this post is for them. It’s to teach them that the perfect potato salad is within their reach.
Let’s get started…
THE INGREDIENTS.*
- Russet potatoes, peeled and cubed
- Yellow onion, small dice
- Hard boiled eggs, small dice
- Mayonnaise (Homemade or store bought is fine. I’m personally using Blue Plate).
- Salt and Pepper (to taste)
THE POTATOES. This is one of the simplest potato dishes out there. I’m not kidding. It’s 5 ingredients. FIVE. And most of these ingredients you probably have lying around the house already.

Potatoes ready to bring to a boil and then simmered until fork tender.
To get started, peel your potatoes and cut them into whatever size cube that you want your potato chunks to be in the salad. I’m using two potatoes because I’m just making it for a couple of people and I like to cut mine into about 1/2- 3/4 inch cubes. Not too small, but not too large. Place them in a pot and cover them with water (there should be one to two inches of water that comes up above the potatoes). Bring them to a boil and reduce them to a simmer. You don’t want them boiling the whole time because the outside of the potato will cook much faster than the inside and you will quickly have mashed potatoes instead of nice chunks for your potato salad.
Once they are fork tender, strain them and place them in a large bowl to mix the rest of the ingredients.
THE EGGS**. There is a lot of controversy over how to correctly boil eggs so that they are perfectly cooked. Do you place them in cold water and bring to a boil or do you place them into boiling water? How do you know how long to cook them? Do you need to put them in ice water afterwards?
Who knew that boiling eggs seemed so difficult? The good news is that I have the technique to give you perfectly hard boiled eggs every single time and it requires 4 simple steps.
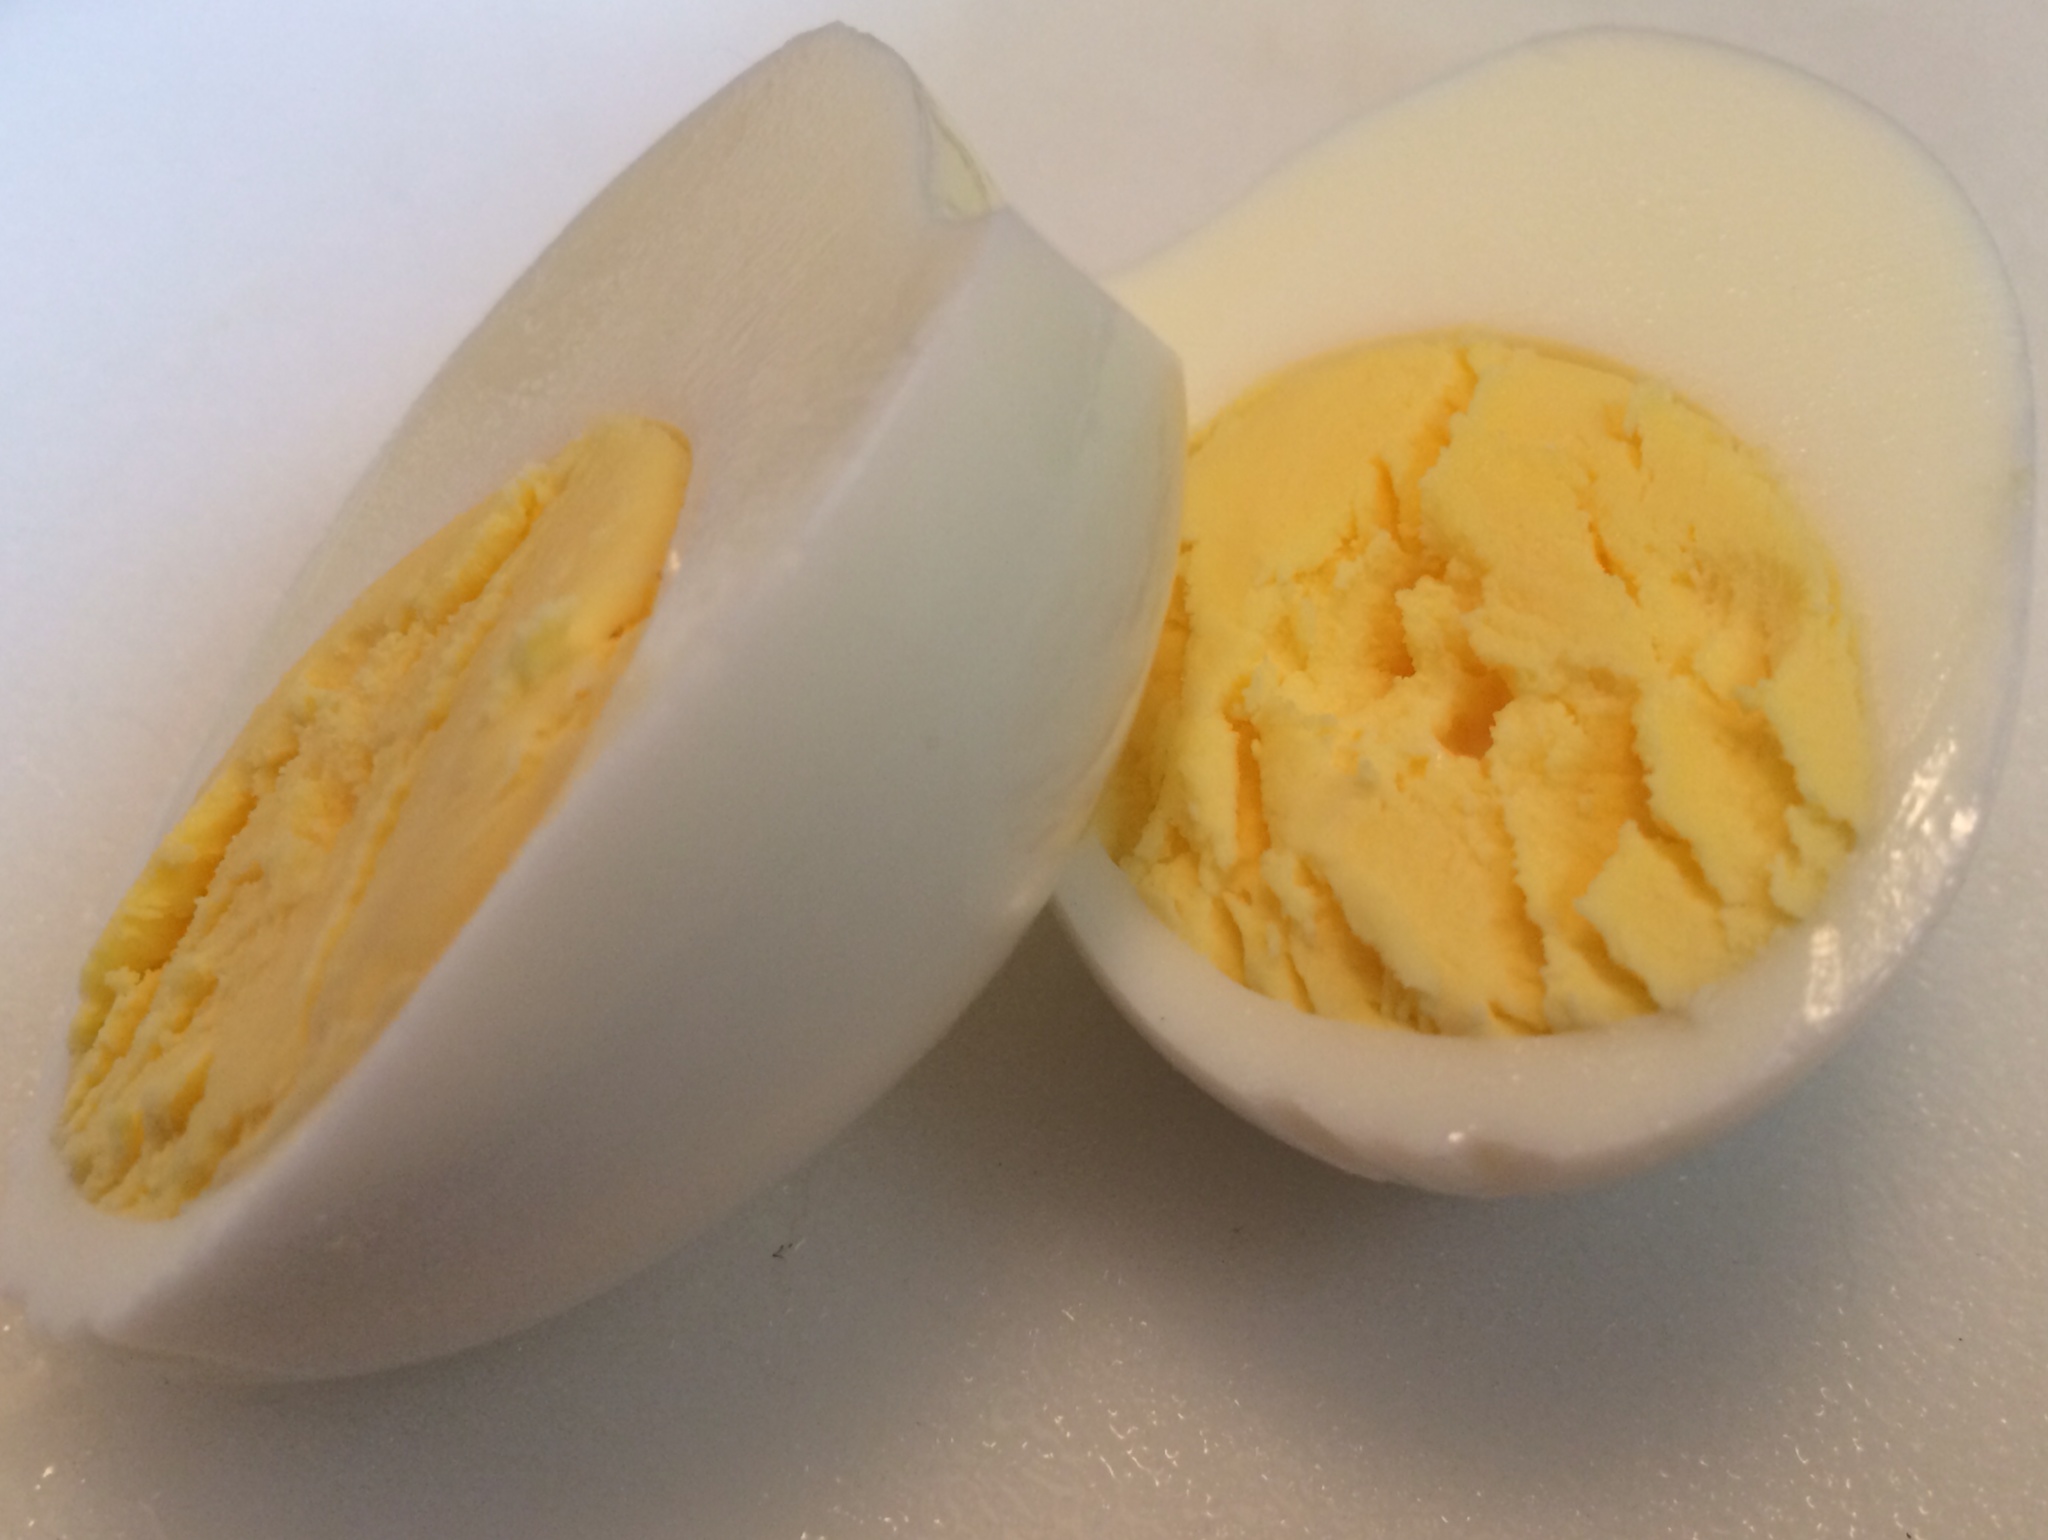
Basically, the perfect hard boil egg!
- Bring a small pot of water to a boil.
- Carefully add your eggs.
- Cook for 15 minutes. (Now, if the eggs are jumping up and down in the pot, then turn down the temperature slightly. They are eggs, after all, and they will crack).
- Shock them in an ice water bath (to immediately stop the cooking process).
That’s it. You will have the perfect hard boiled egg. Every. Time. No lies.
THE MIX. Once your eggs are cooked and ready to go (peeled and chopped), place them in the bowl with the potatoes. It’s best if the potatoes are still warm (not boiling hot) because it will help in the absorption of the mayo. Add the onions and mayonnaise. We’ll start with a 1/4 of a cup and go up from there. You can always add more, but you can’t take away. Mix it up. Season to taste with salt and pepper.

The finished potato salad.
Give it at taste. Need more mayo? Add a little bit more. Need more salt? Add a little bit more. The more you cook, the less guessing you will have to do. It starts to become second nature. Potatoes will take a lot of salt, though, so don’t be worried if you feel like you are adding a lot. Also, salt brings out the natural flavors in all of the ingredients and really brings everything together. Salt isn’t the enemy.
And you’re finished. Sure it isn’t an absolutely stunning looking potato salad. It’s all kind of the same color. If you want to add red onion or green onion to give it some color go for it. It is your dish after all, but I’m going to leave mine as it because that’s the way my mom makes it. You see, us Southern gals like to follow tradition.
All you have to do now is cover and refrigerate until ready to serve. Some people like to serve their potato salad at room temperature. I call those people weird. Cold is the way to go, in my opinion.
ENJOY IT. Be sure to enjoy the potato salad. I’m personally serving it this evening with some Nathan’s hot dogs (see the very first photo). A quick and easy dinner for a busy day. There is no shame in that! But, it goes perfectly well with a multitude of grilled and smoked items. So, just walk by that container of pre-made potato salad. Give it the silent treatment. Relish in the fact that you made your own potato salad and it’s damn good.
* These ingredients certainly brake the bank, don’t they? That must be why many restaurants feel like they can’t make their own…
** Please do yourself a favor and cook the potatoes AND the eggs at the same time, but in different pots (clearly). It will take you forever to make this if you don’t do this. Also, while they are cooking, get all of your other ingredients together and ready to go. Once the potatoes and eggs are finished, there will be only 10 minutes left in the process. Cook smart!